| Author | Message | |||
Loose1 |
I got some time now to start working on this project before the snowmobile racing starts up. I picked up a harbor freight lift last week. Got it set up and made/modified a wheel chock. I'm also making a lift frame to go on top of the lift, to pick the bike up from the top. I'm going to be running xb heads so I need to make or modify a motor mount. How about another little tidbit. The p.o. said he couldn't find the right belt so he took a wider one and cut it down. I said the correct belt was one of the most common HD belts out there. Matt 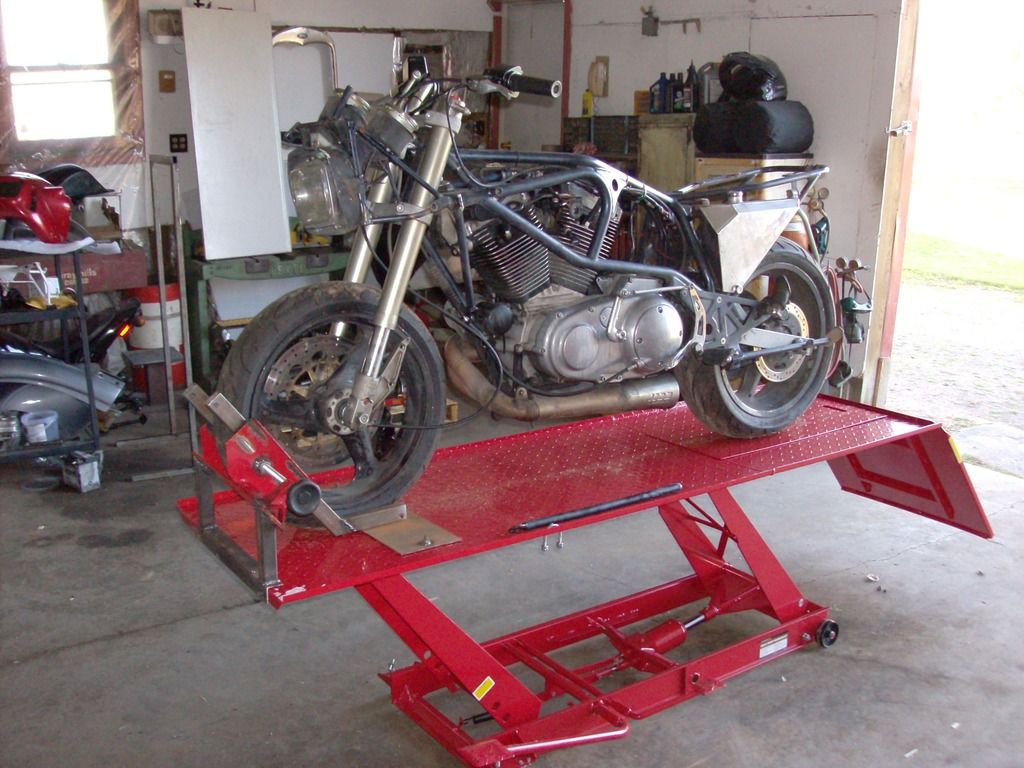 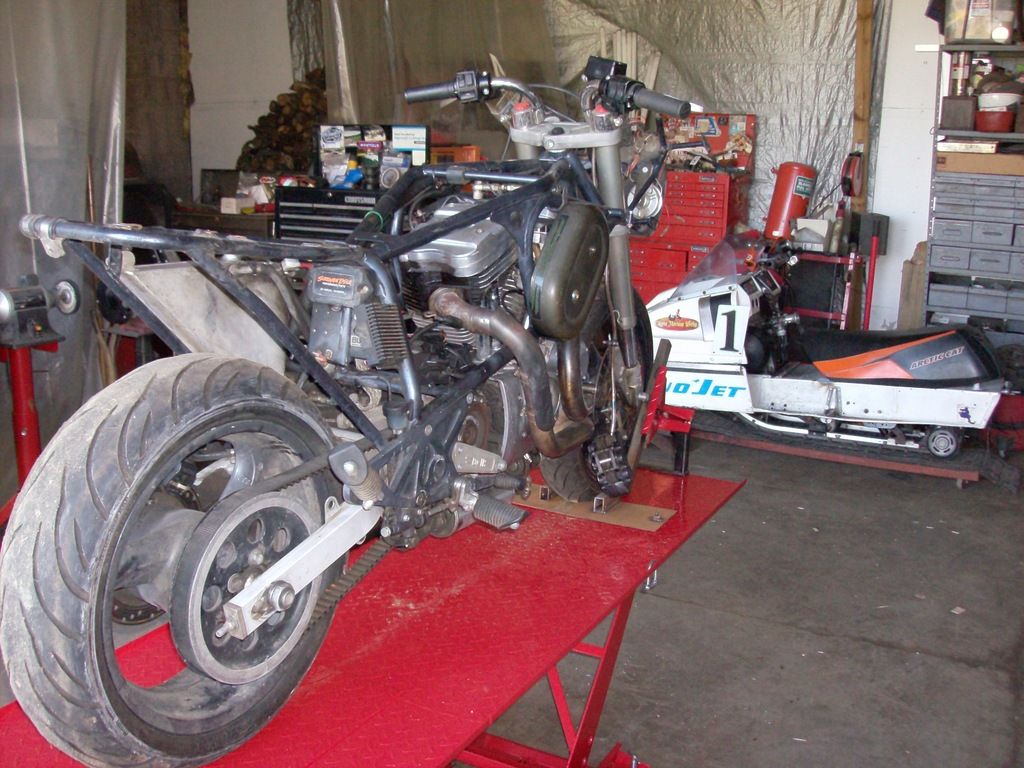 | |||
Brother_in_buells |
What's with the wheelless S1 frame in the back ground | |||
Loose1 |
I picked that up last year about this time. Someone used it for chopper parts. I got the frame, gauges, tank, tail, euro seat, complete rear wheel, v&h exhaust, swing arm, shock and the leftover bolts and bits. Basically everything but the motor and front end. And yes, it was a s1W Matt | |||
Loose1 |
Well, I ended up pulling the frame off the motor. I couldn't do a good job with it on. The rear rim is junk. Both bearings have spun. They fell out of the bores. So I'll have to bore the hole bigger, make a sleeve, press it in, bore a new bearing bore. Is there supposed to be two bearings on the right side? My s1 has one wider one. The rear brake mount was installed wrong. There was three different bolts holding the clutch cover on. I've washed this thing twice and it's still a greasy mess. Matt | |||
Johnod |
Two bearings on the one side, yep. | |||
Bluesboy |
I have a nice rear wheel off s2t $100 + shipping looks like it is new never used | |||
Loose1 |
Bluesboy, that's kind of tempting, but it's not going to cost me anything to fix mine, and I need the bag mount worse than a new wheel. I'll keep it in mind if something changes. Thanks, Matt | |||
Upthemaiden |
How is the motorcycle stand?? I plan on buying one someday. Nice job on the wheel mount. | |||
Lornce |
Who makes a mess like that of such a fine motorcycle? This is hard to watch. You're a good man to take that on. | |||
Loose1 |
The lift is great. Of coarse there are better ones out there but not at under $300.00. The only complaint I have is the same one ever one else has, the wheel chock is useless. You seen what I did to fix that. There's very little assembly. Most of all the pivot points have grease zerks. I just modded the wheel chock and added a spot to store the safety bar. I'd recommend it. | |||
S1owner |
Lifts are awesome I had the metal lying here so I built mine just had to get the ram but I have heard that lift does the job! I would suggest for anyone doing major work some kind of lift or table to save your back! 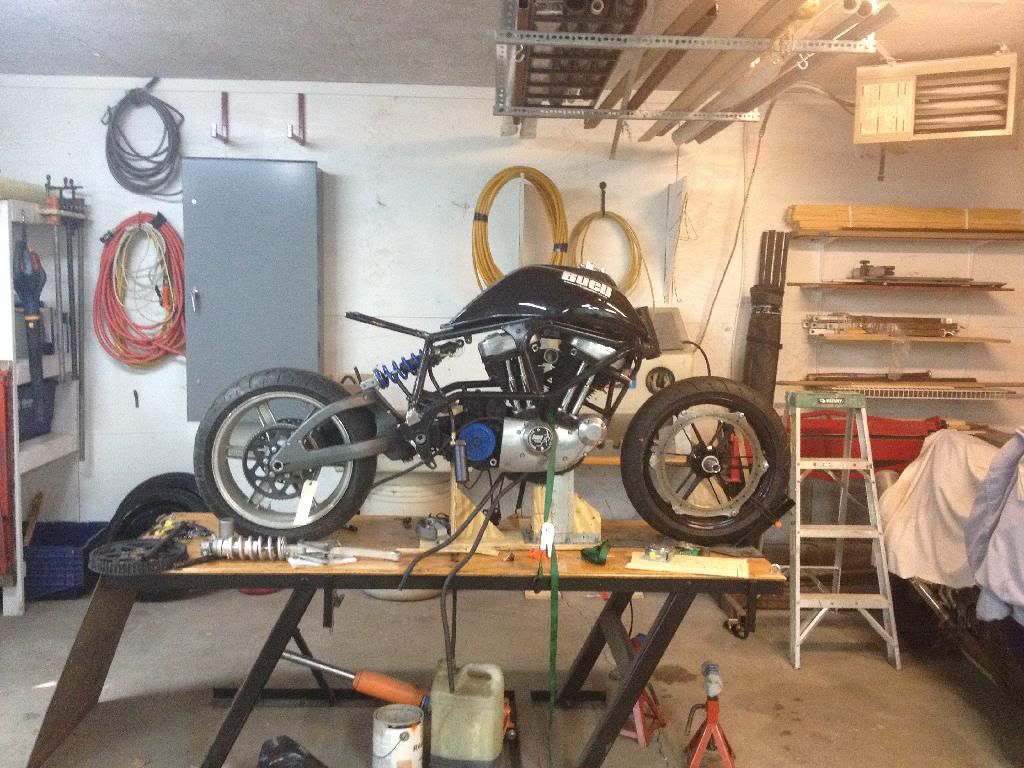 | |||
Upthemaiden |
I built a motorcycle table maybe 2-3 years ago, used it to rebuild one bike I had. It was definitely nice for doing work. Only downside is you had to pull out a ramp and roll the bike up on it just like if you were loading it in the back of a truck. It was big but you could at least pull the legs off and stand it up against the wall. I put some locking caster wheels on it and put some VHT tiles on the top. I ended up selling it when I redid the garage, because it was way too heavy to be lugging from one side of the garage to the other every time I was working on things. Definitely looking forward to having something that'll easily go up and down, and that I can just roll the bike straight on. I'm gonna make a new workbench, and I figured I'd just build it so the bottom shelf was 8" off the ground so there was enough clearance to slide the HF table under it when I wasn't using it. 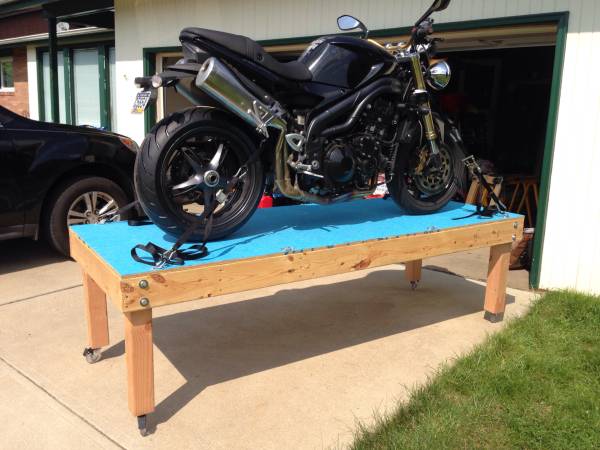 | |||
Loose1 |
I think I spent 4+ hours just trying to clean the motor this weekend. I got the new heads ready to put on. I found that it had the old, weaker chain adjuster shoe on it. I'm getting the tires dismounted this week so I can fix the rear wheel bearing bores. I went a little farther than I wanted to but it had to be done. Matt 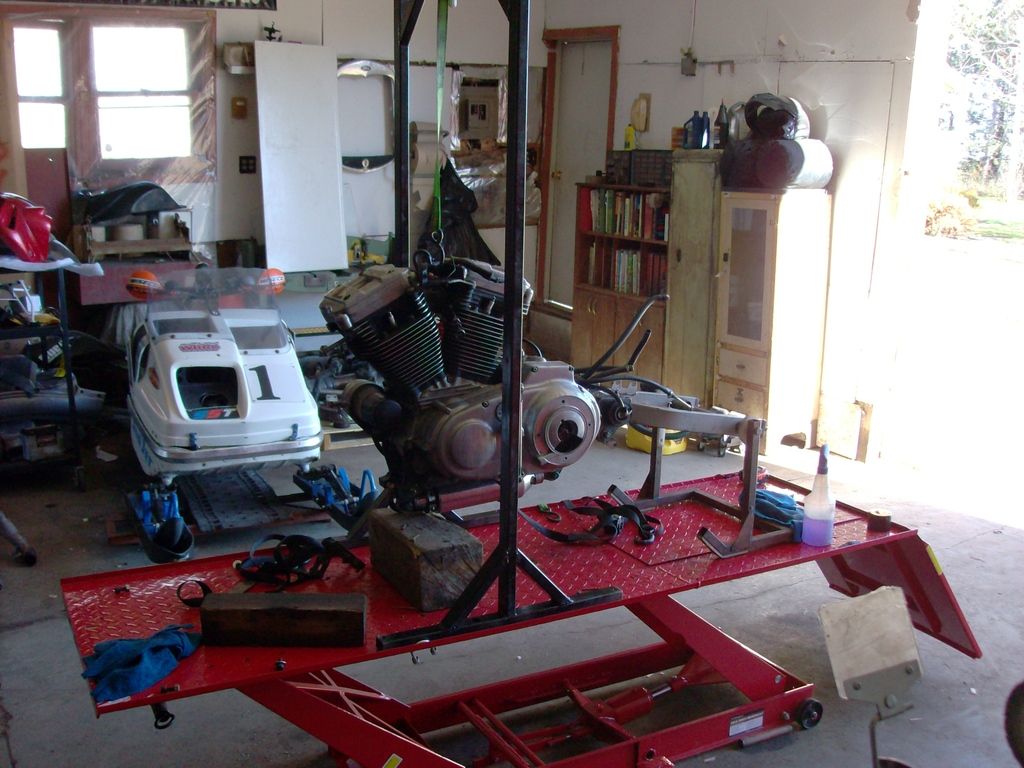 | |||
Upthemaiden |
I'm looking forward to being able to tear mine down like that eventually, just hate to lose the time riding. I like that black support setup you have on your stand. Did you make that? Does it feel sturdy, or does it get a little iffy if it's holding up the weight of your bike that high in the air? | |||
Loose1 |
I made the overhead lift. Just threw it together on what I had laying around. It's real stable. I can clamp it to the table too. I wanted a overhead lift to make front tire changes easier, and putting the frame back on should make it easier too. I haven't lifted the whole bike yet, but I don't have any worries that it wont. Matt | |||
Upthemaiden |
Currently I've got some rings in one of the ceiling beams, which works perfectly fine, but it's nice that yours moves wherever you want to put the lift. I was thinking it'd be nice to put a cable hoist on the ceiling for that stuff. Would certainly be easier than trying to let things down smoothly with the ratchet straps. | |||
Loose1 |
I got the motor put back together and the frame back on. The forks are off and apart for rebuilding. I'm looking for some 7/8 control clipons with a rise similar as the stock s2T bars. I hate the harley 1" controls. I'll run xb controls. I'll also need the control wiring diagram for the S2 so I can re-pin the plugin and not cut up anything. I need to find some material to fix the rear wheel this week. I've been thinking of powder coating the wheels one of the blues in the decals to give the bike a little color. It's a little wild for me, but I think it'll look good. 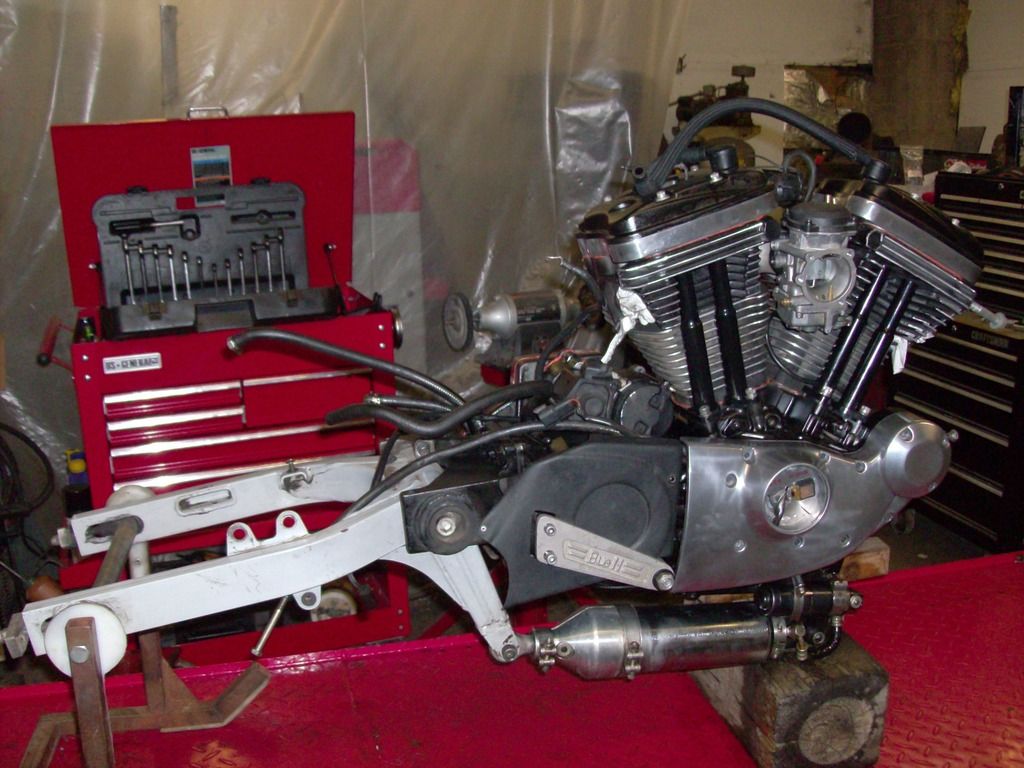 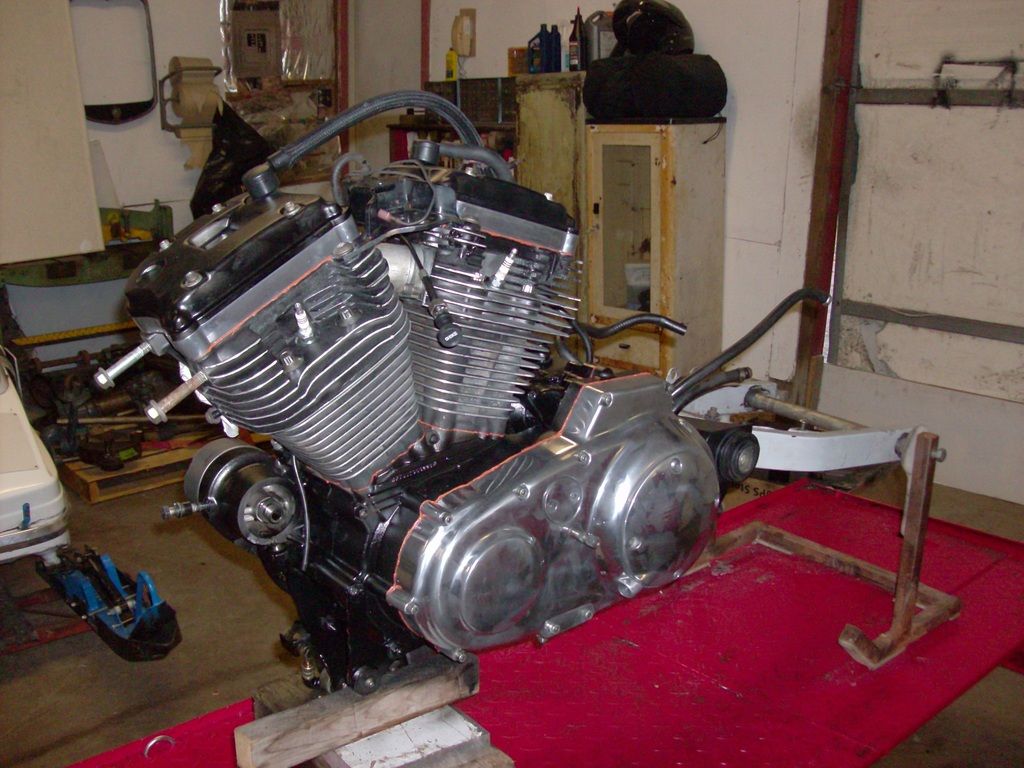 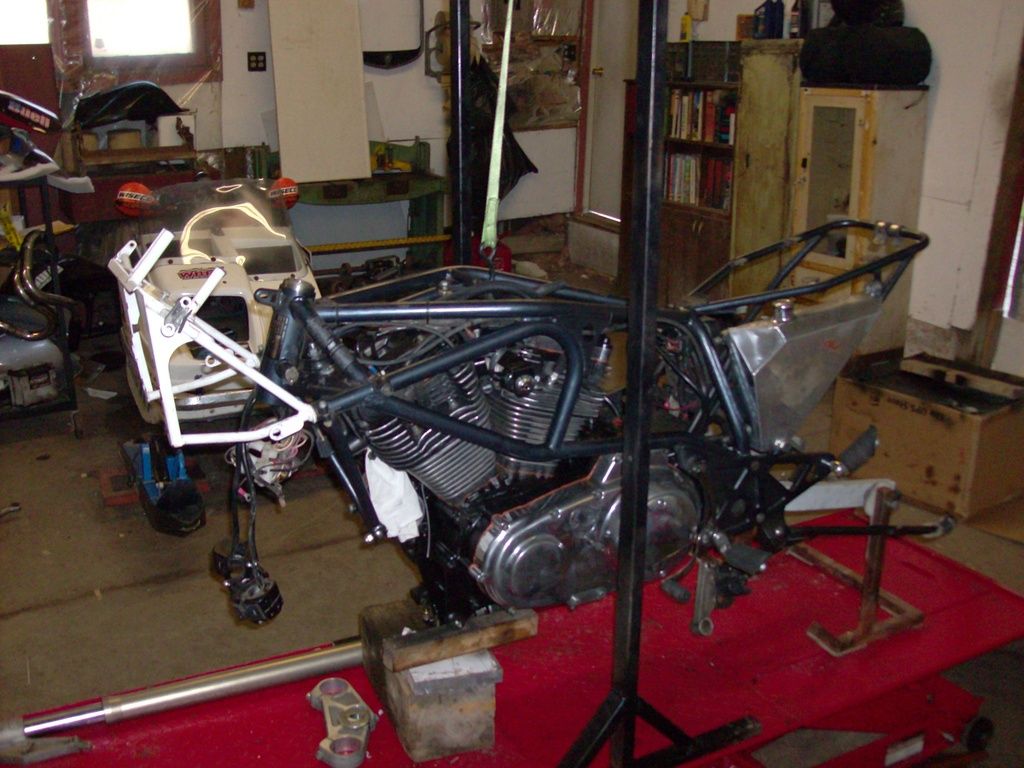 | |||
Upthemaiden |
Looking good! Where are your control connections made? Under the tank or behind the windscreen? The XBs had theirs behind the flyscreen, so the controls had sorry weird, my S1 connects under the tank so the connections are long. You might have a hard time getting the wires to reach if that's the case with yours. If you don't want to cut, you could try to make a wire extension with one of each plug on each end. That way you could leave all the wires/plugs as is, and switch the wires on the adapter. | |||
Johnod |
That rear pcv valve may not clear your tank. Mine didn't. You'll want to check that. | |||
Loose1 |
The connections are at the faring stay, under the dash. They'll be close. If I have to extend the control wires I will. Or I'll use tuber controls if they're longer. Anything to get rid of the harley controls. I will check and see if the pvc clears. Thanks for the heads up. | |||
K12pilot |
ya might want to look for a new shock...just saying... | |||
Loose1 |
There's nothing wrong with that shock. Same one that's on my S1, but that one doesn't have the safety cups. | |||
1313 |
ya might want to look for a new shock...just saying... The SRP (Shock Reinforcement Package) made the shock suitable for a lifetime of use. Sure, it may have looked a little peculiar doing it, but it was - and still is - definitely up for the task at hand. FWIW... 1313 | |||
Lornce |
Was the SRP a mod to the original WP shock or the recall Showa pieces? I like the H-D controls on S2's. They're extremely high quality pieces by motorcycle switchgear standards. fwiw. | |||
K12pilot |
I didn't realize the fix was a real FIX... I thought it was a bandaid on a bad shock... I have been schooled again.... I have the 2nd gen shock on a couple bikes & it is fine also | |||
Loose1 |
I got the material to fix the rear wheel yesterday. I'm going to try and get that done this weekend. I ordered a bunch of small parts that should be here tomorrow. So I'll have the parts to put the forks back together. I have to keep on this project because once the snow and ice come snowmobile racing will take over. Matt | |||
Johnod |
Which shock is that fix for? | |||
1313 |
Which shock is that fix for? "This campaign involves all 1999 M2 Cyclone and all 2000 X1 Lightning, M2 Cyclone, S3 Thunderbolt and S3T Thunderbolt model Buell motorcycles manufactured between January 5, 1998 and May 31, 2000." The updated bulletin (short Showa shock) is available in the knowledge vault. For the original version of the bulletin (with the SRP and associated installation instructions), NHTSA/safercar.gov saved the day - if you like trying to read what looks like a faxed copy.
Since it isn't listed as applying to S2's (as I quietly suspected it didn't), perhaps Matt's bike has had a shock off another bike swapped onto it? 1313 | |||
1313 |
Incidentally, the root cause for needing the SRP fix was not the shock. If it were, the range of vehicles affected would be much larger. As a side note, there were a few different versions (weights) of the lightened flywheels used in tubers. Keep in mind that for (I can't remember how many) months the start of 2001 MY Buell production was delayed and the SRP enabled Buell to finally start 2001 MY production. History, 1313 | |||
Ralph |
How are you going to open the rear wheel for a sleeve? If you're going to use a mill how do you indicate the hole? It's roached so I can't see it being very accurate to use it as is. Or do you have a killer huge lathe? What are you using for the sleeve - 6061? |