| Author | Message | ||
Jim2 |
Does anybody know if ABS material used in a 3D printers would be sufficient for making a Sprocket Shaft Seal Installer Tool that would work at least one time? Links to show tool: http://www.badweatherbikers.com/cgibin/discus/show .cgi?tpc=3842&post=592898#POST592898 http://www.badweatherbikers.com/cgibin/discus/show .cgi?tpc=3842&post=718962#POST718962 | ||
Buellrobot |
I did mine recently and was too impatient/cheap to get the real tool. I used a piece of PVC, so I think the ABS stuff would probably work fine if you printed it thick enough. It's not a crazy amount of pressure you need to put on the thing. I would have definitely felt better about having used the official tool to get the precise depth of installation. Please let us know if you do end up going this route. | ||
Reepicheep |
Henrik's pictures are fixed! Excellent! Yes, I bet a 3d printed tool in ABS would do a great job. ABS is pretty tough stuff, and that application doesn't look particularly demanding. I did mine with a machined wooden dowel, and it wasn't even hardwood. | ||
Airbozo |
FYI: I am having one of these printed today. I'll let you know how it works. I used the PDF from Steve for the specs and we modified it for tolerances of the printer, so I may have to make some adjustments. Once I verify its fit, I will post a picture and a link to the 3d model. Thanks for the suggestion for a printed version. (Message edited by airbozo on September 20, 2016) | ||
Airbozo |
OK, here is the finished part without any sort of cleanup. I am going to try it as is before determining if I need to clean it up at all. There are a few "rough" spots that are really not that rough, just a section where the printer stopped that sticks out a little more and then a couple of spots where the filament did not stick to the platen. 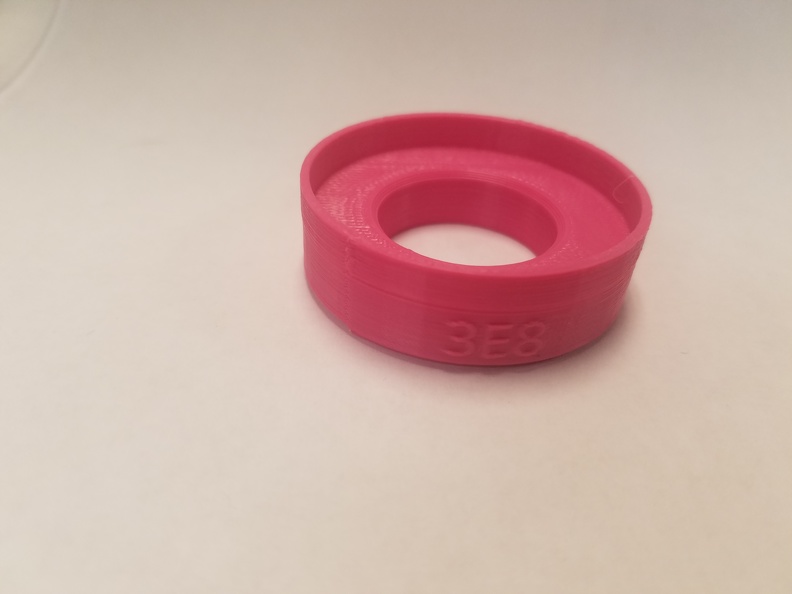 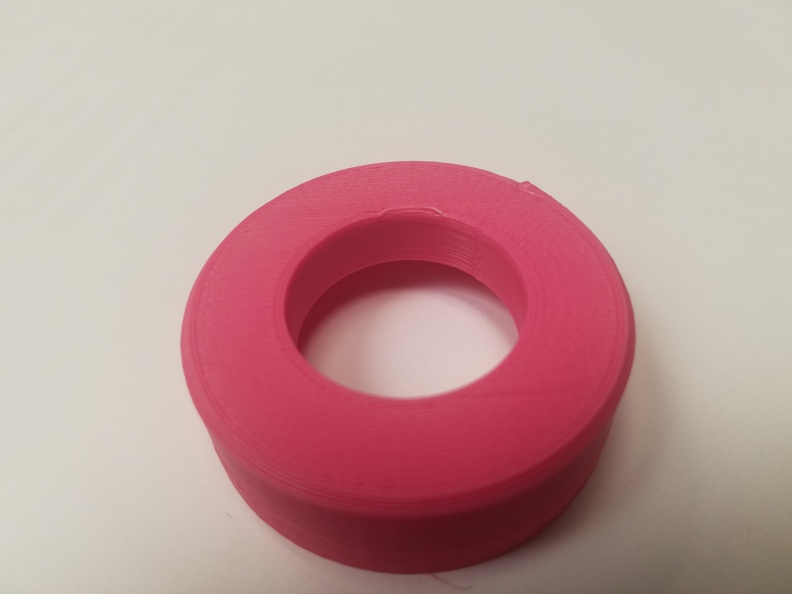 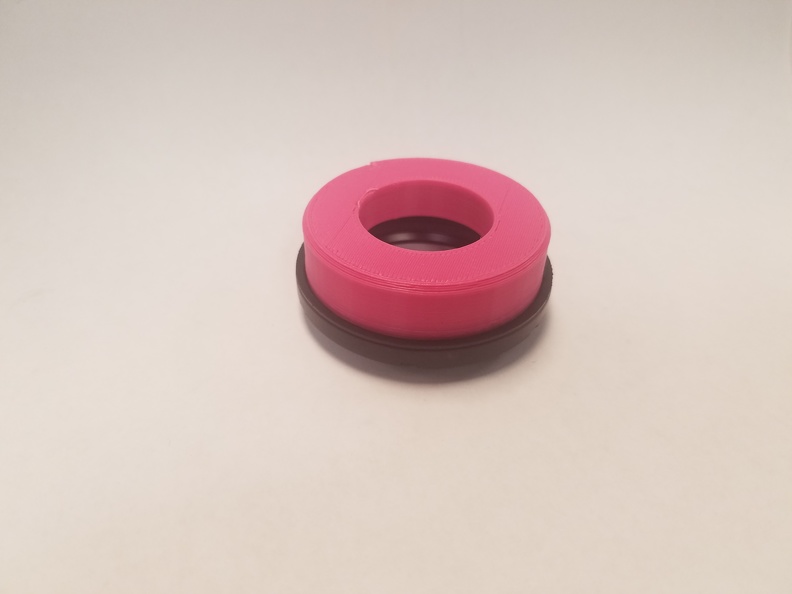 (Message edited by airbozo on September 20, 2016) | ||
Jim2 |
@Airobz, Nice  I have had some things come up that kept me from finding out if I can even use the company 3D printer for my personal use. I would be very interested in your 3D model, especially since you have already tweaked the tolerances. That looks great and as long as it doesn't deform under load, I'm sure it will work! Did you double-check/measure the dimensions of the finished item for the depth? | ||
Airbozo |
I have not double checked the dimensions yet. I used the PDF in the link above to create the model and when I get home I will use my calipers to check it. The guy that printed it for me knows his printer and thinks it is going to be spot on. He uploaded the model this morning and at lunch went home and pulled it off the printer. I will verify the measurements and we will adjust the 3D model appropriately. Some printers might need an adjustment depending on the tolerances. Anxious to find out how close it is. I posted this model in the XLForums, noting how appropriate the color was for a girls bike. lol! | ||
Reepicheep |
Looks spot on. I think I can use a 3d printer up at my local public library, and I have a friend with one. Please post the details, it would be worth making one to throw in the tool box beside the stud drill guide (that also has never been used). | ||
Airbozo |
Well, it seems to have worked perfectly. The only issue is the rim is a little too thick. Other measurements check out to within .002 to .004 (inches). The biggest problem is the way the printer works and the pattern it leaves on the part. It is rough due to the way the plastic is laid down which helps removing the tool, but makes me uncomfortable about scuffing the inside of the seal. If that lip was sanded down, it would be closer to the actual tolerance and slip out easier. I am going to sand down the inside and slightly sand the outside (of the lip only) and check again. I will have my friend publish the part specs and then post the link. You might have to figure out the tolerances of the printer to get it within .003. There should be information on this with the printer. EDIT: Interestingly, while I was test installing it, I found out that the spacer fits into a specific location inside the seal. It prevents (mostly) the inner part of the seal from being over-driven. I checked the measurements based on that spacer for the outer ring and drove it close. I did not install everything permanently yet so I can verify the depth at work since I cannot get that measurement with my calipers. It looks like the original seal was in there and toast. Despite my best efforts I nicked the outside of the seal area. I have to clean it up so it is a little smoother. Nothing I tried worked. No nicks where the seal makes contact luckily. I'll post up some pictures later. (Message edited by airbozo on September 21, 2016) | ||
Jim2 |
I just found out that my library has a printer. I think that they want the model to be in '.stl' format. I also found there are services on line where you send the model file and they agree on price and send you finished product. Also select Office Depot and UPS stores. Looks like a bunch of places. Need model ASAP please | ||
Jim2 |
@airbozo I nicked the first one I installed some years ago which may be why I need to do the job again. I don't see how it could ever go in without some damage. If there is a trick I'd like to hear about it. | ||
Airbozo |
Jim, Working on the model. My friend is waiting for me to send him the pictures which I will do after this post. I don't think I nicked the seal in any way, just the roughness of the part might rough it up slightly. We checked the tolerances on the model and felt we could not make the lip of the tool any thineer without comprimising the integrity. Taking a piece of emery cloth to it to remove the ridges would be enough to make it fit better. That plus some oil... Here is the tool with the seal and spacer; 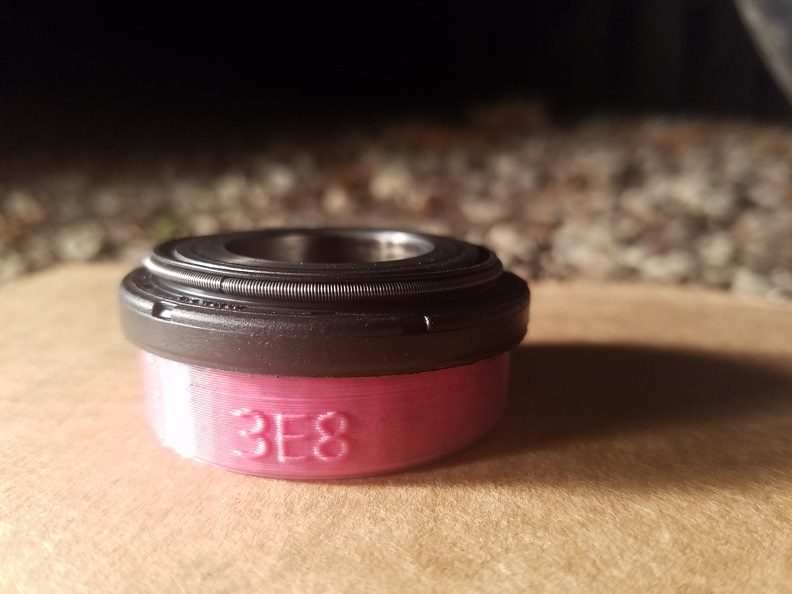 Ready to be pressed in; 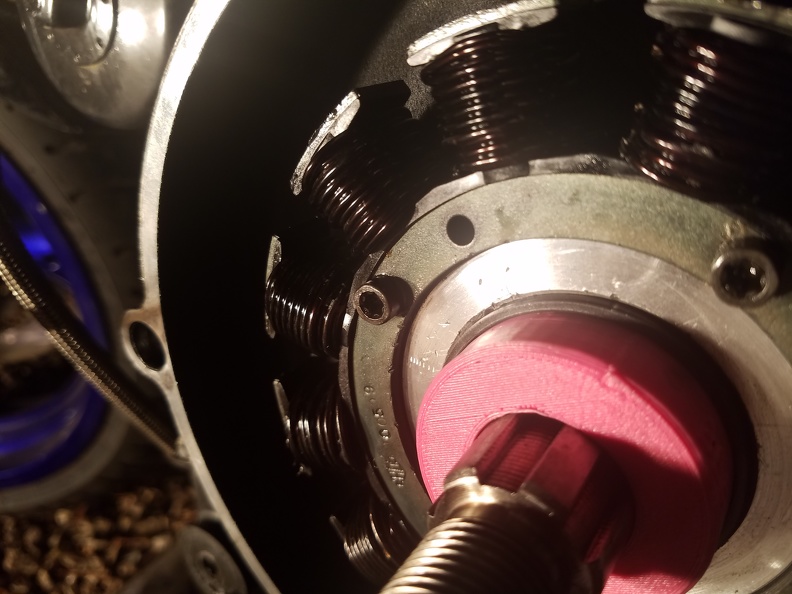 From a different angle; 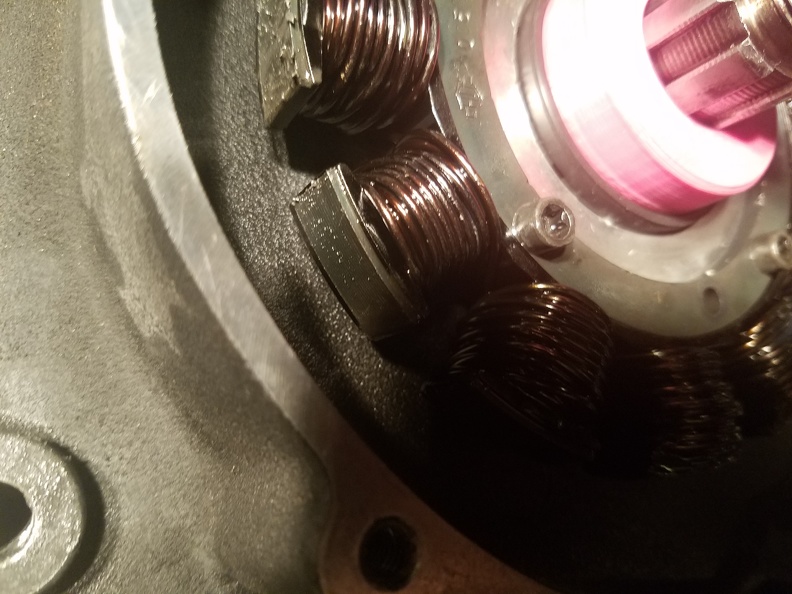 Couple shots of the seated seal; 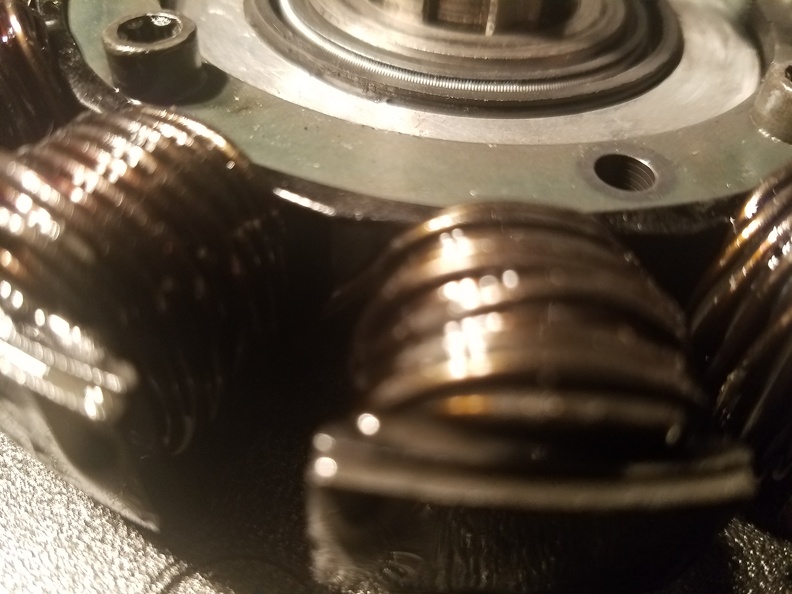 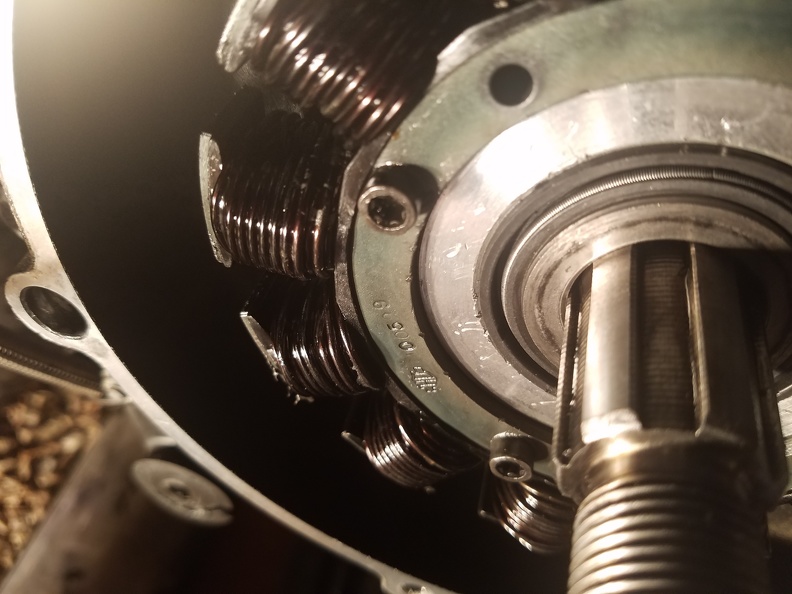 | ||
Reepicheep |
Excellent! Thanks for continuing to post the updates! That seating looks perfect, though it looks like you got a little angry with extraction. Been there, done that, and it's generally harmless. But it bugged me when I did it to my M2. I'd apologize to the new owner, but they have done even worse things to it.  If the part was made from ABS (which I wouldn't expect to be pink, and instead black) you could probably wipe it down with acetone and smooth it. | ||
Airbozo |
Reep: Acetone would work. That is what my friend who made it suggested. He actually puts it in a container and leaves it with the acetone gasses for a short bit and it becomes smooth. Too long and it will turn into a lump. The roughness on the rest of the tool is useful for grabbing onto it to remove it. Here is the link to the part: http://www.thingiverse.com/thing:1784320 We are thinking of making it larger so you don't need a 1" piece of pipe to seat it, just the nut. It will also allow a larger surface area to grab onto to remove it once the seal is seated. EDIT: He already drew up the longer version in case someone wants to test it. Should be on the same page. Thoughts? Comments? (Message edited by airbozo on September 22, 2016) | ||
Airbozo |
I just posted this here and on XLForums and already 7 people have downloaded it... | ||
Reepicheep |
I'll try and find a way to print one. I won't be using it until I get to my crank rebuild this winter though. | ||
Jim2 |
@airbozo I like the idea of the larger one to eliminate the pipe. Just make sure that cranking down on the tool doesn't impart a torque on the seal that causes deformation or damage. My apologies for rushing the model file. I have a engineer that has volunteered to make a steel one on the lathe for me in after work hours. It was a perfect project for a milling tolerance test he needs for getting checked out on the lathe. I may have it by tomorrow. | ||
Airbozo |
Nice project for a test! It might be hard to deform the seal with the revised version of the tool (longer). Unless of course you are really aggressive and you don't have it seated straight before you press it in. It will bottom out before it goes too far. I found that the tolerances vary from printer to printer, so be careful about the lip being too long before using it. Mine came out .003" too short, so I used the pvc couple trick to get it in a tad further. | ||
Jim2 |
I now have the tool for the job  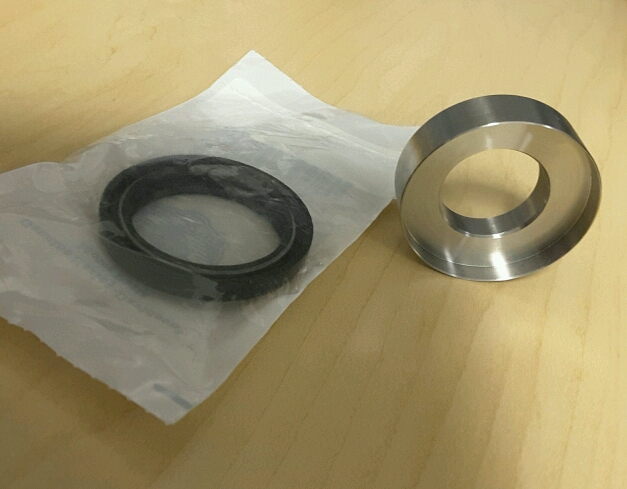 (Message edited by Jim2 on October 03, 2016) | ||
Airbozo |
Shiny! Is that the one your friend made? | ||
Jim2 |
Yes it is. He is a new engineer that works in the group that makes special tools for space walks. He does 3D modeling for tool prototype and mock-up and just did this after hours for self training. We have a lab were allowed to use on our own time provided we take training and get checked out on equipment. He says it was a piece out of the scrap pile, most likely 300 series Stainless Steel. | ||
89rs1200 |
FYI: Airbozo & All I had the short and the long printed. The long worked great on two of my rebuilds. Thank you Airbozo for your contribution!!! | ||
Tpehak |
Has anyone 3D printed fuel pump puller tool? |