| Author | Message | ||
7873jake |
Let me open with full disclosure that someone here has a great engine turned ECM cover similar to mine (but much better looking) posted somewhere here in BW-land but I can't find my old bookmark to the thread and photo. I took his excellent idea and futzed around with it a little. This is my attempt to cite my work, professor. I realized the other day while I was rotating the engine back up (leaky rocker boxes) that I made an ECM cover several years ago after having the ECM replaced and thought I would check to see if the connectors were holding up. While I forgot to photograph it while I had it apart, it is worth noting that the connectors were intact with no wear or pressure contact on those critical parts where the first one failed due to seat contact. I tried the ECM relocation to the slot next to the battery briefly a few years ago but kept worrying that it wasn't securely mounted and protected (purely my neurosis). The Trim-Lok on the edge of the cover plate was left over from some scrap on another project. It protects the harness from chafe as does a second layer of friction tape on the harness. Google Trim-Lok for more info. When I installed the cover, I took the harness loose and gently reshaped the radius of the harness going in to the ECM and then re-wrapped the harness in new friction tape to help hold the new shape. Doing this helped to redirect the cables away from wear points under the seat and soften any sharp bends in the wiring. Notice the OEM spacer block still has a purpose. The seat softens when hot and does make contact with my cover and spacer block but no longer gets anywhere near the ECM and Deutsch connector ports. I drilled holes in it because I was bored and thought that it would keep it from sinking heat unnecessarily. Purely an empirical WAG effort there. I tried to find my dims notes to post some of those but can't find them. All I did was pull tape on my ECM so it can't be that hard. I used 0.125 aluminum (have scrap as that's the thickness of our body skin on our trucks). Use any thickness sufficient to hold the form and stand up to pressure from the seat. Hoping to have the engine rotation wrapped up this weekend so I can ride the bike instead of work on it. 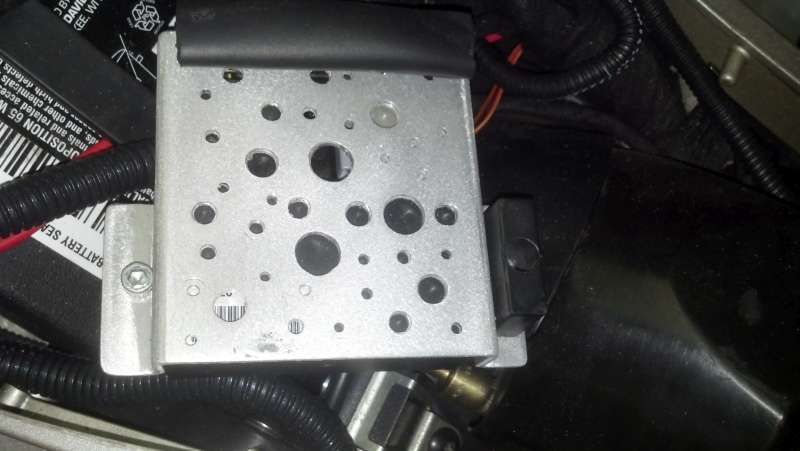   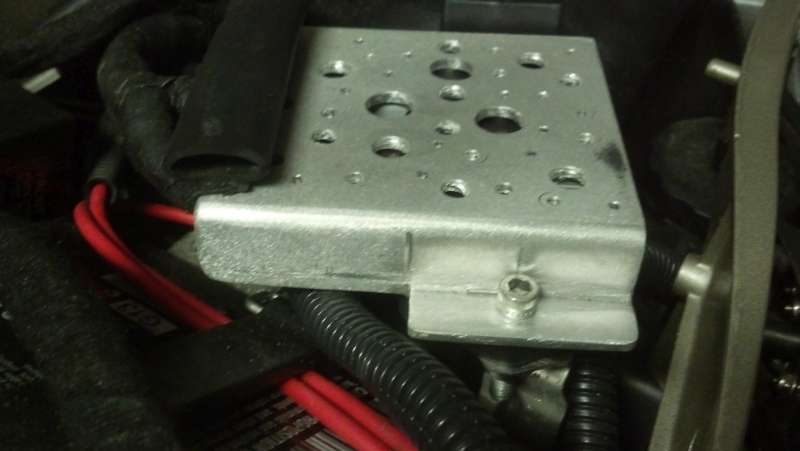  | ||
Ulyful |
Very nice job Jake..... | ||
Motorbike |
That's nice! You could probably sell a ton of them. Good job, looks cool! | ||
7873jake |
Thanks guys. Al, I read your personal profile quote several years ago and wrote it on both my garage wall cork board and several boards at work near some notoriously slack prone guys. I've gotten lots of miles out of that line. Thanks --Jake | ||
Pontlee77 |
Mine is moré basic but i use the place where the BAS was located as a third point support when i recover from my injury and get back the bike and hopefully repaired i'll post a few pics, i do have a spare piece just it was the experimental one until i got the right measures, trial-error-trial. | ||
Kennywiz |
SOLD! How do I order one?  | ||
Kaikoura |
Very Nice work..silly question however..is there a blind nut on the underside of the spacer block..if so how do I get to it with a comfort kit installed..the bolt spins but will not come apart..you know what Im talking about..THX.. | ||
Johnshore |
New and with 20,000 miles of my fat ass pushing the seat against it. 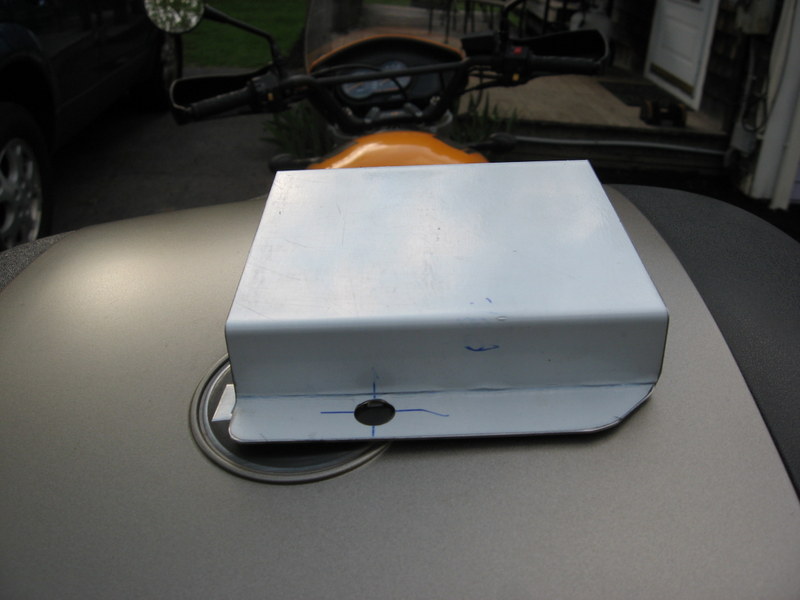 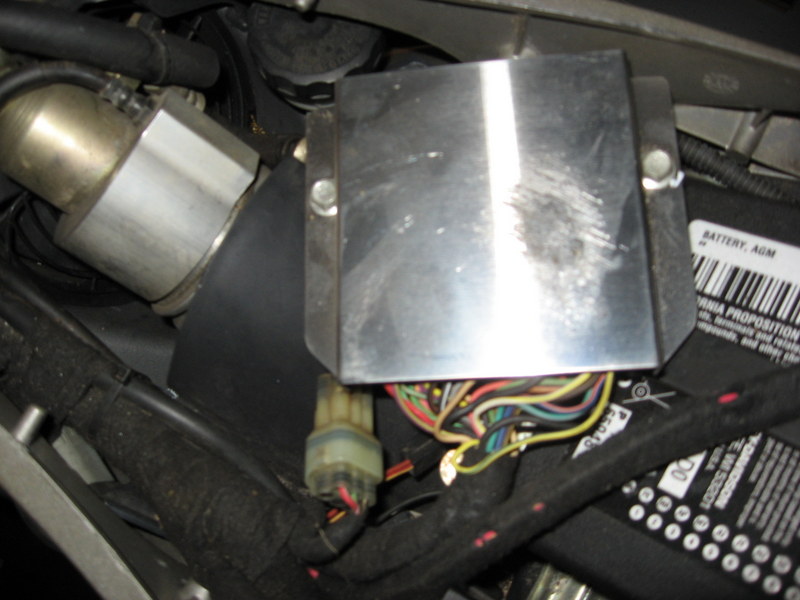 | ||
Terrycoxusa |
How do you post such large photos? Every time I try to post something larger than a thumnail I get the message that the photo is too large, even down to 160k. Off post I know. | ||
7873jake |
I installed a U-nut in the plastic fender/cover under the seat between the OEM mount and that U-nut, it snugs up nicely. I got tired of battling the comfort kit shroud and just drilled the whole affair to make it easier. If I remember to get back in there, I'll try to remember to shoot a pic. Terrycoxusa, I use irfan viewer to resize the pics down to around 50kb. A quick CTRL-R and IIRC selecting 640x480 will make a pic around 50kb and size it to a usable size for the forum. There are other apps out there but I've got years of use out of irfan viewer (free) and old habits die hard. | ||
Bluzm2 |
What Jake said. XAT | ||
Pontlee77 |
I drilleda hole where that nut ose but from the side i used a 3mm piece of aluminium made it in an L shape drilled it and made the screw grooves never comes loose and doesent have problem withe the shock shroux | ||
Ourdee |
Terrycoxusa, Go to Photobucket.com . Open and account. Put your pic there. copy and paste the IMG link and paste it in your post. Create a thread here named "Image Experiment". Then play in that thread till you figure it out.  | ||
Hughlysses |
I use irfan viewer to resize the pics down to around 50kb +1 for Irfanview. When you save a photo in JPG format, it has a slider that lets you select the file size. IIRC, Badweb lets you upload up to ~100kb photos. If you select 95kb in Irfanview, it'll work almost every time. Photobucket is good too if you want to link to your photos. |