| Author |
Message |
    
Imaposer2
| | Posted on Wednesday, May 16, 2012 - 10:26 am: | 


|
Well yeah, I've heard about it for years, but thanks for the reminder. Even though this is my first HD experience I've always been a believer in loctite and always have it in my tool chest.  |
    
Brother_in_buells
| | Posted on Thursday, May 17, 2012 - 04:44 am: | 


|
maybe you can indentify what you have by this
http://www.bankeperformance.com/buell/shifters.htm l
http://www.cas4.com/buell/Transmission/Buell-Banke -Rear-Shiftsets-001.htm
And it is possible that not all the shift parts belong together or that they are not intended for your S1
(for the rear brake setup you need also a different brake line) |
    
Harold
| | Posted on Thursday, May 17, 2012 - 06:38 am: | 


|
Another option that people used to do to your stock shifter setup is to replace the plastic bushings with bronze. That helps a lot, and you can get the bushings at Lowes or somewhere and turn them to fit tight.
Another trick is to adjust the linkage to have the piece coming off the transmission shaft at 90 degrees, i.e. either 12 or 6 o'clock. Leverage is better that way, so it takes less effort to shift. |
    
Imaposer2
| | Posted on Monday, May 21, 2012 - 02:18 pm: | 


|
Ok, so I didn't like the pegs due to them being so slick and offering no traction for my boots. I looked around a bit in an effort to find something that I liked for a reasonable price. In the meantime I decided to add a little skateboard tape to the tops of the pegs before my ride this past Sat.
Worked GREAT!
Of course after a while, and the tape not being all that durable, it was apparent that this was just a temporary "quick fix".
So, later in the day, after I got home, I started thinking.... hmmmm....
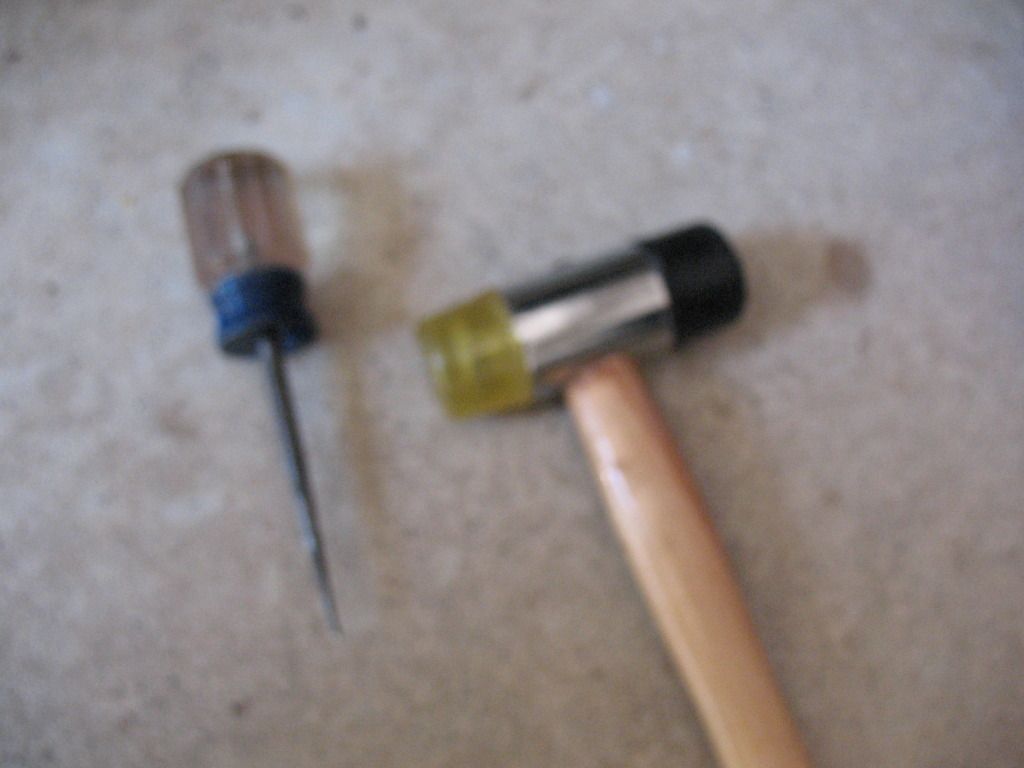
After digging around in my tool chest and considering several options I hit upon an idea....
A few minutes later, using these and some tape guidelines....
(Excuse the blurry pic)

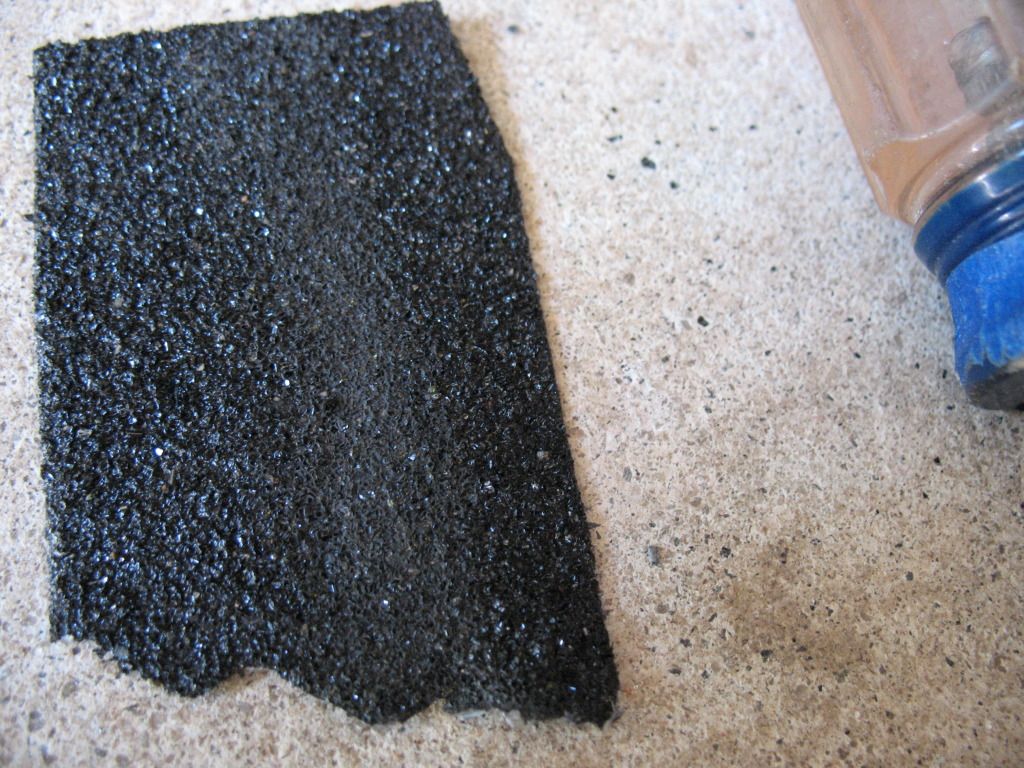
I had a more durable approximation of this texture:
(Used skateboard tape I just peeled off)

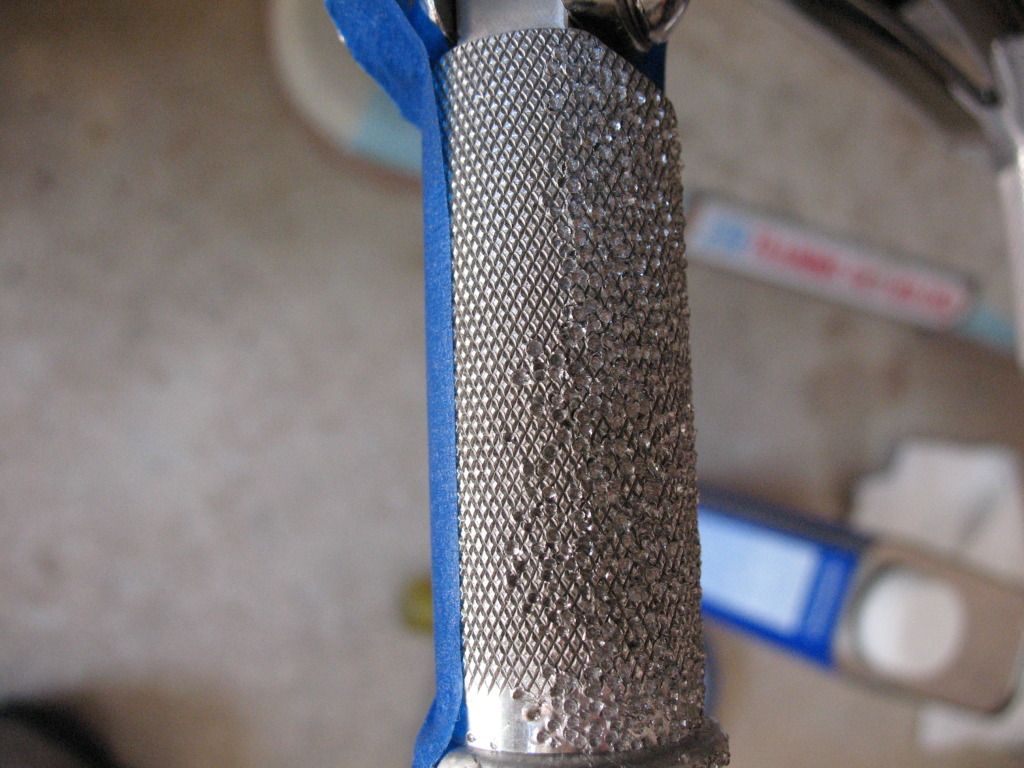
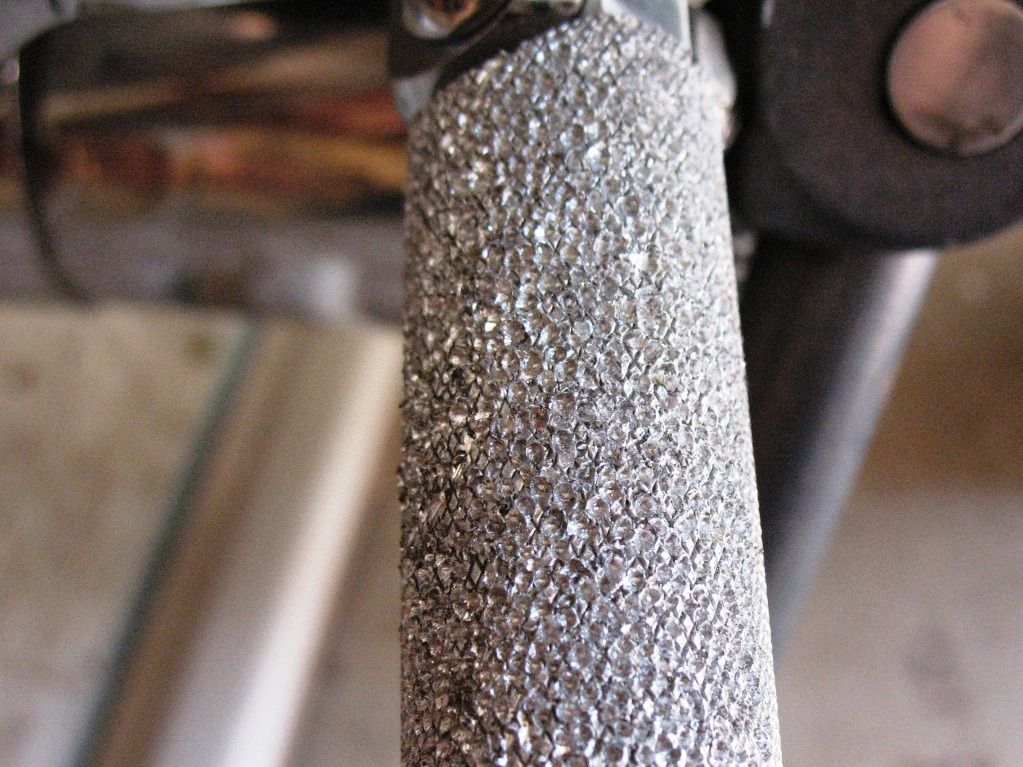
I nicely hand stippled surface for the tops of the pegs...
Right side in progress:

Left side complete:

No more slippery pegs and feeling MUCH more sure footed!
Now my feet stay where I put them.
 |
    
Blks1l
| | Posted on Monday, May 21, 2012 - 03:30 pm: | 


|
That's a lot of center punching! |
    
Imaposer2
| | Posted on Monday, May 21, 2012 - 03:57 pm: | 


|
Yeah, sorta. 
But really, the only area of any precision is around the borders of the stippled area. The bulk of it is done with a constant rhythmic motion of the mallet, much like the traditional hand tapping method of tattooing used in the south pacific. The aluminum is soft, the awl is sharp, and the mallet is light, so once you have the tapping going you just move the tip of the awl around semi-randomly until the area is stippled. In fact, if you look closely at the last pic you can see lots of the original "knurling" in areas I missed, but overall the effect looks ok to me, works great to get rid of the slipping of my feet, and probably took about 15-20 minutes per peg, max. Oh, and did I mention it was free?
The angle the awl is held and the strength of the mallet blows can be varied to alter the texture somewhat.
Great way to relieve stress too.  |
    
Brother_in_buells
| | Posted on Monday, May 21, 2012 - 06:26 pm: | 


|

hope it was worth the hassle!? |
    
Imaposer2
| | Posted on Monday, May 21, 2012 - 07:27 pm: | 


|
Hey Brother,
Well, I don't guess that I would call making something useless into something useful, a "hassle". Especially if it has to do with my hobby. But, if you do, then hell yeah it was worth it! 
The first time I rode the bike I knew the pegs had to go. They were as slick as the proverbial owl shat on a wet stump, and were therefore pretty useless as pegs on a motorcycle. I honestly never experienced anything quite like it before. I mean if they had been literally coated in grease they might have been more slippery, maybe. The whole ride I was constantly forced to reposition them, or pay attention to using my leg muscles to keep them in place on the pegs. I like to feel what my motorcycle is doing and the pegs are an important interface that allows me to feel connected to my bike. But, if my feet won't even stay put? Nah, not for me.
Granted, I didn't spend a huge amount of time looking for replacements, but I did look and didn't see anything that I liked enough to spend the price asked for them. But, I had to do something before the next ride and didn't want to keep wasting time. I can assure you that my "fix" took less time than it took me to unsuccessfully find replacements, and didn't cost me a cent.
If I run across some new pegs that I like, I may still buy them, but until I do, I'm very happy with these now. And pretty much anything that increases my enjoyment of my bikes is pretty much worth "the hassle" to me.  |
    
Brother_in_buells
| | Posted on Tuesday, May 22, 2012 - 02:20 pm: | 


|
Randy it was not meant as an insult!
I was thinking out loud about your solution, |
    
Imaposer2
| | Posted on Tuesday, May 22, 2012 - 04:44 pm: | 


|
No sweat, Bro! 
Just 'splainin' why I did what I did, and why it was worth "the hassle". 
So, yeah, I tend to be a cheap ass and try to find a "pennytech" solution to things that some people "waste" big money on.
If you're familiar with advrider, then you might say that while I ride a GS, I tend to do so with the mindset of a KLR rider.... 
Besides, I did most of the stippling after mrsposer pissed me off... hence the comment above about it being good for stress relief....  |
    
Eshardball
| | Posted on Tuesday, May 22, 2012 - 05:37 pm: | 


|
I've seen that done on the front of 1911 frames. Gives quit a good grip so I would imagine that the result on pegs would be the same. Nice to take a useless part and make it useful with no investment other than your time |
    
Imaposer2
| | Posted on Tuesday, May 22, 2012 - 05:52 pm: | 


|
Yep, it's used on the front strap of pistols and sometimes used on custom wood grips for various other firearms as well. When used on wood, not only does it offer a great grip, it also lends a different and interesting look.
The poor man's version of stippling is to apply skateboard tape to firearms grips. There are even die-cut pieces made to suit certain pistols.
Seeing as how guns are another of my interests and hobbies, I "borrowed" the idea from that arena with the idea that I wanted a permanent "skateboard tape texture" on the contact surfaces of the pegs.
And given the choice of tinkering on my new toy in the garage or doing some other more mundane task... well... at least I don't have slippery pegs anymore! 
And besides, none of my other parts had arrived yet. 
 |
|