| Author |
Message |
    
Jolly
| | Posted on Monday, April 16, 2012 - 08:09 pm: | 


|
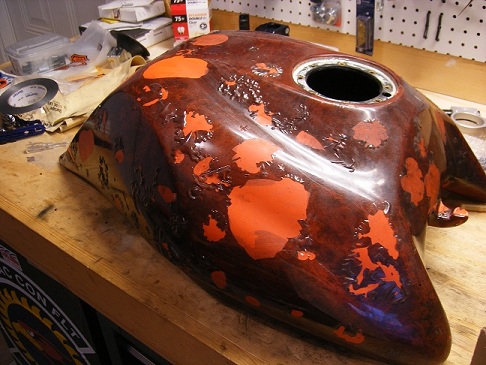
Donor tank...isnt this just the uglies thing youve ever seen. silver, over orange...or maybe its the other way around, then painted marbled rootbeer.....I think it bubbled cause it knew it was ugly..
|
    
Jolly
| | Posted on Monday, April 16, 2012 - 08:12 pm: | 


|
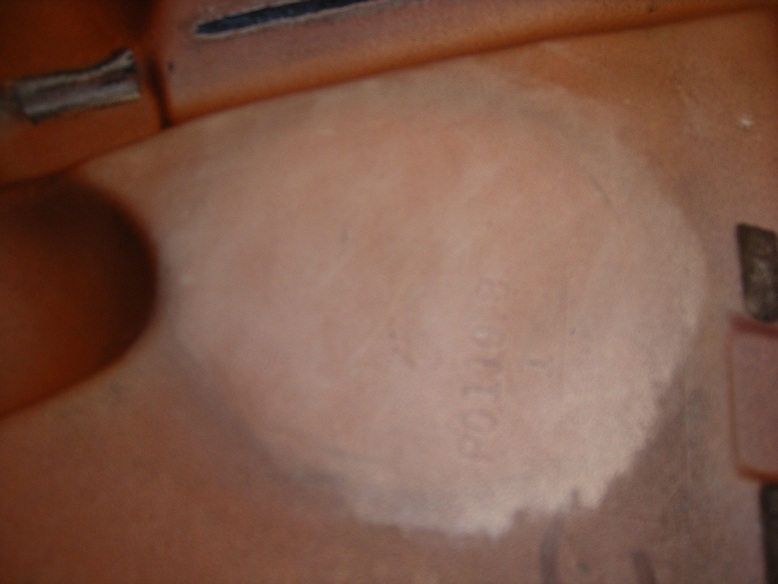
here is a shot of the belly of the tank where I painted it over the rough part and right over the paint. no peeling..
|
    
Jolly
| | Posted on Monday, April 16, 2012 - 08:14 pm: | 


|
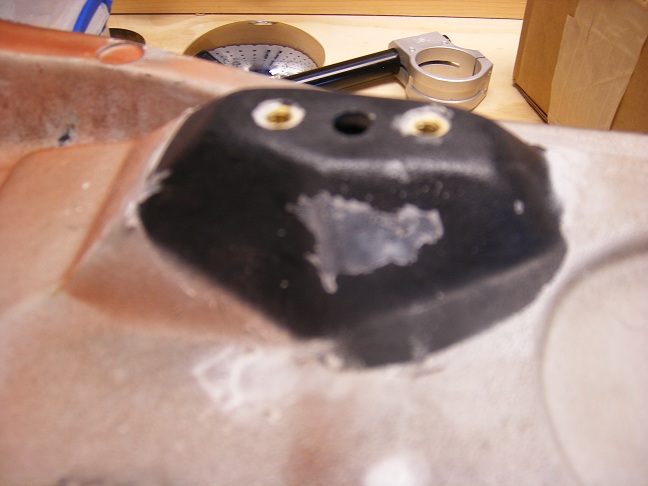
painted over this area then taped over it to seal the hole, when I peeled the tape off it peeled some of the sealer with it, I had to peel the rest off by hand, it took a "little" work. not sure if it wasnt clean or if it was too smooth or if the tape adhesive just peeled it right off.
|
    
Jolly
| | Posted on Monday, April 16, 2012 - 08:17 pm: | 


|
the tank was still wet inside from cleaning it with fuel, used the air nozzle to help dry it out but going to let it sit over night to really dry out. looked inside with a flashlight while I was at it.... anyone know of a good chemical to clean the inside with? just want the best surface for this to try and bond with. |
    
Littlebuggles
| | Posted on Monday, April 16, 2012 - 11:40 pm: | 


|
Paint thinner? It's been recommended use it as a prep to remove any oils from your hands between coats of paint/primer prior to tack cloth for regular paint.
It should remove any petroleum residue and dry fairly quickly. |
    
Jolly
| | Posted on Friday, April 20, 2012 - 09:28 pm: | 


|
busy week at work so just getting back to this, I think Im going to try isopropyl alcohol to clean the inside and remove any petroleum residue and see what that does, then maybe get a first coat of sealer in this weekend. |
    
Dannybuell
| | Posted on Friday, April 20, 2012 - 10:36 pm: | 


|
iso alcohol at 60% or you may soften the plastic. |
    
Jolly
| | Posted on Wednesday, April 25, 2012 - 08:39 pm: | 


|
cleaned the tank with iso alcohol at 70% (didnt see the previous note till I had already finished for the night) to clean the inside of the tank, let it dry since the 20th. integrity of plastic didnt appear to be softened so moved on to the next step. I taped over the fuel hole in the bottom to seal it, then poured about half of the can in, (small can) taped the top closed and rolled it around to thoroughly coat the inside. poured as much of it out as I could which really wasnt much, I didnt see any thick pooling inside the tank which is one of the concerns I had. I'll let it sit for at least 48 hours per the instructions before I mess with it again. one more coat, let it sit, then Ill add fuel and let it sit for a few weeks to see if it leaks or if the lining peels from the tank. Ill check it by straining it. |
    
Jolly
| | Posted on Wednesday, May 02, 2012 - 09:19 pm: | 


|
tank has cured for about a week now so pulled it out of the corner to inspect it and get ready for the second coat of sealer. I found that a lot of the sealer and collected in the bottom of the tank, running down the sides and from the inside top while it was first setting up, needed to do a better job of draining it, maybe I rolled the tank around for too long and let it get a little thick before I tried to drain it. Regardless, I'm moving on the second coat this weekend. |
    
Brother_in_buells
| | Posted on Friday, May 18, 2012 - 11:57 am: | 


|
How are the things going? |
    
Jolly
| | Posted on Sunday, May 20, 2012 - 10:23 am: | 


|
Sorry for the slow updates lately, things have been incredibly busy and I forgot where I left my "fun". work pays for these things but the last month has been incredibly busy! |
    
Jolly
| | Posted on Sunday, May 20, 2012 - 10:33 am: | 


|
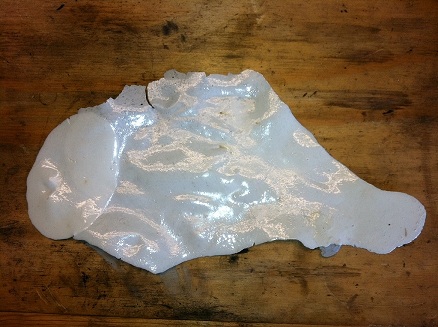
while I was doing the first coat some of it leaked out the fuel petcock hole and drained onto the floor. I decided to use a putty knife and scrape it, expecting it to crumble as it was removed from the garage floor. it came up as a single piece, pulled the epoxy coating right of the garage floor with it. it was strong and very pliable, this gave me hope!
|
    
Jolly
| | Posted on Sunday, May 20, 2012 - 10:37 am: | 


|
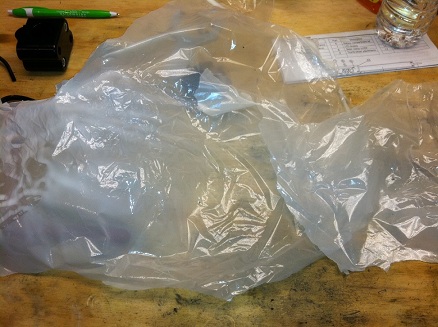
I got the second coat in and let it sit for about a week. when I looked all around the tank with a mirror and a flashlight it really looked good. fully coated, no bare spots. I found a little edge right around the gas cap fill opening and pulled on it to see if it was strongly attached. the entire liner peeled away! in sheets! the liner is a good product, cured very well, it just did not adhere to the tank. I think if the tank was etched some how, it would work it was just to smooth and too slick.
|
    
Jolly
| | Posted on Sunday, May 20, 2012 - 10:41 am: | 


|
first attempt at lining a tank and of course its a Buell tank....I cleaned the tank with ISO alcohol, followed the directions, let cure three times the recommended time between each coat.....failed attempt though. Is anyone having any luck with lining these things? |
    
Essmjay
| | Posted on Sunday, May 20, 2012 - 11:59 am: | 


|
I think those tank liners really are meant for metal tanks where you can etch the metal for adhesion. Getting something to stick to a plastic tank would take a product designed for that type of plastic. It's like using abs glue to glue up pvc, or vice-versa, usually won't work. The liner would need to be able to soften/melt the tank plastic in order to bond, etching won't make any difference.
Just my laymen opinion. |
    
Jolly
| | Posted on Sunday, May 20, 2012 - 02:35 pm: | 


|
I had the donor tank, and decided to take the time to try it for myself. I agree, just etching the tank isnt going to work, it has to bond with material. I have a black manta tank on my S1 now, it has two tiny pin sized bubbles after a year of use, not too bad considering some of the other re-paint jobs out there. I may be the only person that sees them right now, though the real question is, is it stable or is this just the beginning and how soon till it gets bad? Anyone have a painter they have had great success with? I would ship a tank to someone that knows what they are working with, rather than trial and error with someone else. I may paint this ugly tank, though as bad as it is I think it would be a real challenge.... |
    
Steveford
| | Posted on Sunday, May 20, 2012 - 06:30 pm: | 


|
Letting the paint set for a bit is not the answer. I kept my orange manta tank in storage after it was painted for a few years.
A few years of use and it's bubbled like crazy. |
    
Xl1200r
| | Posted on Monday, May 21, 2012 - 10:29 am: | 


|
Did it seem brittle, like it would chip away with use? How hard was it to peel out? |
    
4traxx
| | Posted on Monday, May 21, 2012 - 09:14 pm: | 


|
I left my 2000 M2 in the sun for a couple hours and the paint basically exploded on the top from front to back . I was less than pleased . Looking for a tank to paint now . |
    
Jolly
| | Posted on Tuesday, May 29, 2012 - 09:34 pm: | 


|
when it peeled out of the tank it was not brittle at all, it just did not adhere to the tank. you could fold it, ball it up whatever and it would not crack, so I really think its a quality product...it just didnt stick to the tank..... |
    
Darren
| | Posted on Friday, June 01, 2012 - 06:36 am: | 


|
Would this Work?
First use fiberglass epoxy resin to coat the inside of the tank to give a bonding surface.
And then apply your tank sealer.
Just a thought
Darren |
    
Psykick_machanik
| | Posted on Friday, June 08, 2012 - 03:42 pm: | 


|
my two cents.
In my opinion lining the tank doesnt need to be done, and if any of the lining comes off you run the risk of messing up your fuel sys.
The plastic isnt porous enough to let fuel vapor threw. in my thinking if it was, a bike that was left sitting to long would end up with an empty gas tank.
What i think is happening is that the right paint and additives were not used. A flex additive is needed for use on plastic parts. Also need the right (expensive) paint.
You might want to take a trip down to an auto body shop with your tank and ask them what they use. |
    
Dannybuell
| | Posted on Friday, June 08, 2012 - 05:21 pm: | 


|
When my s1 was under warranty I went through two goodwill tanks, three total. My fourth did the same thing. They gave up and so did I. old school hot rod is flat black.
I gave up, the sad fact of life is these tanks are plastic, they let the gas vapors out through their micro porous surface. |
    
Jolly
| | Posted on Saturday, June 09, 2012 - 12:24 pm: | 


|
the lining clearly didnt work...so my options are plenty of spare gas tanks and keep painting them, or, $2K for an aluminum one... |
    
Glide
| | Posted on Thursday, June 14, 2012 - 04:34 pm: | 


|
I went a different direction with great results. When I bought my S3 the tank was covered with huge bubbles and when they were broken open they were filled with gas vapors. I removed all of the old paint with a single sided razor blade and sanded the tank with 600 wet paper. I painted straight over this with John Deere blitz black paint. I did not use any hardener in the paint only thinned it 25% with enamal reduced. The paint is 8 years old and still holding up well with out any bubbles. Once a tank bubbles it seems to come back. This paint is inexpensive and is also available in a spray bomb. Unfortunately is only available in a satin black almost a flat.
Has anyone tried a wrap on these tanks? |