| Author | Message | ||
Sloppy |
Thank you Spidey for the information - appreciate it! | ||
Mbsween |
Al, Any chance you can ping me when you get them? I'd like to order a couple. Thanks Matt | ||
Ebutch |
Went to dlr today to order newest iso Kit $25 + Tax.Also That S2 conversion rack for S3 bags#L1025.8 is $402 Bucks and is aval.I gess I,ll come up with something else I,m not a millionaire.  | ||
Ebutch |
 Ya Frank I didn,t like it too but kinda funny seing it!Or Things Can Get Ruff Around Here!!!! Ya Frank I didn,t like it too but kinda funny seing it!Or Things Can Get Ruff Around Here!!!! (Message edited by ebutch on March 25, 2010) (Message edited by ebutch on March 28, 2010) | ||
Spiderman |
Going to replace the front and rears right now. Will post pics in a bit... | ||
F_skinner |
My came in but I have not traveled to my nearest dealer to get them yet (110 miles North). I had to order a few more parts so will get them when they all come in. I look forward to pictures and commentary Spidey. | ||
Ebutch |
Me Too Frank.  | ||
Spiderman |
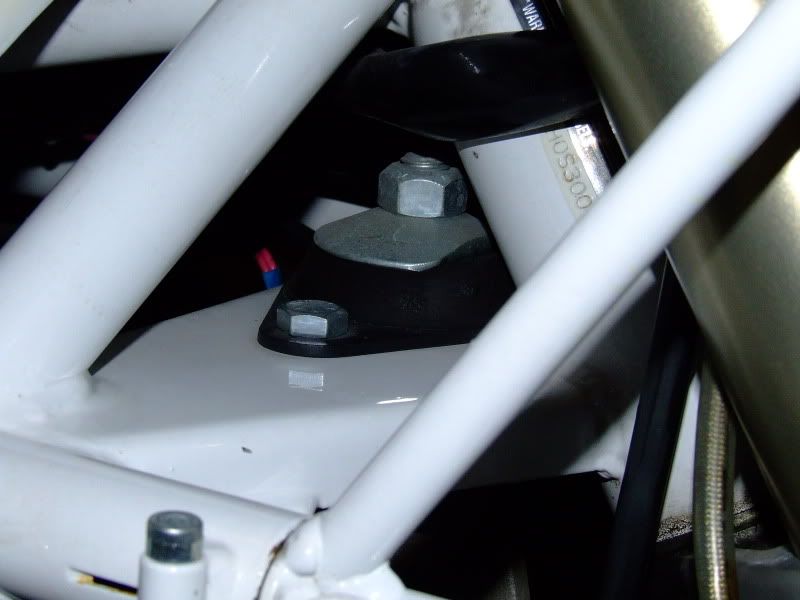
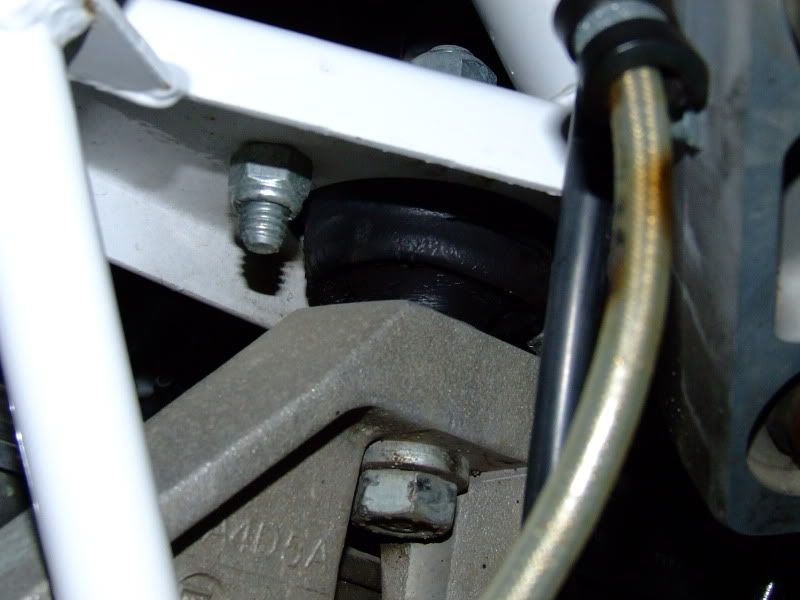
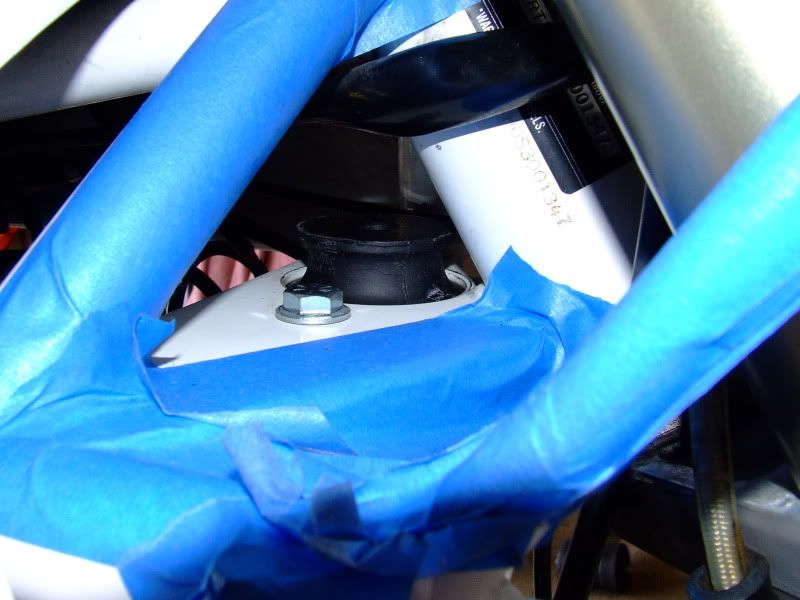
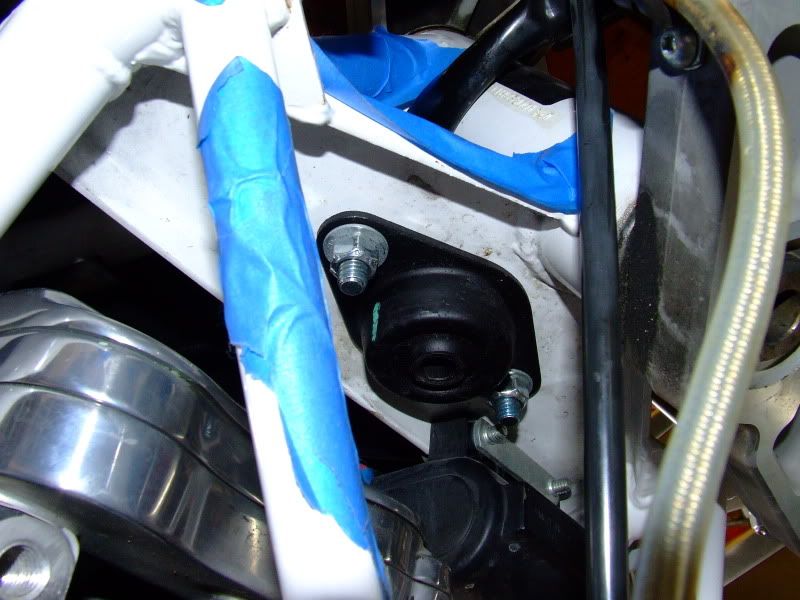
Mmmmm FUN! Iso took about 2 hours but found an issue with the head light which I will post in the S2 forum... Here is the old Iso   The new Iso mounts under the frame for Older bike with a un-notched frame, on top for a notched frame and gets rod of the D washer   It is a bit of a pain to install without a second set of hands but can be done... Rides like a champ and smooooth like butta! | ||
F_skinner |
Interesting, looks like you removed the front motor mount bracket. I assume that was not required. I cannot really tell in the pic but does the bolt still run through the top of the isolator to the motor mount like stock? Looks great and thanks for your write up and pictures. (Message edited by f_skinner on March 31, 2010) | ||
Spiderman |
Yes the bolt runs through just like before, forgot to take the pic of the final doneage... It was suggested to me that removing the mount would make it easier to install... | ||
Ebutch |
Thank-you Kyale and Spidie!!!!Put my L1501.8 on my S2T today.Torqued iso,mount,stripped out right bolt into head.Tapped out to 7/16x14,grade 9s both sides.Ride is Nice.Can see out of rear-view mirrors 95% of the time.next is how long they last.I,m over 126,000 miles now,engine never apart and runs strong and Quiet( always put out great oil pressure 23 lbs1400 rpms!!!!)  | ||
Ebutch |
My S3 is next,but not until it needs it!Butch  | ||
Nallac |
Hey Spidy did you replace the engine mount,mount bolts as per recomendation?. you reckon it'd be easy enough to do with out removing it?. Thanks for the PM, i've got mine on order. | ||
Maru |
Hi Nallac. I just installed a 90 ci engine in my S1 two weeks ago, so it is still fresh in my mind. I installed the front mount on the head while the engine was on the bench, but ended up removing the mount in order the get it bolted to the front iso. It is really hard to get that long bolt on the iso through everything when the front mount is on the head and everything is fighting you. I ended up removing the mount and bolting it to the iso and then bolted the iso to the head. It is much easier that way. Steve | ||
Maru |
I need to order the new front iso for my S2T. It started showing symptoms over the winter. Does anyone know if the procedure is different for torquing the front mount to the head on an S2? It must be different, since the S2 has a smaller bolt on the left side. | ||
Nallac |
Thanks Steve, a 90"r, wow, whats that like... | ||
Maru |
Don't know yet. The engine was built at a buddies place in Maine and the two of us built the bike around it a few weeks ago. i left on Sunday night with a few details still remaining. Then i hurt my back at work and was lying on my back last week, but John called me with the thing running in the background. I hope to go pick it up either next Sunday or the following weekend. | ||
Brinnutz |
bump. Because this question will surface in a week again. Haha jk | ||
Al_lighton |
HELP NEEDED from someone who got the new kit and received it complete.... We have a bunch of the new L1501.8 kits in stock. I haven't put them up on the website yet, because EVERY kit we received is missing the snubber washer (item 8) from the kit. The snubber washer doesn't look to be anything special, just a big fender washer, really. But, if all of ours are missing the washer, then I'd bet most of the kits assembled are as well. I've alerted my stocking dealer, and they're working it, but as anyone that has ever had to do this can attest, getting a wrongly packaged part fixed by HD can sometimes be a challenge. They seem to be good at making the same mistake over and over when a part is mis-packaged. Bottom line, if anyone has one of these kits, and it HAS the #8 snubber washer in it, can you please give me the dimensions of that washer (i.e., the ID, OD, and thickness). I may just go get a bunch of washers to make these kits whole myself so I can start selling these. There are bunch of folks that want them. Thanks, Al | ||
Spiderman |
My kit was missing the washer as well! I can't give you the dims as it is on my bike  | ||
46champ |
Al my kit was missing the washer too. Talked to the dealer I bought it from they ordered the snubber by the P/N in the instructions I received it 4 days later. At no cost to me. | ||
Jramsey |
I used a hard washer. 1.375 od x .187 thick. | ||
Doug_s |
hey al, is this related to the breaking front motor mount stud folks talk about in this thread: http://www.badweatherbikers.com/buell/messages/476 23/561319.html?1272988991 do you have an upgraded part for this too? thanks, doug s. | ||
F_skinner |
Al, I got 4 of them from HCHD and do not have the washer in question in any of the four packages. Sorry, I need the same info. Frank | ||
Brinnutz |
What the heck is the updated rear iso number nowadays? I can't find it when I search. | ||
Jramsey |
Left #L0504.9 Right#L0505.9 I bought 2 sets from American Sport Bike last Spring, #A17021 is for the pair. | ||
Bluzm2 |
I'll check the two I bought from LSHD a couple of weeks ago. I'll get back to ya tomorrow. I'm going to bed.. | ||
5liter |
Would this bee the part # for the snubber??? L0503.T Well, according to a Japanese web site, it is a Buell snubber number. No pic to go with the description. (Message edited by 5liter on May 05, 2010) | ||
Mmmi_grad |
Where is the tech pub on the new part? | ||
Spiderman |
Don't you work at a dealer? Look up the kit number on H-D net and you can get all the info in PDF form that comes with the kit... |