| Author | Message | ||
Pkforbes87 |
More parts came in today. Some are for "product improvements" as buellistic so eloquently puts it, and some are just semi-rare goodies! 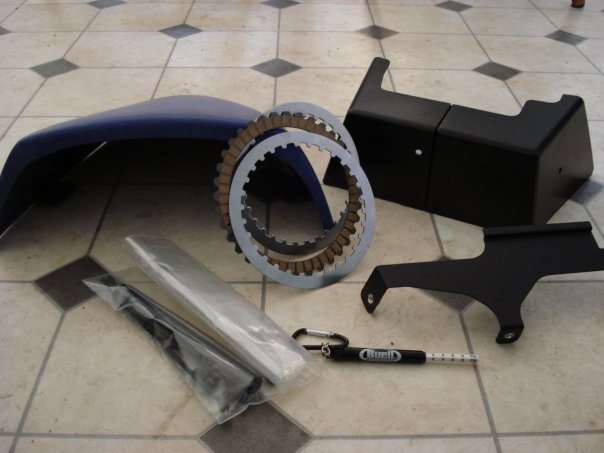 Yes, I know I need to mop the floor. | ||
Oldog |
Whats that behind the clutch plates? Whats in the bag? are you doing the oil pump gear? I have the battery cover I wish I had gotten some heavy wire and connected a jump / charge socket to the battery | ||
Pkforbes87 |
the thing behind the clutch plates is a passenger seat cover. The bag contains all the small stuff for installing the battery cover (protective tubing for the cables, zip ties, washers, screws) Yep, the OPDG will be updated. I didn't trust my lack of knowledge and tools to go through the bottom end so I took it to Okie City Customs in OKC. They've gone through it replacing all seals, gaskets, snap rings, etc. and said that everything looks good other than the pile of shrapnel sitting in the bottom  Anyways when they put the bottom end back together the OPDG will be installed as well as replacing the spring plate with steel and friction plates that I dropped off today. The cases are being polished before they reassemble everything. Anyways when they put the bottom end back together the OPDG will be installed as well as replacing the spring plate with steel and friction plates that I dropped off today. The cases are being polished before they reassemble everything. I'll have the bottom end back before the guy polishing my swingarm and mounting block gets done though. I think I'll use Okie City's polishing guy next time.. Going to drop the seat and battery covers off at the paint shop tomorrow to get the same molten orange + violet pearl treatment the rest of the plastics have. | ||
Midnight_rider |
lookin good where did you get battery cover? | ||
Pkforbes87 |
"I'll have the bottom end back before the guy polishing my swingarm and mounting block gets done" I was wrong.. 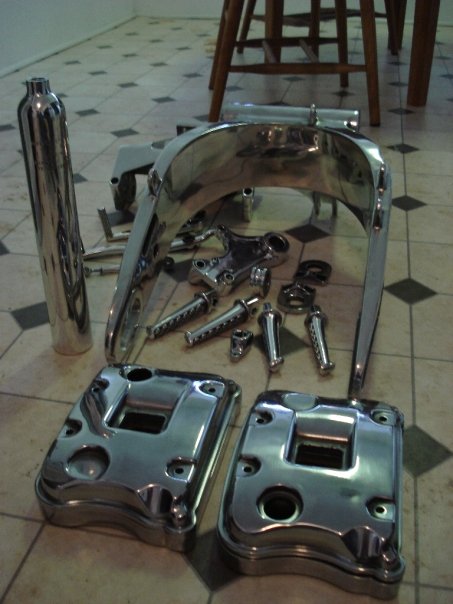 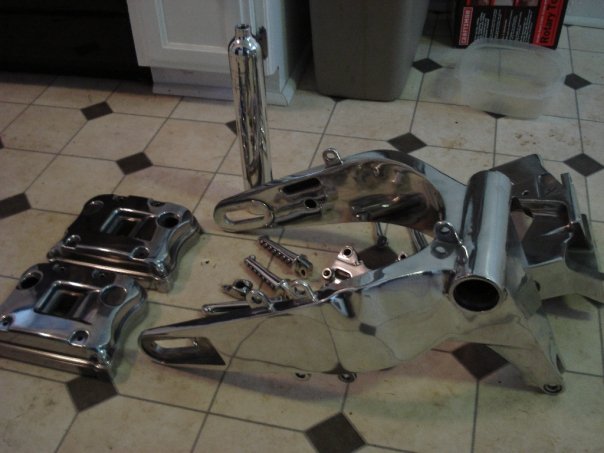 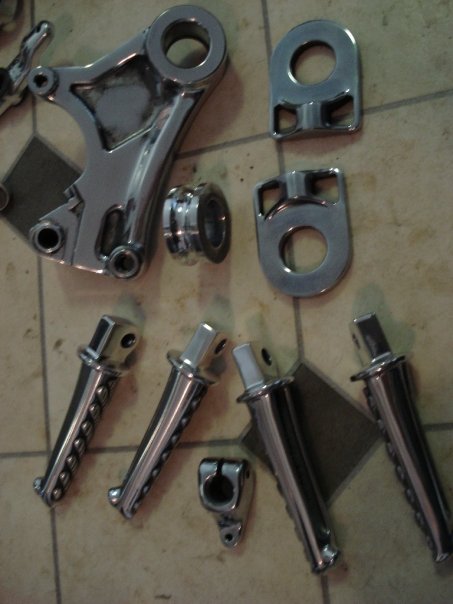 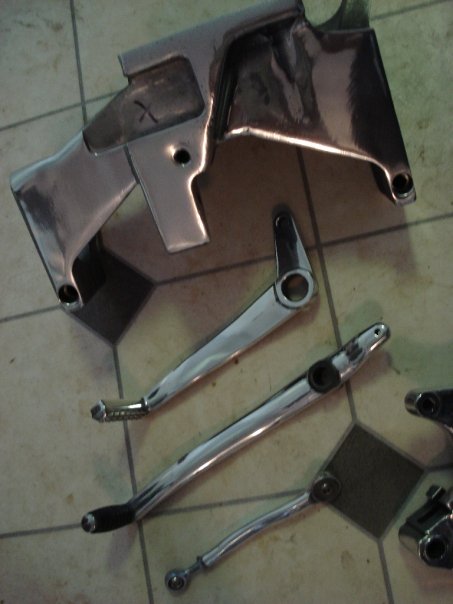 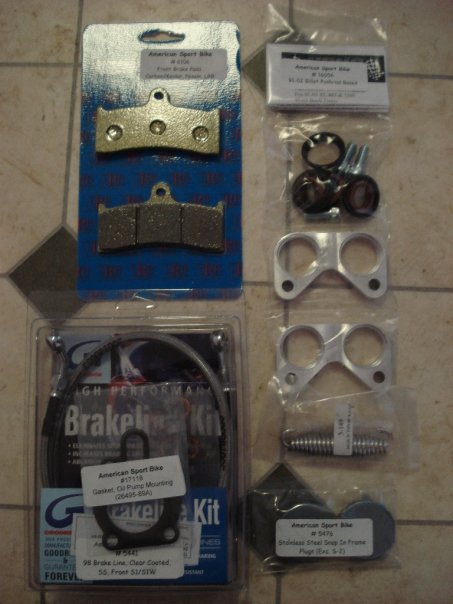 The battery cover came from Beartooth HD. Thanks again Nate! And thanks to Al & Joanne for another AMAZING customer service experience, even though I posted a last minute revision to my order! | ||
Limitedx1 |
where did the seat cowl come from? | ||
Pkforbes87 |
2.5 hours later.. 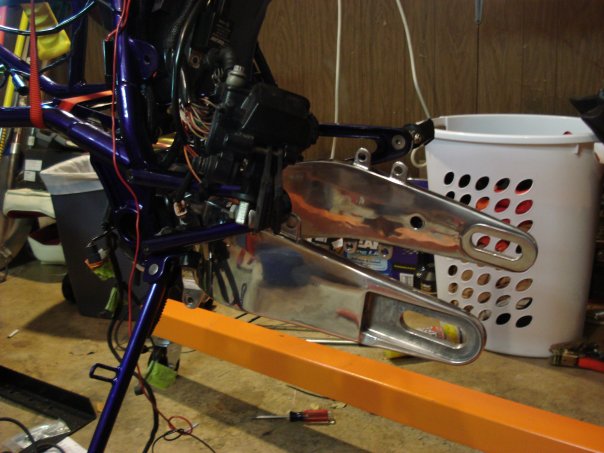 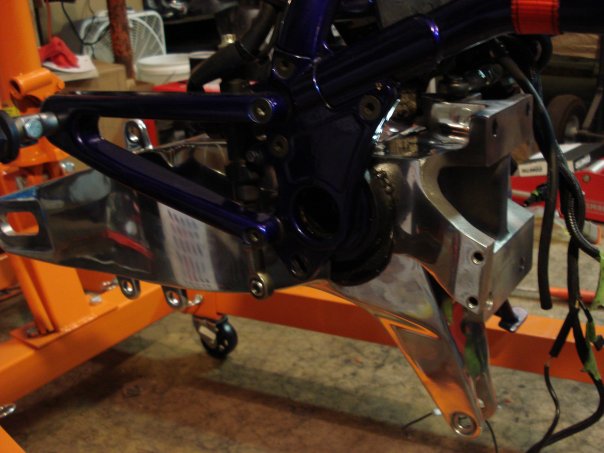 I either bought the cowl off ebay or from someone on badweb.. I'll have to look through my old receipts to be sure. I bought it soon after I got the 2000 X1, almost 2 years ago. Just never used it because it was only primered. I can't tell whether it's a Buell part or some type of aftermarket - there are no markings on it. (Message edited by pkforbes87 on February 19, 2009) | ||
Guell |
How much did the polishing cost ya pk? If you dont mind me asking, i have very little will power to polish the swingarm. | ||
Pkforbes87 |
all the polished parts pictured cost $675. I got my subframe polished by the same place a few months ago for $125. | ||
Thunderhead |
that will be one bad a$$ bike! | ||
Limitedx1 |
sorry if i missed something in the beginning of the thread, but are you putting a stock motor back in this bike? are you gonna poke it out a lil? | ||
Pkforbes87 |
Bottom end will be stock other than a few small product improvements. Top end is a 1250 kit from NRHS. Stock x1 cams and m2 heads. | ||
F_skinner |
Phillip, looking great! That is going to be a great looking bike when you are done with it. | ||
Pkforbes87 |
I looked at the possible ways to install the kickstand spring last night. Any tips from experience on how to install it without scratching the finish on the chrome? So far all I've come up with is I could use a hook shaped pick to pull the spring. I'm having visions of springs launching all over the garage a few times before I get it on there  | ||
Oldog |
Pk use a screw driver, hook the one end on the frame, stretch the spring with the driver over the peg on the stand leg. The driver is a lever to stretch the spring on and slide it down, you will likely have to lay on the floor and work from the other side. wear safety glasses while messing with it | ||
Gowindward |
Phillip, Everything is looking great! | ||
Brinnutz |
Don't forget the swingarm plugs Phil!! | ||
Lovedabueller |
your going to need sunglasses to look at this thing | ||
Sportyeric |
Kick stand trick on the Sportster is to remove the kickstand, put on the spring, then reinstall the kickstand. You can get the pin started in the top (or bottom), then use the leverage of the kickstand to stretch the spring. | ||
Pkforbes87 |
Wilson, I figured I'd give the swingarm an "xb" product improvement and fill it with oil before I put the plugs back in  Thanks guys for the compliments, and tips. I did consider taking the kickstand off to replace the spring, but it looked like it would be a bigger pita to reinstall it with the spring intact. I'll try the screwdriver lever method first. WITH safety glasses of course. | ||
Pkforbes87 |
I picked up the ceramic coated exhaust today. 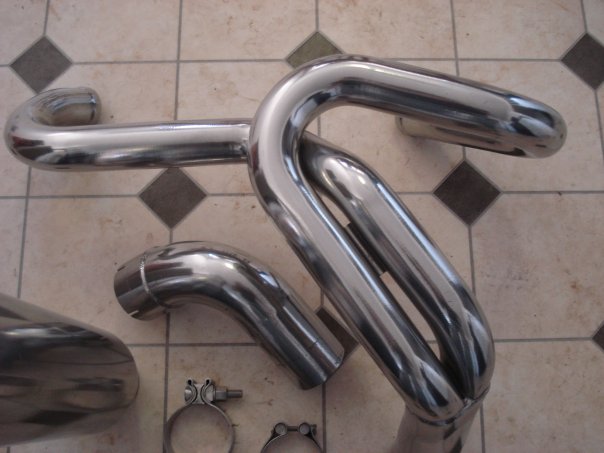 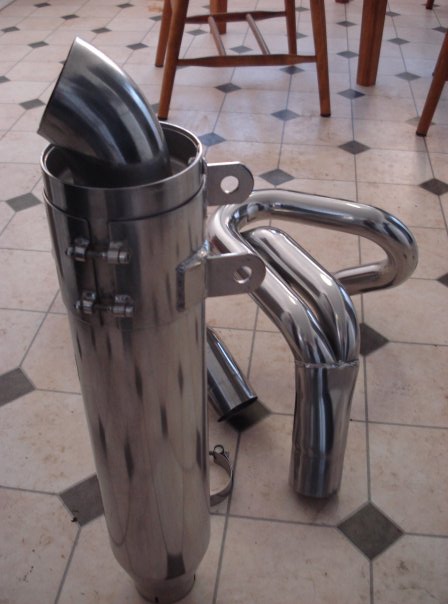 In case anyone was wondering, a couple months ago I loosened the rear bracket on the D&D and rotated the outlet so it faces down instead of to the left side of the bike. It very effectively lowers the drone I hear when riding on the highway, but still sets off car alarms at random  | ||
Preybird1 |
That will be as shiny as this one is http://i68.photobucket.com/albums/i20/preybird1/IM G_0158.jpg | ||
Eshardball |
Exhaust looks great. I guess we'll all be lookin for pics next week. | ||
Pkforbes87 |
"I guess we'll all be lookin for pics next week." I need to get the bottom end back before you'll see any completed pictures. | ||
Kyrocket |
You know people riding behind you are now going to hate you. My buddy has a Road King with the turn outs turned down and kicks up major dust and road debris, or course it doesn't take much to get around him. | ||
Kalali |
The exhaust and the headers look great. This is just like watching someone else having sex..Its only a matter of time before you start playing with yourself...\Sorry just could't help it... | ||
Billinpa |
That sure is looking sweet. The polishing is great!! | ||
Wikid_intent |
"  Watching people have sex" Watching people have sex" | ||
Brinnutz |
Hey Phil, On the D&D, when you loosened the rear clamp and turned it, was the muffler powdercoated under it? I got one from Al which wasn't coated, so D&D sent me a new one...but never asked for the other one back. =) It was a two for one! I was happy. Anyhow, how the heck do you find a guy that does polishing work? I don't have the time available.. | ||
Pkforbes87 |
Wilson - I don't think it was coated underneath the clamp, but the clamp runs 360* around the muffler, so I kept it in the same spot and just rotated it. None of the uncoated surface showed. The ceramic coating on it now isn't underneath the clamp either. I did a search for polishing in your area and didn't find anything. I would suggest going to a local customs shop and asking them. |