| Author | Message | ||
Lemonchili_x1 |
I've had my X1W, "X", for four years now and it was getting time for a little bit of a makeover. I actually have a box of bits, including a Penske shock and new springs, which have been sitting around since January (!) waiting to go on, but life gets busy sometimes, and I kept putting off pulling the bike apart... It seems like X got sick of waiting! He had a little hissy fit and broke the front engine mount a few weeks ago  , forcing a bit of downtime , forcing a bit of downtime  . . I thought I might start this thread and document what I'm doing and post a few pics, and if anyone has ideas on jobs that can be done while I have the bike off the road please chime in. It's not going to be anything drastic, just some suspension updates, replace the engine mount, repaint a few things, new air-filter housing, and sort out the LED tail-light and indicators I put on recently. Hopefully the motor will stay in the bike. I'd like to make a top brace (Stenzel strut) if I get time. Replacement parts have started arriving, or are at Morgan & Wacker waiting to be picked up. So far I've got... NRHS billet engine mount New engine mount bolts Ferodo front disc and Lyndall pads New disc bolts Penske shock Racetech front springs Breather bolts and made-up catch can Digital clock  Carbon fibre air filter housing Work should begin this weekend... One of the things I'd like to do is paint the swingarm black. How much hassle is it to get the swingarm out an X1? Does it disturb the rear isolators? cheers, chili | ||
Oldog |
Yes you will distrub the rear isos. with the x1 its not a big deal secure the bike I use a jack some straps and a ladder and a jack stand on one side remove rear wheel, secure caliper, remove hugger, remove rear shock, remove iso plate side, remove rear tie bar, seat tank tank cover center tie bar & mount, loosen mount block pinch bolts, remove tension screw, remove bearing support plug right side, remove swing arm its fiddly but after you do it once its easy. I sugggest bearing inspection for arm bearings and races, and new seals for the arm as the seals if original are likely toast and are not re-usable in most instnaces. 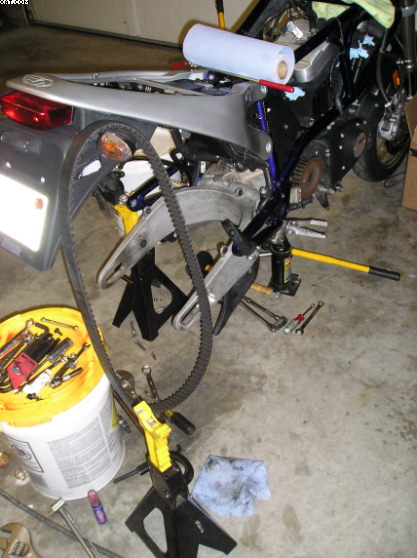 dont for get the belt 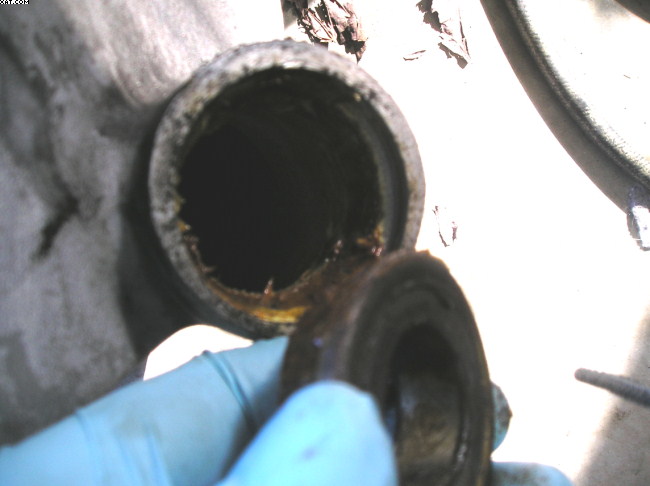 it gets dirty there 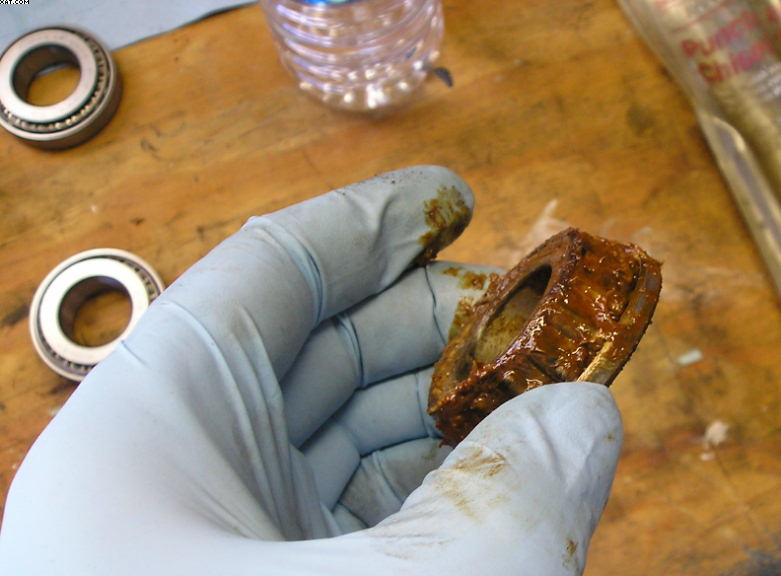 and the bearings take a beating  the arm piviots on these ( secured in the rear mount by the pinch bolts. | ||
Lemonchili_x1 |
Thanks Oldog. It looks a little more involved than I'd hoped, but all possible  The seals would be original, so pulling it apart and checking bearings and replacing seals would probably be a good idea anyway. The seals would be original, so pulling it apart and checking bearings and replacing seals would probably be a good idea anyway. | ||
Fullauto |
How many kms have you got on board? Also, do you have a factory manual and parts book? Makes life a bit easier. | ||
Lemonchili_x1 |
Between 25 and 30,000km's (changed to US gearing so I have to work out what it really is). Yep, I have a factory manual. Is parts book separate? I checked my front isolator rubber, looks like it's on the way out, it will be replaced as well  . . | ||
Mick |
Hey Fullauto seen this ? In Darwin http://cgi.ebay.com.au/1992-RSS1200-BUELL_W0QQitem Z180308913109QQcmdZViewItemQQptZAU_Motorcycles?has h=item180308913109&_trksid=p3286.c0.m14&_trkparms= 66%3A2|65%3A1|39%3A1|240%3A1318 | ||
Lemonchili_x1 |
Wow. Wonder where it came from? Imported from the U.S.? Or Japan? (I thought some of the RSS's went to Japan, will have to check 25 Years Of Buell tonight) I don't think I've ever seen anything earlier than an S1 in Oz. Any idea if there are any other RR/RS/RSS's around? | ||
Fullauto |
The RS 1200 was brought into the country in '91 but only a handful made it here. At AU$28,000 no wonder. Don't know if any RSSs were imported. I have a test or two hidden away in a couple of Aussie mags. Streetbike was one. I was actually going to buy one from a Badweb member in the States but Customs threw a spanner in the works. Basically, it was too new. If it wasn't made before Jan 1989, you're stuffed. | ||
Mick |
saw an S2 for sale at K&M's in Adelaide for 9 grand, woulda bought it if I had the dough at the time. | ||
Fullauto |
That's odd. I didn't think S2s were brought in here at all. In fact I'm sure they weren't. Must have been a private import when it was allowed. | ||
Fullauto |
Oh, yeah, the parts book is a separate item. | ||
Mick |
K&M import Harleys, so I spose they imported that as well . | ||
Lemonchili_x1 |
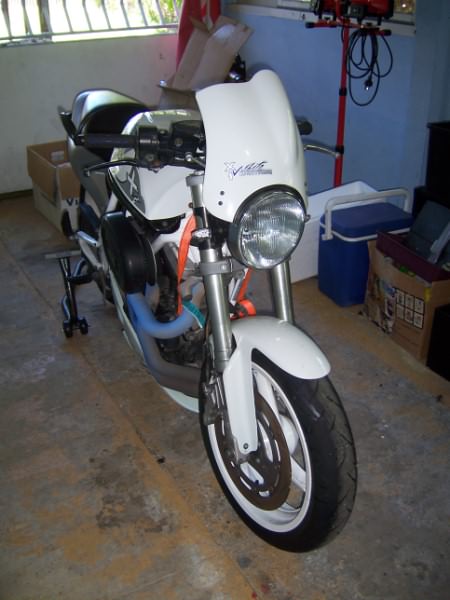 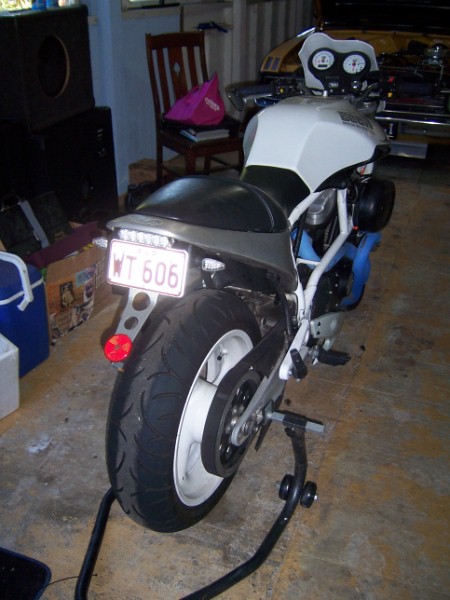 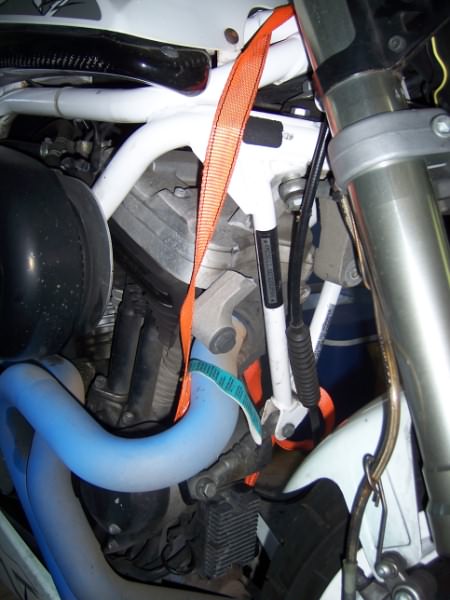 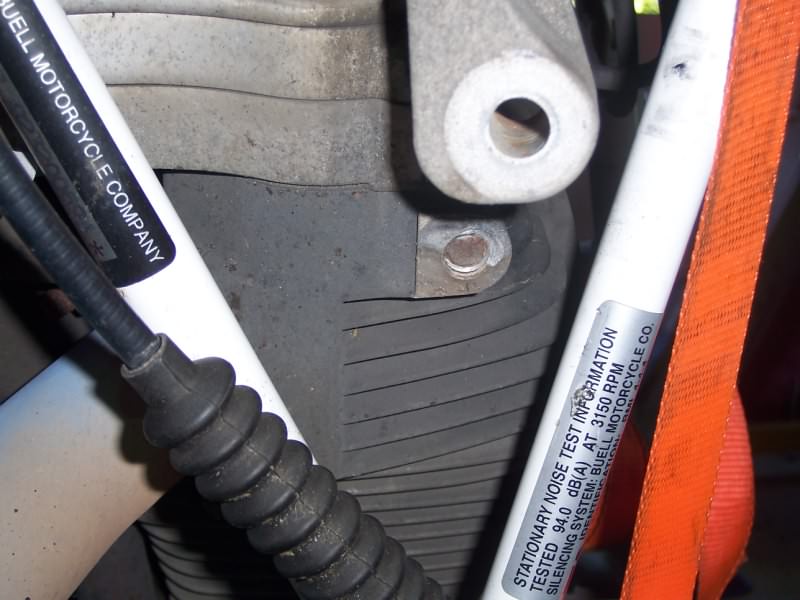 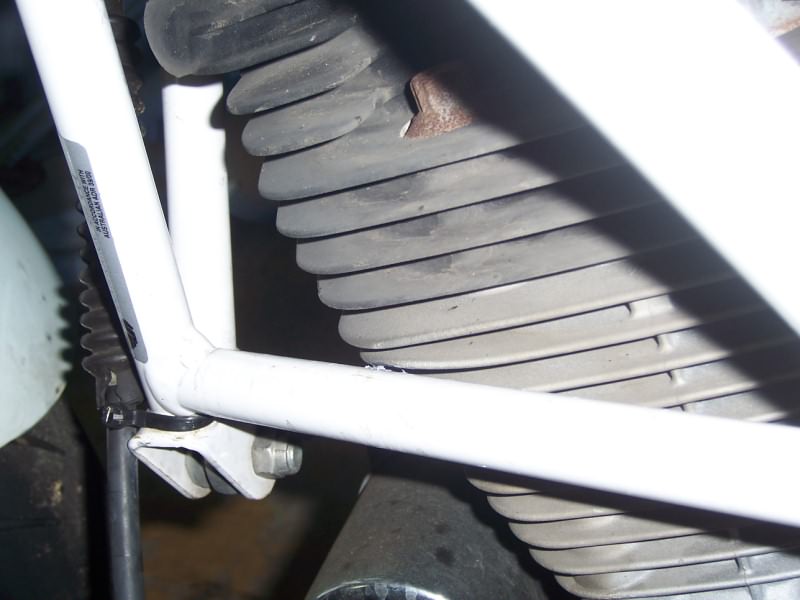 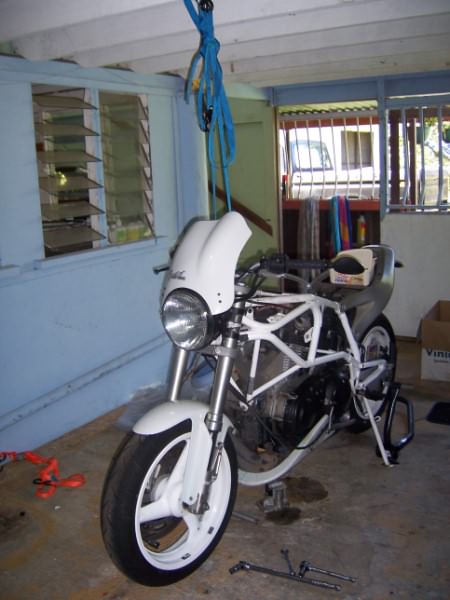 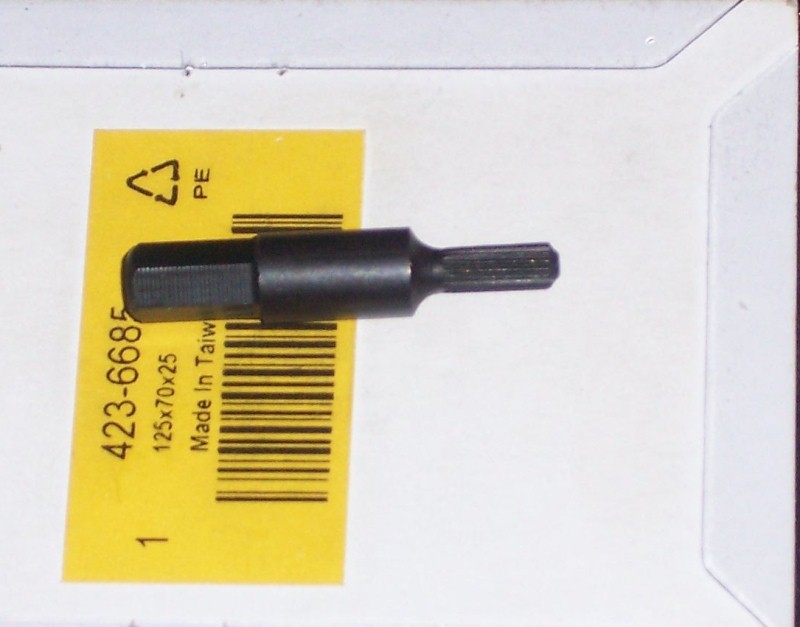 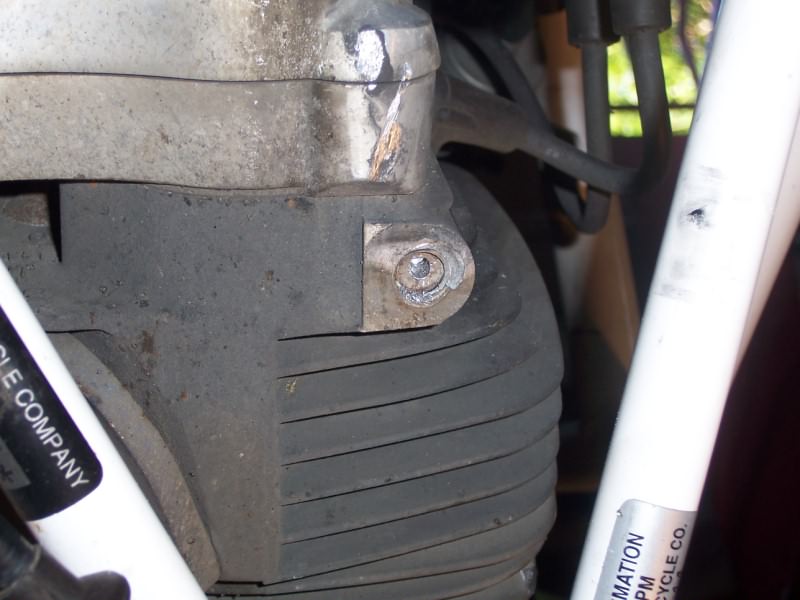 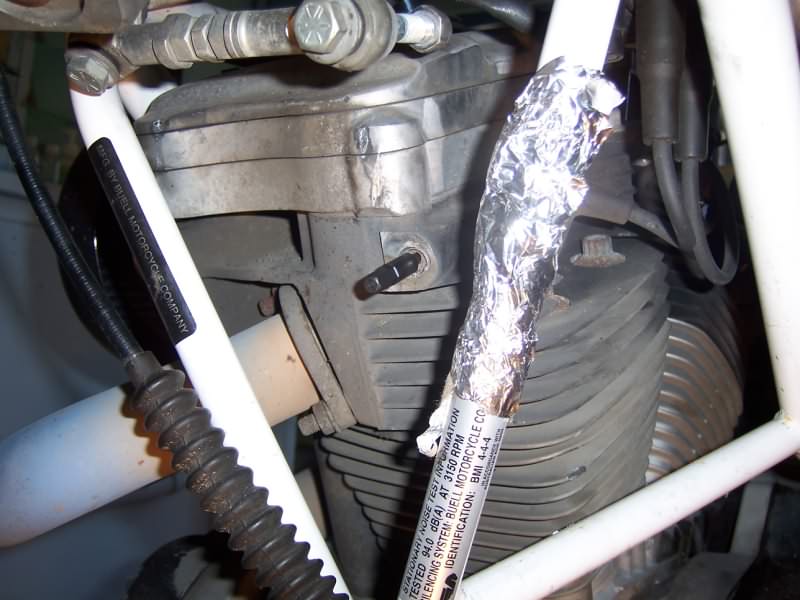 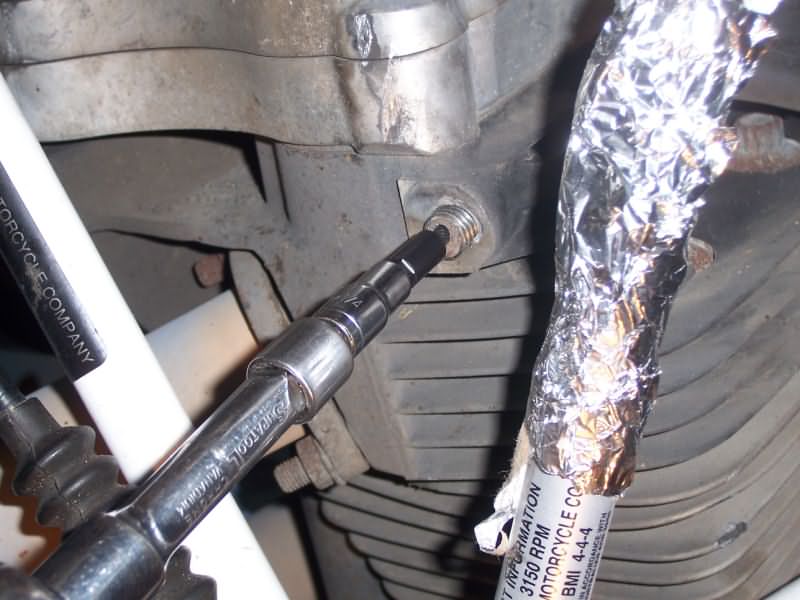 Stage 1 complete  (huge sigh of relief that bolt came out) (huge sigh of relief that bolt came out) | ||
Fullauto |
Hmm, apart from the colour, that scenario looks pretty familiar. Well done, mate.It's not a hard job, just time consuming. That's an interesting stud remover. Haven't seen one of that design before. | ||
Jstfrfun |
While your at it Chilli, are you gonna paint your tail white? On your bio it looks white, but it's the light. Looks good though, just thought you might. | ||
Oldog |
Chilli what condition is the rubber isolator mount in? | ||
Phelan |
Nice poem, David  . . | ||
Lemonchili_x1 |
"Nice poem, David ." Lol  I've seen pics of a White Lightning with a white tail and it does look really good, makes it look like a very different bike. I actually prefer the factory finish though, the big alloy tail is one of the things that makes the X1 so unique  The remains of the bolt came out pretty easily, it actually started turning in as I was drilling it. Cobalt drill bits rock btw! I'd used those extractors years ago, I eventually found a set last week from RS Components. They're a straight spline and you hammer them in, they work really well. I did heat the bolt before I put the extractor in though, just to be sure the loctite was all melted. The bolts don't go into the head very far, do they? I haven't checked whether the new bolts are longer or if the NRHS mount is thinner, leaving more bolt in the head, I'll check that tonight. I am a little worried that some metal has been taken out of the head as the bolt broke, but I don't want to take the heads off to get it welded up... Oldog - I had a quick look at the front isolator and it has some minor cracking around the bottom so I ordered a new one just to be safe, and it arrived last week. A friends X1 did exactly the same thing at almost exactly the same km's... I'm wondering if the front isolators aging plus the rough roads around here are contributing to the bolt/mount failures... How can you tell if the rear isolators need replacing? Mine look ok, no cracks, still flat around the outside. cheers, chili (Message edited by lemonchili_x1 on November 30, 2008) | ||
Oldog |
Might be these bolt brakeage things seems to go in cycles. My X1 is approaching 40K miles. so I am paying attention to this. Cant say on the rear isos, I am thinking about replacing mine. I was curious, about the front iso as the last one was only good for about 15k miles and at rest it looked ok, mounted under normal load not so. Ref 60 miles = 100 Km | ||
Fullauto |
Oldog, it's only 98km. If I've told you once, I've told you a million times....don't exaggerate. Hehe. Seriously, both times I've broken engine mounting bolts/mount/head, the front isolators have been torn. I'm on my third now at 71,000 km. I might just be replacing the mounting bolts every 25,000km or so, just to be on the safe side. When the boss on the head cracked, I took the rocker box etc. off so that the guy could get at it to weld it. Didn't need to remove the head. The rear isolators on yours might be the old style. The newer ones are a larger item as I recall. Still got the old ones hidden away somewhere. If they're shot you'll find that they are a bit misshapen. While I had the rocker box off, I did the oil pump drive gear as well. It was in good shape but it was worth doing for the piece of mind. Good luck chili. | ||
Lemonchili_x1 |
A little progress today... The front iso was tearing, I've put the new one in. 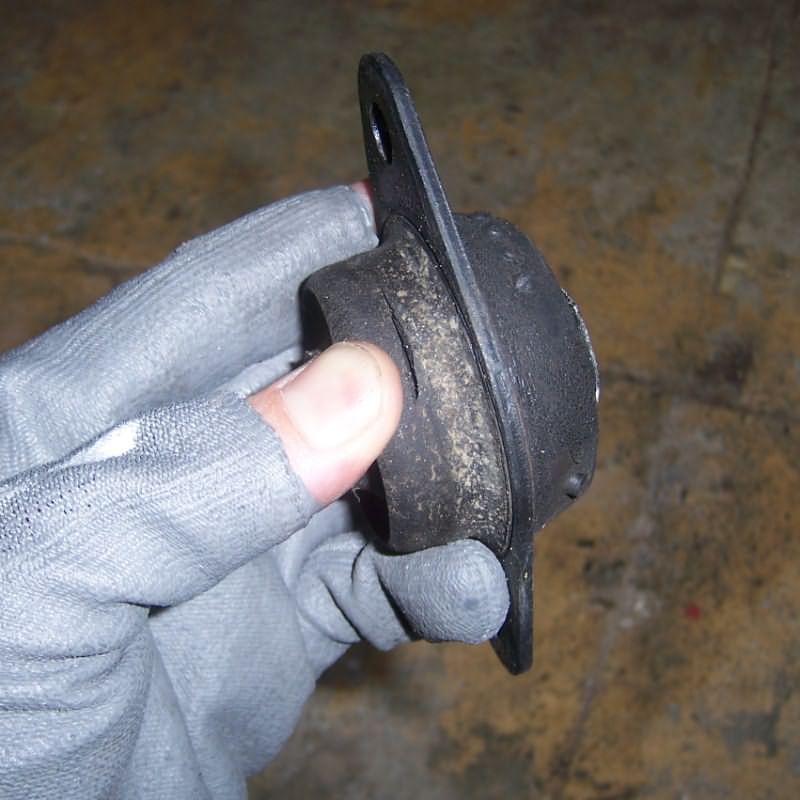 New mount looks very cool. New bolts are quite a bit longer than what was in there. 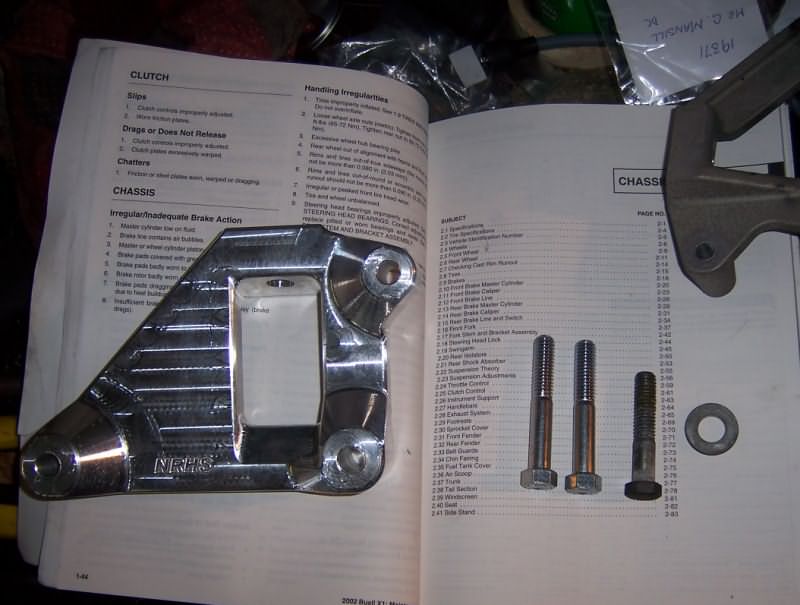 I carefully filed the boss on the head flat again... 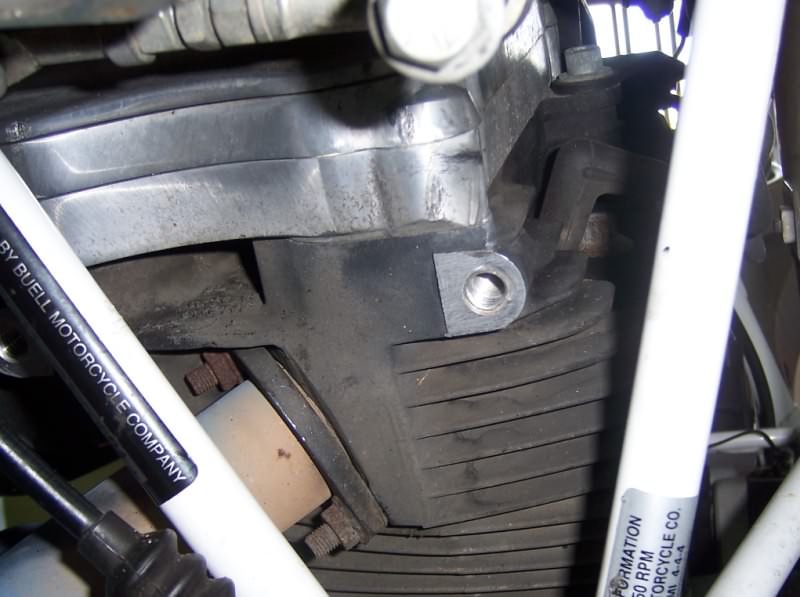 Installed as per the '02 manual - red threadlock, oil on washers, torque to 60ftlbs, undo one turn and re-torque. Looks nice  Makes the rest of the bike look like it needs a clean... Makes the rest of the bike look like it needs a clean... 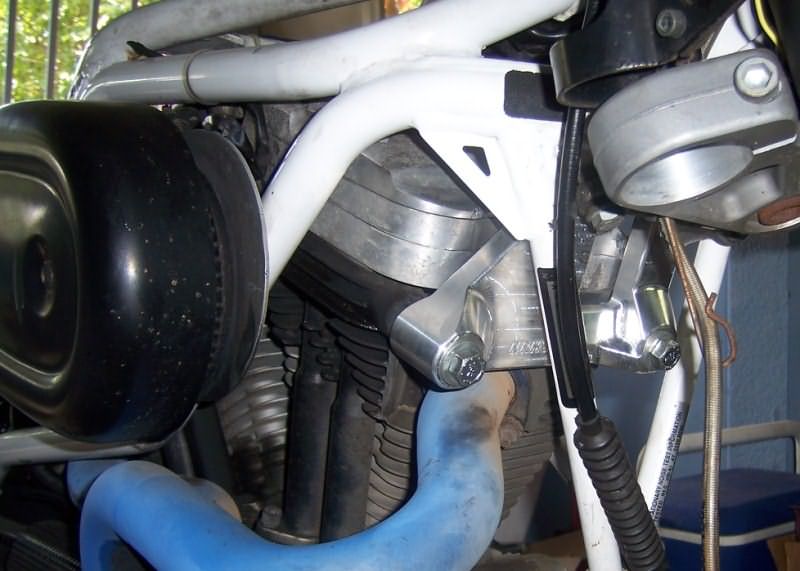 I took the headers off so I can respray them, took off the old air filter assembly, and fitted the nice shiny Penske  . It makes the engine look like it needs a respray too . It makes the engine look like it needs a respray too  , although the pics make it look worse than it is... , although the pics make it look worse than it is... 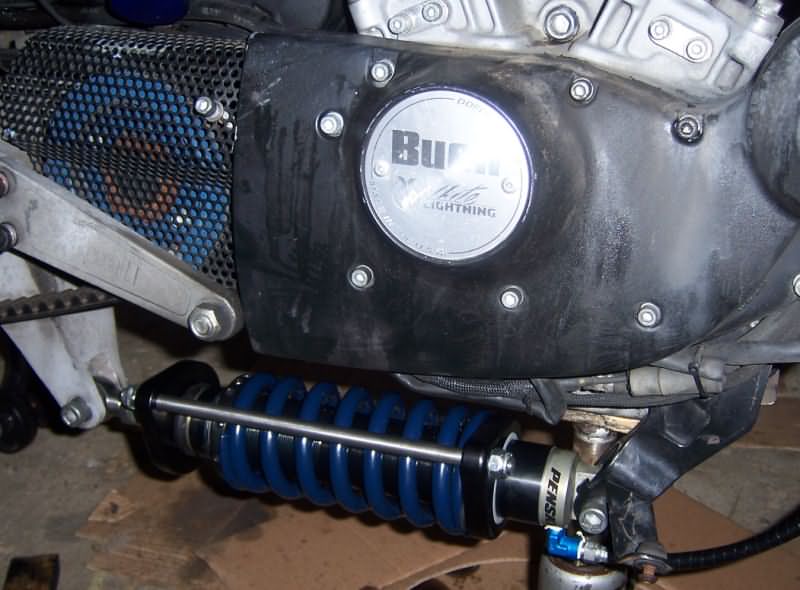 cheers, chili | ||
Oldog |
I hope that you were Very careful filing that mating surface that face alingment appears to be critical,( looks like you did a good job! ) the iso did not look that bad no load, when you get it all done a wash and dry will have that black case paint nice again looking good ! | ||
Lemonchili_x1 |
It looked like the old mount had been "rocking" ever so slightly on that side, so I filed it by hand, very gently, holding the file flat against the other boss as reference. I took as little material off as I could, maybe 20 strokes of the file in total, just enough to take all the black marks away. I didn't really want to file it, but I figure it was better than leaving it the way it was. It's getting there  So many things could do with pulling apart and painting/cleaning... But I want to ride! Hopefully back on the road next weekend So many things could do with pulling apart and painting/cleaning... But I want to ride! Hopefully back on the road next weekend  | ||
Buell78758 |
Great job on all the rebuilding....glad to see you enjoy the bike and are doing some nice upgrades to keep riding it. CN | ||
Lemonchili_x1 |
"X" is a keeper  I plan to keep on doing little upgrades to make it a better bike for "me"... Better suspension, better controls, maybe a touch more horsepower (though it has plenty for me already)... I plan to keep on doing little upgrades to make it a better bike for "me"... Better suspension, better controls, maybe a touch more horsepower (though it has plenty for me already)... | ||
Joesbuell |
Looking good there Graham, That shock and mount look sweet! I also see in the shed an old Valiant, I had 3 VF/VG 2 doors my main one I fitted the VE front so that it looked like a Dodge Dart. And can you guess what my colour scheme...White body red bumble bee stripe over the boot with red trim inside  Any way back to your bike, Hope you have it back together soon so we can organise a ride. Cheers Jodie | ||
Lemonchili_x1 |
"White body red bumble bee stripe over the boot with red trim inside " Sounds nice  Yep, that's the other toy... needs a head gasket at the moment Yep, that's the other toy... needs a head gasket at the moment  Valiants rock, Mopars rock Valiants rock, Mopars rock  A ride sounds good! Made a little more progress this weekend... Forks are done, new fork oil and got the new springs in after cutting the spacers down. Feels like it has too much preload, but tank and exhaust isn't bolted on yet, I'll check sag when it's all bolted together... New disc is on too  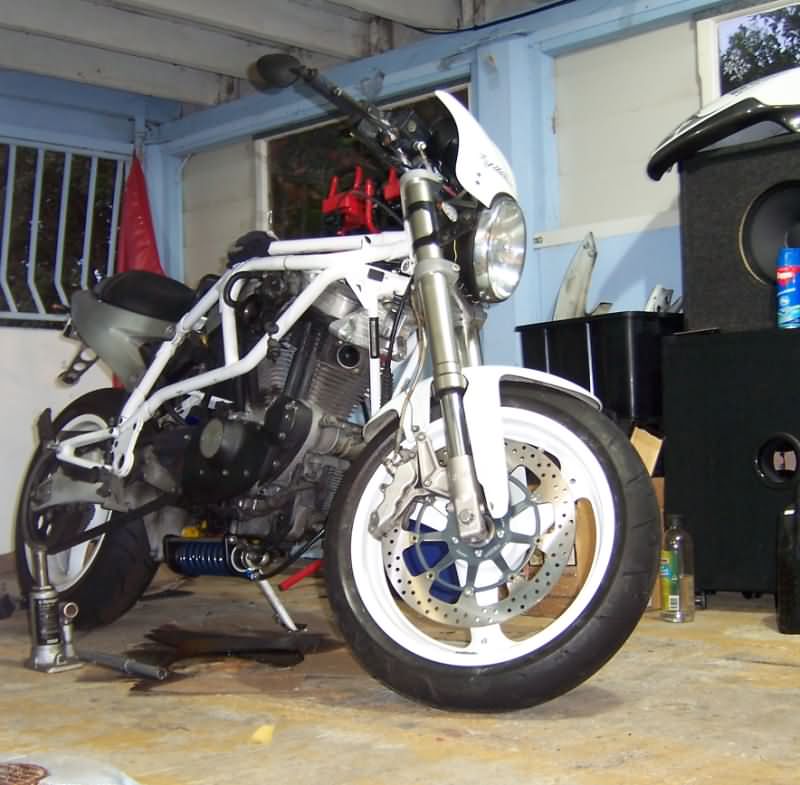 | ||
Oldog |
Chili: If you can get them I would remove and replace the exhaust gaskets and studs as it appears the front is leaking, the studs are major coroded and likely compromised, they are a lot easier to get out in one piece. | ||
Buellistic |
"FYI" the studs,nuts, and exhaust gaskets are SPORTSTER Parts that can be bought at any HARLEY-DAVIDSON Dealer ... STUD,exhaust port PN 16715-83 Nut PN 7537Y or 7757Y or the "BUELLschitte" PN DA0500.12FZ which are 5/16"-18x1/2" ... "MAX." TORQUE 6 ft. lbs. evenly at 2 ft. lb. steps ... GASKET,exhaust port PN 17048-98 and do not buy PN 65324-83A as they are "NO GOOD" ... The -98 gaskets can be turned over and reused, sometimes you do not even have to turn them over ... Now you can make your own studs out of better bolt material and buy better quality nuts at a real Hard Ware Store(Mom & Pop stores are the best) | ||
1313 |
PN DA0500.12FZ which are 5/16"-18x1/2" The F in '.12FZ' signifies Fine Thread, which for 5/16" is actually 24 threads per inch (TPI), 18 TPI is the course thread size for 5/16". So the nuts needed are actually 5/16"-24. Later tubers used flange nuts, rather than the earlier regular jam nuts, in order to distribute the clamp load over a larger area. 1313  |