| Author | Message | ||
Kyrocket |
O.K.I hope I can pass on some things I learned today, pics included. Above all get a dust mask!! I cannot emphasize this enough. As soon as you take this stuff out of the package the dust goes everywhere and half way down the first header I wiped my nose on my shirt (gross I know but I was in the garage by myself with two pairs of gloves on) 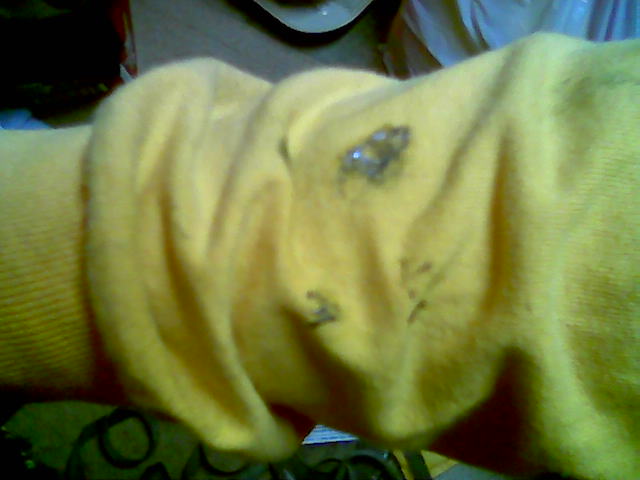 I first put on some latex gloves then squeezed on a pair of rubber grip gardening gloves I found in the garage, they were tight but worked. 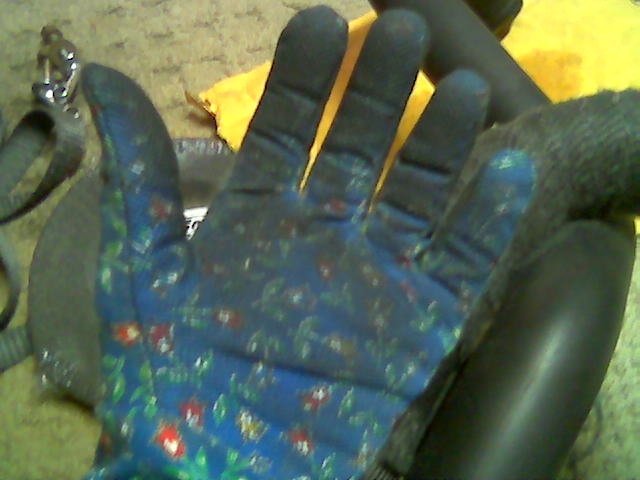 I started on the front header and left a little room for the parts to go back on and some wiggle room for the exhaust stud nuts. 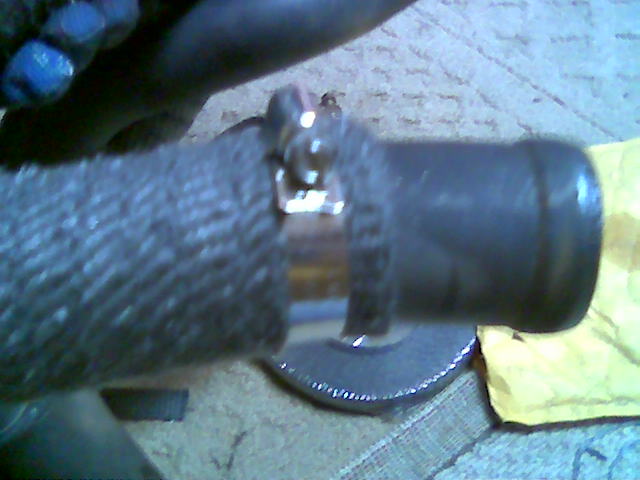 Also I started about 2 or 3 inches down the header, wrapped to the end and then went back so that the end would not be exposed to fray. I then put on my ss hose clamp I picked up from Lowes. Something else I have found to work is to put about 3 or 4 wraps on and then grab the whole thing and twist it tight. Makes it very tight around the header. It also makes it easier if you can take out the whole length of wrap because it will roll up on you making it impossible to wrap. I did what I could then cut it. Thankfully it was enough to get to where I wanted to go plus some. It's not letting me add any more pics so I'll put them in another post. More to come. | ||
Kyrocket |
I wrapped the front header down to the brace welded to the two headers, dropped down below it and put on my second hose clamp. I made sure the screw was on the back so as to not stick out and look funny. Like anyone cares but it's all in the details. 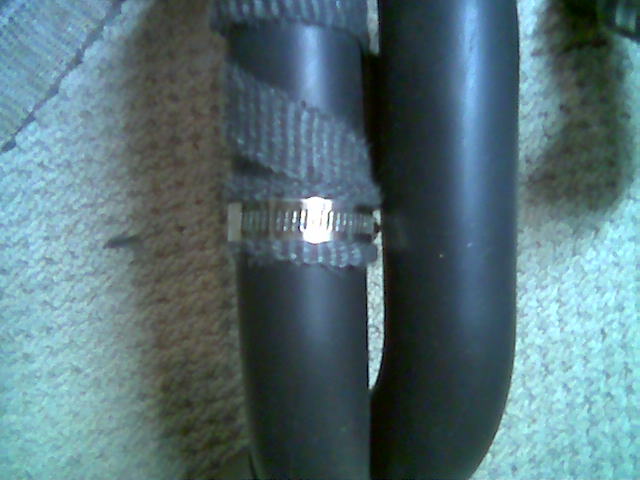 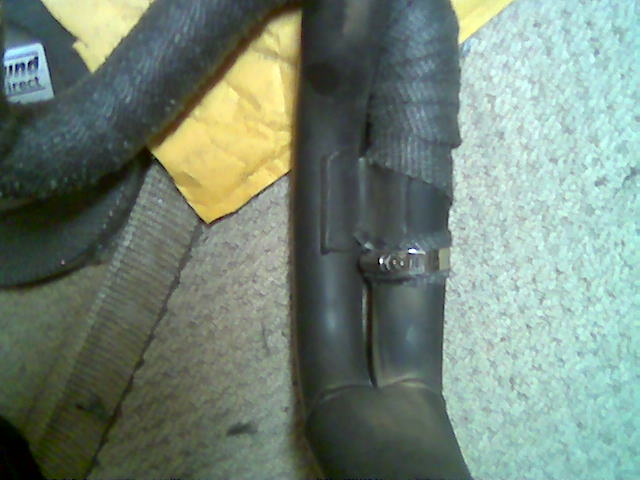 I'm using 1" wrap in a 100' length. I am very pleased with how it has turned out thus far. It needs to be very tight especially in the bends of the header and I think the 1" lends itself better to the sharp bends. Oh yeah, first and foremost, I marked the header while still on the bike where the muffler came up to so I wouldn't wrap it too far down and have issues in the future. I have painted the muffler can and polished the elbow and cap. I'll try to get pics of that too. Can't wait to put it back together. Part 2 will be a little while as I have family business this long weekend. | ||
Lsr_bbs |
The best way to wrap headers w/ that stuff is to soak it in water first. It cuts the dust, makes it a bit easier to work, but is messy!!!! | ||
Kyrocket |
I can see where cutting down on the dust would be helpful but it just seems like it would be a bigger mess than need be. I may try it wet sometime but not on this job. | ||
Skntpig |
Wet is the way to go. Not for dust but a tight fit. Where you have a bend it will conform better and not have edges sticking out. It is still nasty either way but the end result will look much cleaner. | ||
Ratbuell |
Most of the mfr's actually recommend wrapping wet. The heat of the first couple engine cycles helps "size" the wrap to the pipe, making it nice and tight and cutting down on loose, flappy edges (as noted above). I'd strongly recommend unwrapping it (I know, I know....), soaking the wrap and re-doing it. You'll be surprised how much less material you use by pulling it while wet. | ||
Rocketman |
I held my headers in the vice. Worked out the required lengths from the chart on the rear of the DEi packaging, then cut them ample, and put them in a bucket of water placed beneath the headers. Proceed to wrap whilst keeping the wrap in the bucket. Your hands get messy, but that's about it. And holding the headers in a vice makes for neater wrapping. Rocket | ||
Kyrocket |
It's no different than everything else. It's better when wet! I read a few articles on it before finishing and it said to get it good and damp so I put it in a bucket and poured water out of a water bottle so there wasn't any laying in the bottom. The dust was cut down tremendously if not at all and it did seem to wrap a little tighter. My gloves got a little wet but there was no dripping. I had all of about 3 1/2' left of a 100' roll. Over all it was very easy as long as you prepared first and wore the appropriate gloves and had the tools close and handy. I'll try to get some finished pics up soon. | ||
Thatdudejoe |
Did you use an entire 100' x 1" roll to continuously do the entire thing, or did you use two 50' rolls (one roll for each header before they merge to one)? I'm getting ready to do mine on my S1 and want to get it right in one try; so as to waste as little material as possible. |