| Author | Message | ||
Argentcorvid |
On the left side, a 4" brass (make sure it really is brass) door hinge works as a sprocket locking bar. If you can't find anything in the Knowledge Vault, do a search on XLforum, and you should be able to make something that works. (Message edited by argentcorvid on September 03, 2011) | ||
Motorbike |
I could check Harley and see if they are available. I once checked into buying special tools from Harley and was unable to. Harley would not sell them to anyone but dealers. Even if they would, I don't think I could afford them. | ||
Hughlysses |
You can get the crankshaft locking tools from American Sport Bike. You do not need the special tool for the clutch unless you're replacing the plates in that. You also need a locking tool for the transmission/belt sprocket to get that BA nut off. I bought a cheap socket for the job at my local Tractor Supply and made a tool for locking it. | ||
Rdkingryder |
I was thinking as long as I can lock the B/A sprocket, I can lock the trans in gear and get the crank nut off at the same time. I'm thinking I could try to get that snap ring off a little at a time pressing the fingers of the clutch spring as I go around. | ||
Hughlysses |
Roland- the entire clutch housing will come off without taking that snap ring out. Once you get the crankshaft nut off, you slide the crank sprocket, chain, and clutch assembly off together. Unless you're replacing the clutch plates, you don't have to fool with the snap ring on the clutch. | ||
Rdkingryder |
Thanks Hugh, that's good to know. Nothing wrong with the clutch so I'll leave that alone. | ||
Rdkingryder |
Argent, that's a good idea as I recall some sort of plate you install between the primary gear and clutch pack. | ||
Reepicheep |
Yup, if you have the primary off anyway, just lock it from that side to get the crank nut off the cam side. You can probably spin it off with an impact wrench as well, even without a locking bar. That's what I generally do. You can spin it on with an impact wrench the same way. I do it that way on dirtbikes all the time. I bet it would work well on the Buell also, but I always chicken out and use the torque wrench. | ||
Rdkingryder |
Reep, I trust my gun to take them off, but don't trust my compressor to put them back on tight enough. The little 3 1/2 gallon compressor runs low on pressure quick. btw, sent you the engine id for the spreadsheet. | ||
Hughlysses |
You can probably spin it off with an impact wrench as well, even without a locking bar. That's what I generally do. FWIW, I've read that you should NEVER apply an impact to an HD or Buell crank. Remember that the crankpin is a press-fit into the flywheels and you might just shift that joint on one side or the other. | ||
Rdkingryder |
Hugh, from what I measured, the B/A nut is 1 15/16", whoa, that's big. Found a socket online for $22. As long as it works a few times, sound's like a good deal. Local Harbor Freight didn't have anything near that large. | ||
Hughlysses |
Roland- I used a 1-7/8" 6 point socket, but when you get that big, a 16th off probably isn't critical. I found a socket at the local Tractor Supply for ~$20 or so. They had a much bigger selection of the BIG stuff than did Harbor Freight. It's pretty difficult to keep that socket on the nut since the nut is so thin, so prepare for bruised knuckles and gratuitous swearing. | ||
Rdkingryder |
I'm thinking I could use my impact on it, but not on the crank. Since I've got to wait for the socket, I'll work on the little K11p and the Willys brakes again. | ||
Electraglider_1997 |
I used to have a 1952 military Willys M38 Jeep. Flat head four sounded like a sewing machine but for some reason or other it sucked gas like crazy. Sold it better than 20 years ago for 1000 bucks. | ||
Rdkingryder |
EG, mine's a 1956 p/u. Talk about a money pit! LOL! | ||
Rdkingryder |
Hugh, changed my amazon order with my daughter to get a 1 7/8" socket, only $10.17 and she has super shipper saver. Also ordered this while the engine is out of the Ulysses and will line the inner frame with it. http://www.amazon.com/Thermo-Tec-13575-Adhesive-Ba cked-Barrier/dp/B00029KC2K/ref=pd_sim_dbs_auto_1 | ||
Rdkingryder |
They make it look so easy. Yea, I know it's not a Buell engine, but still interesting. http://youtu.be/1OnDoqAh3MY | ||
Rdkingryder |
Box came in yesterday.  My thermal blanket for the frame and the b/a socket for the b/a sprocket nut. Lengthy use of my IR gun on this thing finally removed it and the full tube of red Loctite they used on it! And note, it's left hand threaded.  While checking the new crank, I noticed it's fluted on the left side and threaded on the right. So I removed the nut on the right side and will be cutting down one of my allen wrenches to remove the rear mount. Then I'll try to get the cases separated with as much stuff attached as possible. Hope I'm right.  | ||
Reepicheep |
Cool pictures, thanks for posting! Let us know how splitting the cases goes. I did it on dirt bike and it was much less of a big deal then I thought. No idea how it would go on a Buell... but I'm part of the demographic that might find out. :/ | ||
Rdkingryder |
I haven't done too many bikes, so this is new to me. just wondering how much stuff I can leave on so I can change just the crank in the case. | ||
Rdkingryder |
Ok, been along time and finally got enough parts to start getting the beast back on the road. http://i103.photobucket.com/albums/m135/rdkingryde r/Ulysses%20Mods/BuellParts002.jpg | ||
Rdkingryder |
American Sport Bike came through for me. So I started tearing down the engine again, finally. http://i103.photobucket.com/albums/m135/rdkingryde r/Ulysses%20Mods/Uly003.jpg Got the big nuts off the stator and the clutch assembly http://i103.photobucket.com/albums/m135/rdkingryde r/Ulysses%20Mods/Uly007.jpg Finally off.. http://i103.photobucket.com/albums/m135/rdkingryde r/Ulysses%20Mods/Uly007.jpg | ||
Rdkingryder |
Ok, for some reason, can't figure out how I posted pictures in the past....Oh well, I'll get it. http://i103.photobucket.com/albums/m135/rdkingryde r/Ulysses%20Mods/Uly018.jpg | ||
Rdkingryder |
Got my used/new XB9 primary setup. The sender included the tool too. 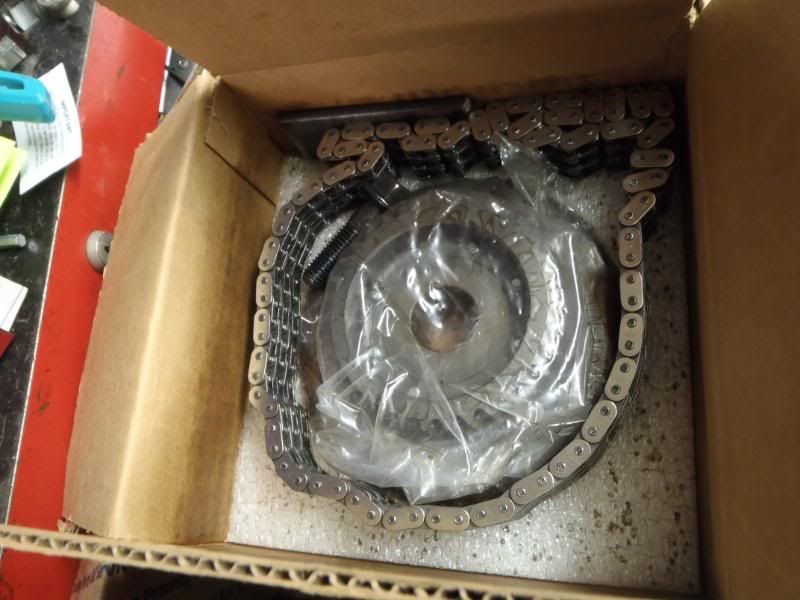 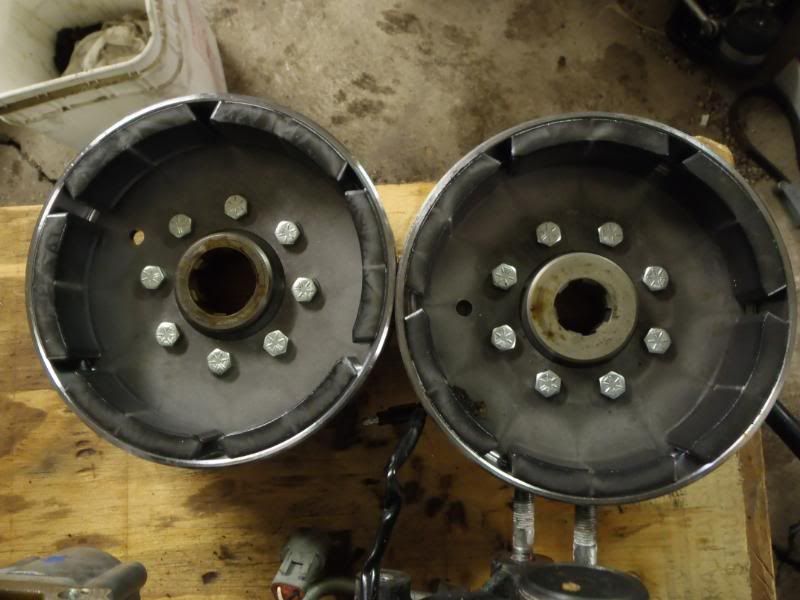 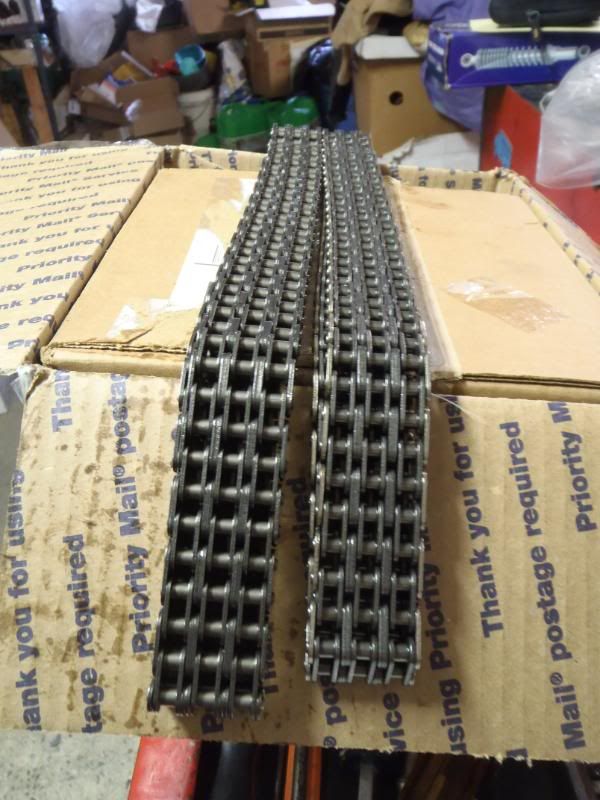 | ||
Rdkingryder |
And it's pretty much in. 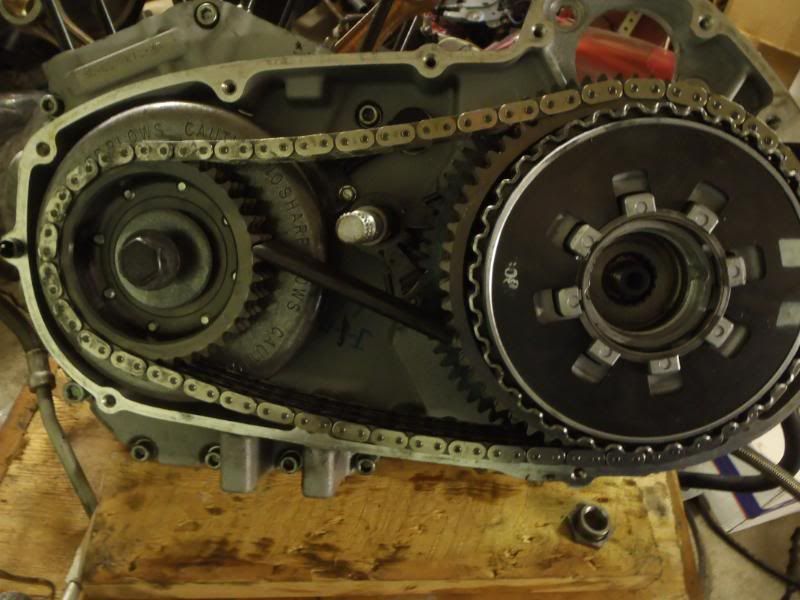 You can see the cone washer and how it's marked "out". 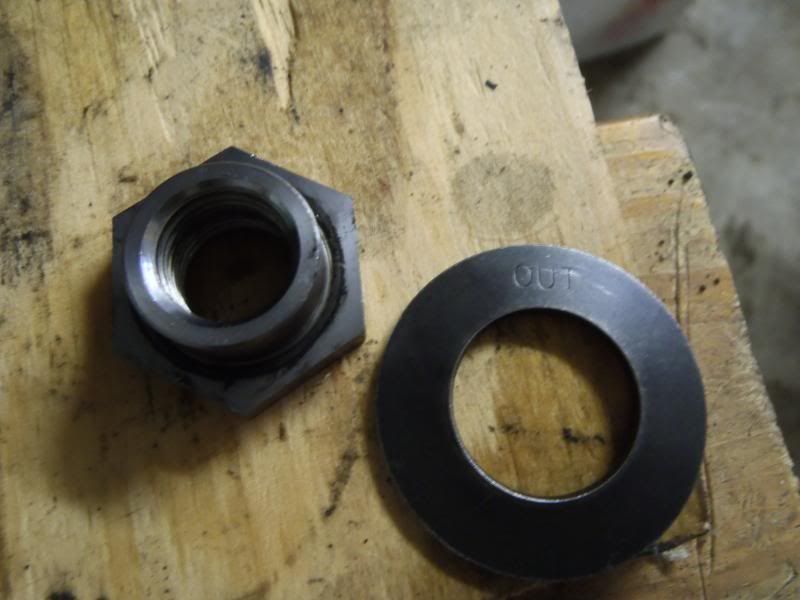 Just need to find the torque specs for the new crank bolt. If it was the old crank, the nut needs 240-260ftlbs. Wow! | ||
Rdkingryder |
Not much completed today, need an o-ring for the oil pump and the cam cover gasket. I did reinstall the BA drive nut and replaced the oil seal while I had it off. You tighten the lefthand nut to 50ftlbs first.  Then you scribe a mark and then tighten 30degress more.   Now the lock plate and a little blue Loctite.  | ||
Rdkingryder |
What the heck is this?  | ||
Rdkingryder |
No much work done, going very slowly. Had to replace the primary adjusting shoe, the edge was cracked and missing a bit of it. 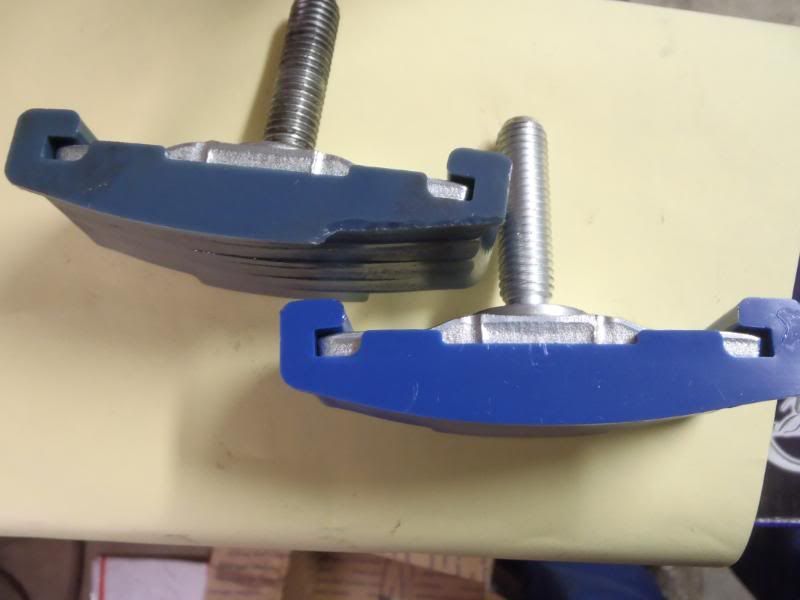 May as well change the shifter seal since I have a new one with the kit and it's way easier now. 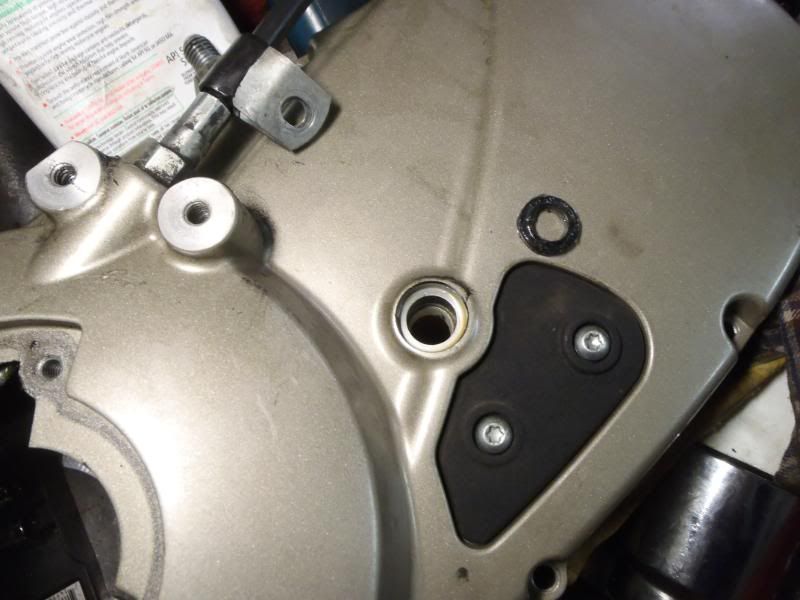 Of course I''ve got the wrong seal next to the opening. Side cover is now on, chain is adjusted and adjusting the initial clutch play. 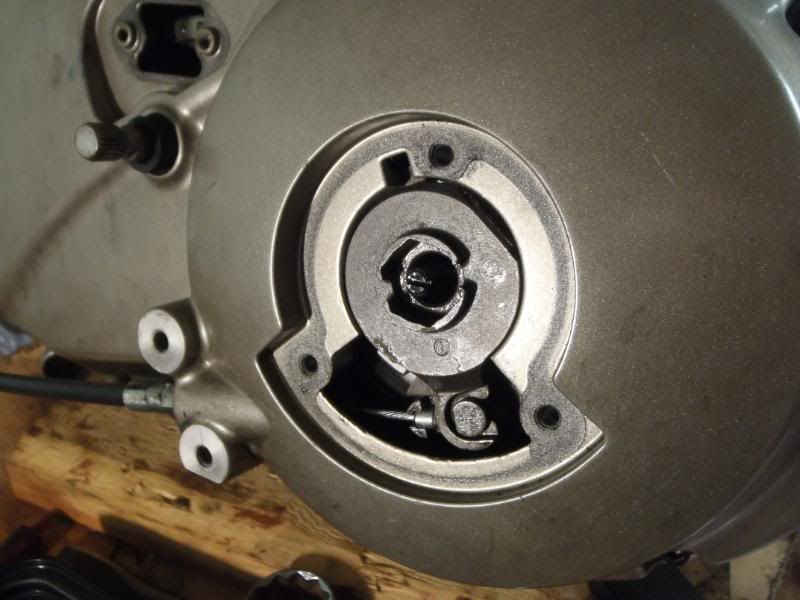 | ||
Rdkingryder |
Time to work on the cylinders. Honed them, but couldn't get out the slight lines. 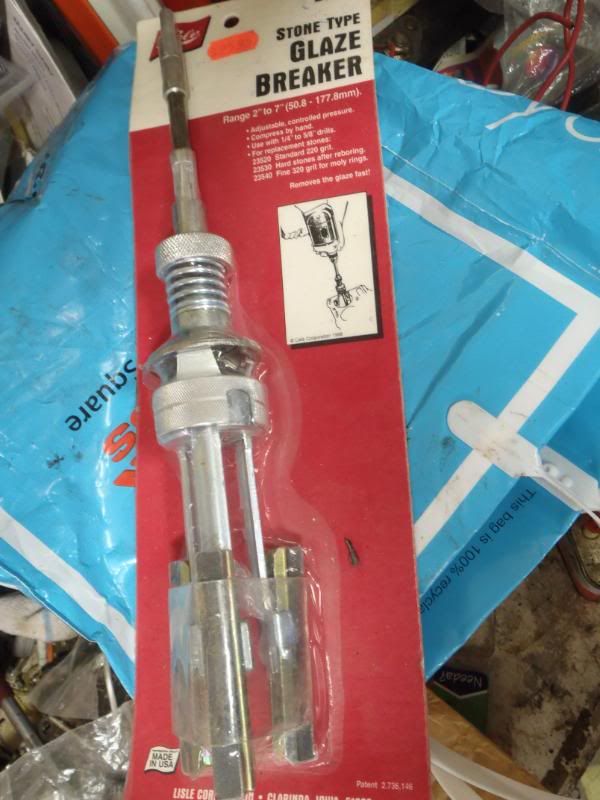 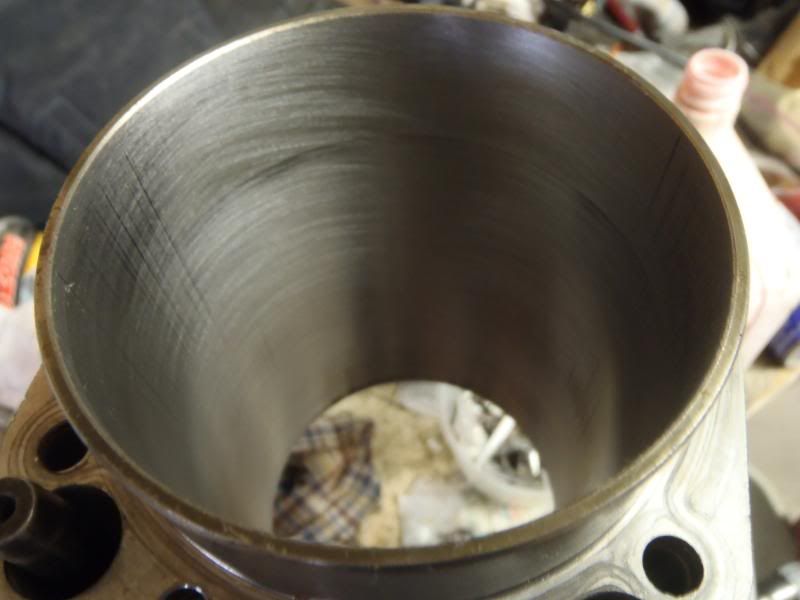 Used this to clean the surfaces. 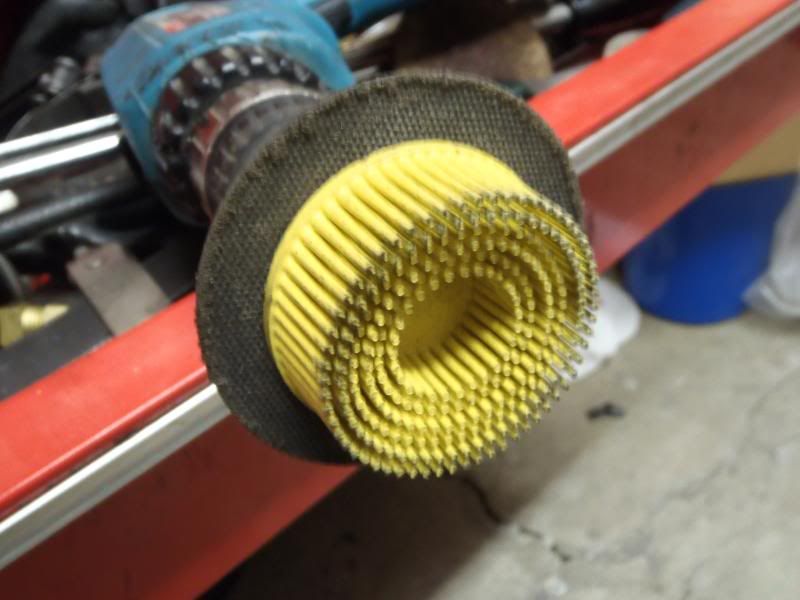 Putting the cylinder on... 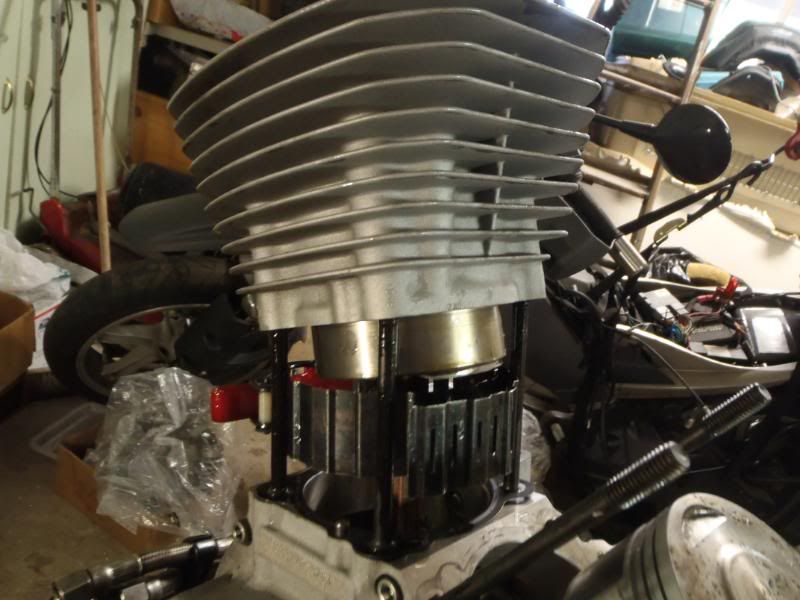 And it's on. 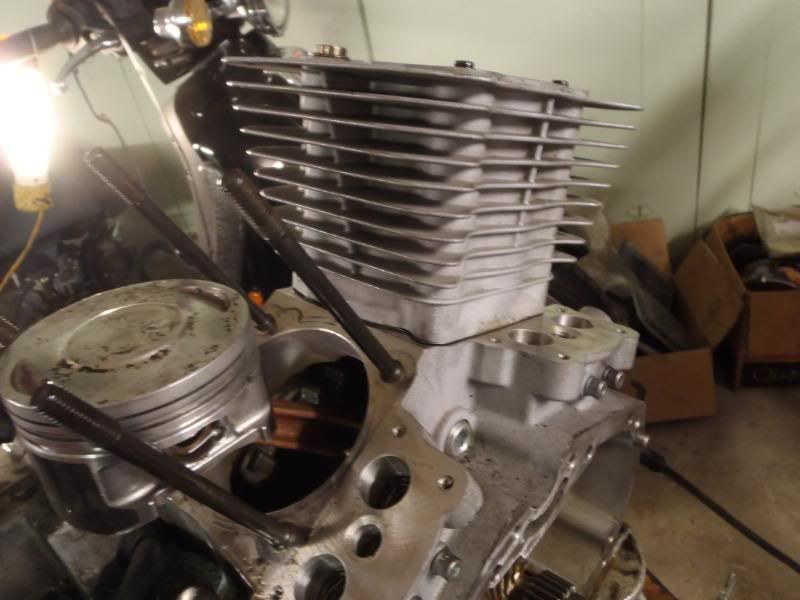 | ||
Rdkingryder |
I lapped the valves and changed the seals. 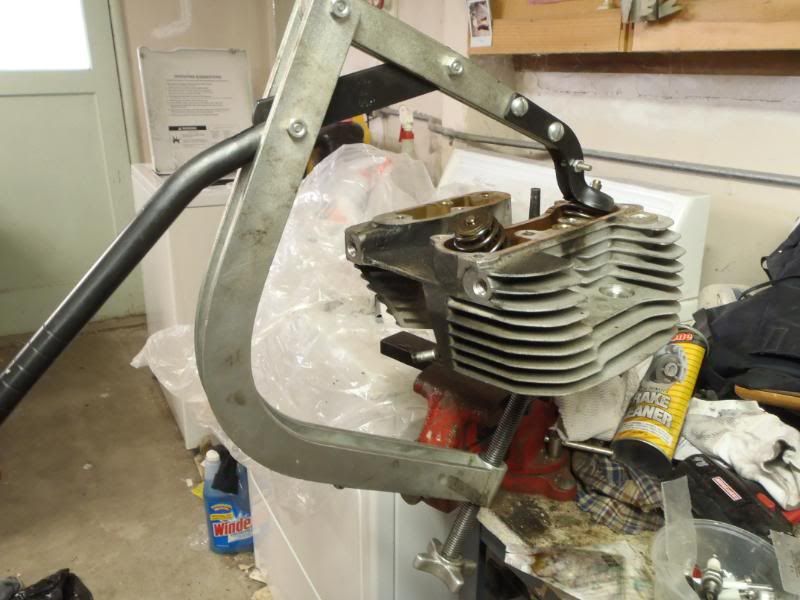 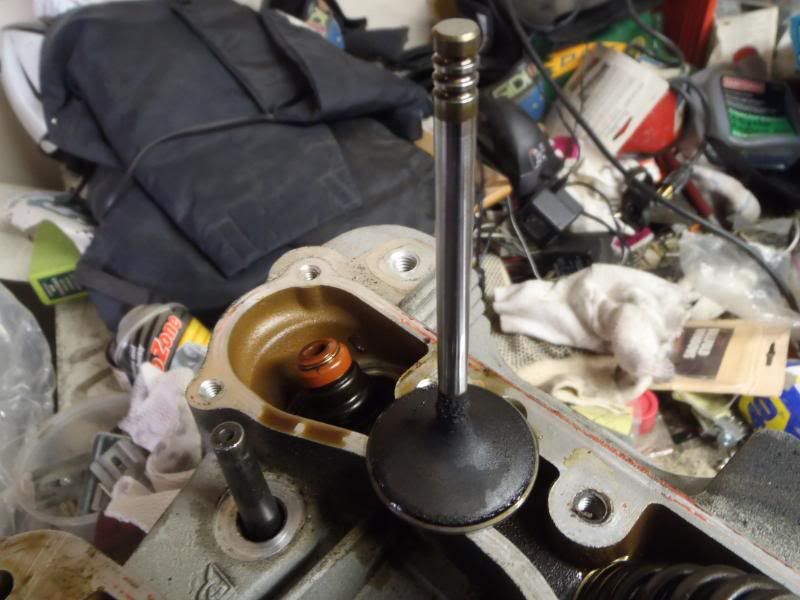 Ok, it's on and I realized I messed up and forgot to put the push rod tubes on first and now look. 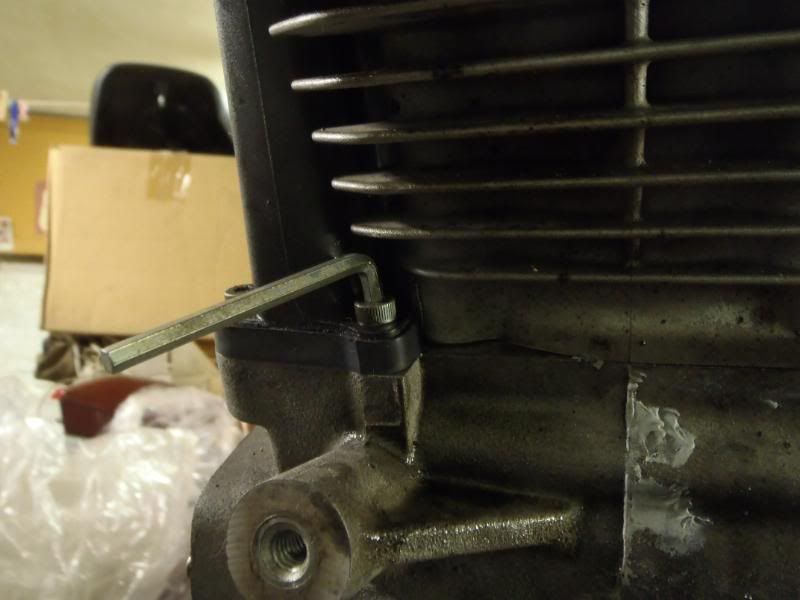 Had to cut down an Allen wrench so I could secure this bolt. |