| Author | Message | ||
Stlrdn |
hey! does anybody know if the jardine fender eliminator kit for the 1125 r is the same as the 1125cr kit? | ||
Bobbuell1961 |
Yes | ||
Stlrdn |
right on thank you! | ||
Tomcrane |
I just installed my Jardine today .. install was a breeze and it looks killer .. would def recommend  | ||
Rex |
photos? | ||
Tomcrane |
Ill get some up once the rain stops - ill say this though .. the photos in the instructions they send you are useless .. the pages are photocopied and you can barely make out the images.. the worded instructions however are pefect | ||
Tomcrane |
not my bike . but this is what it looks like installed  | ||
Jeepinbueller |
I'm a picture ••••• ... just a few more: 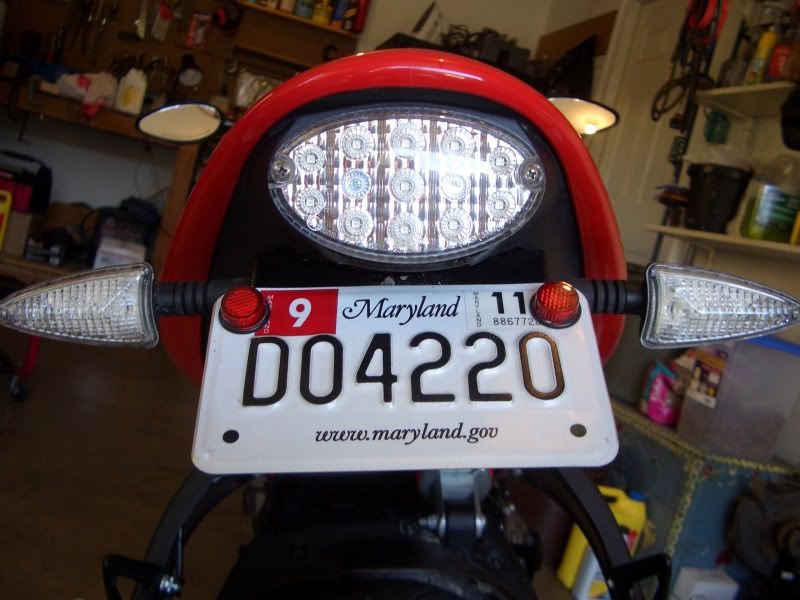 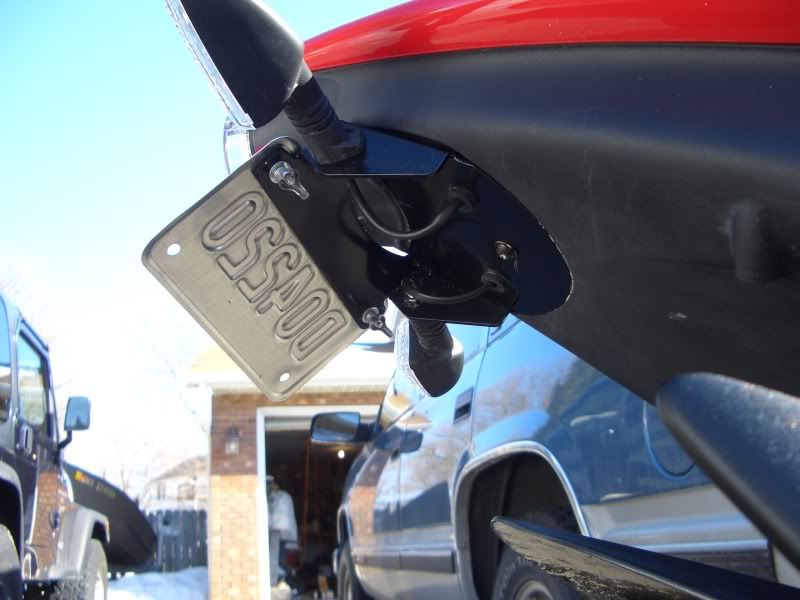 | ||
Milleniumx1 |
Few more shots of the Jardine, my bike. You'll note I also cut the section to let my factory tail light shine onto the plate. Mike 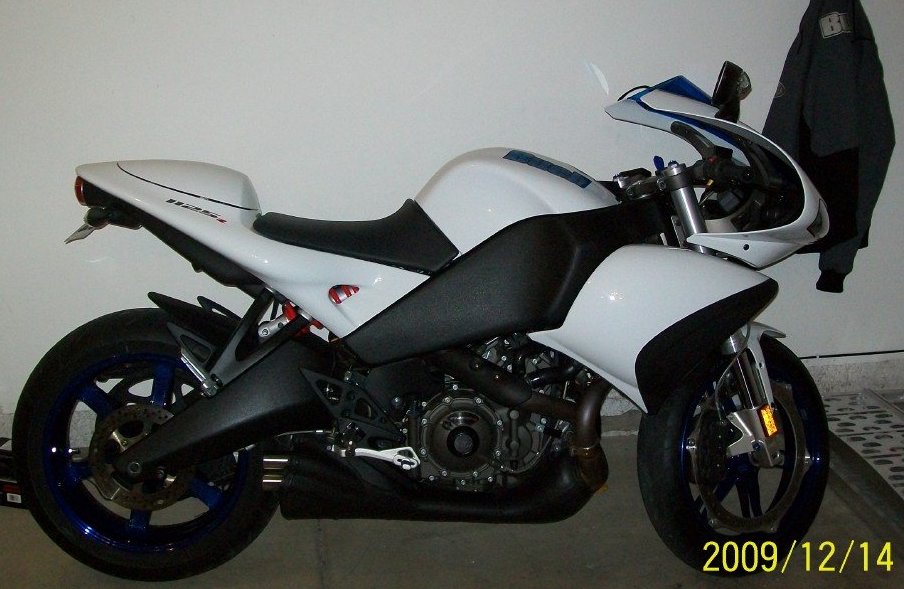 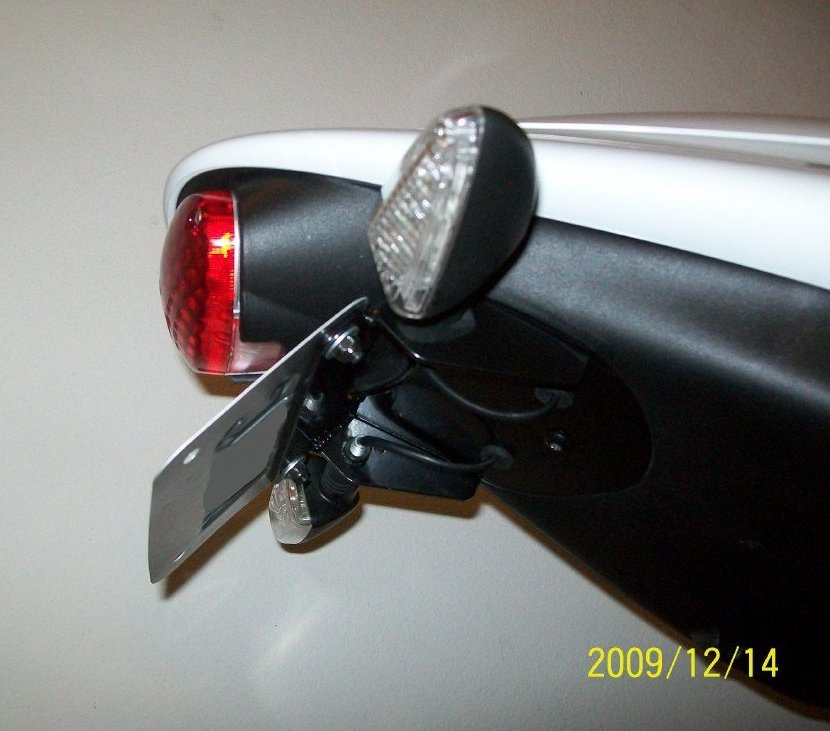 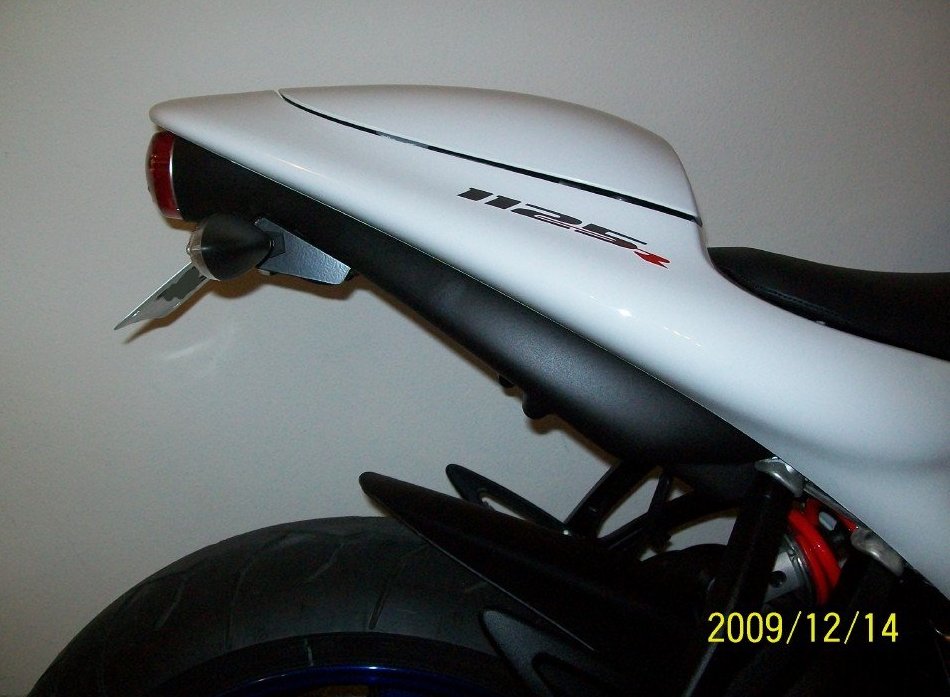 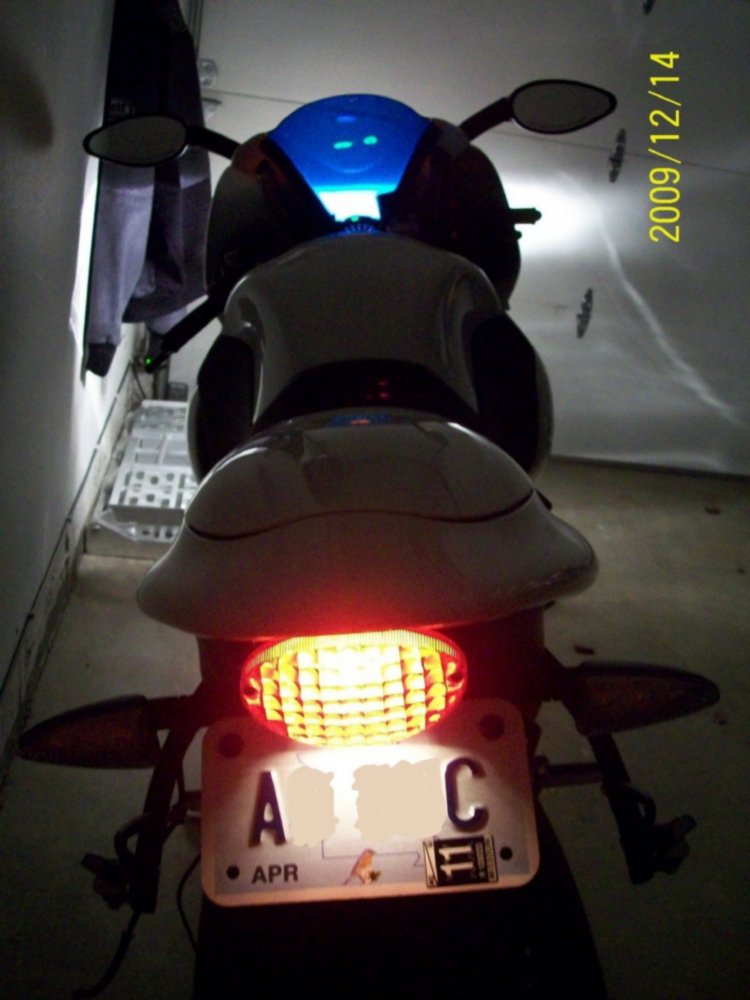 | ||
Myotherbike |
Milleniumx1, that looks really good. I will have to look into this kit and cutting the plastic to allow the taillight to shine through. | ||
Dannybuell |
excellent presentation, now I want one. | ||
Jeepinbueller |
It's not hard technically ... just hard mentally to cut your new baby. Once the first little cut is over with it gets better, haha. 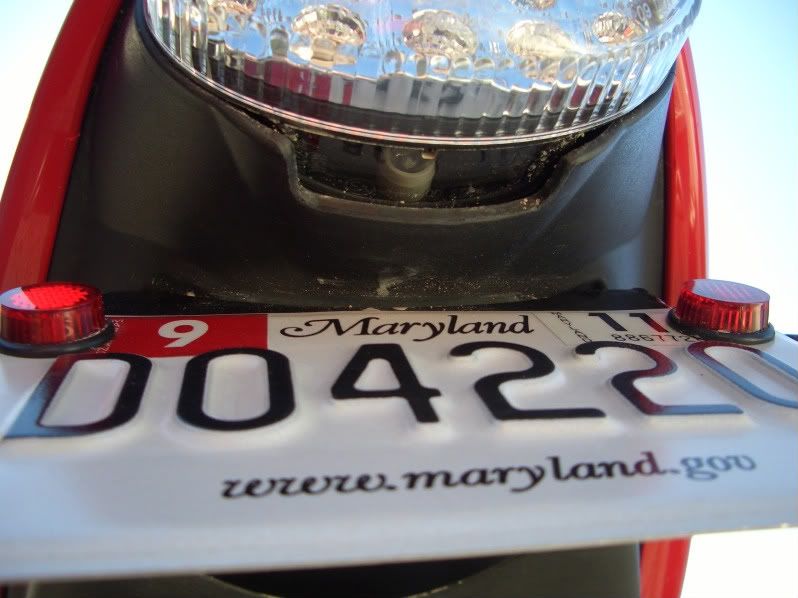 | ||
Milleniumx1 |
Jeepin is right, it's not hard to cut that piece ... Just remember you can always cut more, but you can't put it back if you cut too much - Go slowly! For those of you not inclined to do the cutting (or '10 models that don't have the white underneath), there are other options to light the plate - Bolts that are wired in, or even the more expensive EvoTech (sp) model that has the plate light built in. Mike | ||
Kaotikevo |
Have any of you tried just drilling the plastic out with a 3/4" or 1" drill bit? do you think that would allow enough light through? | ||
Milleniumx1 |
Kaotikevo, I did drill a few 3/8" size holes which did pass a good amount of light. But upon seeing I cracked the piece from one of the holes to the rear-most outer edge, I was then motivated to cut the entire rectangle out. I rarely call myself a master craftsman! That said, I like the look better with the whole rectangle removed - It looks more 'factory' to me. And here's a before-you-drill tip ... Take the bulb out first! Otherwise you might not like what happens when that first drill bit invades that space! Mike | ||
Jeepinbueller |
What Millenium said x 1000000 LOL. Take the light assembly out ... it's just two long machine screws (Phillips head) and disconnect the three wiring connectors for the lamp (ground, running, brake). Plus, it'll make it easier to make the cuts looks smooth and factory if you can access that area ... or clean the inside of the holes if you're going that route. |