| Author | Message | ||
Buelltroll |
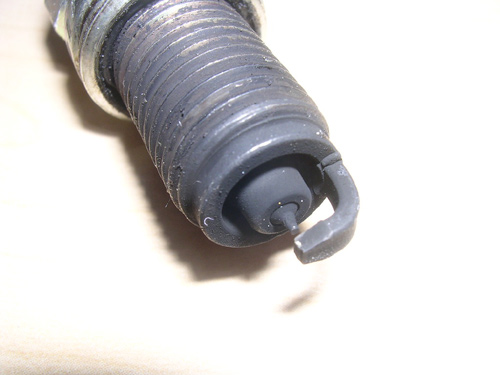
could one of you walk me thru cleaning up pictures? ones like this all grainy and crappy looking.  | ||
Buellerx |
In photoshop 7.0 go to "Tools", "Sharpen". You can play with that and see if you can get it to look better. I would save a copy of the image so you always have the original unedited one. Also in "Image", "Adjustments" you can adjust the color and contrast. | ||
Buellerx |
 | ||
Mou5e |
get a better camera. resolution is almost impossible to sharpen in photoshop. you can only do so much. the noise will go away but the contrast will go way up. | ||
Typeone |
Mou5e is right, the resolution is your enemy here. General rule of thumb is to go down in size (dimension) to gain clarity when working with low resolution images. (like 72dpi JPGs). You can also go into each color channel (R, G, and B) and apply some Gaussian blur to the worst channels then apply some Unsharp Mask on the full RGB channel to gain back some sharpness. This trick works for magazine scans too where you get a moire pattern. Here's a quick rework using Size, Gaussian Blur, Sharpening and a little Levels work. Unfortunately not much more you could do to this image due to the poor source quality. It looks like the source JPG was blown up in size which will always destroy the visual quality of a 72dpi image by introducing the noise Mou5e mentions.  there is a trick you can do to increase the size of a low-resolution image but the results aren't always great... you go up in dimension in like 10% intervals or something, forget the details but basically you ease your way up in tons of small enlarging steps to let Photoshop attempt to fill in the new pixels your introducing. | ||
Blackxb9 |
I have a great "action" for sharpening images. If you go to adobe's website you can find cool filters and tools to take care of images with the click of mouse. However you do need to start with a higher resolution image. Anything web quality (72 dpi) will not do much good with any of these tools. You must always shoot in high res and fix from there. Then you can scale down the size as needed to fit your web needs. | ||
Vonsliek |
typeone .. that was a nice touch-up! great advice too! | ||
Buelltroll |
The pics were taken with my phone because my digital camera thinks theres no memory card inserted to get the photos out.(??) It can take good quality pics like this.    BUT its being retarded thinking theres no memory card in it so I dunno... The reason I wanted to learn how is because I wanted to show the heat/burn marks on ANOTHER headlight I blew. DEFINETLY gonna stop buying 18$ a peice lights until I work out my electrical gremlin.    Anyway thanks for the tips. |