| Author | Message | ||
Terrys1980 |
I'll post this here as well as more of us on here have started with an XB or 1125 and had seat pins from American Sport Bike. Bought all this from Home Depot. Couldn't find a stainless bolt with a shoulder in 40mm length. The clip is a 1/4" hitch clip. Started with a M6x40mm bolt, cut off the hex head, flattened two of the sides, drilled a 3/32" hole and secured the pin in the seat with blue loc-tite. 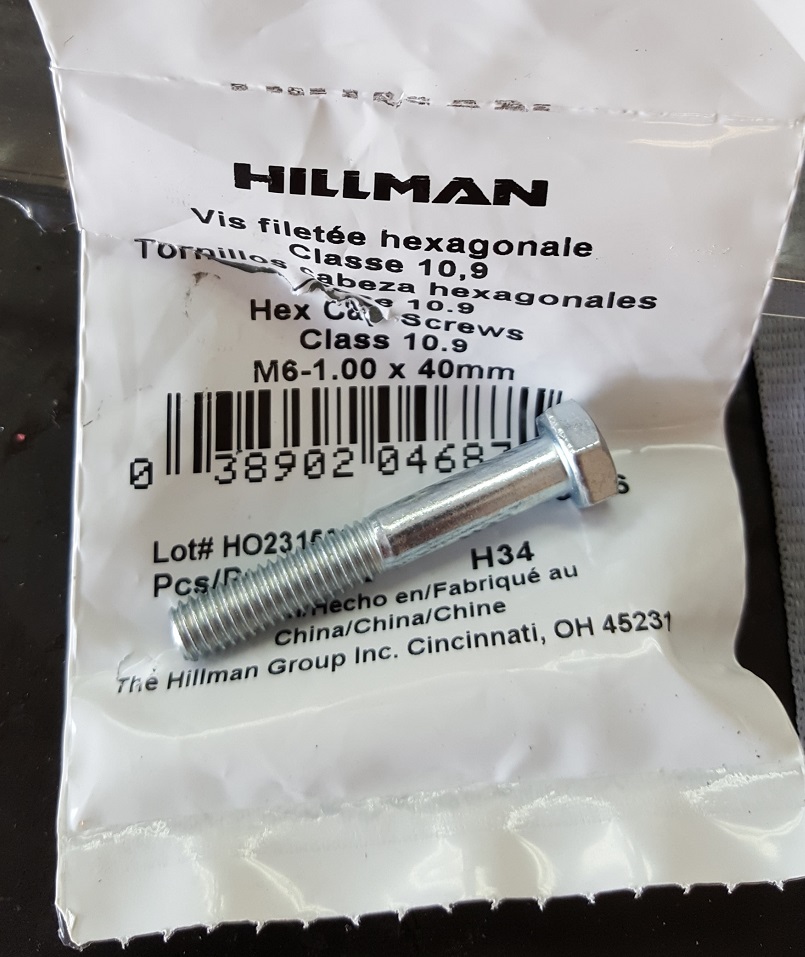 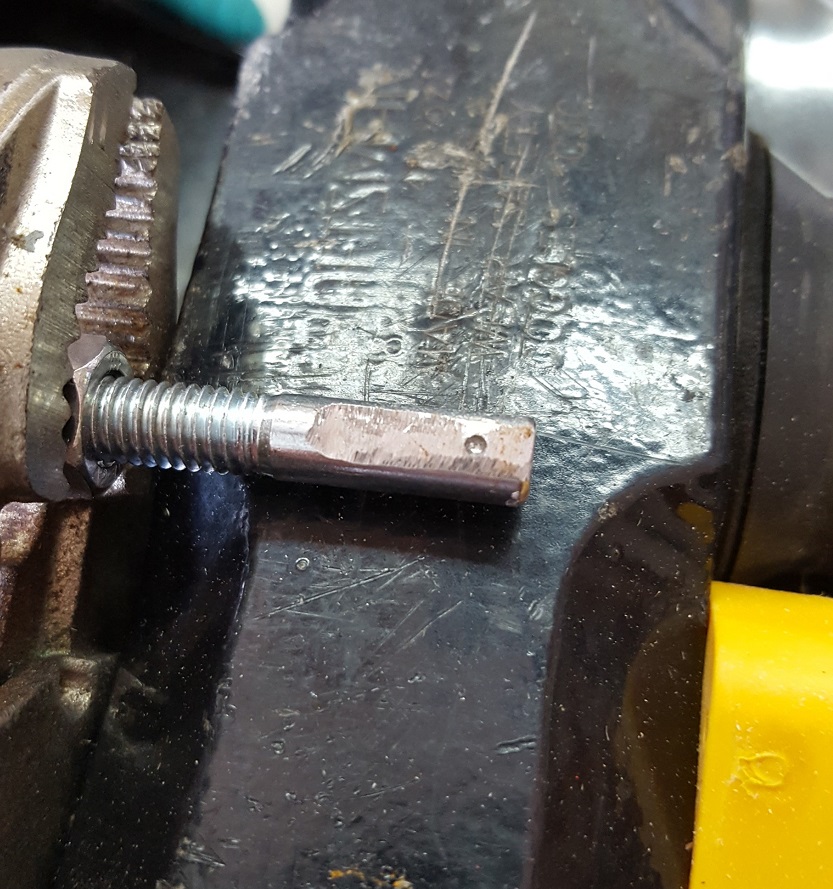 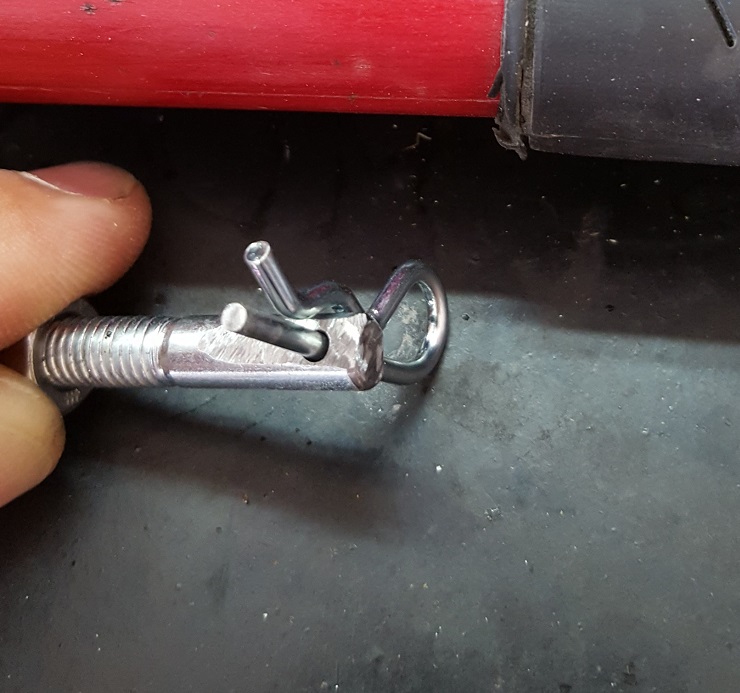 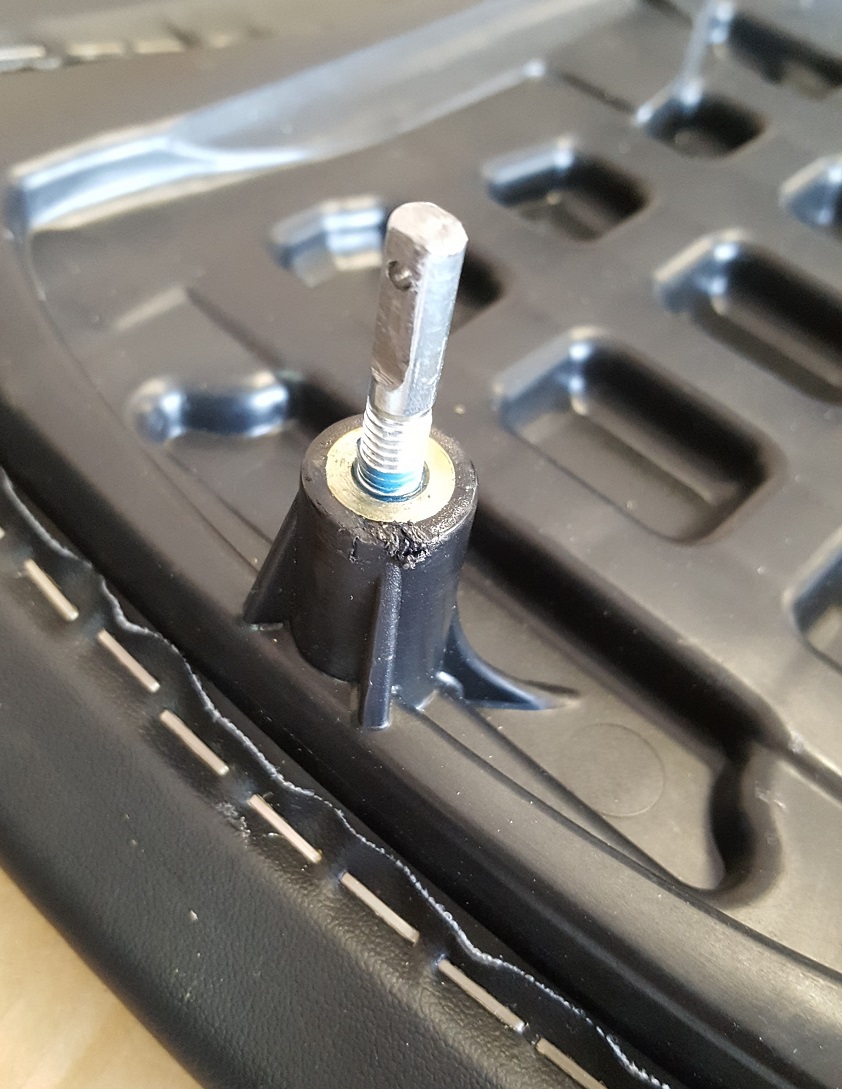 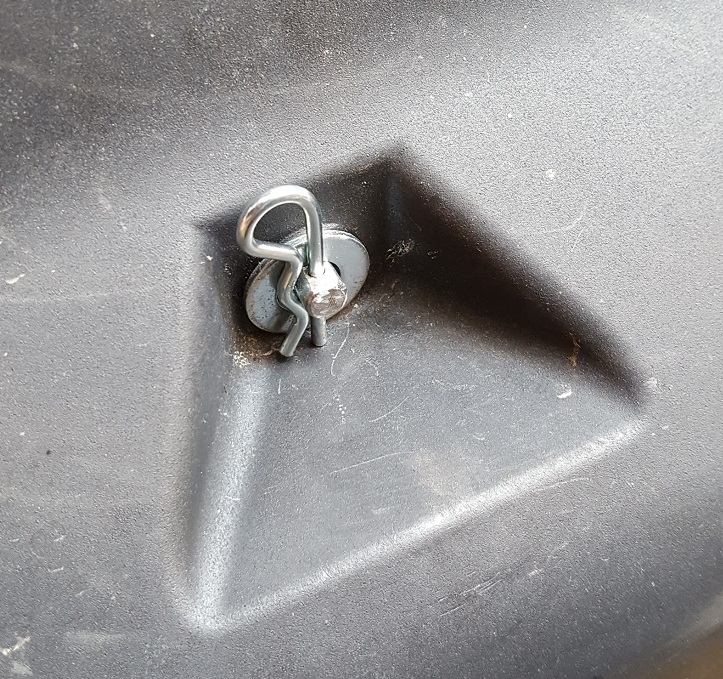 It take a little to get the pin lined up to go through the hole. I also test fitted it with the bolt screwed all the way to the shoulder and just let the pin hold the seat without having it stick through the bottom, it works as well, but leaves an empty hole showing underneath. | ||
Dave |
Clever DAve | ||
Froggy |
Beautiful! | ||
Hughlysses |
Very cool- nice job! I wonder where American Sport Bike got the pins they used to sell- were they off-the-shelf items or made-to-order? | ||
Reepicheep |
Al was probably in the basement sweating over the forge going hammer and tongs all night. Or he found them in a McMaster Karr catalog somewhere, but only in quantities of 1000.  What we were buying from Al is expertise, and so far it is clear the entire Internet is not yet as good as he was. | ||
Figorvonbuellingham |
Linch pin might work better then a cotter pin. | ||
Dannybuell |
Old School Rules!! Reepicheep - LOL. Did You See Al's Forge where he heated up the material before the press, trim and drill steps? I heard the Forge used to be run on coal, now it is propane. IDK. :-) The Software is everywhere for Prototyping with 3D printers, new school... Multi-axis CNC shops take it from there, right? Al's ability to innovate and source product was First Class, he will be missed. | ||
Ebrfan |
This is a great idea, especially if the battery shorts out and starts melting! I hooked one up on my bike this week as well. If you round off the end of the pin it locates in the hole a bit easier. And, I couldn't find a source for a Linch Pin with a small enough pin and ring to look good and work good, so I used the cotter key too. | ||
Terrys1980 |
Sweet. I did some searching as well but couldn't find anything small enough. My main reason for doing so was that I was relocating my license plate to that area and removing a bolt would likely be impossible. | ||
Zac4mac |
I have pins I machined and threaded from some Ti rodstock I had laying around. Decided NOT to drill them as the down-force from the bottom clip on the seat-pan holds it down tight. Seat pulls off in a second tho when you want to. Z | ||
Germblast |
Would this work? http://www.mcmaster.com/#hanger-bolts/=1443xk3 | ||
Zac4mac |
Germ, you're overthinking it. Just get some long (1-1.5") 6mm bolts and cut the heads off, round a bit with a drill and file and screw them in. | ||
Zac4mac |
OOOOps I thought I was on the 1125 board.. Since the bolt goes in the seat on the EBR, might be a little different. My RS seat is the whole rear body piece... Z | ||
Terrys1980 |
It looks like those hanger bolts would work but you would need 6mm and know how wide the flat part is and if it will pass through the hole in the frame. | ||
Twirlin |
Just did this mod myself yesterday. Thanks for the great idea. I can now remove my seat without tools. | ||
Terrys1980 |
Awesome! | ||
Damnut |
So I made up a few extra of these screws at work today since it's pretty slow. Have to find some pins and they should be ready to go. Anyone need one? | ||
Damnut |
Forgot to add the picture...... 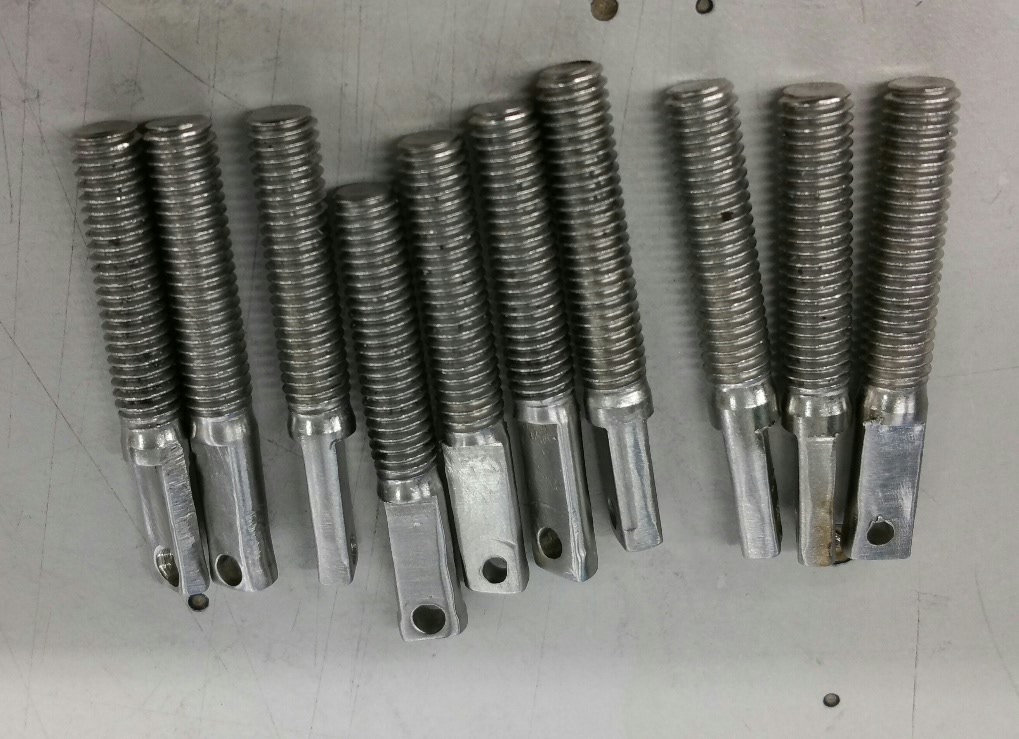 | ||
Mike13 |
Sure! I'll take one. Whadya want for it? | ||
Damnut |
I just picked up the 6mm flat washers and hitch pins. Let me see if I bought the right pins. 10 bucks shipped? | ||
Mike13 |
PM'd ya. | ||
Terrys1980 |
FYI I glued the washer in place to eliminate the hassle of losing it. | ||
Twirlin |
I was about to say, I did the very same thing. | ||
Damnut |
Good call on the washer. | ||
Twirlin |
Silicone? | ||
Al_lighton |
I missed the start of this thread. I made a few of the seat pins from cut bolts just to get the design right, but afterwards I made a drawing and sent it to a screw machine company here in town. I'd buy a couple hundred pins at a time and they were about a buck a piece that way. The NC screw machine did the following steps on each pin from a long piece of stainless rod: 1) cut the thread (1/4-20 for XB, M6 for 1125) 2) drilled the pin hole 3) countersunk the pin hole 4) machined a hemisperical end to the pin The pin design above would be just as easy to automate, and would only cost a little bit more with the flats on both sides. But I'm not sure what the flats are actually doing based on what I'm seeing here. I would think a clone of the seat pin that I had, with no flats, the countersunk hole (to make inserting the pin easier), and the dimensions modified a bit, would work fine. 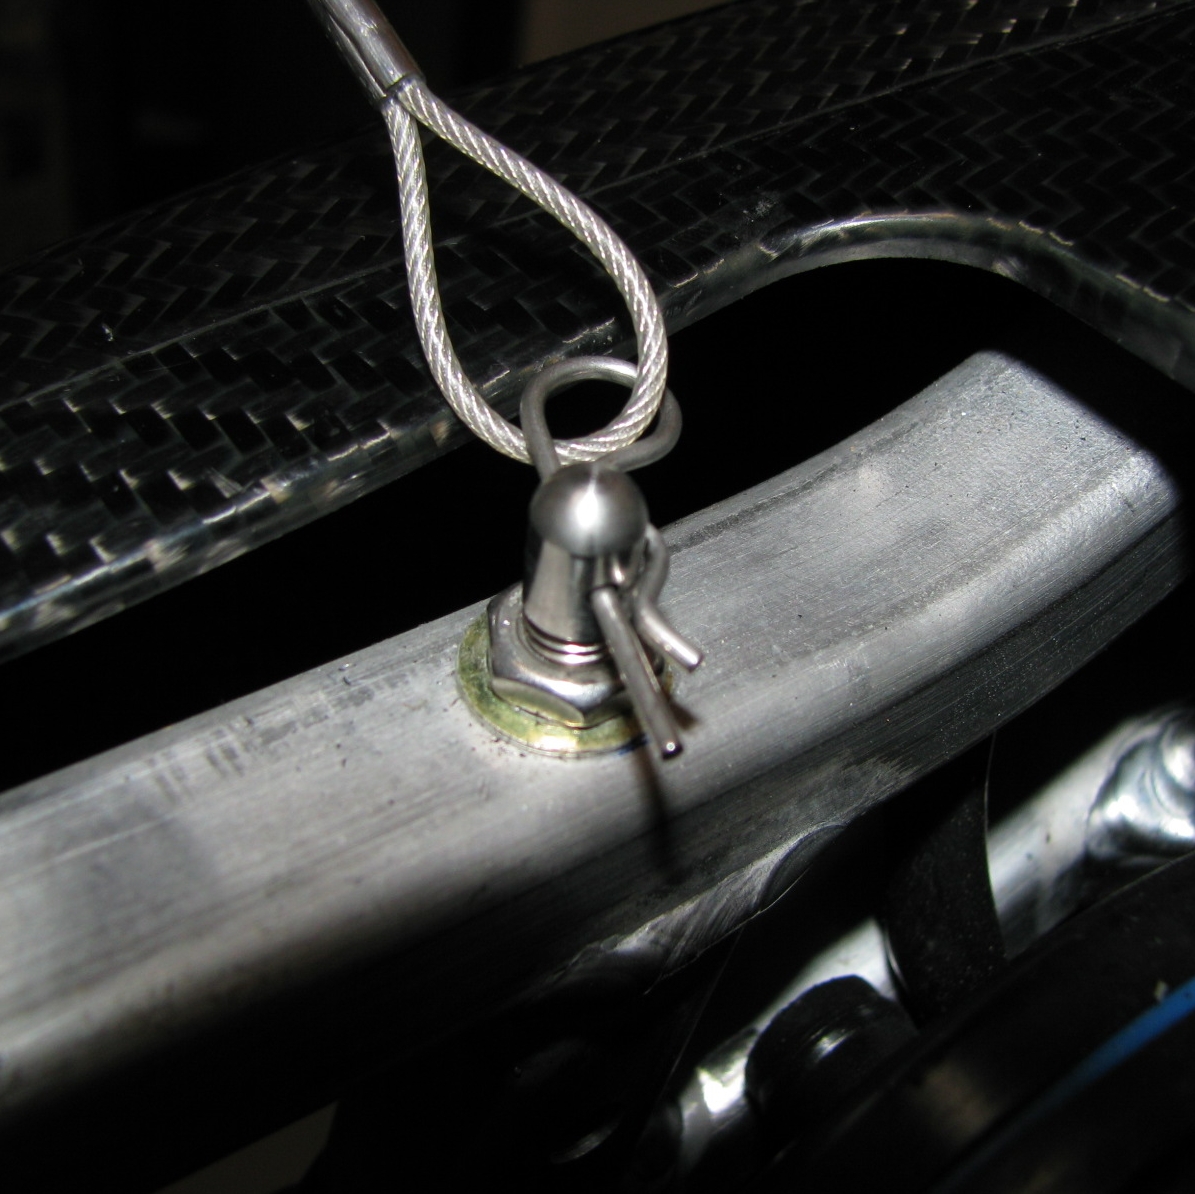 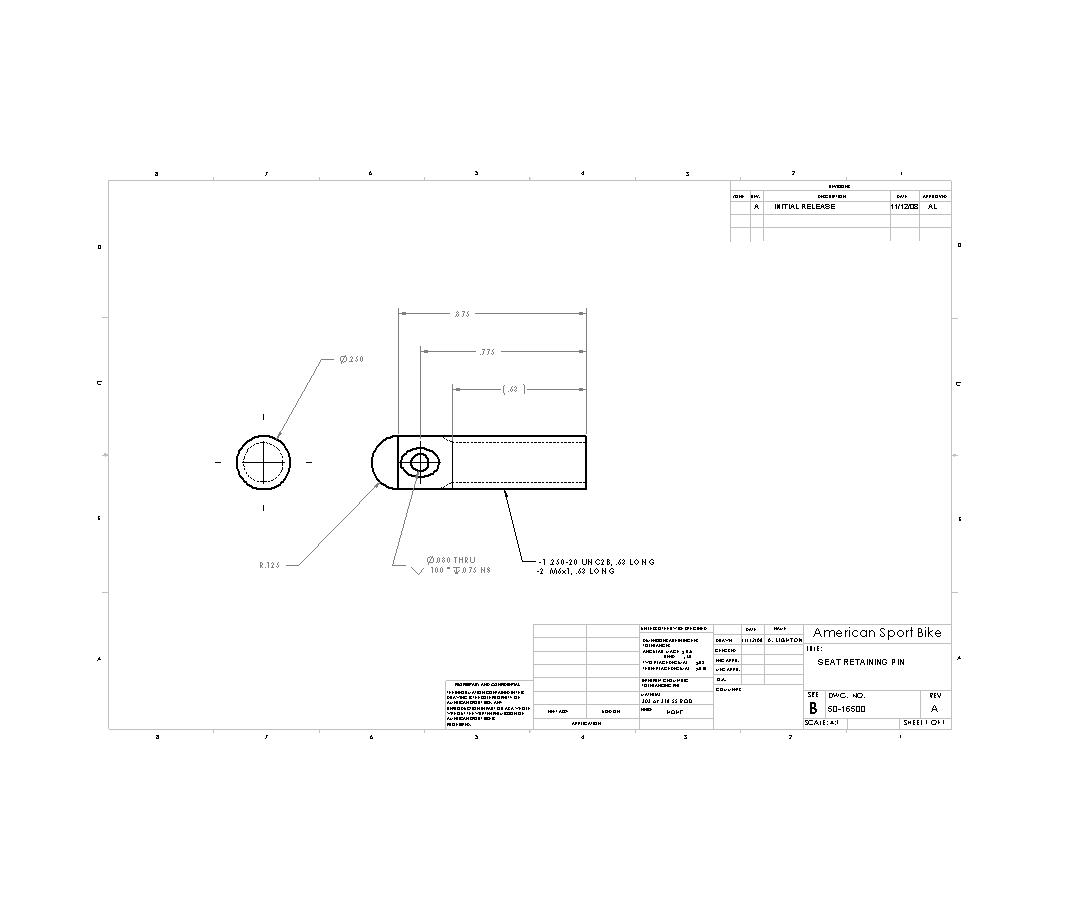 | ||
Twirlin |
That's why Al's the man. Great concept. I'm going to start by countersinking the hole on mine. I had the same thoughts about the flats, and what purpose they served, until I began to thread the screw into the seat pan. The flat gives pliers something to grab on to. | ||
Al_lighton |
You can just shove a pin through the hole to torque the pin in and leave off the flats. Al | ||
Hughlysses |
The flat gives pliers something to grab on to. I'd guess the main reason for the flats is to make it easier to drill the hole for the pin using a hand-held drill. With the right tools you wouldn't need the flats. (Message edited by Hughlysses on November 04, 2016) |