| Author |
Message |
    
Upthemaiden
| | Posted on Friday, April 27, 2018 - 08:10 am: | 


|
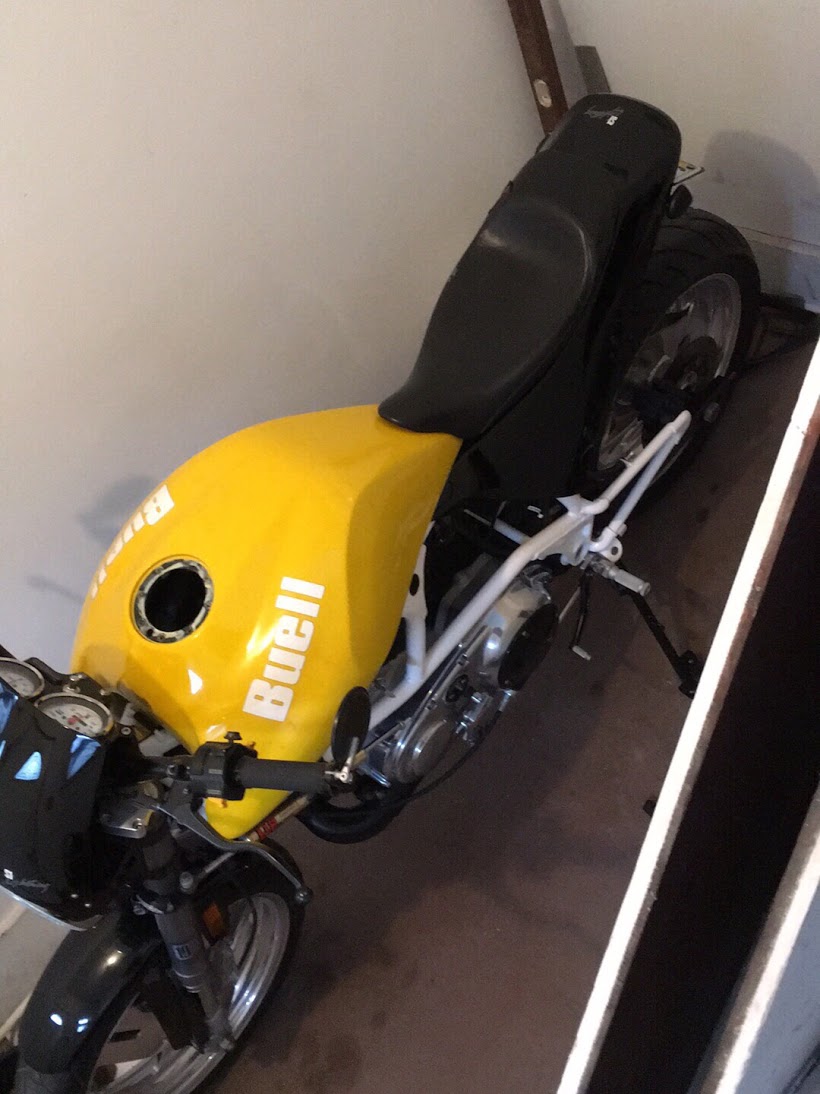
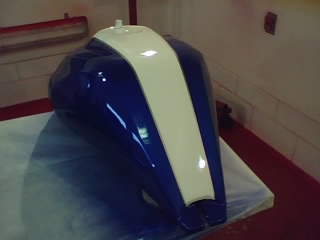
That came out really well. Matches the rest of the body perfectly as far as I can tell. Do you have a before picture of the tank to see where you started?
Great looking bike! I like the black gauge mount too. I've thought about painting mine but my top triple and bars are both silver, so I don't think it'd blend in quite as well.
What kind of footpegs are those? The pushrod covers and bases beef up the look of that engine a lot. |
    
Mike_lee
| | Posted on Friday, April 27, 2018 - 08:48 am: | 


|
heres the only before photo I have

pegs are LSL.
 |
    
S1owner
| | Posted on Friday, April 27, 2018 - 03:10 pm: | 


|
Remember if you put decals on again make sure you use the raised letter style. They help to not bubble. |
    
Mike_lee
| | Posted on Friday, April 27, 2018 - 03:28 pm: | 


|
Yes...i have a set of each. i was saving the raised set for the manta if it turned out ok.
Gona wait til i fill it a couple times before i apply them. I duno what this tank is gona do. Even tho there were no blisters after nearly 20 yrs...one never knows.
{fingers crossed} |
    
Jamie04
| | Posted on Sunday, April 05, 2020 - 09:43 pm: | 


|
UPDATE: With all of the discussions through the years regarding attempts to stop the infamous paint blistering on our nylon gas tanks, I thought I would give an update on the last M2 tank I painted, in 2016. So far, no blistering after four years. (This is despite many days ridden and parked in the hot sun.) For reference, I am copying again below the steps I took. I believe that long cure times and epoxy primer are very important. (Your results may vary.) I'm no expert. Some of these steps were taken from suggestions by others on this site. Since the process took so long, I bought a second used tank, so my bike was not disabled for the 3 months taken to do this. Good luck.
1) I sanded all of the numerous old paint jobs from the tank, down to the bare nylon everywhere.
2) I used plastic adhesion promoter, and then applied 2-part PPG epoxy primer. I let it cure for several weeks, then wet-sanded smooth, and applied another coat of the epoxy primer. Let cure several more weeks.
3) Wet-sanded again, then sprayed with PPG sealer. Let cure for another month.
4) Wet-sand and applied typical basecoat/clearcoat paint job. Again, let cure for another month.
5) Finally, wet-sanded, buffed and applied new decals.

|
|