| Author | Message | ||
Oldog |
Joe that is realy a great implementation! BTW what did you do for the small floating mount parts mine are horribly corroded and the boots are not in the best of shape. (Message edited by oldog on January 20, 2008) | ||
Joesbuell |
Sorry Jim are you talking about the speed sensor? I was going to buy a new sensor, I rang Extreme Creations were I purchased the Digi-Beast from and told him the story as to why I f#&ked it! He said go to Dick Smith(electronics store) and buy a Reed Switch $1.50. Also to get an 8mm stainless steel bolt and drill a hole not quite all the way through. I used my lathe for that step. Once I soldered the wires on and heat shrinked them, I epoxy glued it into the bolt. I waited about 10 minutes for glue to set then put some more heat shrink around the end of the bolt and wires. Refitted....jacked the wheel up and spun it. And guess what? It worked! I was very pleased with myself and it looks much better than the plastic one that came with it. Here's some pictures  Cheers Jodie 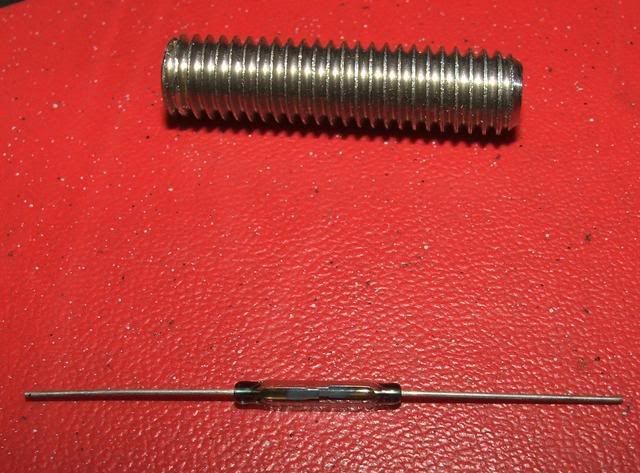 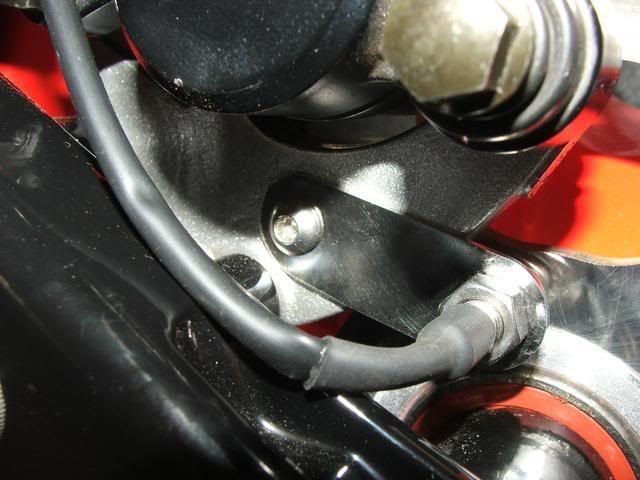 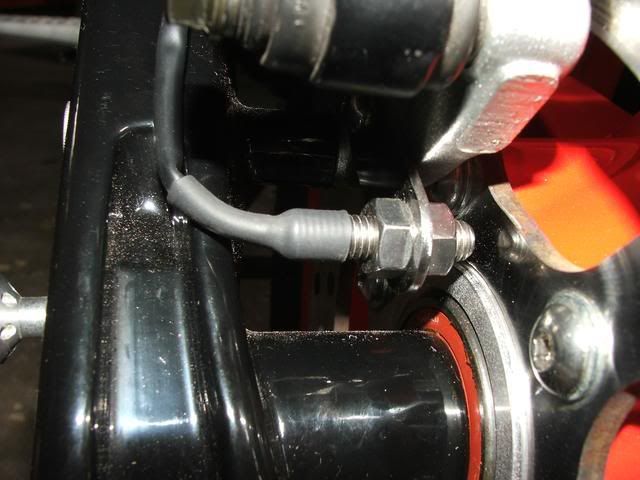 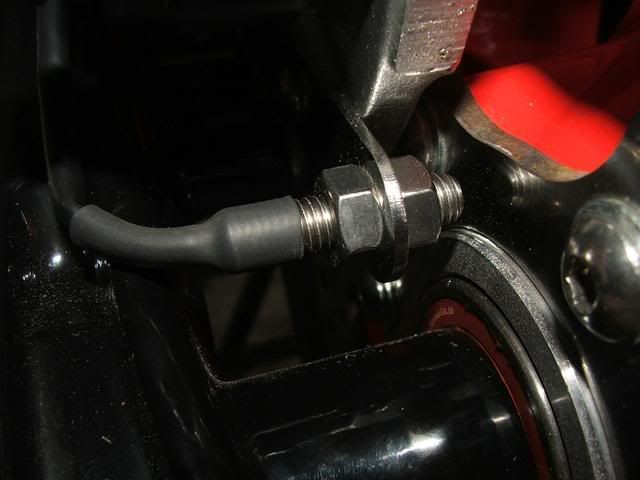 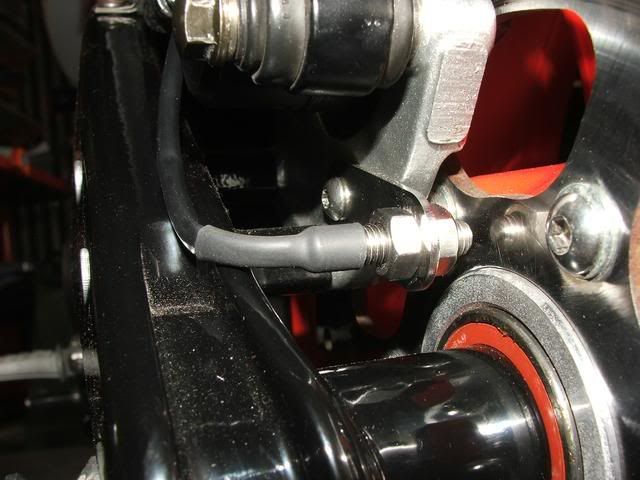 | ||
Cyclonemduece |
would you be interested in selling me an oil cooler bracket that you make? | ||
Joesbuell |
Happy to make one for you, How would you like it attached? I could make it so it bolts on to a welded on tab like mine(you'd have to have your frame repainted) Or I could make it so it clamped on with some P clamps, may not look as pretty. Is this for an M2? Cheers Jodie | ||
Bad_karma |
Jodie Do you have any pictures of the Speedo sensor during MFG and Assembly? Great job. Joe | ||
Nevrenuf |
i think erik oght to hire you just because jodie. this bike is turning out phenomenal. if nothing else you should get a pic taken with as high a pixel camera you can find so we can get a full scale poster of it made and send it up there to home coming. if fact jodie, if you can get a highres pic done and send it to me on a cd, i will try and get one done. | ||
Joesbuell |
Thank you very much Neil I'll do that, Once it's all done  | ||
Cyclonemduece |
jodie, yes it is for a m2, i have a mig welder and can weld a bracket to the frame like yours, i also am going to get the frame powdercoated soon so yeah i am interested in the same bracket as yours, how much $ do you need? (Message edited by cyclonemduece on January 21, 2008) | ||
Nevrenuf |
i'll see what i can find out here jodie. and here's to finishing the bike up  | ||
Oldog |
I guess I was not clear { I do that when excited! ) my small parts comment was about the bits for the rear caliper. Great job and very creative on the speed sensor mounting, I am supprised that the reed switch works there, but a great job none the less! | ||
Joesbuell |
Well Joe here's the MFG pictures of the speed sensor you requested, I used this opportunity to make a slight alteration to the design. As you will see I made this one so the wire exited at a right angle. And it now looks much tidier. Here goes! 1st the parts, 8mm Stainless steel bolt and nuts plus one reed switch. 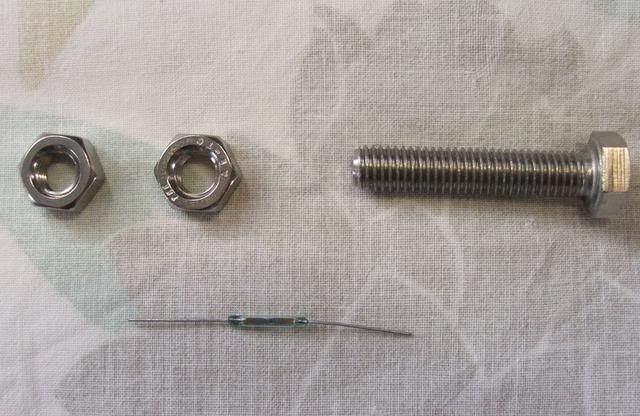 Next mount bolt in lathe, and cut the head off with angle grinder. 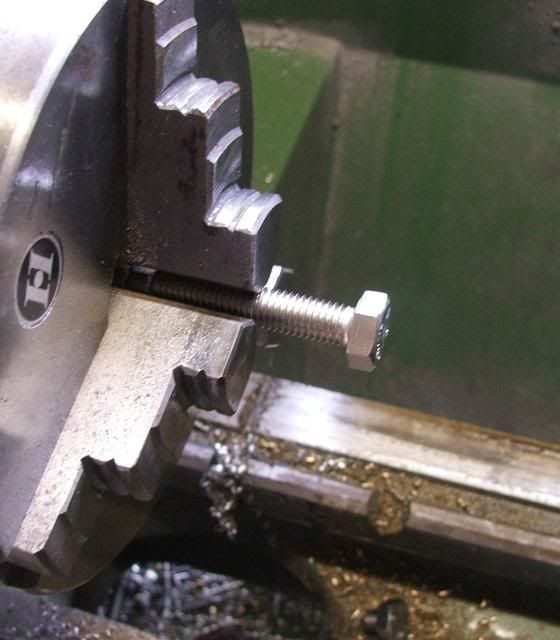 Next I ground a flat surface and center punched it to drill a hole for the wires to exit. 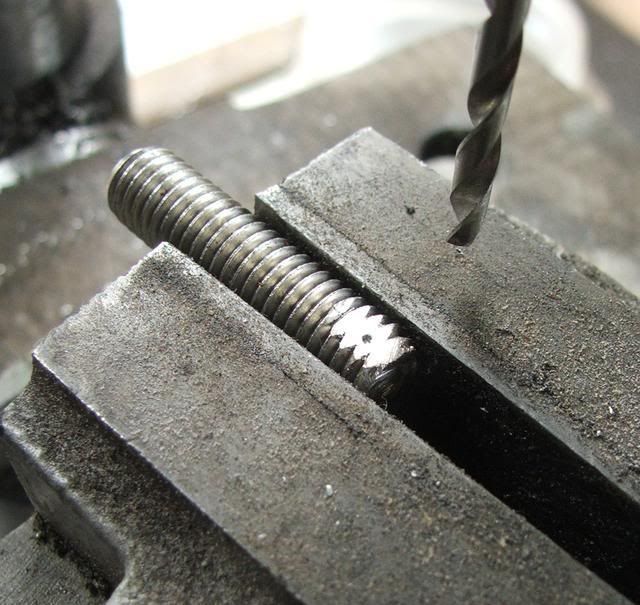 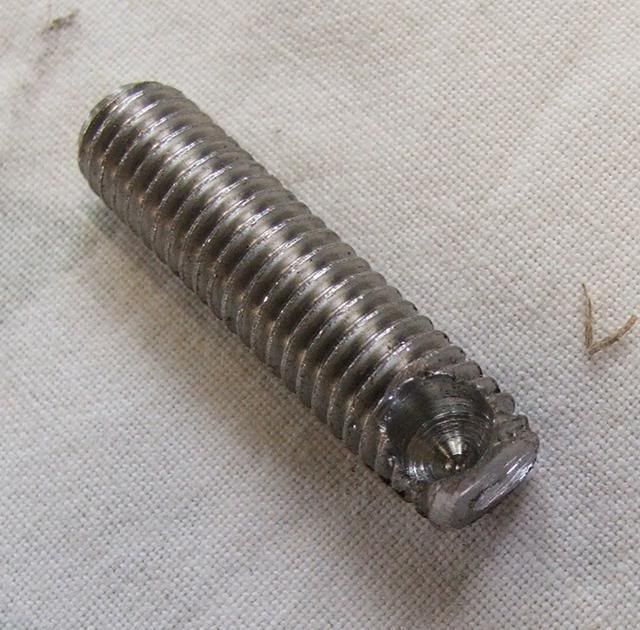 Next I drilled a pilot hole down the center of the bolt then drilled it out with a 5.5mm drill. note don't drill right through leave a couple of mm's at the end of the bolt. 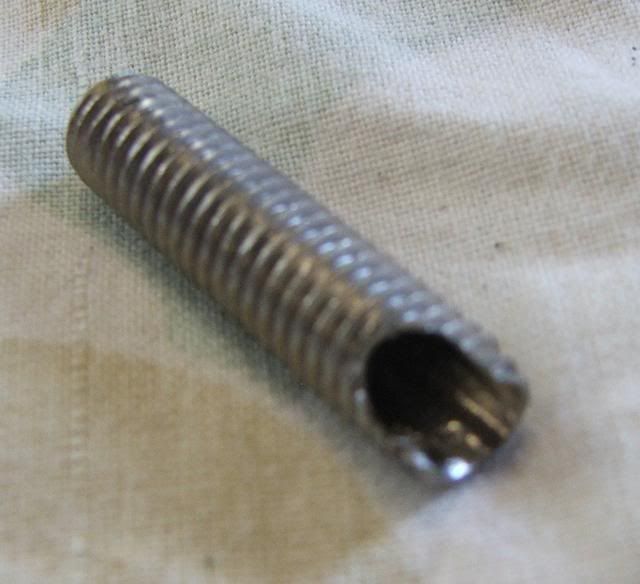 Thats the bolt done. Here's the wiring. 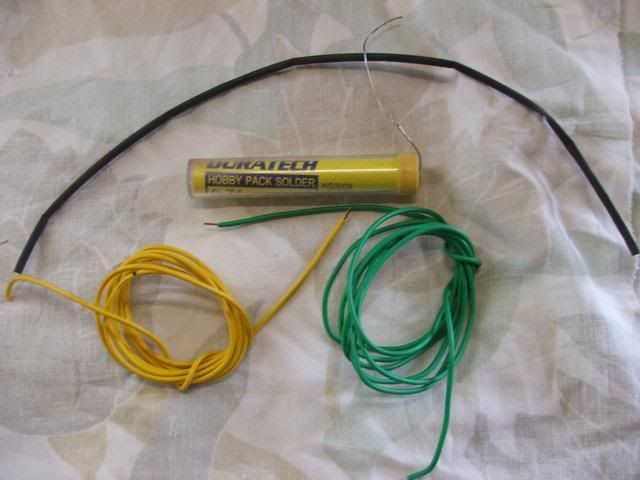 Hold the reed switch just above the glass with needle nose pliers and bend the wire like this. 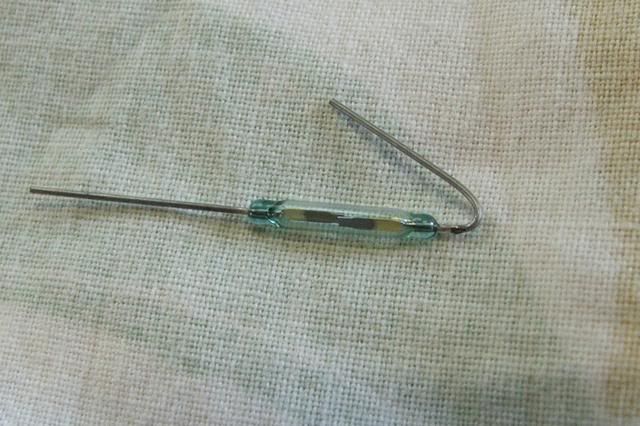 Place some heat shrink over the wire, I taped the reed switch to the bench to make it easier to solder. 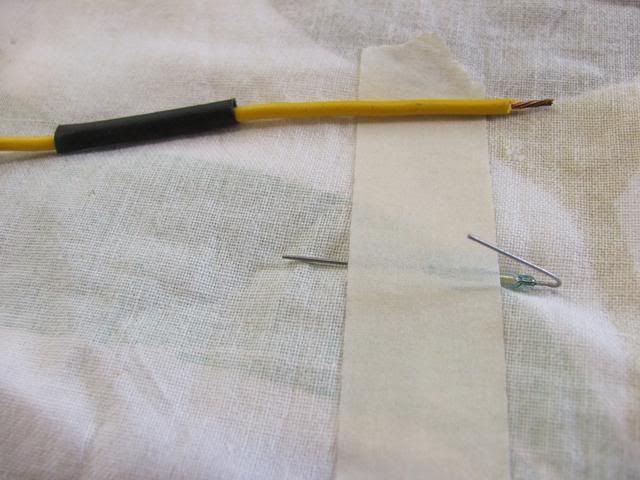 Should look like this 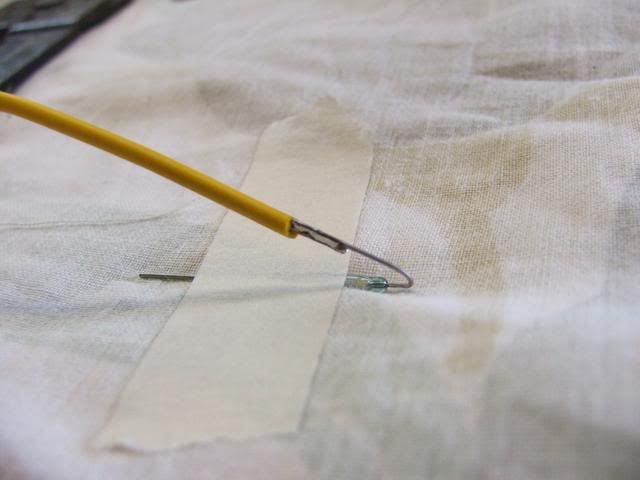 Slide the heat shrink all the way down then shrink it with a lighter. Trim a little off the other end wire, like so. 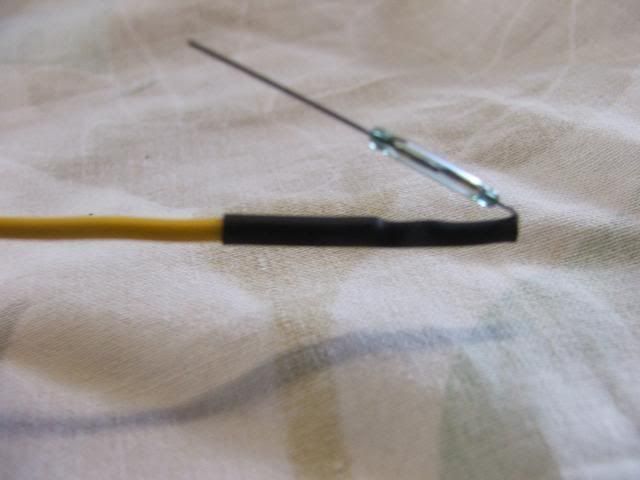 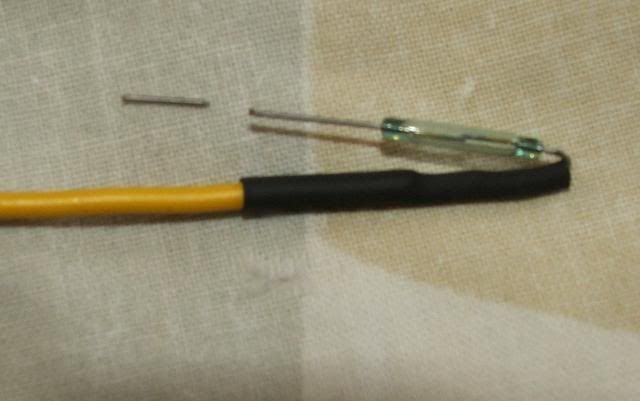 Solder other wire on and slide heat shrink all the way over the reed switch and shrink it. 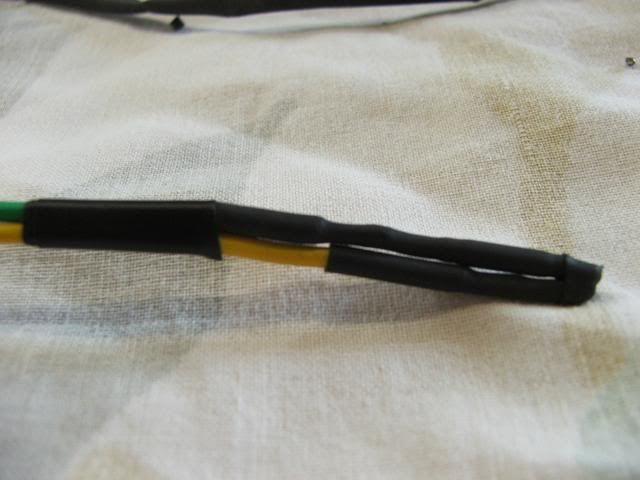 Here it is trial fitted in the bolt. 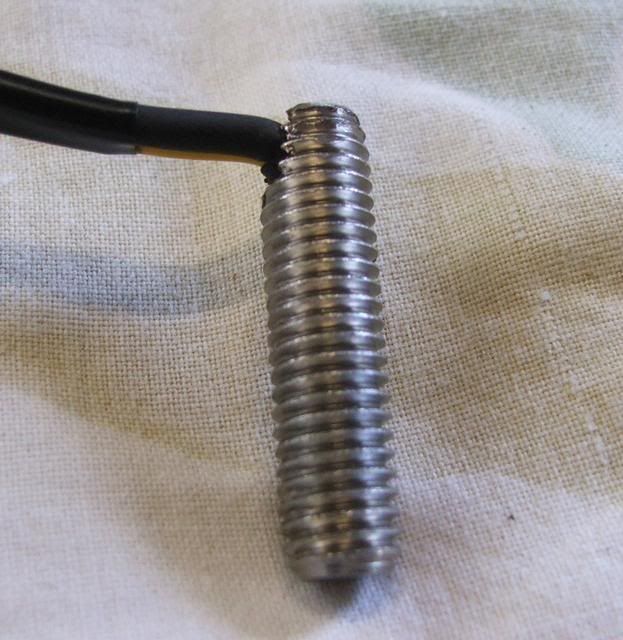 Next mix up some epoxy glue and coat the inside of the bolt and the reed switch assembly. Insert in the bolt, it helps to go in and out a little to help the air bubbles out. 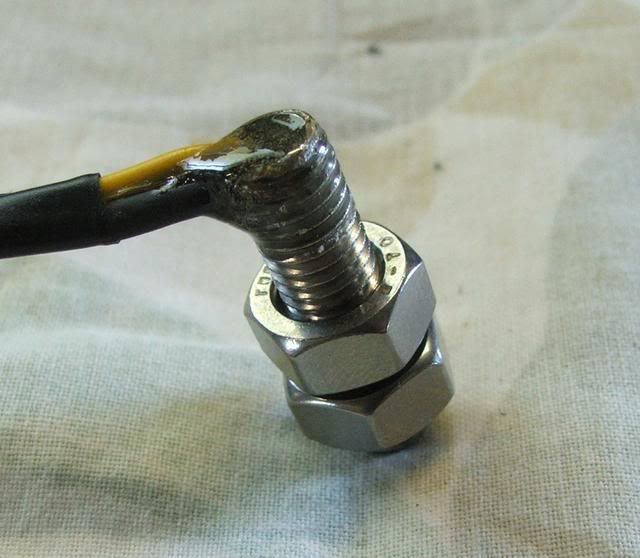 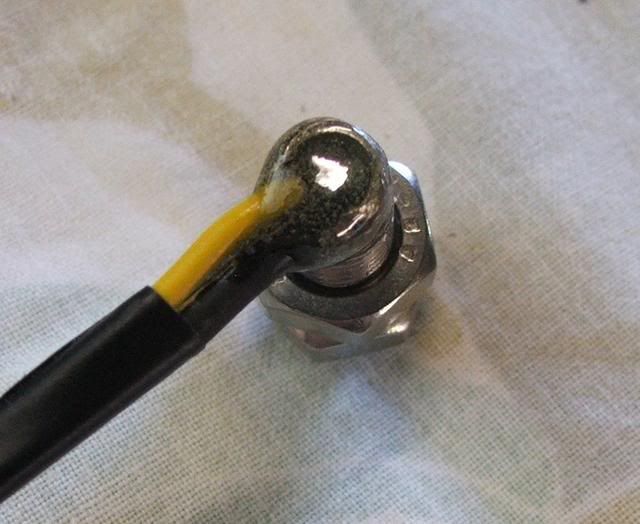 This next bit was a little fiddlely! because of the right angle. Get some larger diameter heat shrink and put over the right angle, and shrink it. 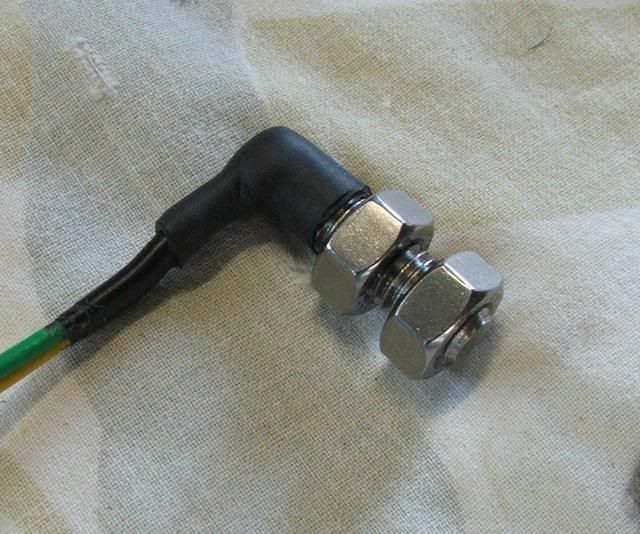 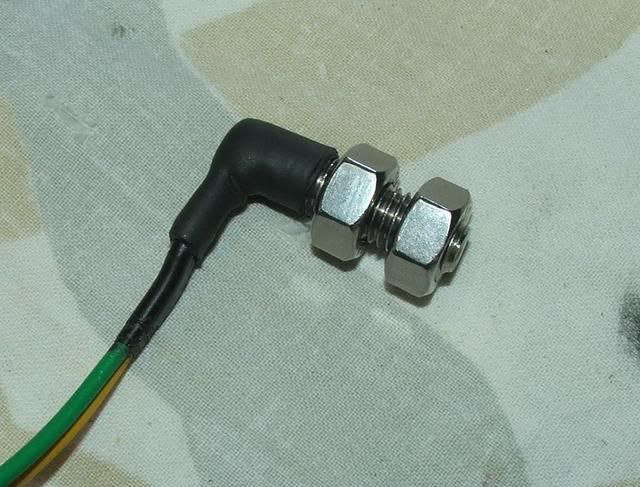 Next I removed the covering from the other speed sensor(could use new stuff if you have it) and placed over the new wires. easier if you poke a stiff wire through the cover first, tape you wires to it then pull it through. Here it is ready to install. 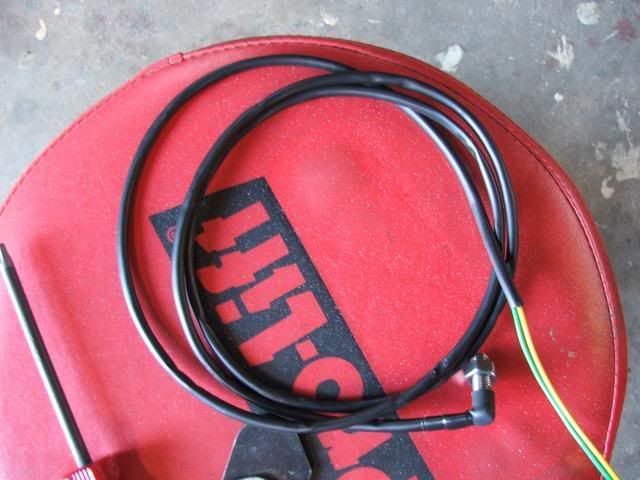 Here it is installed! Looks much tidier than the other way I had it. 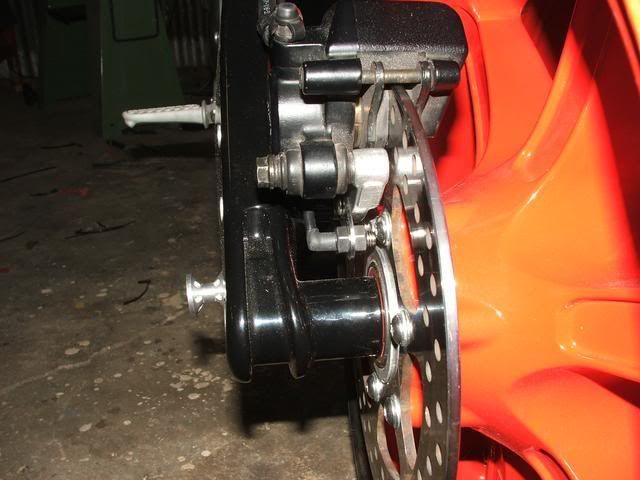 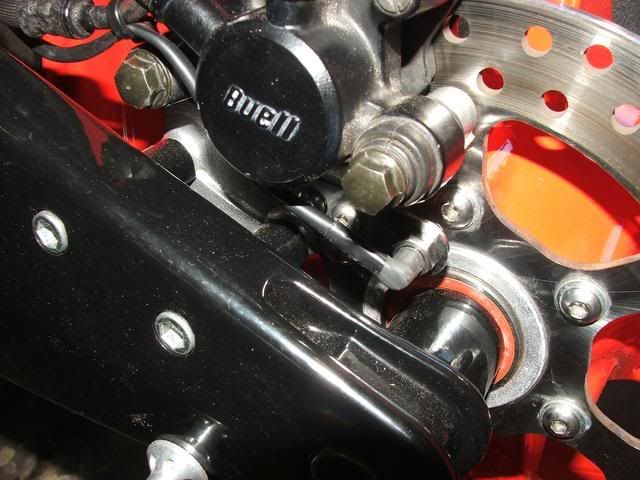 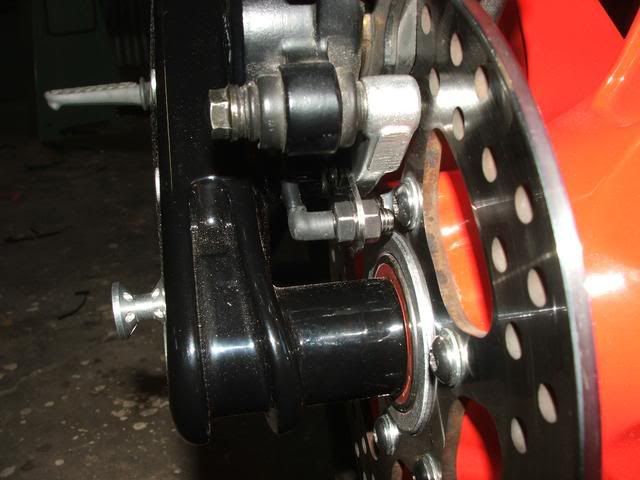 Phew! I also reassembled the left fork. 1st time I've done one of these! 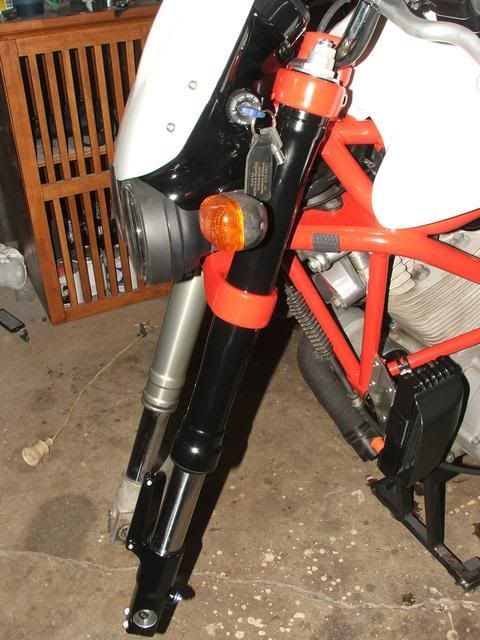 Cheers Jodie | ||
Joesbuell |
Jim I have done no mods to the caliper mounts as they were in perfect condition. | ||
Werewulf |
this article is a real inspiration to me...all you see these days is bikes that are nothing but a creation from a chrome catalog... anyone can buy a bunch of parts and bolt them on.... this is the kind of project ive been wanting to do for a long time and maybe now i can get the guts to follow thru... thanks! | ||
Nevrenuf |
i havn't seen one thing that made it look home made there jodie. very professional looking. even down to your speed sensor there. | ||
Bad_karma |
Jodie Great job on the Bike And the speedo pick mod as well. Joe | ||
Joesbuell |
Thank you Guys  | ||
Cyclonemduece |
40 dollars U.S. sounds alright, pm me with an address to ship it to. | ||
Wile_ecoyote |
Absolutely fabulous, I'll say it again. No, nothing looks like it was homemade or cheap. | ||
Joesbuell |
Here's a prototype frame plug I made tonight. I think it looks pretty cool, It will have a grove in the back section for an O ring, this will keep it in place. I'll get them powder coated black too. I'm getting my rear spring powder coated white as I didn't like the blue. Cheers Jodie 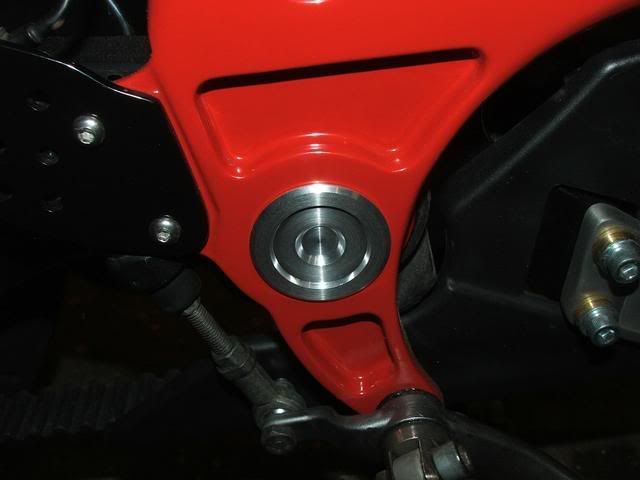 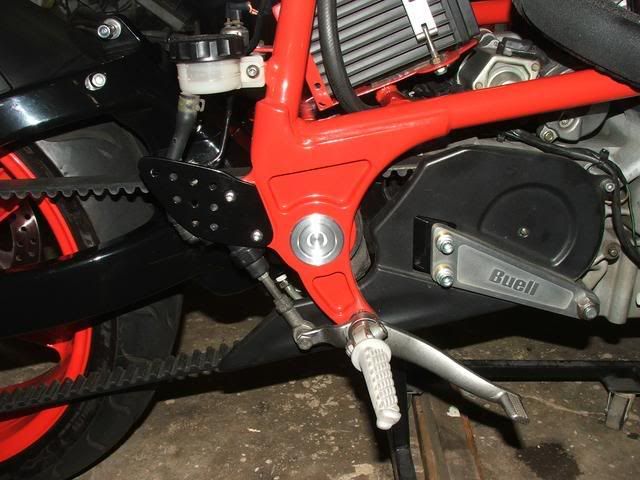 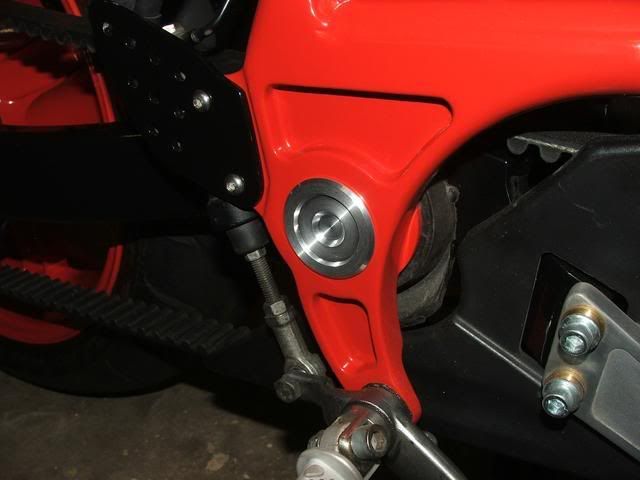 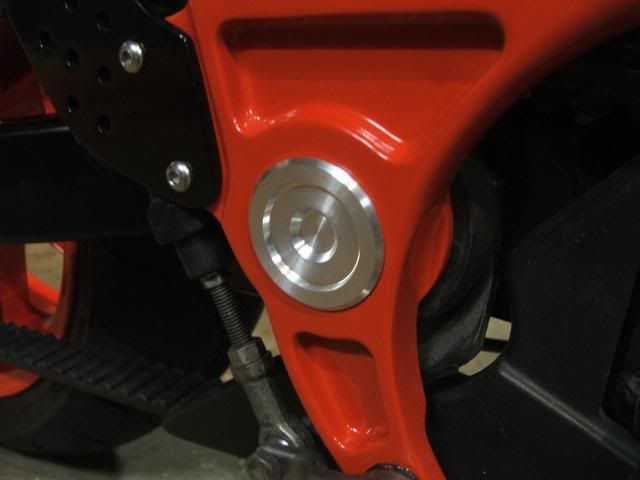 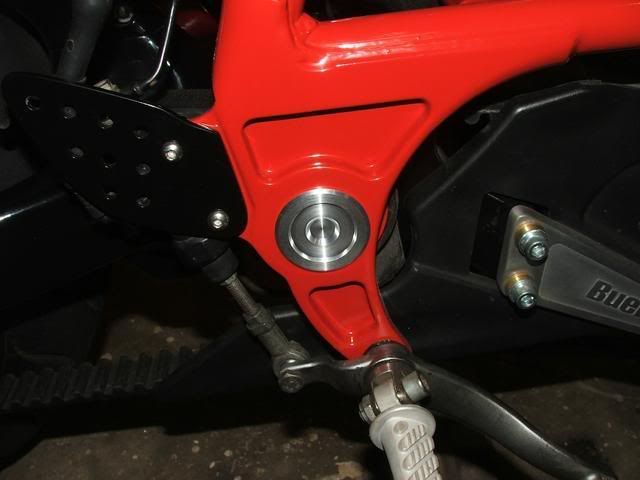 | ||
Oldog |
if its aluminum I think it looks cool bare as always "top job" | ||
Nevrenuf |
"agree" it's just that little bit to make it stand out and to show the amount of detail that went into it. | ||
No_rice |
this needs a bump for sure | ||
Cyclonemduece |
yeah leave it bare its got the billet look,or the color of the frame | ||
Thespive |
+1 for leaving it a machined finish. --Sean | ||
Nevrenuf |
where you hiding at jodie. hope everything is alright. | ||
Joesbuell |
Sorry guy's been a little busy, The Mrs and I have a new arrival. We have new baby boy born at 4pm 9lb 1oz. I'm actually at my fathers house a couple of hours from home. Another future Buell rider! This is my 4th son  Very proud I am today  Cheers Jodie and Co. | ||
Buellfighter |
Congrats Jodie!!!! | ||
Ceejay |
  | ||
Thespive |
From one Dad to another, congrats! --Sean | ||
No_rice |
congrats! damn you are going to have your hands full with 4 boys!! |