| Author | Message | ||
Indybuell |
Looking very good. | ||
Tf1175 |
H20werker, want to make one of those for me and ill buy it from you??? let me know email me at tf1175@gmail.com | ||
H2owerker |
Thanks Indy!  And as far as replicating the relocation bracket. I'll be happy to. As soon as my bike is back together, and I have some time/materials. I'm really glad someone is impressed enough to request one. I just thought it was good theory to create the plate-to-tail angle with one bend to reduce stress points. | ||
H2owerker |
Tf1175, You've got mail.  | ||
H2owerker |
The weather was so nice here today that I didn't do much work on the tail light. However I did manage to: begin flushing the oil system put the last belt guard on bolt up the tail section, and put the license plate relocation bracket on install the battery, connect the wires for the battery tender, and the wiring for new headlights (when I can get that housing completed) rearset installed pillion pegs on lube throttle cables And set her back down on the ground! I'm not real happy w/ the relocation bracket though. I'm going to have to make a new one. It made the plate visible...but was to close to the tire. I 'tweeked' it up/back, and now I think the light wont illuminate the plate well. Oh well. If it's not worth doing twice...It's not worth doing right. | ||
H2owerker |
Well when I awoke on Sat. morning the weather wasn't so nice anymore, and I got back to work on the taillight. I probably should have gotten some epoxy to secure the LED's to the 'light board' I made. But I used clear silicone caulk instead. Which took much longer, but gave me piece of mind that If I put one in backward or the wrong place I could re-do it. I'm not going to be able to put license plate lights inside...I forked-up when I decided to use aluminum duct sealing tape to give the 'board' a silver finish. To keep it from short circuiting the array I cut away small rectangles behind each LED. But that's letting light through from the back side of the board. This latest SNAFU along w/ the poor design of the plate bracket have brought me to the conclusion that relocating the original plate light, and mounting the plate under the tail, will be the way I'm going for now. Now that I'm done updating this thread I've got a question... Anyone else collapse the muffler while torquing the clamps? | ||
H2owerker |
I don't have any pics of the 'new' plate relocation bracket I made. They'll be coming soon... But here are a few pics of the LED light board, array wiring (nasty looking right now), and the resistor circuit that needs final trimming (sorry about the photo quality there). 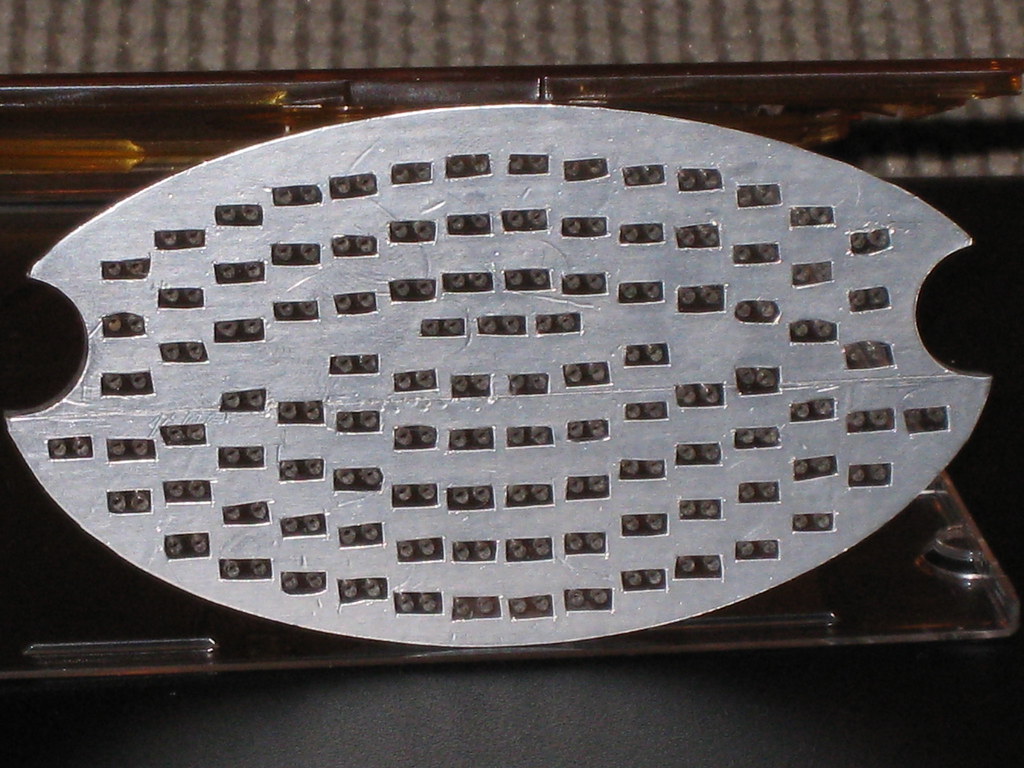 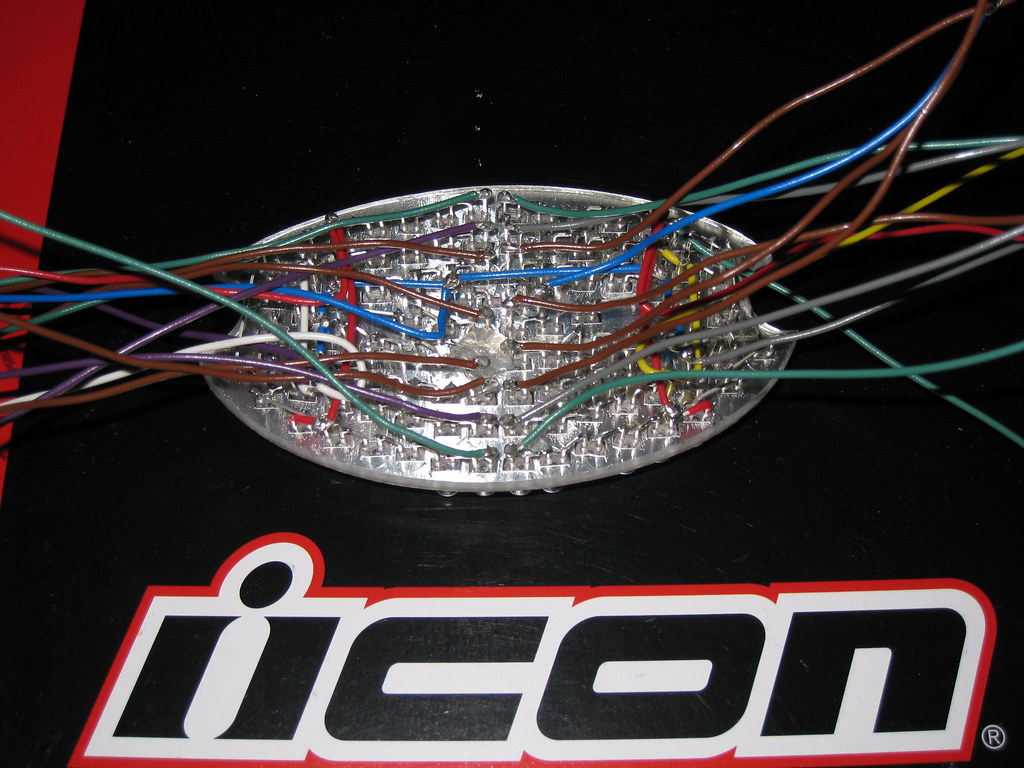  | ||
H2owerker |
I updated the circuit board today by cutting some slots in it for the wiring to come through. It actually worked better than I thought it would, (finally somethings going my way) and I couldn't wait to solder it together. I'm going to fill between the circuit board and the light board w/ silicone caulk to add support, I don't think the wires/LED leads will support the circuit board for long. Here are the wires pulled through the board. 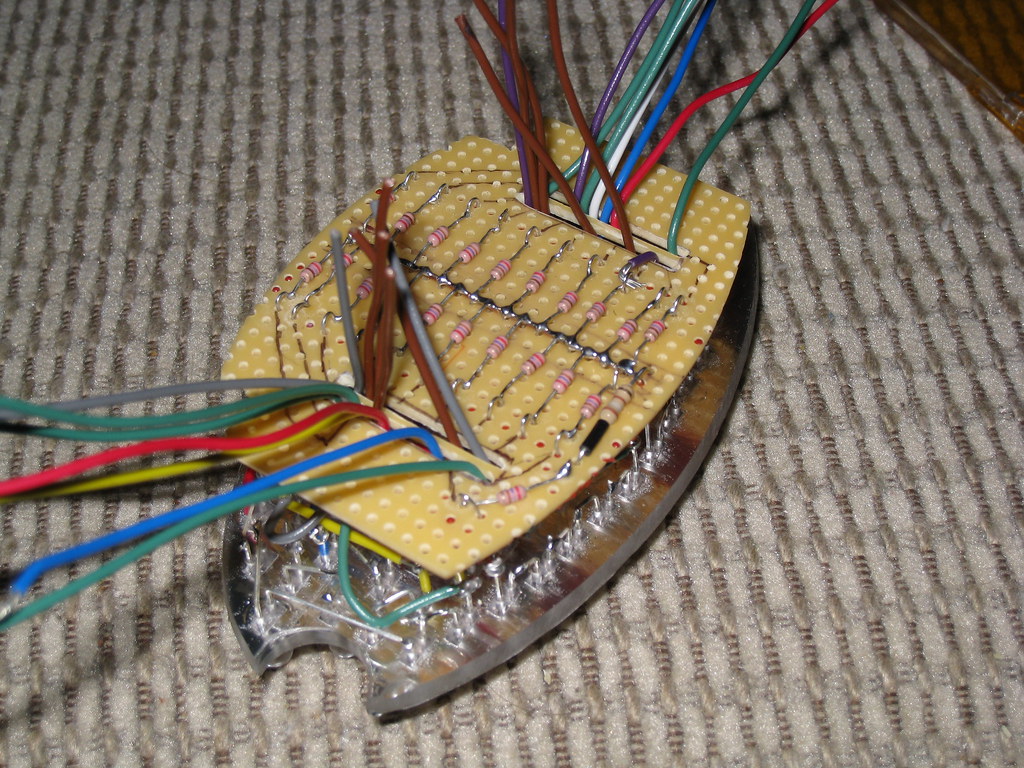 The wires trimmed and soldered. 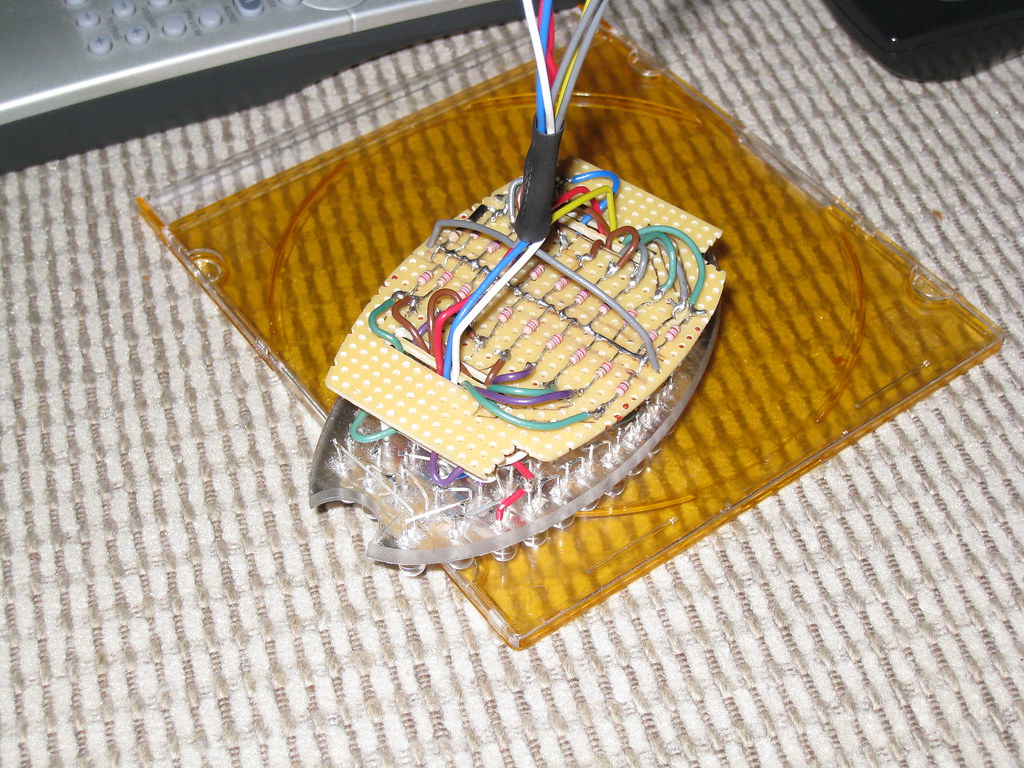 The running light pattern through the Clear Alternatives lens. 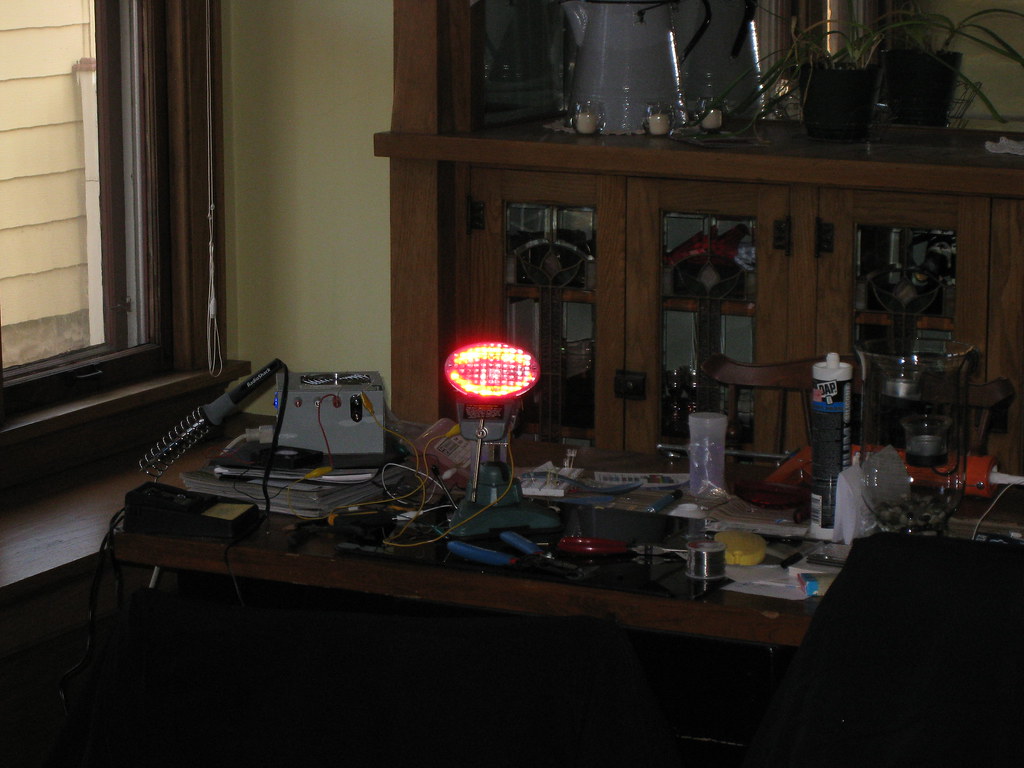 And illuminated w/ the brake lights. 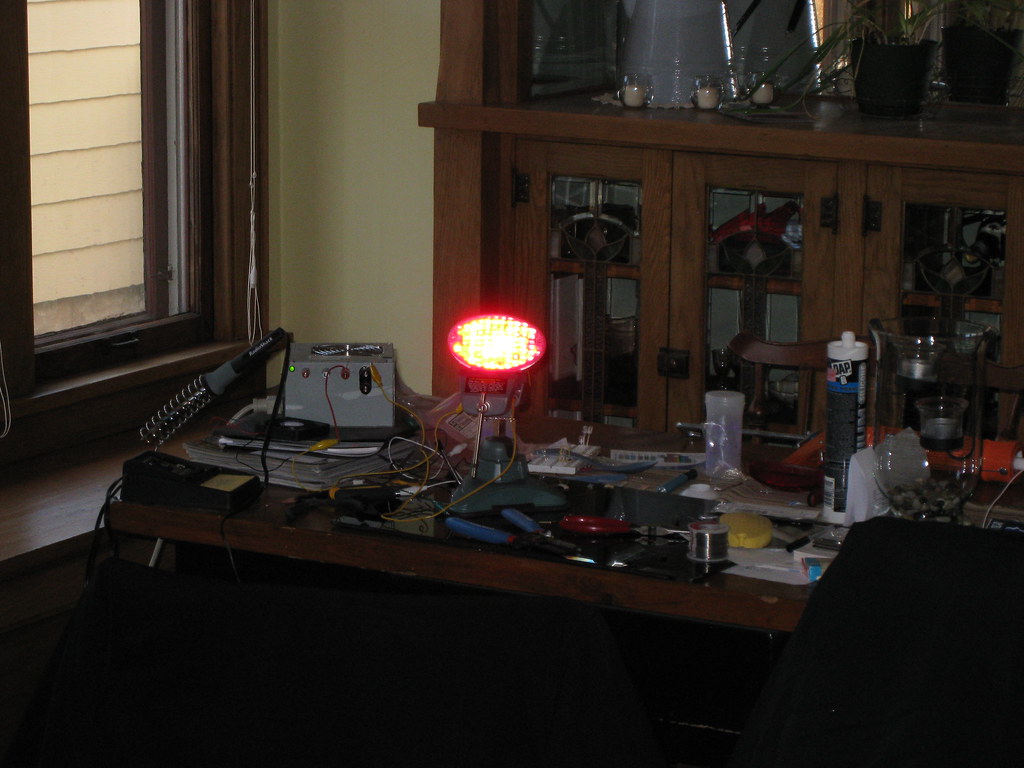 There's no difference in intensity on between the running lights and the brake lights. | ||
Boney95 |
Nice work man. Looks great! If I ever need any work done on my bike that I can't do myself, I going to hit you up, if that's cool. I'm in MKE also. We'll have to get together for a ride also. | ||
Ochoa0042 |
this looks impressive, cant wait to see the result!!! | ||
Diablobrian |
looks good! | ||
Sifo |
Nice work on the light! Now you need a lens that shows off all that hard work. It's a shame that someone like XB-Lights doesn't have a clear lens without the refractors in there! HINT! HINT! It was warm enough after work today to work out in my garage. I got some electrical edumacation and got my brake light flasher working with my light! The diode thing you suggested was my first thought also, but would have required more reworking of the light than I wanted. I solved the problem by using a relay to separate the clean brake signal where I could hook up the flasher unit from the dirty side with the bleed from the light. It works great, now I just need to clean up the installation. When do we get more pics of the GREEN???  | ||
H2owerker |
Thanks guys! Boney95 feel free to contact me anytime...I can't guarantee I'll be able to help. But I'll try. And yes we should go for a ride. Maybe we could get together w/ Sifo for a cruise through the Kettle Moraine Parks. I got together w/ a few fellow 'Buellers' for the Daytona 200 and I'll bet they'd be down for some riding as well. When do we get more pics of the GREEN???-Sifo Not gonna happen till it's all back together. I will run down the 'to do' list for you though. 1:Wire taillight to the bike and test. (I still need to get some connectors from RadioShack) 2:Clean the clay residue from the inside of the CA lens. 3:Install the original headlights  (they'll have to do for now) (they'll have to do for now) 4:Get her started, (I hope that's not too troublesome) and flush the oil system. (after that the 'chin' goes back on) 5:Wash 6:Get my wife to take some photos. *DISCLAIMER If you noticed I haven't mentioned making a clear lens for the taillight. I haven't given up, but am going to be working on getting the bike ready for the streets. I will determine weather or not photography will be postponed based on my progress, and weather conditions. | ||
H2owerker |
Oh, and I forgot to mention that I ordered my ECM cable from http://www.xoptiinside.com/ tonight. I'll be doing a TPS reset before turning the engine over... | ||
Boney95 |
H20, sounds good man. I'll get be in touch with you once the weather turns. | ||
Bads1 |
Ryan, Looks great what your doing. I look forward to seeing your bike done. Dana | ||
H2owerker |
Dana, I can't wait to ride out of the garage on it! I'll be heading down to your neighborhood ASAP when it's all back together. I'm not sure how long it's going to take to actually finish what I've started here though. So I wont consider it "done" till the xenon headlights are on. My buddy is going to be able to do some side work in the machine shop at his new job. The machines he needs to use aren't actually in his department, so getting time on them will be hit and miss... I'll give you an idea of where I'll be going w/ the headlights. 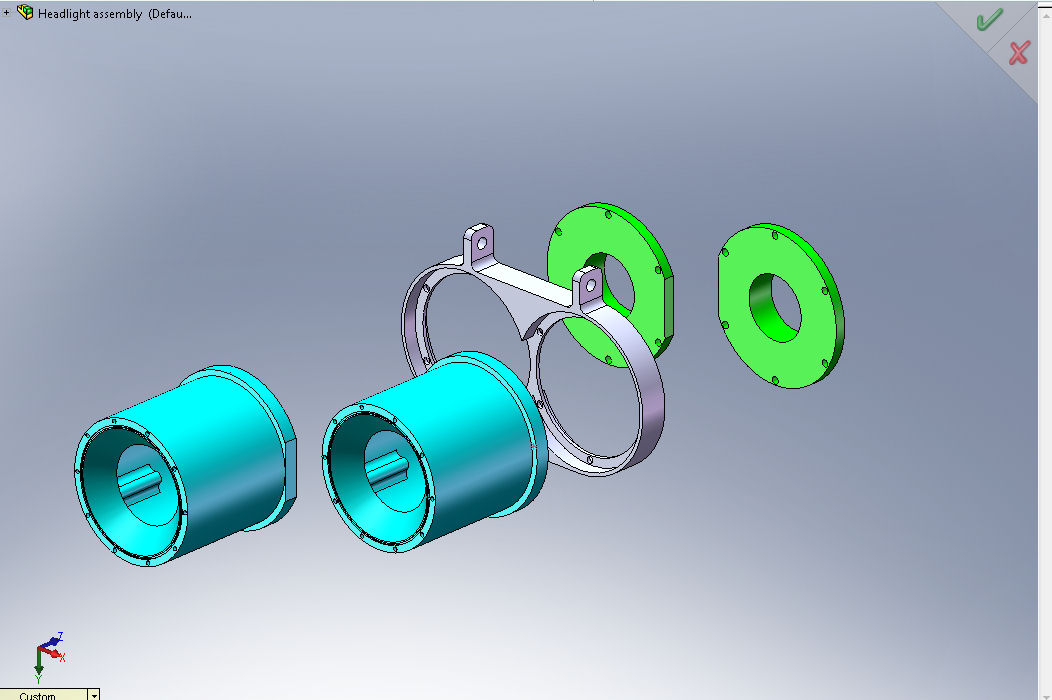 This image is the second revision, it was the first to get far enough to picture all 3 major components of the housing. The latest revision is a little lighter, and is also much more interesting visually. | ||
H2owerker |
"And it's off to a bad start. I didn't realize that modeling clay could have a 'reaction' w/ the acrylic lens I'm trying to partially replicate. But it has left some kind of deposit on the inside of the lens where I filled the dimpling, and I can't seem to remove it." Yes it can get worse...After reading about polymer clay clean up on-line, Isopropyl alcohol was recommended. Having already tried that technique I decided it might be time to try some 'aggressive' chemicals. I started w/ petroleum distillates (WD-40)and graduated to brake cleaner.  I wasn't thinking about it's ability to attack the acrylic. I'm now the proud owner of a white lens... I wasn't thinking about it's ability to attack the acrylic. I'm now the proud owner of a white lens... I was probably going to sand the bumps out of it anyway. Doing the outside really wont be much more work. The worst part of this is that I've siliconed the lights into the reflector housing, and can't go back to original while I work the bugs out of this set-up. Oh well. I've got all day tomorrow, and a Dremel. It can't get any worse...can it? | ||
H2owerker |
No more bumps. I wish I could say that the dremel made short work of them, but it took the better part of the day. I still need to remove the 'ribs' from the outer edge though. While sanding the outside I noticed lots of imperfections in the lens. I sanded all these concave spots out, and now should end up w/ a lens that's fairly even looking. | ||
Ochoa0042 |
FINISH THE BIKE DUDE!!!  | ||
H2owerker |
Yep, sanding the inside/outside and polishing did the trick! I now have a clear lens w/o any diffusion. And since everyone is pic hungry... The clear lens: 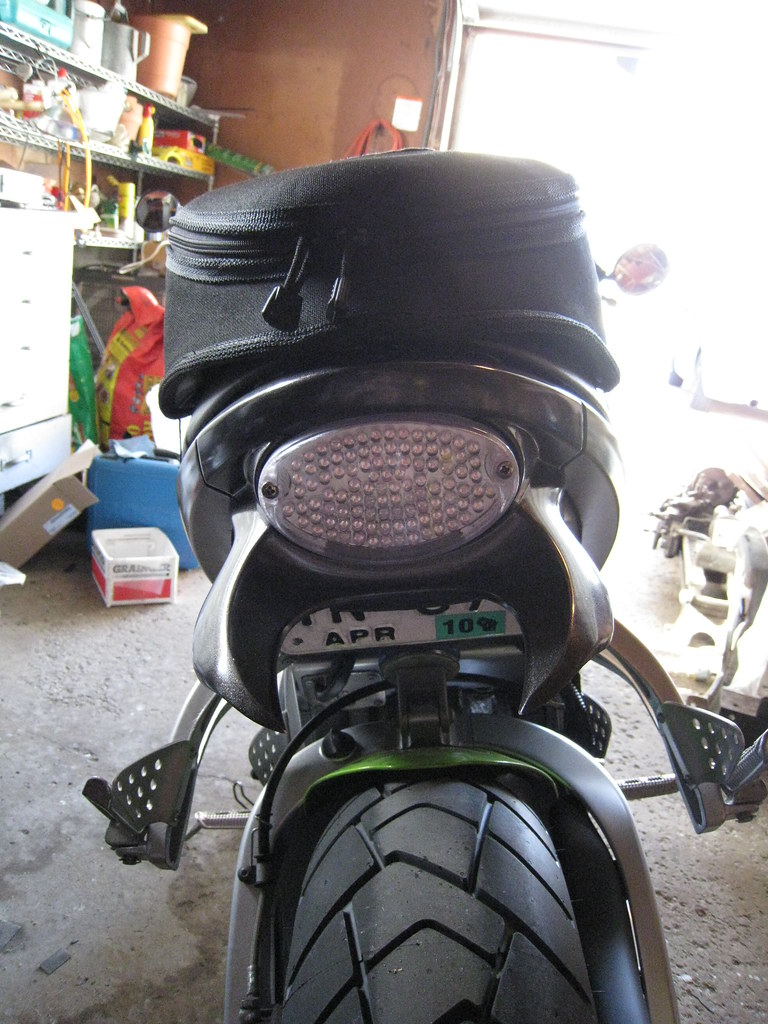 Running lights: 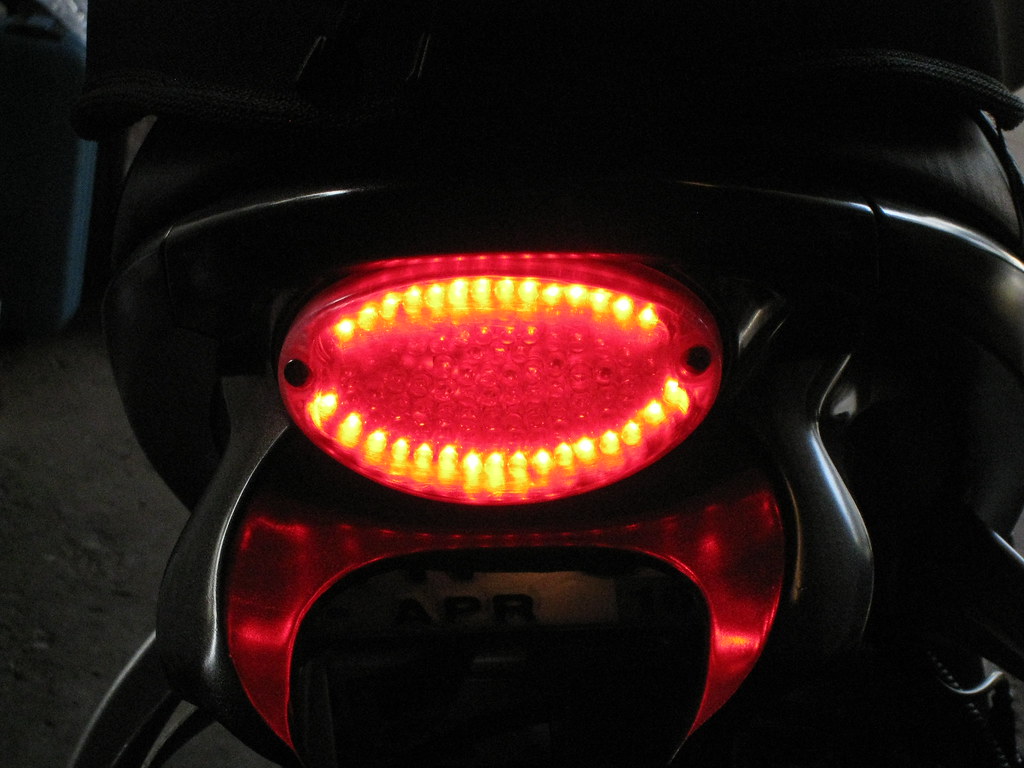 Brake light: 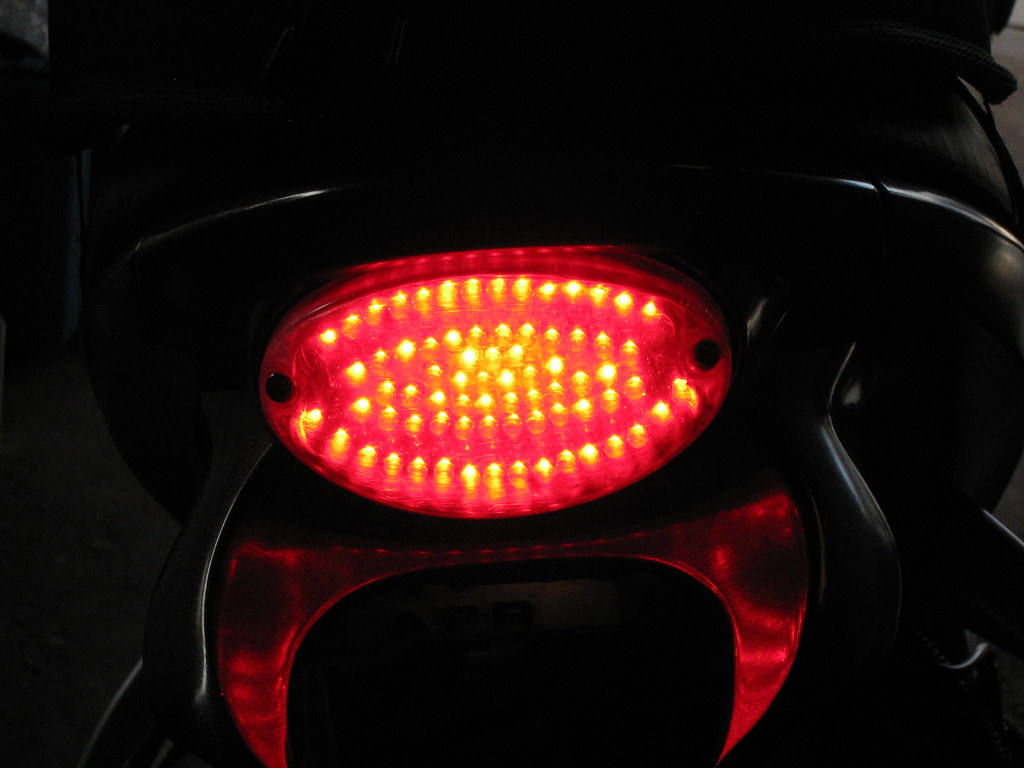 W/ the turn signal: 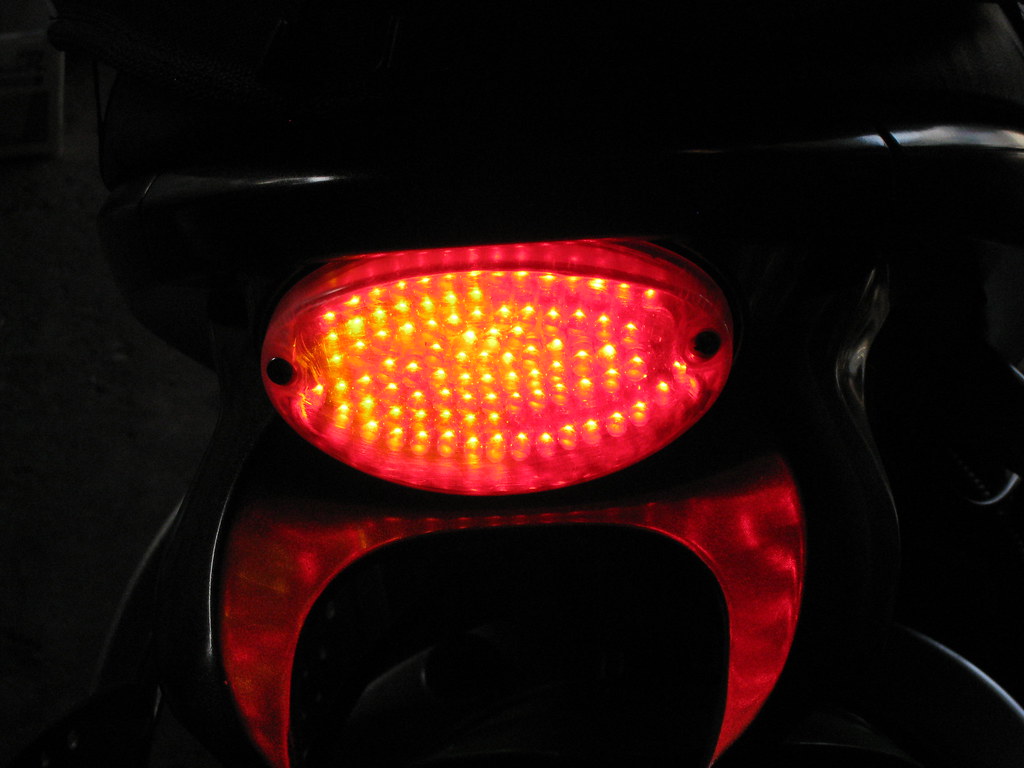 It was tough to get the camera to capture the turn signal or the intensity. But there you have it.  I'm getting closer everyday to being ready to show the finished bike off. Please hang in there, I think you'll like it. | ||
H2owerker |
Forgot to mention that Xopti got the ECMSpy cable to me by Mon. afternoon! GREAT SERVICE! I rode to werk on Tues, and had the same misfire issue I had last year. I figured that since nothing had changed w/ the Eprom that's how it would be. I've just finished setting the TPS to 5.1, and am going to go out for a short spin to see if anything got better. I suspect there is a fuel/ignition issue somewhere in the program. (lord only knows what the PO did in the program) I'm not expecting anything, but figure it's always best to start w/ the basics. I guess I'll have to learn how to copy the map, and start searching for advise/links. The rest of the graphix should be on this week, and I'll be washing/photographing after that. Don't lose faith. It will get done! | ||
Sifo |
Love the look of that tail light! I wish I'd gone that route on mine. It would have been quicker, easier and cheaper. It's always great to see how someone else attacks the same problem. Cool tail chop too! Will that be your only turn signals? I deal with too much traffic to feel comfortable with an integrated unit like that, but it looks great. | ||
Drewski |
I see green!!! | ||
H2owerker |
Being a "city Boy" I'm probably going to have other turn signals. I've got some 1/2" Lexan laying around, and am thinking about machining some pillion heel guards w/ LED's... | ||
H2owerker |
Well the project is about as complete as it will be this year. While I'd like to recap what I've done over the winter I'll let your memory (if you've been following along) take care of that. From this...  To this... 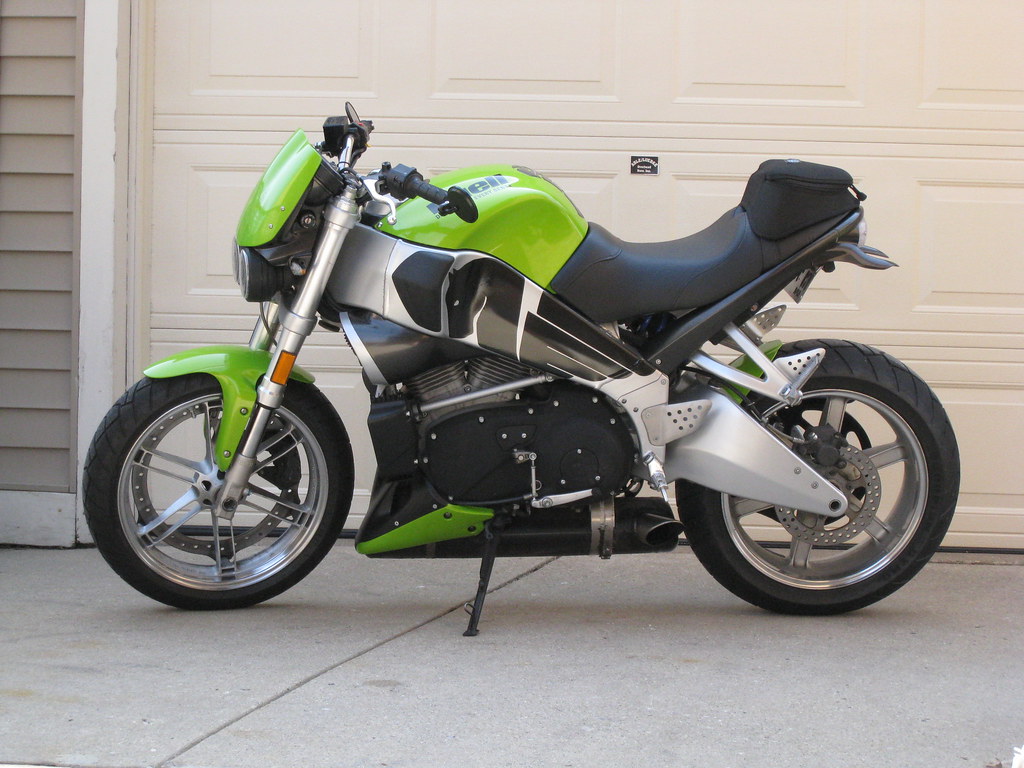 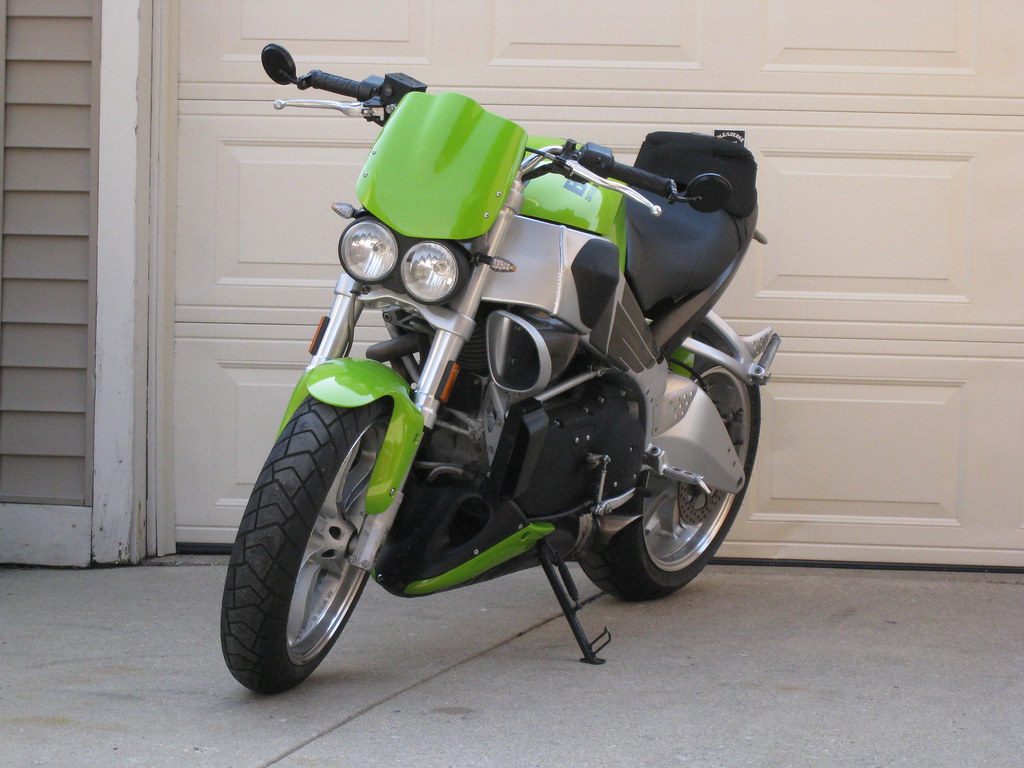  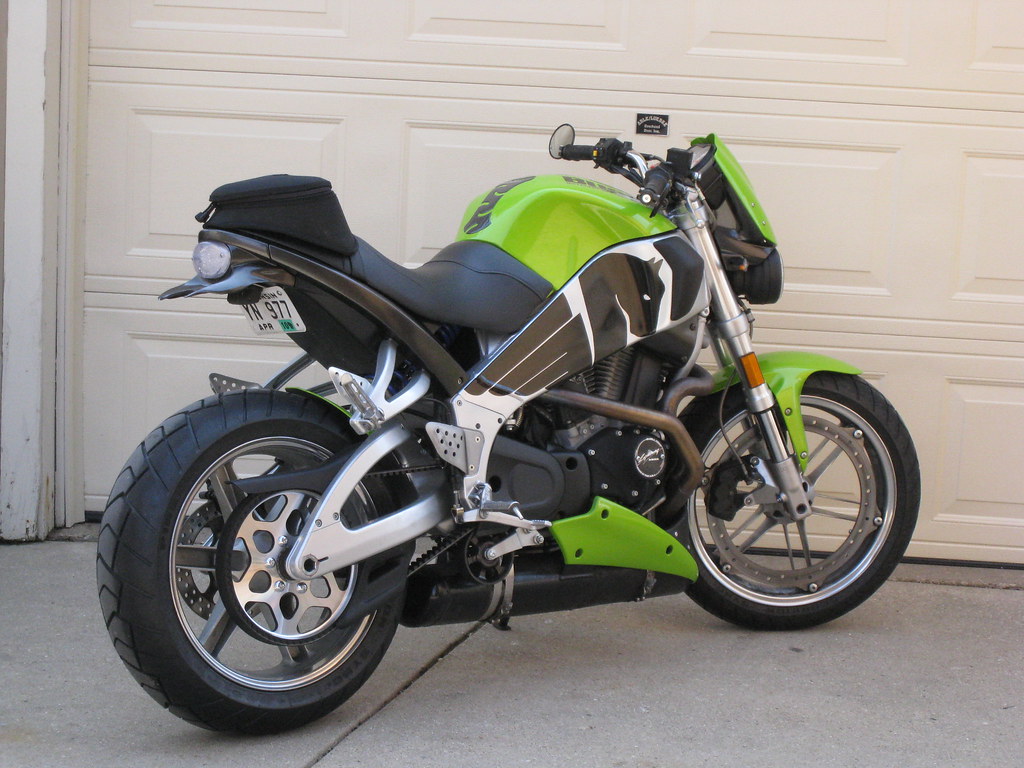 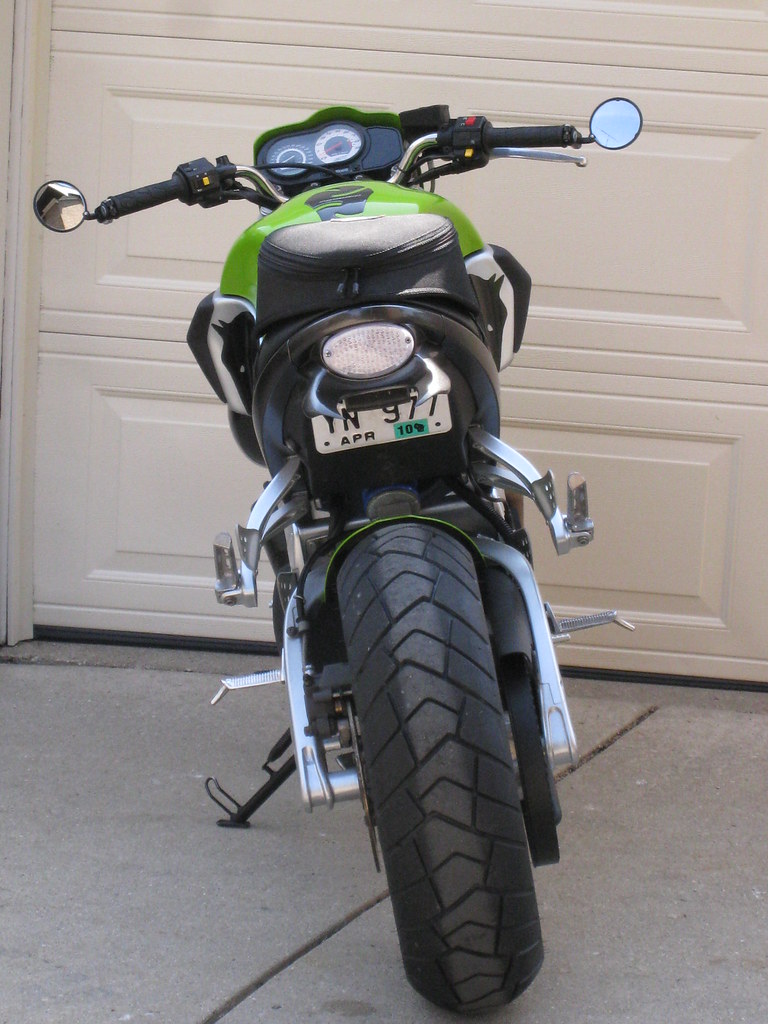    I need to thank my wife for letting me spend the time doing this w/o too much hassle, Al at AmericanSportbike.com, matter on BuellXB.com, Troy at StreetGraphics, the great parts guys at Hals HD/Buell, LuckyBike.com, and last but NOT LEAST Drew at Bender Body Repair LLC ( benderbody@att.net ). Now it's time to go for a ride. | ||
H2owerker |
Crap! I forgot to thank Sifo, and everyone here on BadWeb... | ||
Boney95 |
Looks GREAT man! Job well done! | ||
Bads1 |
Looks really good Ryan. I was over working on prepping my stuff for paint today. | ||
Oxygen151 |
Nicely done. I like the color. |