| Author | Message | ||
Sfinton |
Replacing the following (because of the previous owner): Damaged Cam Cover & Oil Drive gear (because I already have everything apart) Damaged Timing Cover Damaged Header Plugs & Wires First problem - Can't get the velocity stack off. Any pointers or experiences? 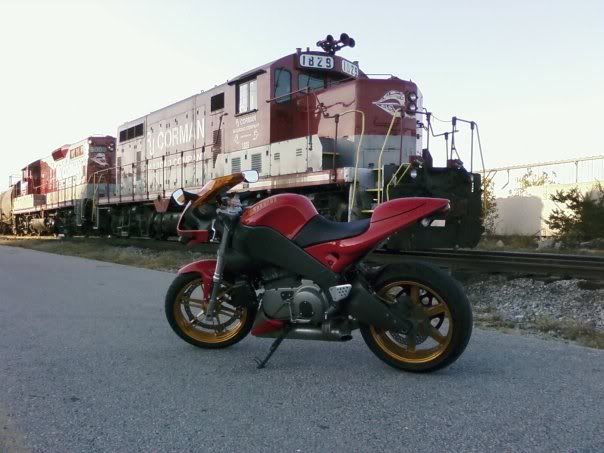 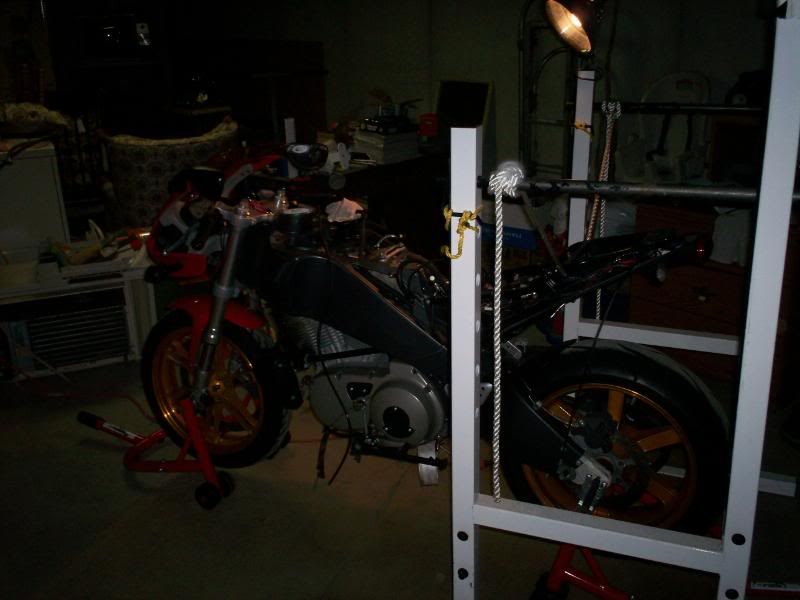 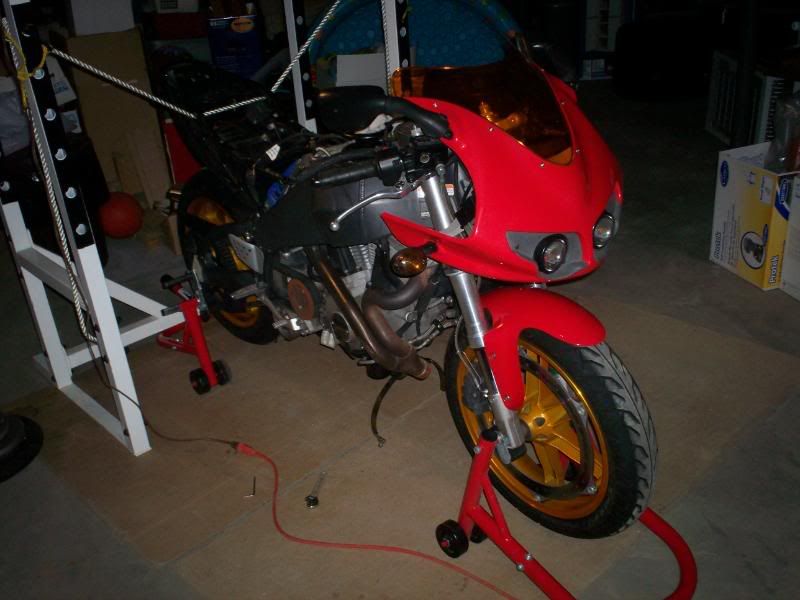 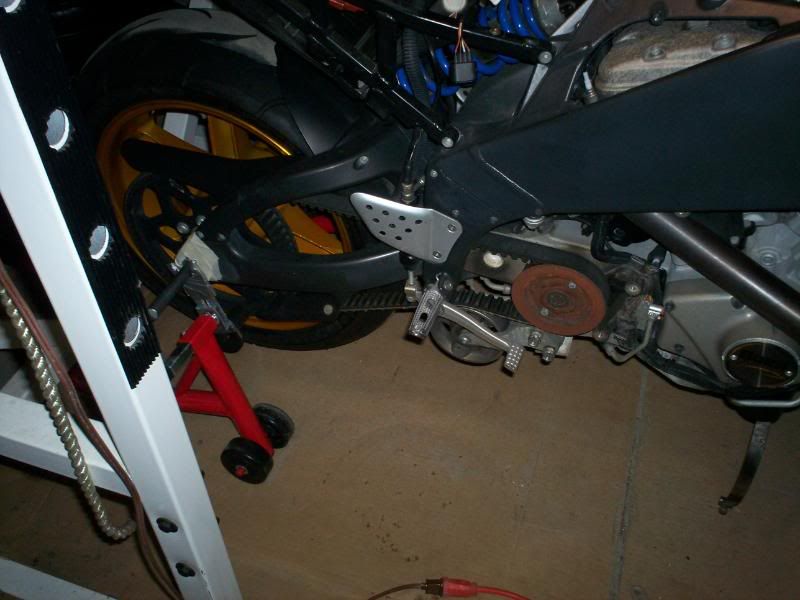 How can I clean up this surface rust? | ||
Ironhead1977 |
Do a Dr Gregg search. | ||
H2owerker |
Remove the 2 allen screws...front, and rear. The velocity stack should come right off... I'd recommend getting a spark plug wire tool to work on the wires. They're a PITA! And NICE work securing your cycle! Love your ingenuity.  | ||
Gentleman_jon |
Pointer #1. Buy the Shop manual. Pointer #2, Buy the parts book. Shows how everything goes together. Pointer #3. Be sure to replace the oil gear with the new higher spec one. Pointer #4. Don't sweat the rust on the front sprocket. If you can't get over it, just clean it with a little fine sandpaper and paint with Rustoleum. That's about it for pointers, today.  | ||
Schmitty |
The attachment for the velocity stack changed after 2003. The 2003's were held on by a couple allen screws. All other years are held on by a wire spring clamp. Once you have the air box base off, look at the very bottom of the stack. There is a spring clamp that you have to open up with a pliers, then pry the stack off. Just be absolutely sure when you put it back on that it is fully seated back onto the throttle body. If it isn't nothing else will fit back together correctly, and you will have a lean leak problem. Schmitty | ||
Brumbear |
get the book or it's liable to be a LONG LONG winter | ||
Sfinton |
I've been following the service manual step by step, using badweb search engine, and using my father as a resource as well. More time consuming that I imagined but I will have the piece of mind when I'm finished that it is done right. Everything is disconnected now and I will be rotating the motor tomorrow. I have to say I will know my bike better than any girl I've ever dated by the end of this project! | ||
H2owerker |
"I have to say I will know my bike better than any girl I've ever dated by the end of this project!" Sorry to hear that....Have you considered becoming intimate w/ them?  | ||
Gentleman_jon |
At the risk of repeating myself, a lot of people underestimate the value of the parts book. Because all of the parts are shown in exploded view form, it can be extremely valuable when trying to put things back together. Even though I always think I will remember the proper order and alignment of the parts, I never really do.  | ||
Skinstains |
Both books for all the bikes you own. | ||
Bombardier |
Because all of the parts are shown in exploded view form, it can be extremely valuable when trying to put things back together. Nothing worse than the extra nut/washer problem at the end of a build!!!! | ||
Aptbldr |
If they exist, will someone share link(s) to online 'parts book' for Buells? Currently, can view virtual parts books online (and order parts) for my Honda, Kawasaki, and BMW bikes. Have a HD-Buell paper book to address needs of my exact Buell model However, sometimes wonder about "plug 'n play" parts swapping, or about evolution of different models & their components. You know, I like to look at pictures! : ) | ||
Sfinton |
Stuck need some help: 3-13: 22. Removing V-bracket B. Remove the three cables straps holding the REGULATOR HARNESS in order to extend the haress to remove "V" bracket. C. unplug regulator harness (2 plugs). Where the REGULATOR HARNESS located? IS it refering to the fuel pump regulator? | ||
Xbpete |
No, that would be voltage regulator, the plugs are between the cam cover and the front pulley the harness is above the plugs, I can see it in your pic of the cam side. Does your manual have Figure 3-23? It shows the proper plugs and you can see the wiring harness going to the regulator and alternator plugs. My manual for the 04 says ... B. "Remove the three cable straps holding regulator wiring harness in order to extend the harness to remove "V" bracket. if you skip ahead and check figure 3-23, it will ID the proper plugs, you can follow the wires up to the v bracket once you find them, here is the other instruction on the connectors from page ref. 3-25... C. See figure 3-23. Separate alternator connector (46) and voltage regulator connector (77) (Message edited by xbpete on December 28, 2008) (Message edited by xbpete on December 28, 2008) | ||
Sfinton |
Got it but ran into another problem when taking off my isolator mount....I loosened the right side then went to the left to alternate and the bolt broke off....Any suggestions? Easy out & heat? 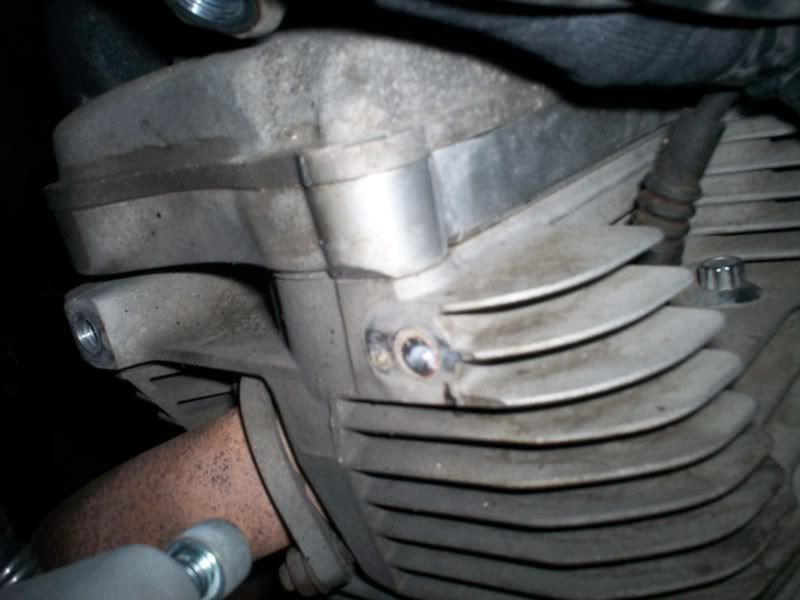 | ||
Bamaboy |
http://www.badweatherbikers.com/buell/messages/476 23/423568.html Scroll down a bit. This is just one way not the only way!  |