| Author | Message | ||
Ferrisbuellersdayoff |
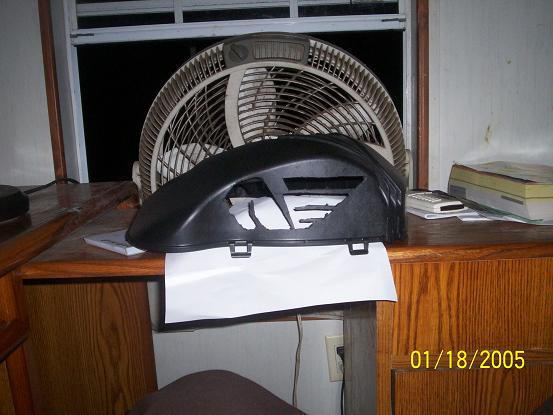
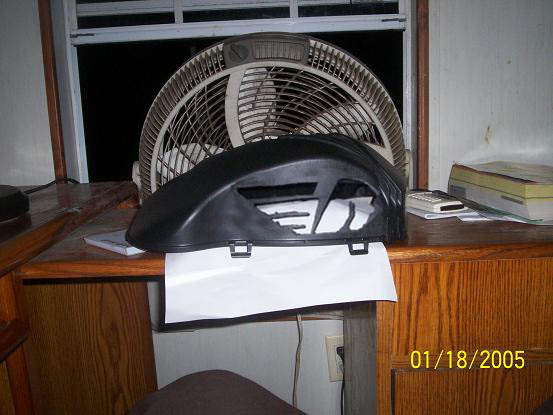
 Just one side at a time, start to finish. It should look bitchin with LEDs in there... | ||
Ccryder |
Great work!!!!!! Neil S. | ||
Diablobrian |
Nice! | ||
Punkid8888 |
Can't wait to see how it looks, and I thought I was cool just carving some rectangular slots to match the factory ones, wait to one up me hahaha. | ||
Gentleman_jon |
Great Idea. Sure to be good for a couple of extra horsepower, no doubt about it. I was just thinking, it might even look better with the Pegasus facing forward.  | ||
Punkid8888 |
it is facing fwd, the tapered side is the front, and the steep side is the back. at least thats how I remeber it | ||
Gentleman_jon |
oopppss................  I guess I must have been thinking about an old fashioned gas tank, you know the kind that has gas in it?  Silly me! | ||
Ccryder |
Charlie: I think you are correct. The grooves and such for the breather line/ wire harness/ EX valve cable are at the left rear of the airbox. It is confusing w/o any REAL reference. Neil S. | ||
Skully |
Very nice. Where did you get the pattern and how did you cut the cover? Thanks, Keith | ||
Ferrisbuellersdayoff |
I blew up a black and white pegasus logo, and printed two versions. One facing left(pictured), and one facing right for the other side. I cut out the pegasus as if it were a spraiy paint stencil and used a glue stick to make a temporary adhession to the ABC. Used a no. 2 pencil to trace it out, then an exacto knife to score the lines incase the pencil marks were rubbered off in the handling process. Busted outr the Dremel tool and a cutting wheel for all the straight lines. then the drill bit end to use like a router. With alot of control and patience i cut out the head. then de-burr with the exacto knife. |