| Author | Message | ||
Zew2888 |
So I decided to do a little plasti Dip action. What you think? 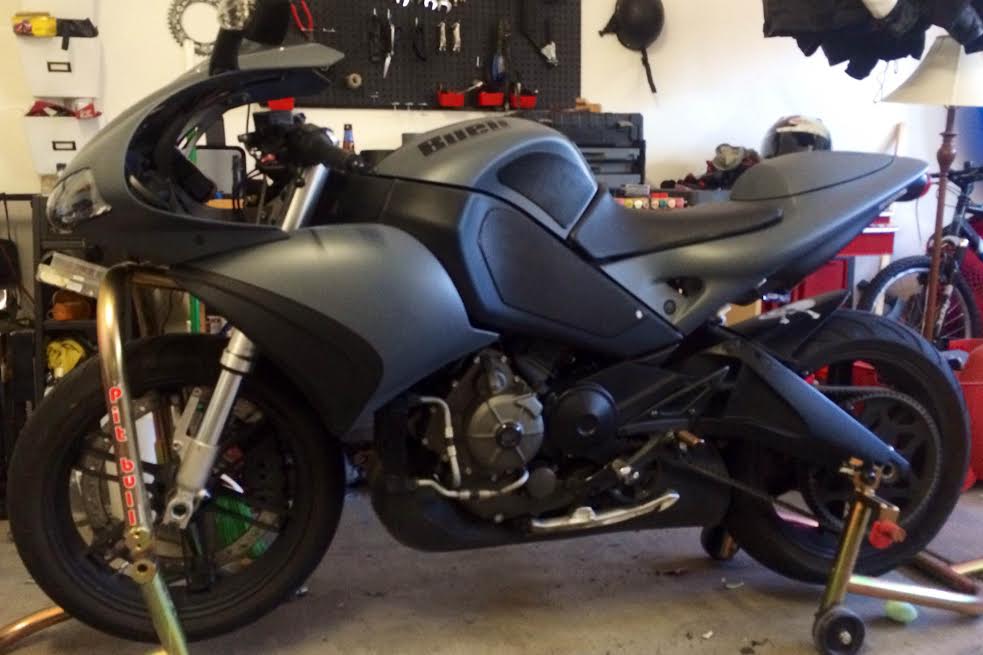 | ||
Zew2888 |
Soon to have that RT4 as well! | ||
Paulp1125cr |
I like that man, very nice! | ||
Paulp1125cr |
Just out of curiousity, what's the cost on plasti dip? And is I difficult to do yourself? | ||
Zew2888 |
Honestly, It was about 18 dollars for 3 cans, 8 dollars for a 6 pack of Coors, and a few hours of my time. Super easy! I didn't even tape anything, the plasti dip just pulled right off the Buell emblem, grip pads, and the front intakes on the pods. Really easy, really cool looking. Just make sure you don't spray too far from the part or it will get a little rough. I sprayed about 4 inches from the parts. | ||
Rogue_biker |
I like it! Nice job! Is your front fairing lowered? | ||
Zew2888 |
Yea I made my one lowering brackets out of some 20 gauge steel. I lowered it like 2 inches and out a little over an inch. I wanted it to just sit on the pods. I think it looks good and is solid as a rock. Nothing a dremel and some cheap hardware from Ace couldn't handle. It doesn't interfere with steering or aerodynamics, atleast none that I've noticed. | ||
Websii |
Looks great! | ||
Brother_in_buells |
I like it! Maybe the lower fork legs in titanium color to make it 100%  | ||
Zew2888 |
Thats not a bad idea! Ill have to post a finished pic, as you can see the front fender is still off and I did a few other parts in the gun metal to dress it up a bit. | ||
Zew2888 |
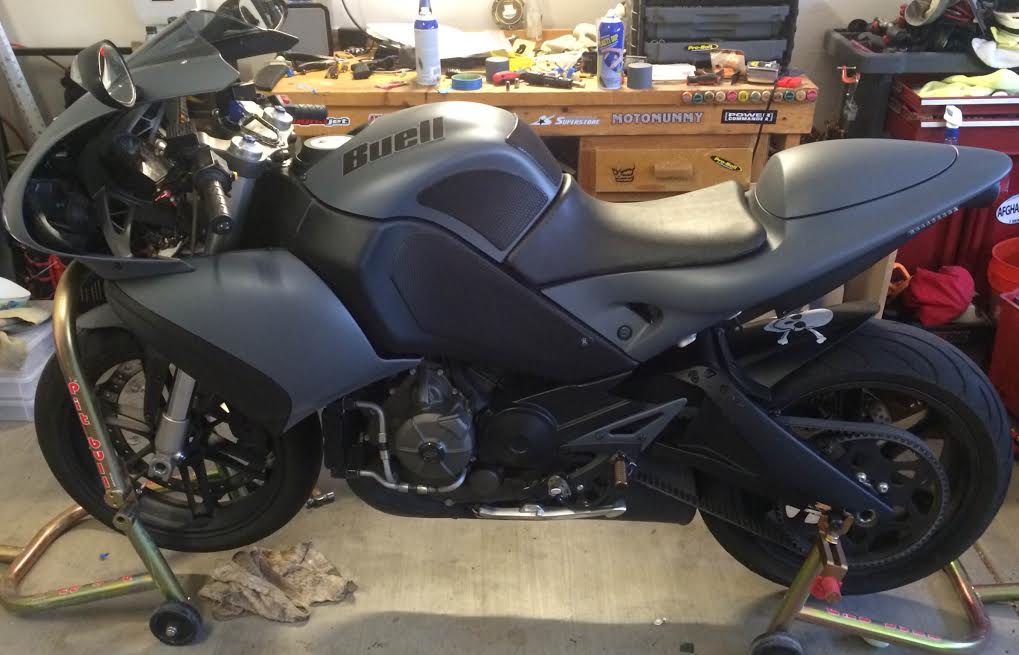 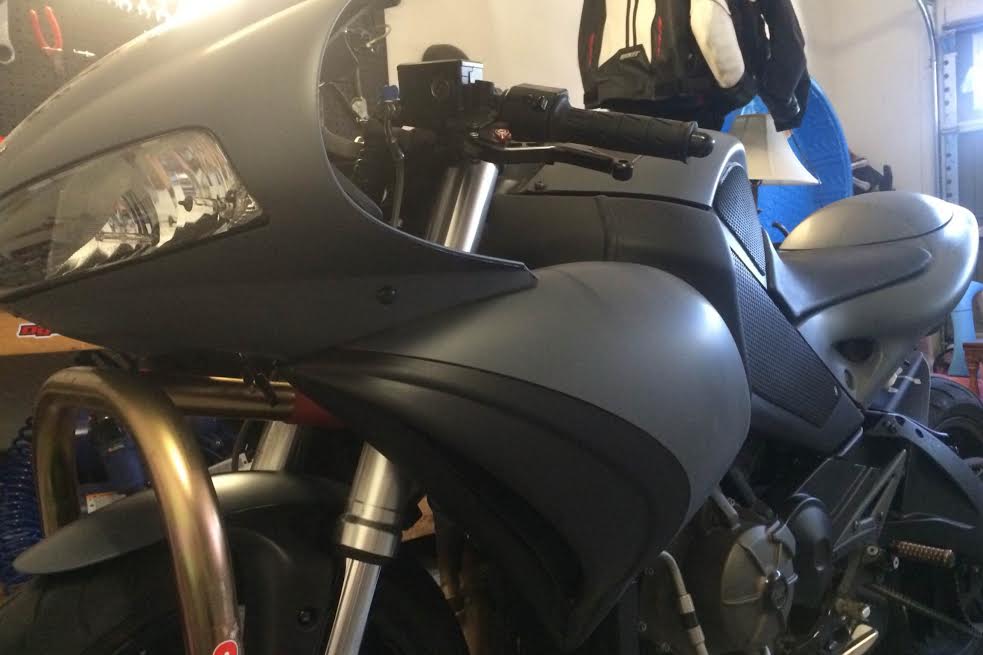 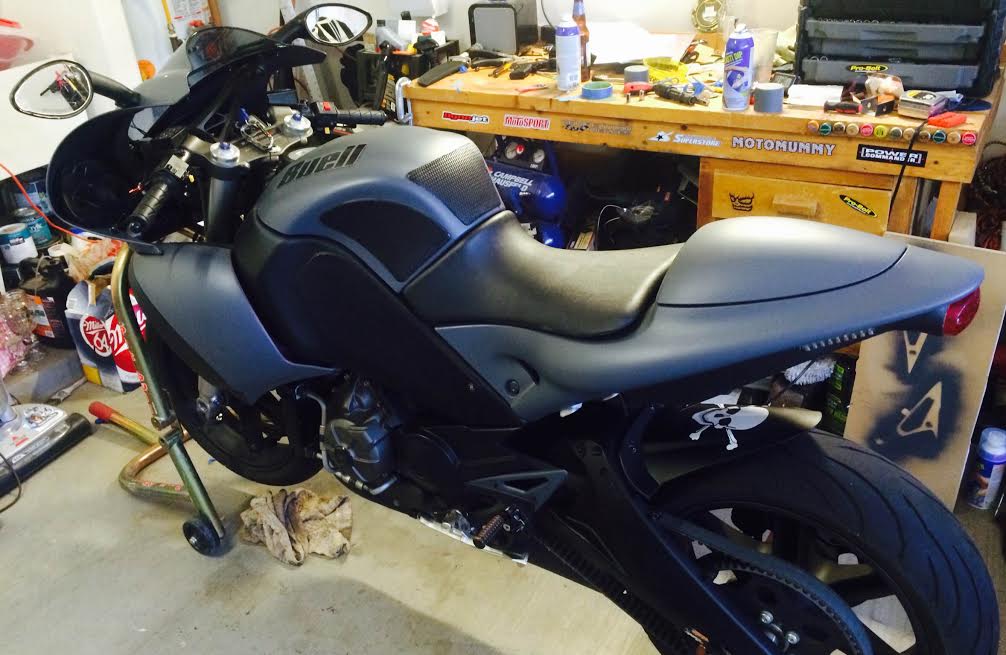 | ||
Sir_wadsalot |
Looks AWESOME! | ||
Jimustanguitar |
I'd love to see a closeup of your fairing brackets. Everything looks amazing. Very nice! | ||
Zew2888 |
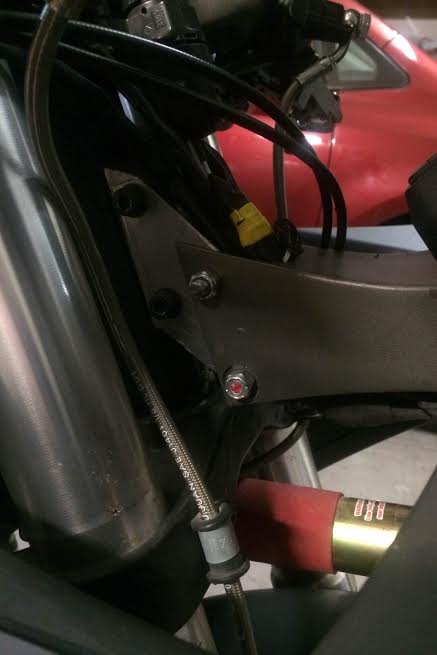 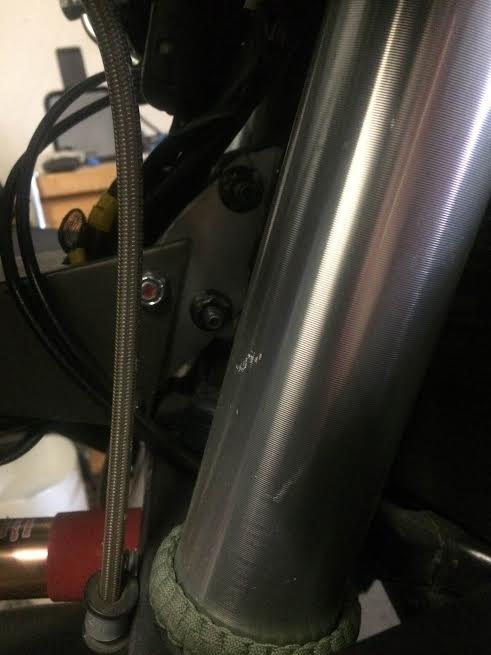 | ||
Zew2888 |
For the Fairing lower, I did remove the key switch housing and added more wiring so it wasn't to tight on the harness. I just did a 1-for-1 wire swap and soldered in about an extra 4 inches. | ||
Georgehitch17 |
That is a great idea it probably took a lot of tension off of the igniton wires! Mine broke off from the bracket tugging on it | ||
Zew2888 |
Yea that happened to me as well, I was just on the road when it happened and it killed the entire bike! So naturally, had to call a buddy for a pick up. But all is well after the extra wire was put on. |