| Author | Message | ||
Avalaugh |
Started the winter strip down over the weekend. I've taken a few quick pics to get this far and will take detailed steps of the interesting part. You will need a rear paddock stand, trolley jack and axle stands or similar things to support the front of the bike and keep the rear steady. I removed the yokes, exhaust + headers and swing arm, as i'm having the whole bike resprayed, and the exhaust ceramic coated these parts don't have to be removed for the frame to come off. It really is very easy to pull frame off, and i'd recommend it to be done this way over the engine rotation method. I'm going on the assumption that you will be mechanically minded when you attempt this, so am not going to spoon feed the instructions, just a quick list of the order i used, may be a better way, but worked for me. 1. remove all the plastics, inc rear subframe undertray 2. disconnect battery and undo rear loom from rear subframe 3. remove subframe (only undo the shock absorber bolt enough to allow subframe to come off) 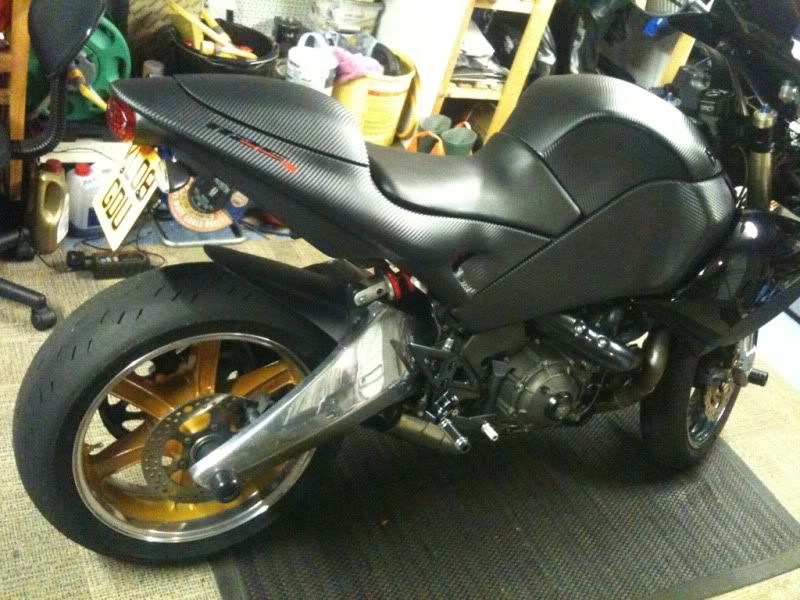 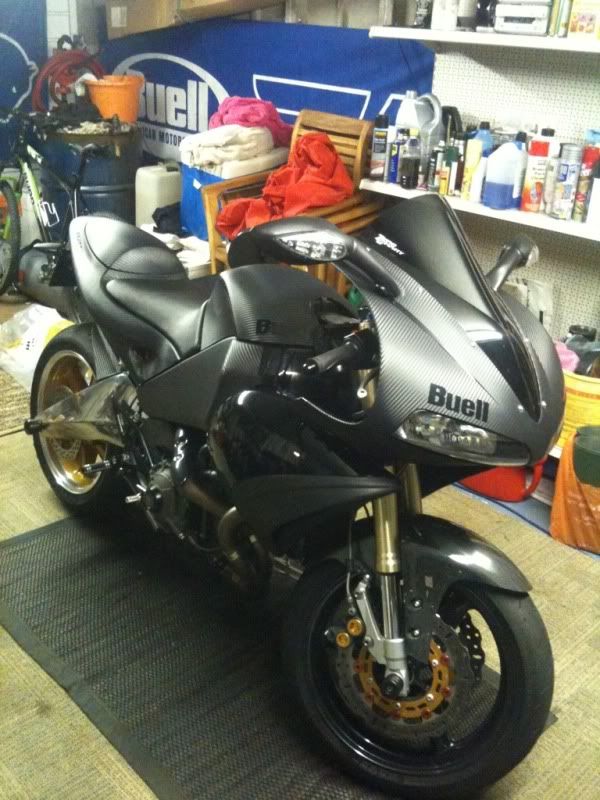 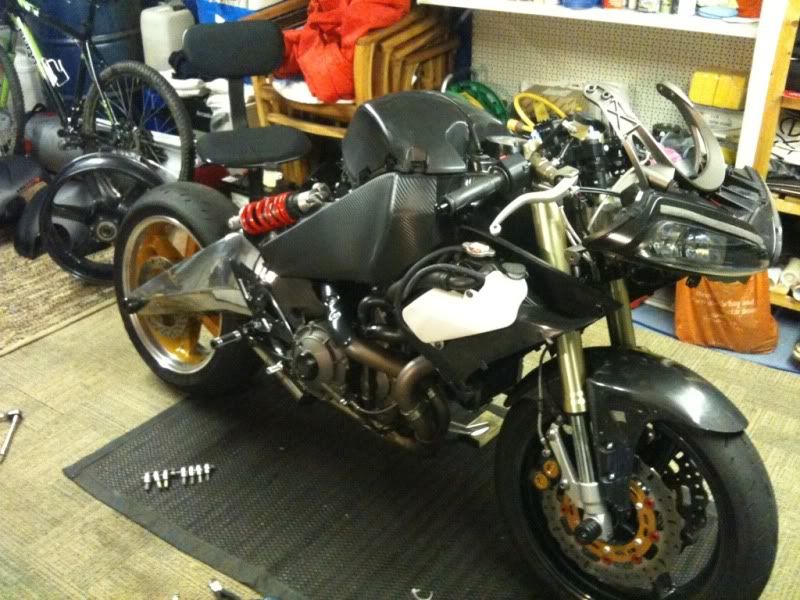 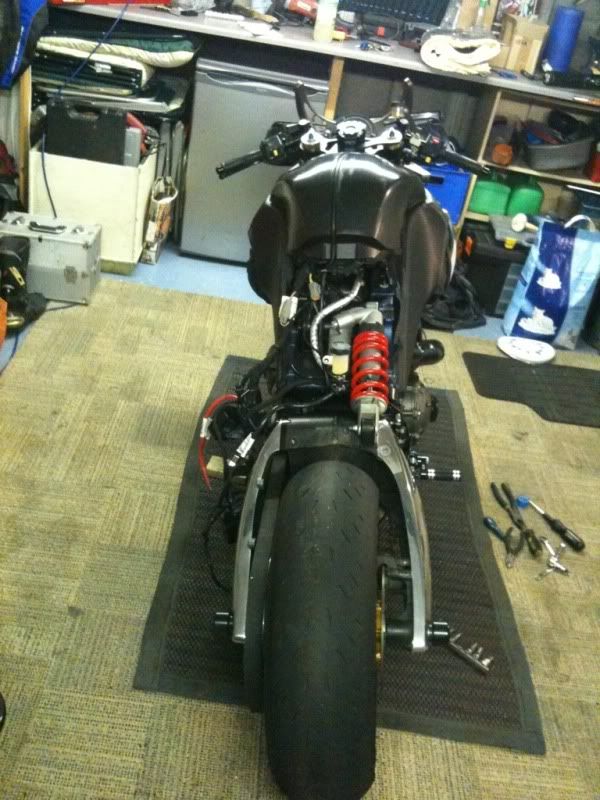 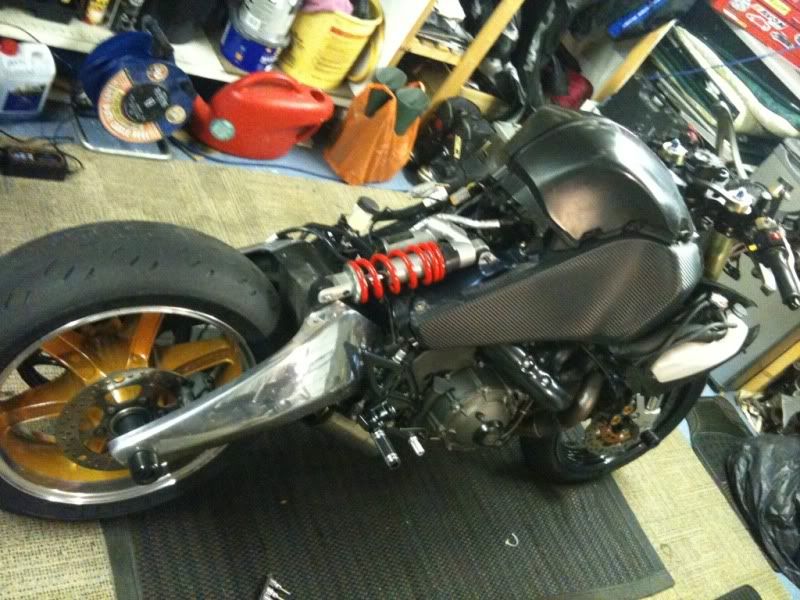 4. remove headlights, front fairing bracket, shocks, front brake and air box. 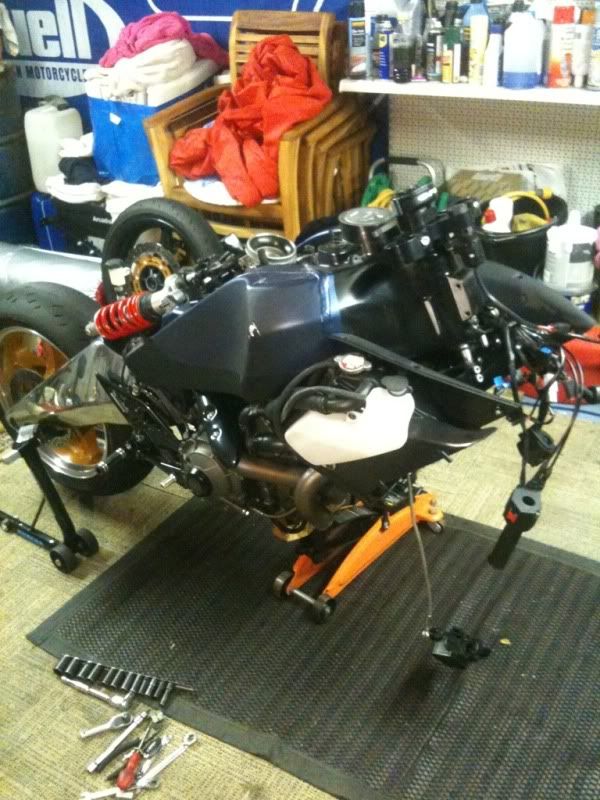 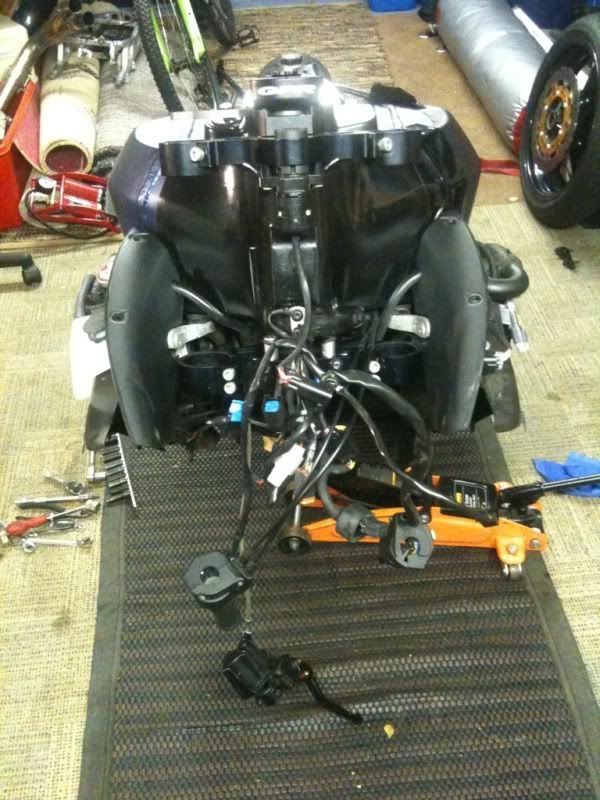 5. undo the 2 bolts that hold the radiator brackets to the front of the frame, and the 2 on the upper sides by the radiator pods, also the 2 torx bolts which are next to these. Also undo the 2 side lower bolts, earth strap and small nut by rear brake master cylinder which holds on a bit of plastic. 6. cable tie the main loom on top of the engine and make sure the 2 looms coming from the fuel pump are free to come away with the frame. 7. lift off frame 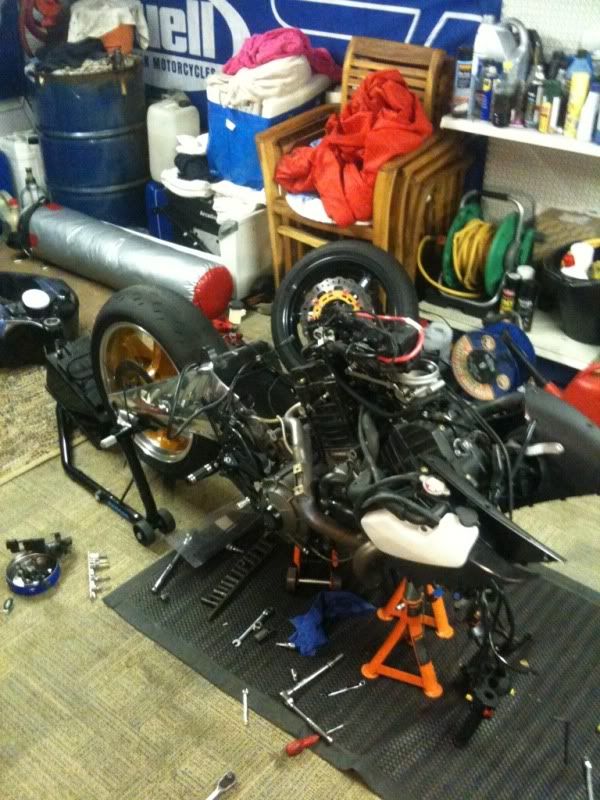 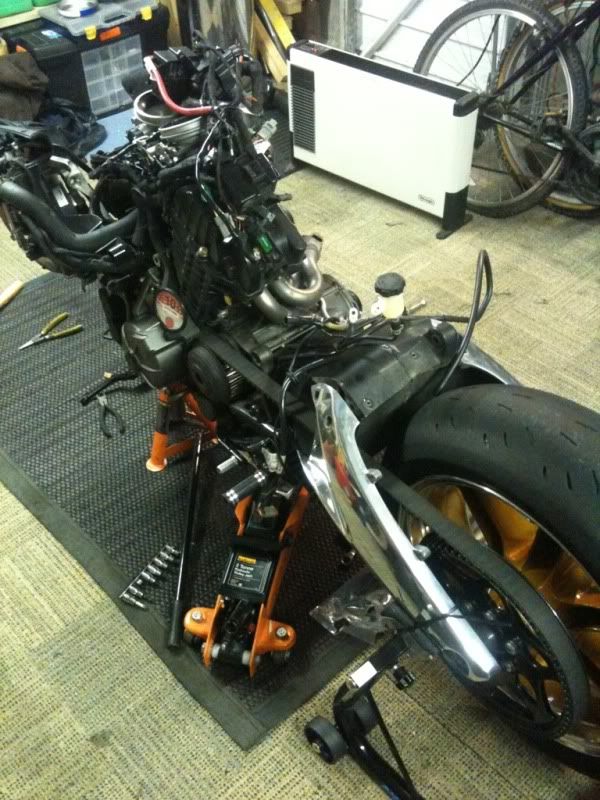 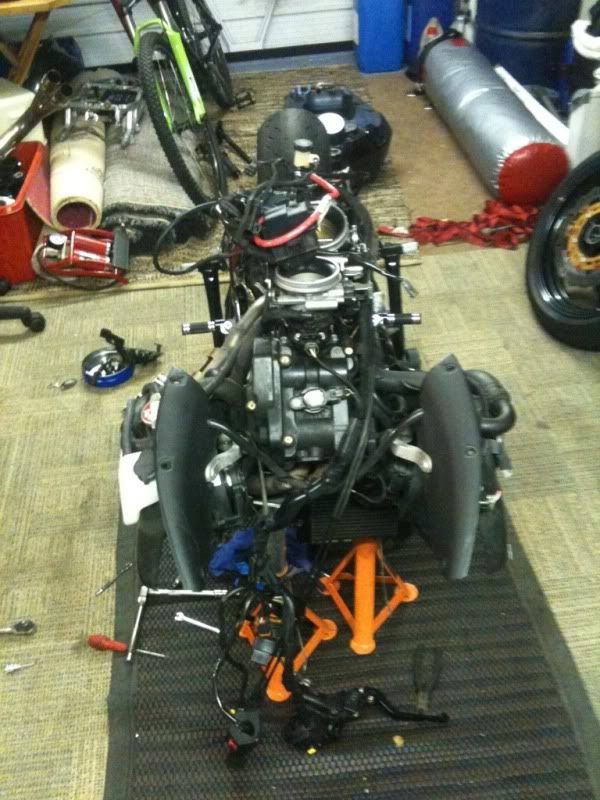 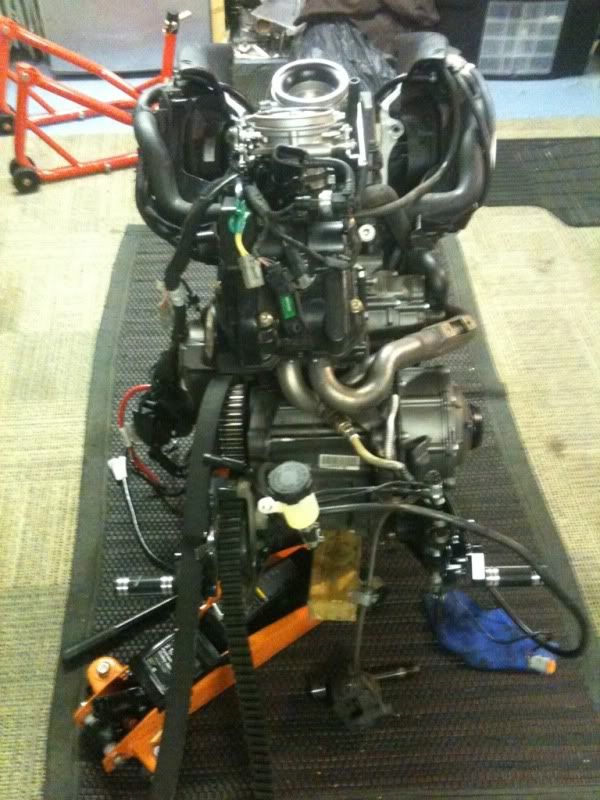 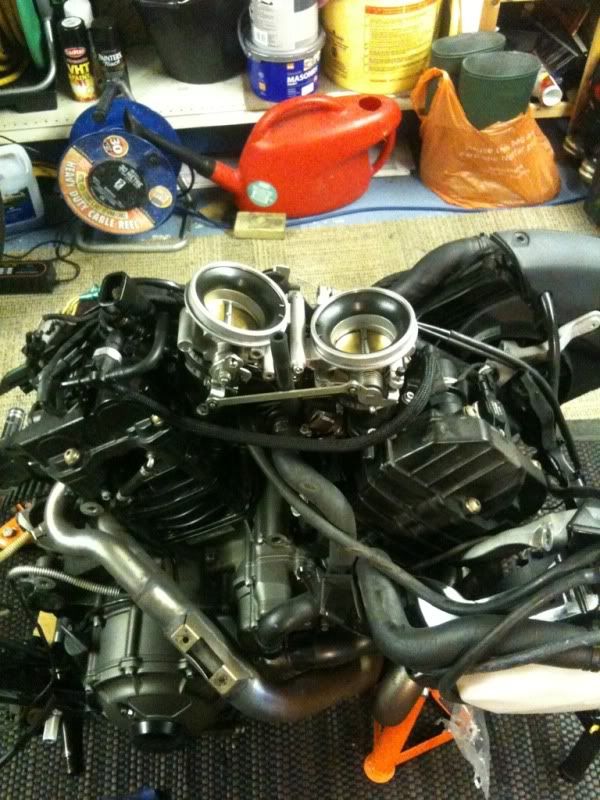 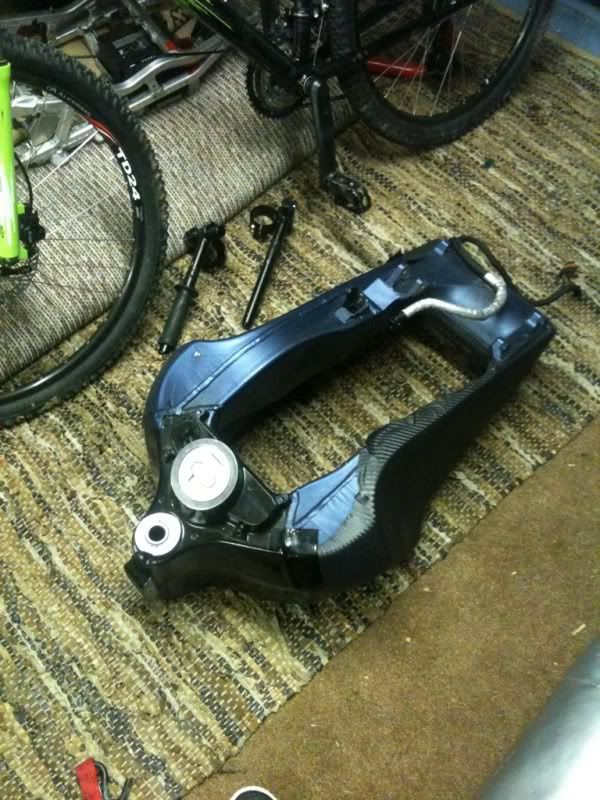 Next stage to follow over the weekend. | ||
Sprintst |
Is it just me, or does this look like you will be rebuilding the bike virtually from scratch? Damn. Can't say this is encouraging me to do my own! (Message edited by sprintst on November 14, 2011) | ||
0300 |
This makes any mechanical project I have done look like baking cookies... | ||
Duphuckincati |
Does look like quite a mess. I'm guessing though the only really tricky part is getting all the wires and such back in place. Not advanced engineering degree stuff, just need some zen thinking. I'll be taking lots of notes, drawings and labeling with tape. And getting a Moto-Guzzi again for the next bike! Thanks for the reporting Avalaugh. | ||
Crustyxpunk |
Thanks for the photo op. Looks pretty straight forward. I'll def be going this route for valves, spark plugs, exhaust, etc. | ||
Geforce |
And this is easier than rotating the engine? | ||
Lampo |
In my experience yes if you want to do the valve check this way instead of the engine rotation you do not need to take the front forks and sub-frame off the main frame...just rotate (lift) the sub-frame/frame/front end assy. off the drive train. After disconnecting everything that would prevent the separation off course... Also, no need to remove the swing arm/rear wheel from the engine. Proper support under the front of the engine and front of the swing arm is required. Either way it's a bit of work, but lifting the top half off the bottom gives you much better access to work on the top end. | ||
Crustyxpunk |
Perhaps he is doing more than just the valves. | ||
Nm5150 |
Actually compared to the old Jap bikes I used to disassemble this bike is something like half as hard to pull apart.I mean you can pull the frame and leave the motor and rear end there?This bike is more like my erector set when I was a kid than the UJM's I used to rip apart in the early '80's. | ||
Timebandit |
Reminds me of splitting a ford tractor to work on the clutch. | ||
Avalaugh |
Peoples, please read paragraph 3 It looks complicated because it's an ugly engine with bits all over it. I've hardly undone any electrical plugs, only took the front off as I'm working alone and wouldn't be able to lift frame off with it still attached safely. However it only takes half hour to pull the forks and stuff off. By doing it this was you gain loads of room to work on the engine reducing risk of dropping a shim etc. Don't be scared, work in a tidy manner and line all bolts etc up in the order they come off, makes reassembly much easier. | ||
D_adams |
I'll be doing mine similar to this later this winter. I'm thinking about access to the motor (maybe the headers?) and general cleaning, so it looks like the better route to go. I need to either build or buy a bike lift, I don't want to work on the ground any more. | ||
Avalaugh |
With the frame off Dean, I pulled the headers in minutes, crackoff the sensors first though. I had a small oil leak this summer from the front cam cover, and now it's easy to see where and able to clean it up. This way also avoids stressing the wiring loom, the high running temps will most definately have made the cores more brittle over time. | ||
Mountainstorm |
Wow. I am pretty handy but just looking at that gives me the willies. Then again I might just do it...I'd like to line the frame with heat shielding and do some cleaning and detailing and this would allow for all that. | ||
Finedaddy1 |
"I removed the yokes, exhaust + headers and swing arm, as i'm having the whole bike resprayed, and the exhaust ceramic coated these parts don't have to be removed for the frame to come off." I done this a few months ago and I'm glad I did, it's really not all that tough of a job, the reward is that you really get to know your bike. Are you planning on powder coating your frame back to it's original color? If so I found the manufacture of the powder, I done mine back Phantom Metallic. | ||
Avalaugh |
Didn't think the frame could be powder coated as it's got a special plastic lining to stop the petrol eating the alloy over time ? I'm having it painted. | ||
Finedaddy1 |
I had mine sandblasted and re-powder coated, there was no lining in it. For practical purposes you'd be better off having it painted though, it's easier to touch up if you get it scratched. You'll thank yourself many times over after having your headers ceramic coated...I did, and while it's all apart go the extra mile and insulate the underside of that tank/frame. | ||
Northernyankee |
Thanks for all the pics Avalaugh, I will be doing this shortly also. How hard is it to pull the Swingarm off? I want to get it re-Poweder coated over the winter. | ||
Avalaugh |
Swing arm is only an extra 10 mins work if your this far, and if you are taking it off on it's own it is still very easy, maybe an hours work Inc getting the tools out. Already ordered the frame insulation from Al at americansportsbike. Wrong choice of words on my part regarding frame, not a linning more a treatment ? I'm only going on what I've read before, hopefully someone can confirm this ?? | ||
Mountainstorm |
The OEM finish is most definitely powder coat. Maybe they line it after the coating. | ||
Zac4mac |
I've done my valves twice now. Both times I rotated the engine. I'm watching this one, next time I will pull the frame. So MUCH better access to the heads. Thanks Z | ||
Duphuckincati |
Mine just yesterday ate the stator (99% sure) at just over 8000 miles. Since it may be off the road for a bit anyway, any thoughts on going ahead and checking the valves at 8000 miles? I'm thinking most of any changes would have happened by now compared to 12000 miles, it's been to redline on a regular basis but no track days. Then I should be good until at least 20,000. Yes? | ||
Rpm4x4 |
Im planning on pulling the frame as well. Im going to be putting the 2010 timing chain tensioners, EBR stator, and powdercoating the full exhaust this winter. Pulling the frame sounds like the way to go for me. I was thinking that the forks and front wheel could stay with the frame. | ||
Luisemilio25r |
Powdercoat won't make it on your exhaust. Use ceramic instead. | ||
Lampo |
Lower cam chain guides, not the tensioners? That's the only part related to the cam chains that changed for 2010....requires pulling the clutch and the stator rotor. | ||
Avalaugh |
Made a bit more progress today, and also found the cause of my slight oil leak this summer. Looks like the front camcover was installed badly from the factory and pinched the rubber gasket. 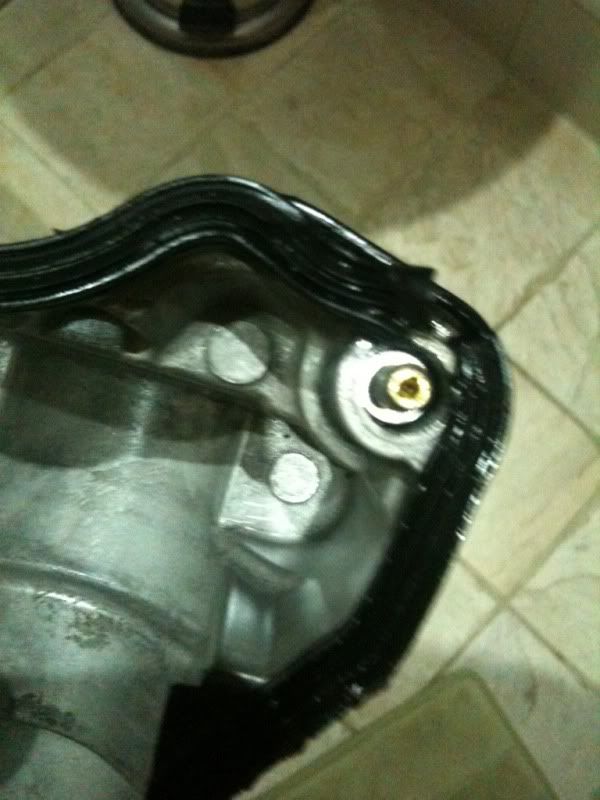 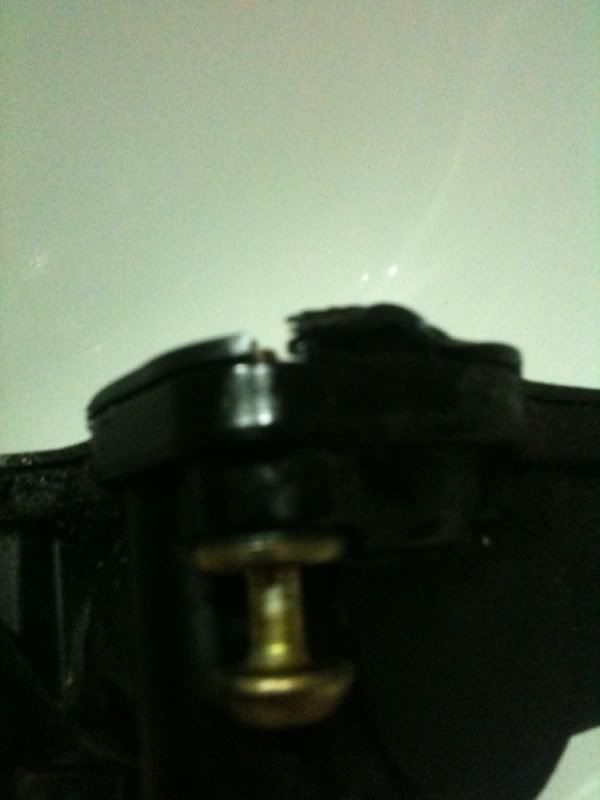 The checking of the shims is also very easy, i will take some better pics on a decent camera soon so others can see the simple process. 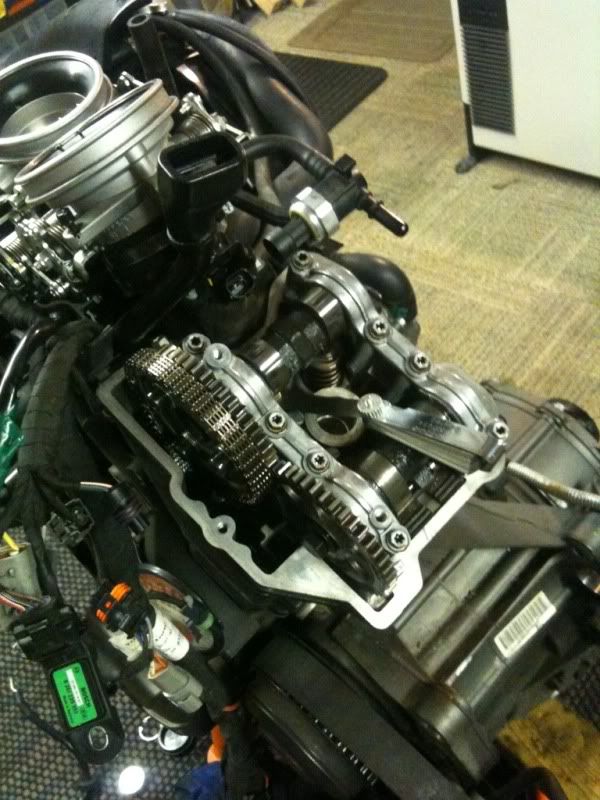 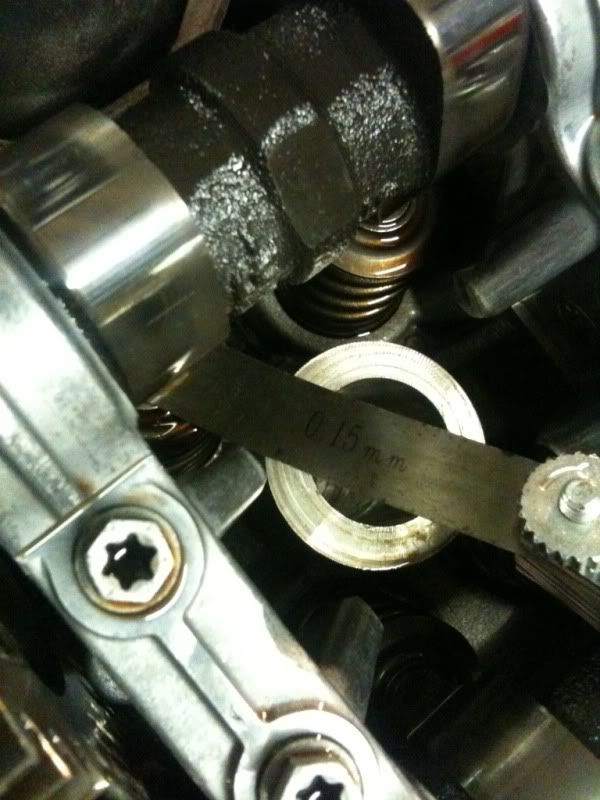 I have found a problem though, it seems my exhaust camshaft is failing(see my other thread) 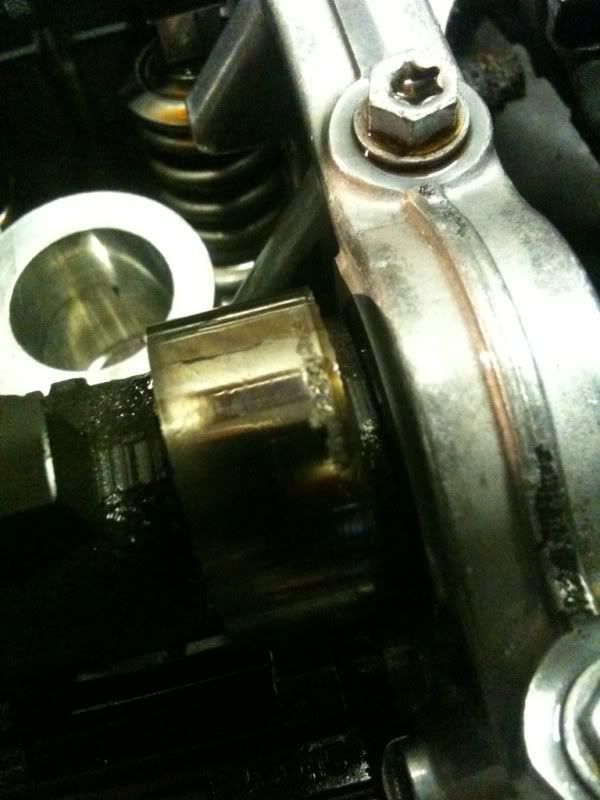 | ||
Avalaugh |
Could someone explain to me how i work out what shims i need to order ? clearances were as follows in MM, sitting on bike - Left - Right Front exhaust 0.25 0.30 Front inlet 0.15 0.10 Rear inlet 0.15 0.15 Rear exhaust 0.30 0.30 Tolerances - Intake Max 0.22 - Min 0.15 Exhaust Max 0.34 - Min 0.27 | ||
Sprintst |
I may be wrong here, but since the cams act directly on the shims and buckets, and you need to replace the cam, you won't be ordering shims until that is done all measurements involving the bad cam will change with it's replacement (Message edited by sprintst on November 17, 2011) (Message edited by sprintst on November 17, 2011) | ||
Avalaugh |
Yes that's the plan, but would like to know how to calculate the shims so I can work it out once I have another cam. | ||
D_adams |
You need to remove the current shims and measure them. Odds are that the original marks are worn off, so a set of calipers or micrometer is recommended. Remove them one at a time, make a chart of where they go, record the current size. Your first measurement, front exhaust, left side is .25 mm clearance. You want between .27 and .34, so it's too tight and you need a thinner shim. Target is the middle of the range if possible, or as close as you can get. So, if your shim thickness is a 2.625 mm shim, you would want to get a shim that measures either 2.60, 2.575 or even 2.55 mm. I would get the 2.575 (in the middle) to allow for some leeway in either direction. I'd leave the other one alone, it's right in the middle anyway. Here's the worksheet for the front cylinder, rear cylinder is the same.  Here's the shim chart.  Make sense? (Message edited by d_adams on November 17, 2011) |