| Author | Message | ||
Marksblast |
Ya, simple for those who have done this before. Scary for me. ; -). But I'm having fun. Just back from a sunny ride. Sorry all you people in the East... This blast just needs to be riden. Only 1800 kms on it. Now with that headlight. And even the other one you had. Will it be ok to use the Tridon EP-36 Flasher, I bought that. Or do you need the Kisan SM-1 Signalminder, I had been reading about in old posts. I don't want any miss-firings or sparks ; -)). 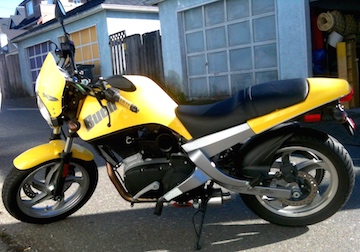 | ||
Swampy |
Those little droplets look like water not gas, probably from condensation | ||
Gearheaderiko |
I've looked it up (Harley actually sells them!!), but it seems vague in the description: is it a full LED headlight, with all the super brightness that comes with it or are just the side lights LED? | ||
Ezblast |
LOL - the Harley version at 50 bucks less is a poorly made copy - really - looked it up. The EP-36 flasher works fine with it - the low light is the high powered LED, the hi light is a 55 watt HID, and the turn signal LEDs are super large/bright LEDS - best gift I've ever been given for the bike, and will probably make me keep this headlight set up for a while, even though it is heavier than what I would usually run. EZ | ||
Gearheaderiko |
HD indicates it's made by the same company. If it was a full LED headlight it would have been a bargain at HD's or Primo's price! Still a top of the line option though. | ||
Ezblast |
I saw the back of the HD light - the difference is in the protection of the wiring in the back - The Rivera unit has coating and covers on all the connections - no worry of accidental shorts there. The HD unit has none - stuff could go dodgy quick - some liquid rubber could help a lot, and there is no color insulating paint on the back of the lights shell either - making it an inferior copy. You knew there had to be a reason the HD one was less, when HD likes to charge more - lol EZ (Message edited by ezblast on February 23, 2015) | ||
Marksblast |
"Those little droplets look like water not gas, probably from condensation" When you say that. It is not a issue? It is still cold here. 40's F'. And after the little gas smell thing. And just tapping the Carb. Blast has run everyday a few kms. Perfect starts, no weird sounds. Seems smooth. Just waiting for a sweet package from Dan 'thumpe'. The Full intake Kit. Jetting, Idle screws. Carb bolts, hiem stabilizer, It is going to be a fun March. Thanks all, for the info. Still like your headlight EZ. After Dan's order. It will be the Superbrace or headlight not sure. But one thing at a time ; -)} | ||
Ezblast |
lol - Welcome to the Darkside! EZ | ||
Marksblast |
I thought the 'Darkside' meant Fun... You mean 'broke-side'. lol ; -) hehehe..... | ||
Ezblast |
It entails a bit of both - sometimes - sometimes not. But it is always the deviation from the norm - lol EZ | ||
Marksblast |
100% Concur ; -) Play Safe. Have Fun. | ||
Ezblast |
Washed the bike and did some detailing - the rear wheel is finally starting to look decent. 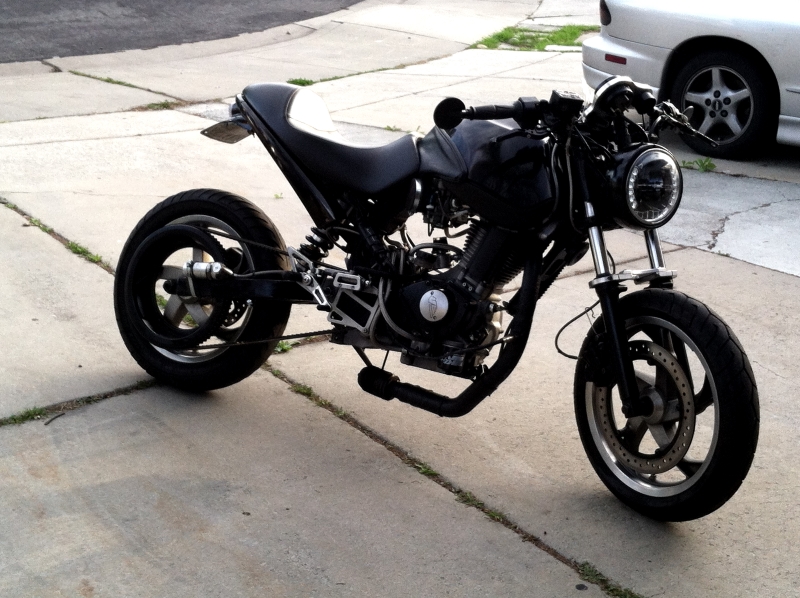 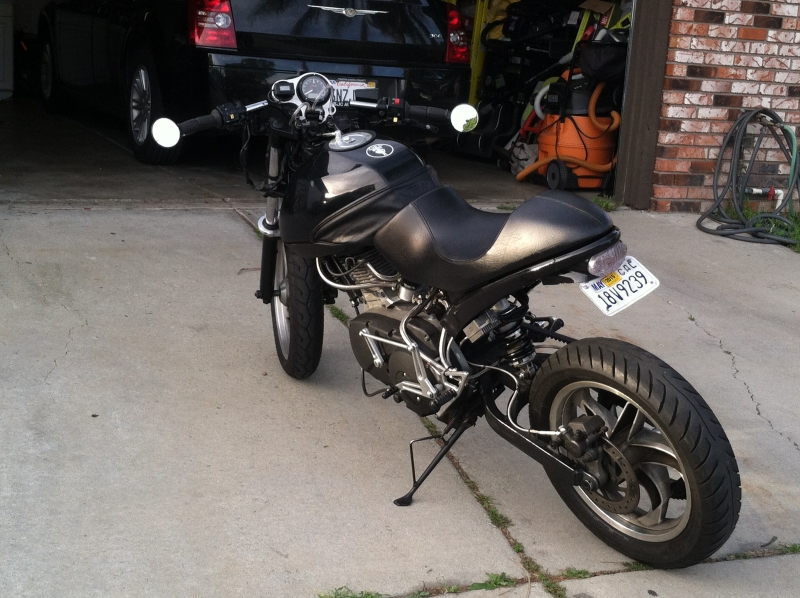 EZ (Message edited by ezblast on February 27, 2015) | ||
Ezblast |
Flu sucks! EZ | ||
Chief_ten_bears |
first warm day of the year was yesterday, 5 C or so, so the snow was melting and it was time to get started on the buell, hoping to ride in a couple of weeks, maybe sooner. My list: new tires, new stator, new top end gasket kit (all for 1 single pushrod o-ring!), upper and lower head gaskets, valve lapping, new valve seals, paint foot rest brackets and side frame, and last but not least new front brakes. rolled bike out from storage, up on the stands 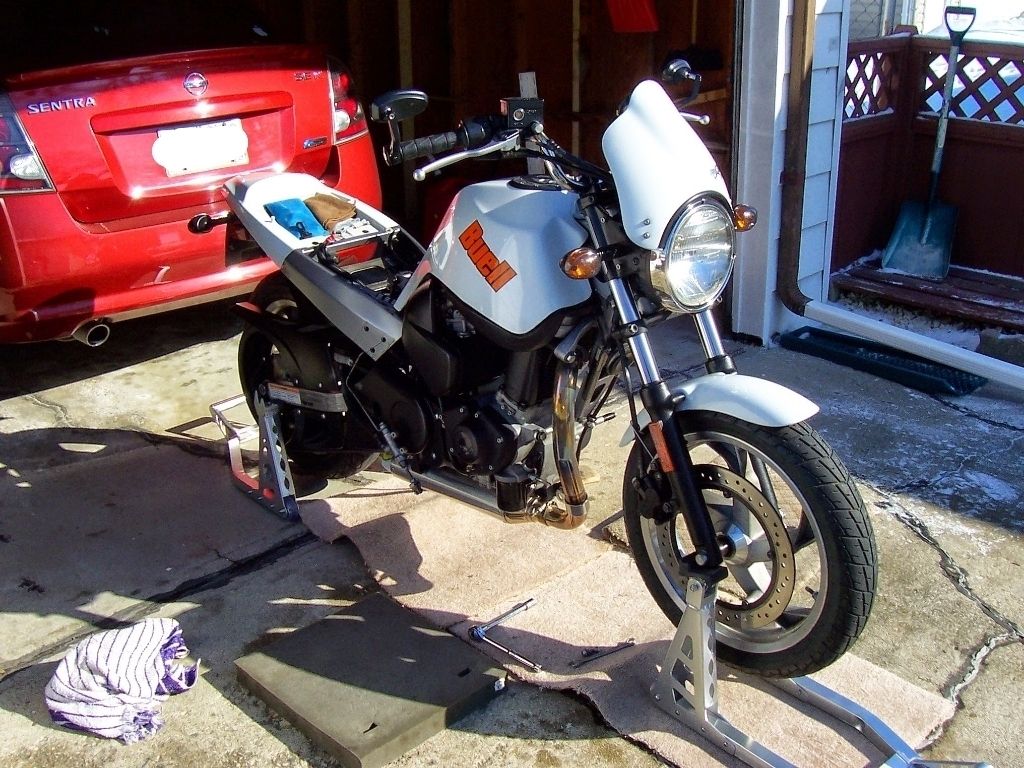 started stripping down, out comes the airbox, exhaust, removed pads and front caliper etc. i was going to start with the tires, but it was too nice outside so i took advantage and decided to do the stator 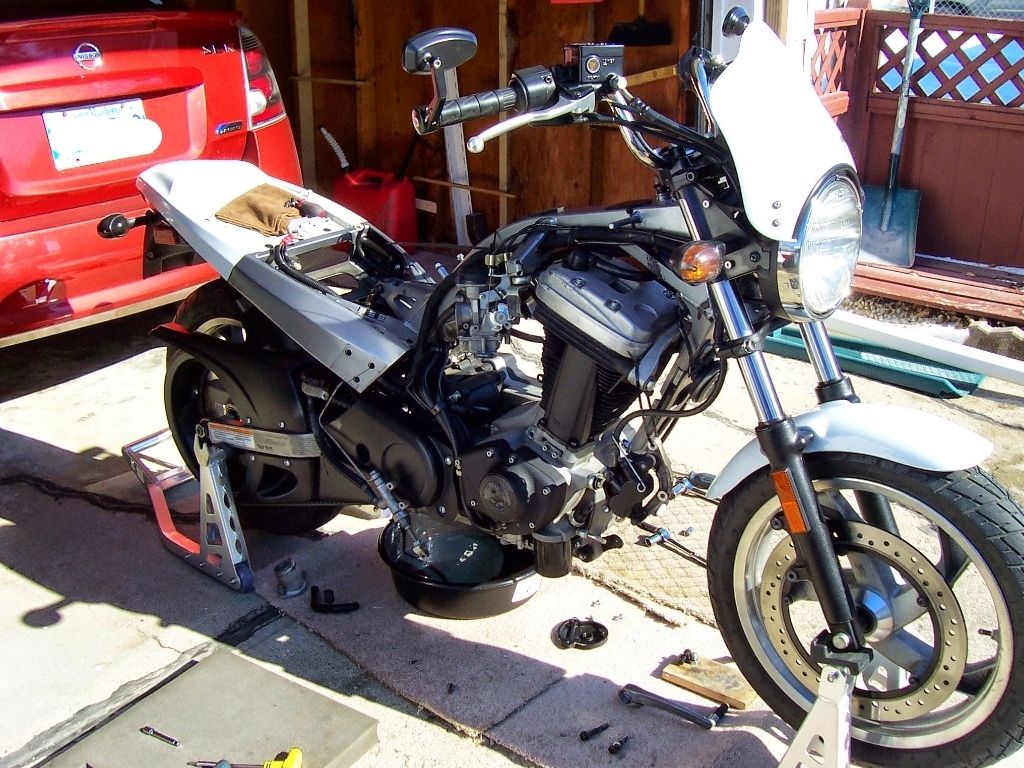 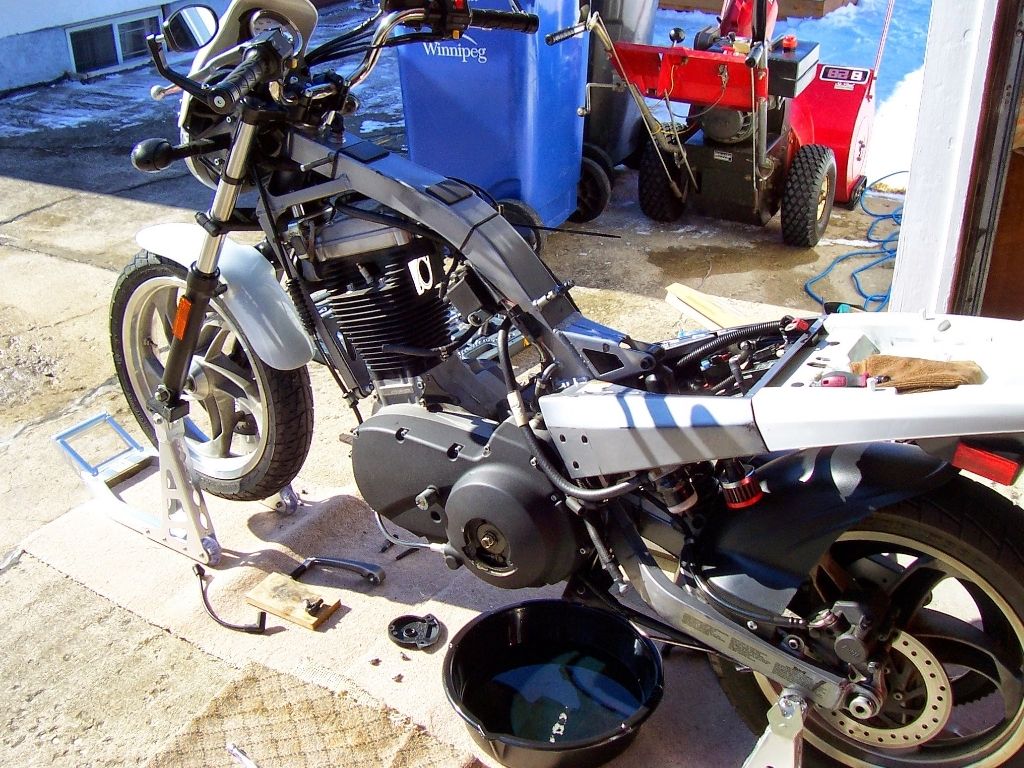 oils drained, loosened the clutch and tensioner, and opened the primary up 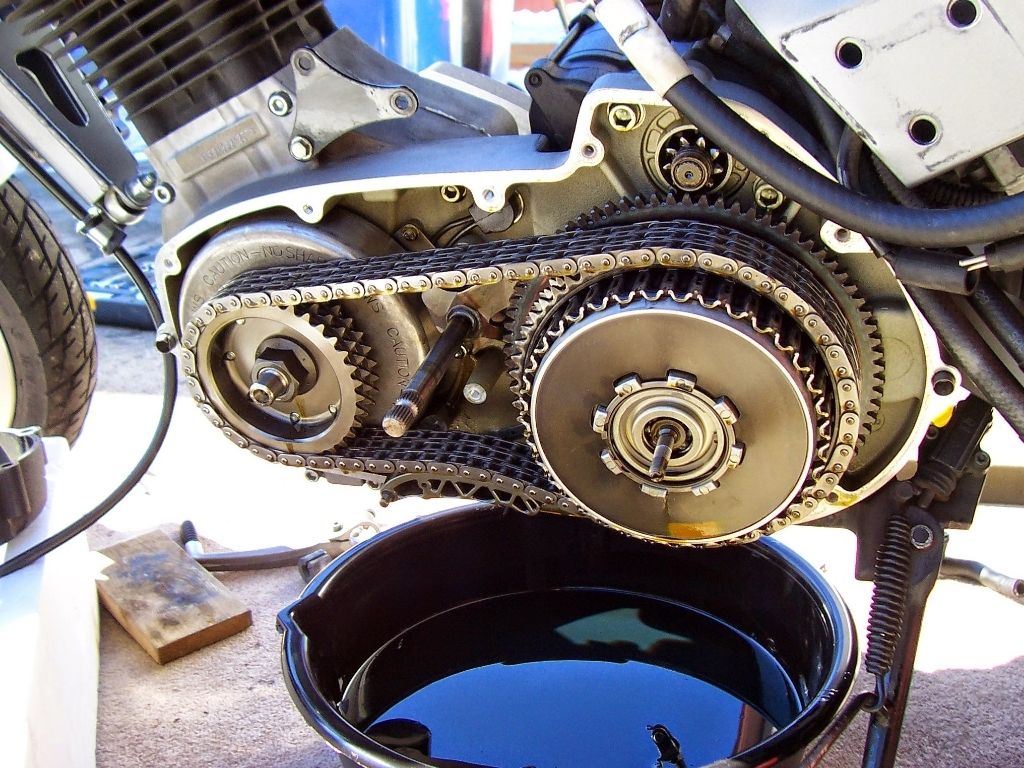 i tried to remove the stator nut first with just the breaker bar, just to see, and with all my might and weight, no go, as i thought... some heat from my small propane torch to loosen the locktite and a 25" breaker bar, and off the nuts came 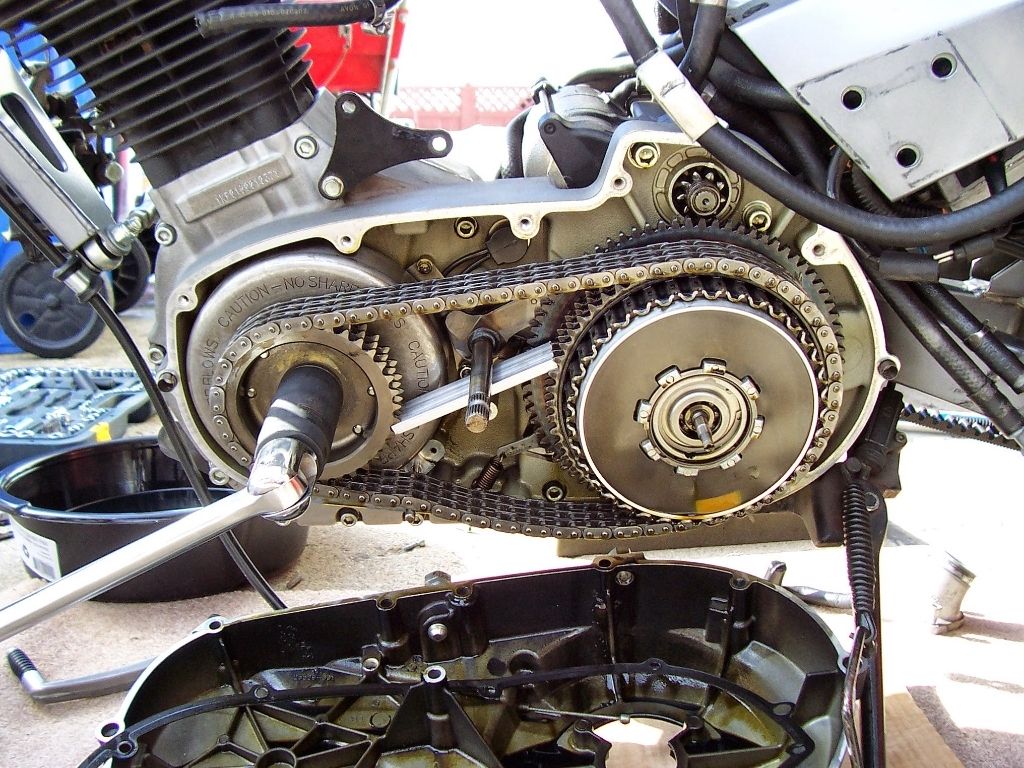 the bad stator 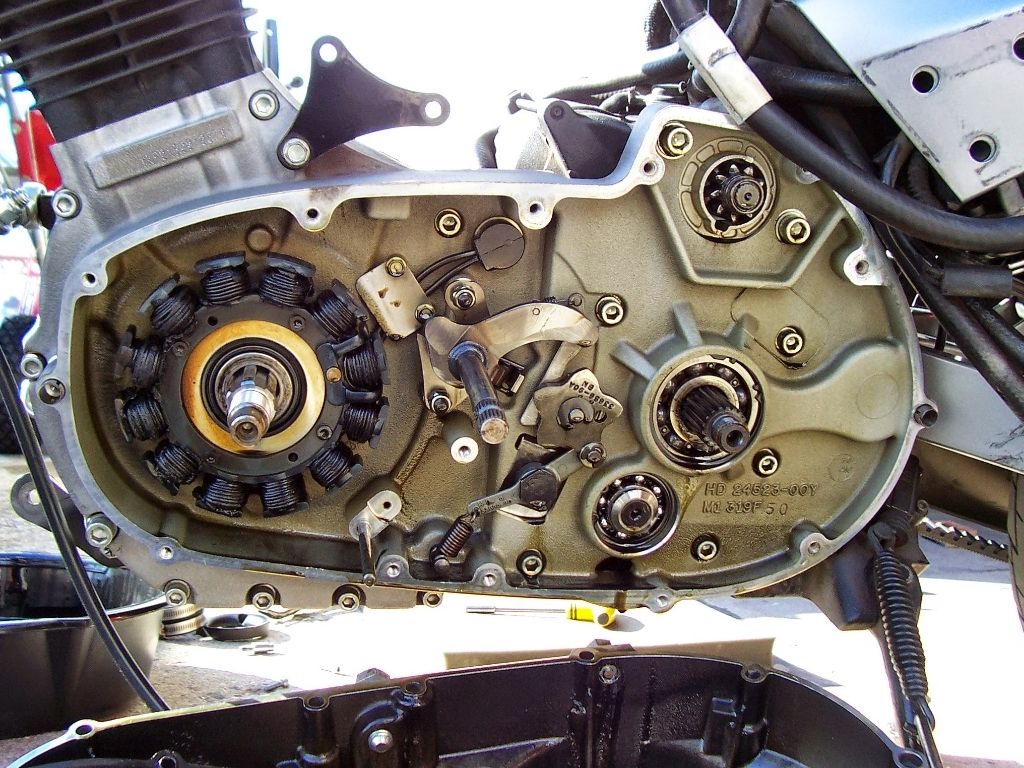 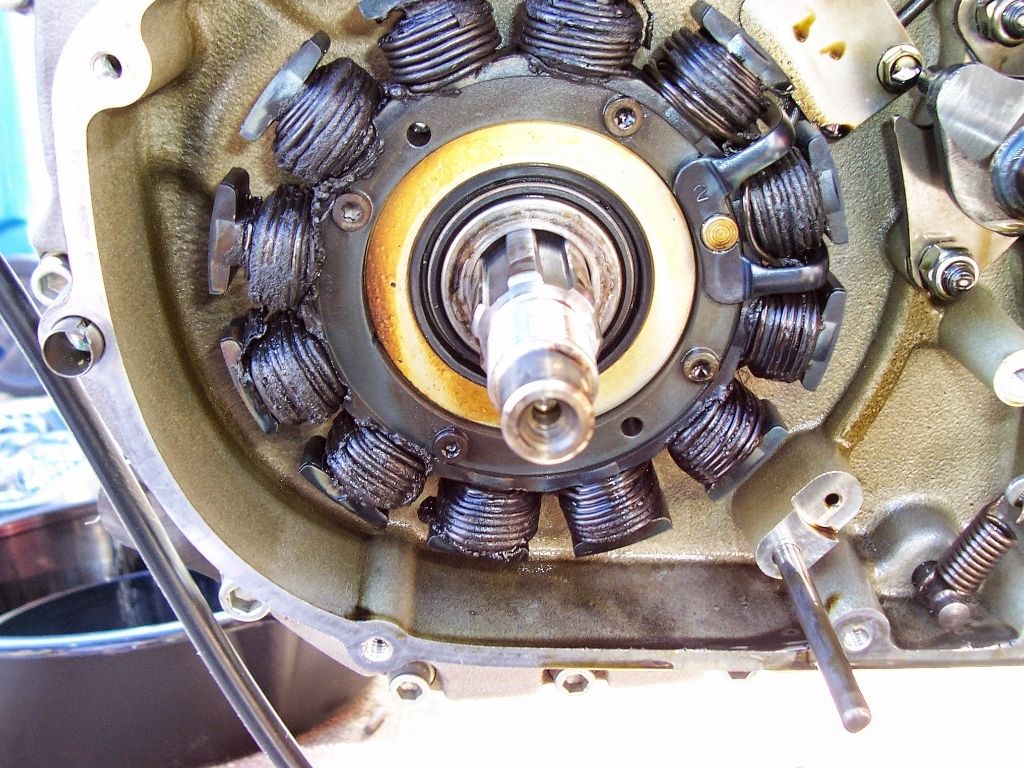 the new good stator with new bolts as well. i layed down some ultra black rtv on the wires under the plate, for added protection 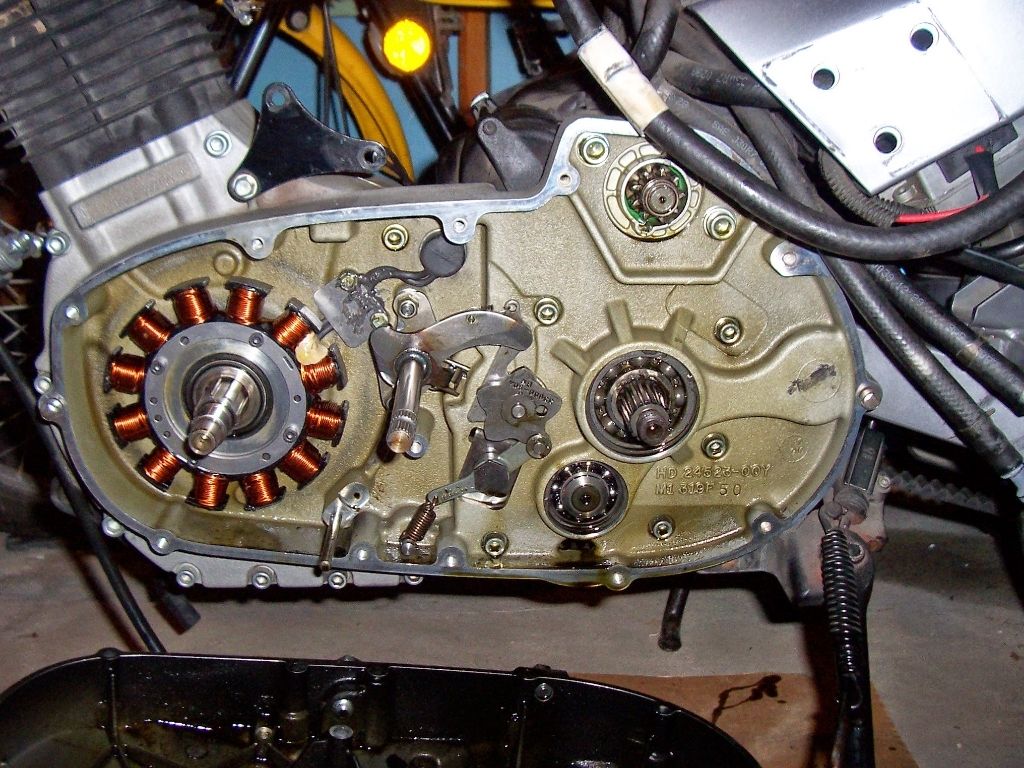 i cleaned up the inside of the primary, sopped up some standing oil etc, and reinstalled the clutch pack-chain-rotor. drop of red locktite on the clutch and stator nuts, and torqued back to spec. thats where i left off yesterday. tonight i'll clean up the primary case, and re-install that, ready for fresh formula+ oil. probably going to remove the wheels tonight and bring them inside to clean, and install new tires. | ||
Marksblast |
Pix like that and some explanation are really Great to see. From one who is visual, not mechanical. Thanks. Hope all goes well... | ||
Chief_ten_bears |
worked on removing the head last night. supported the engine, and started tearing down. removed rocker box cover, rocker box, unbolted isolator from frame 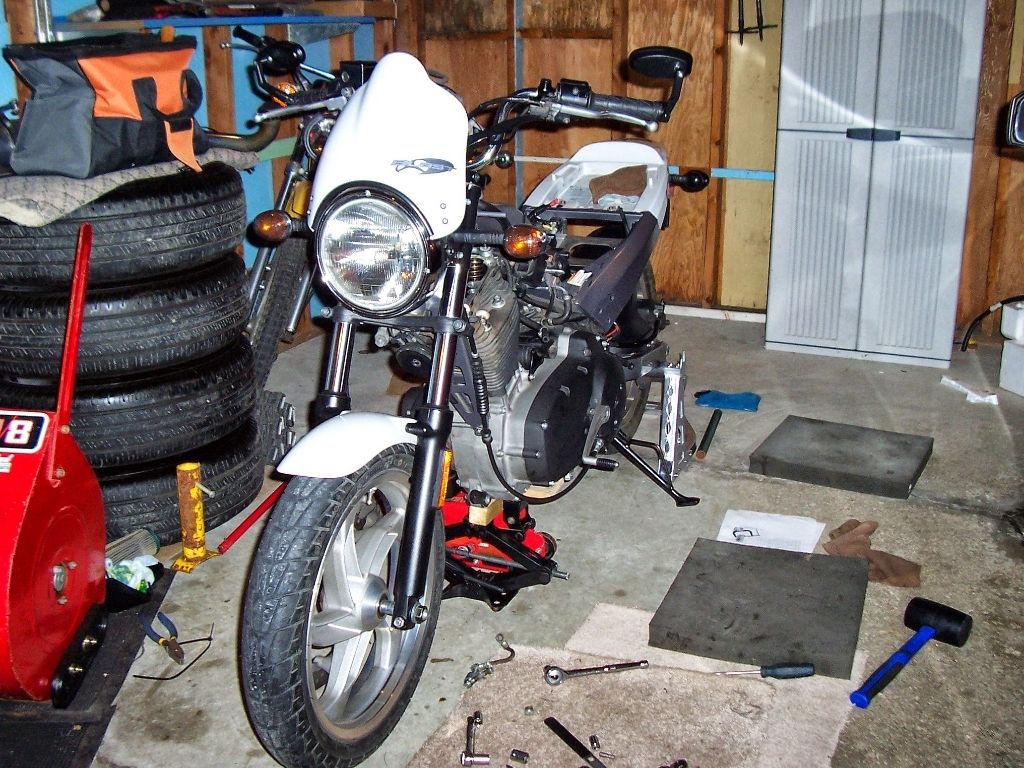 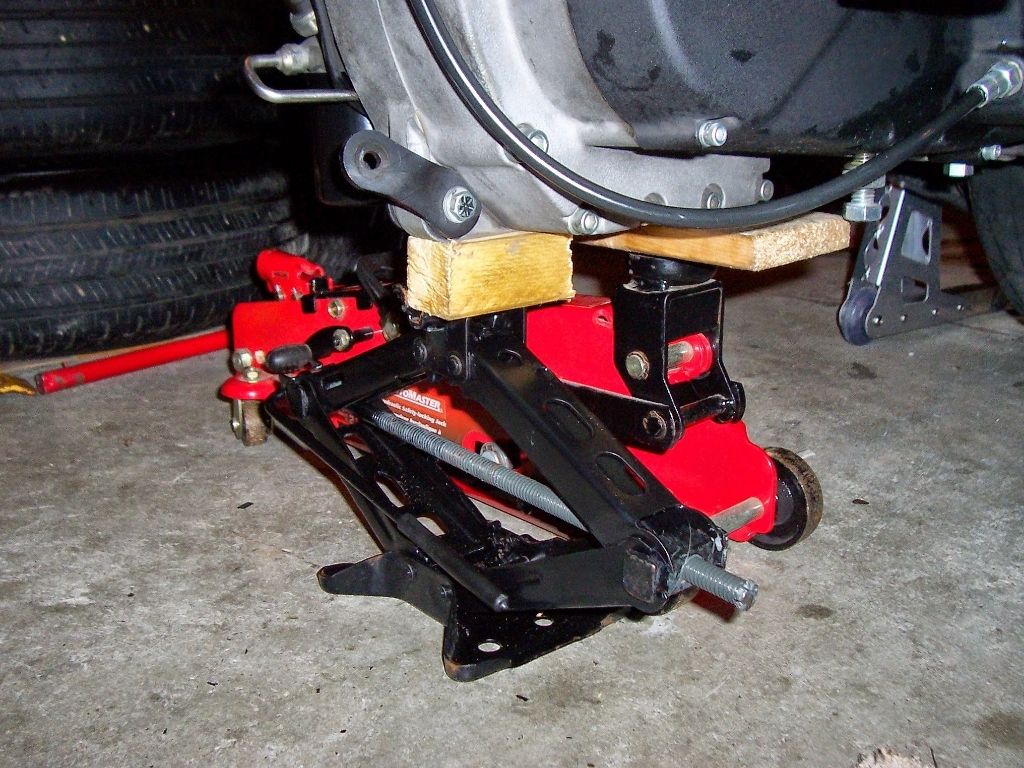 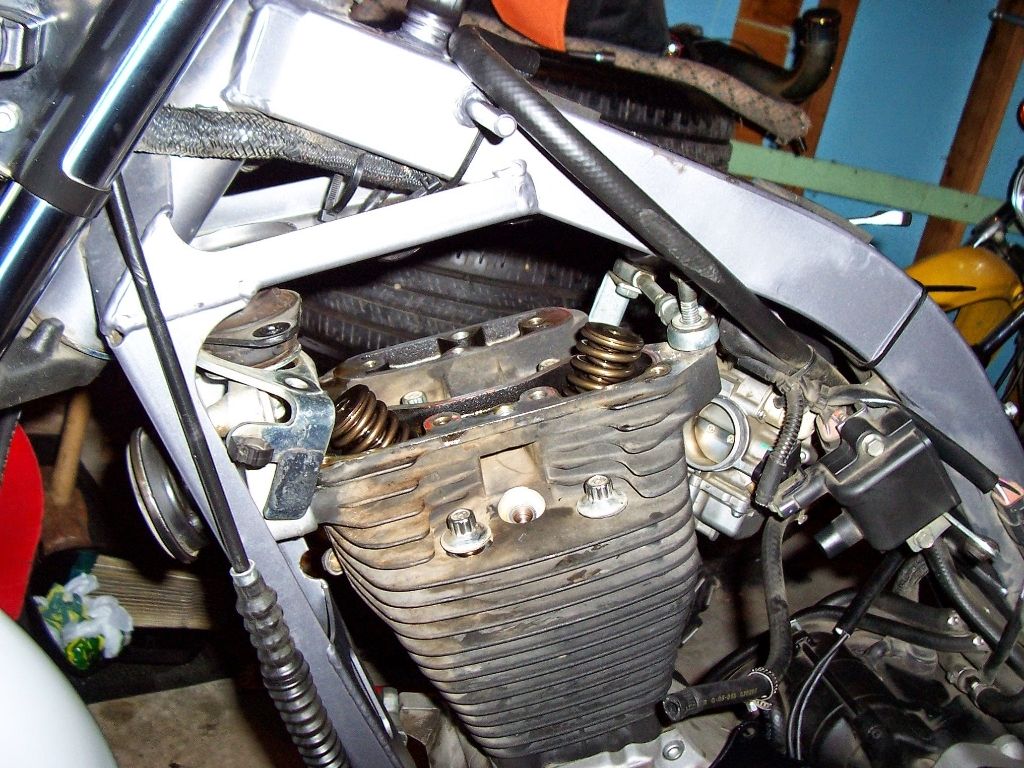 removed head, pushrod cover, and lifted the cylinder as well 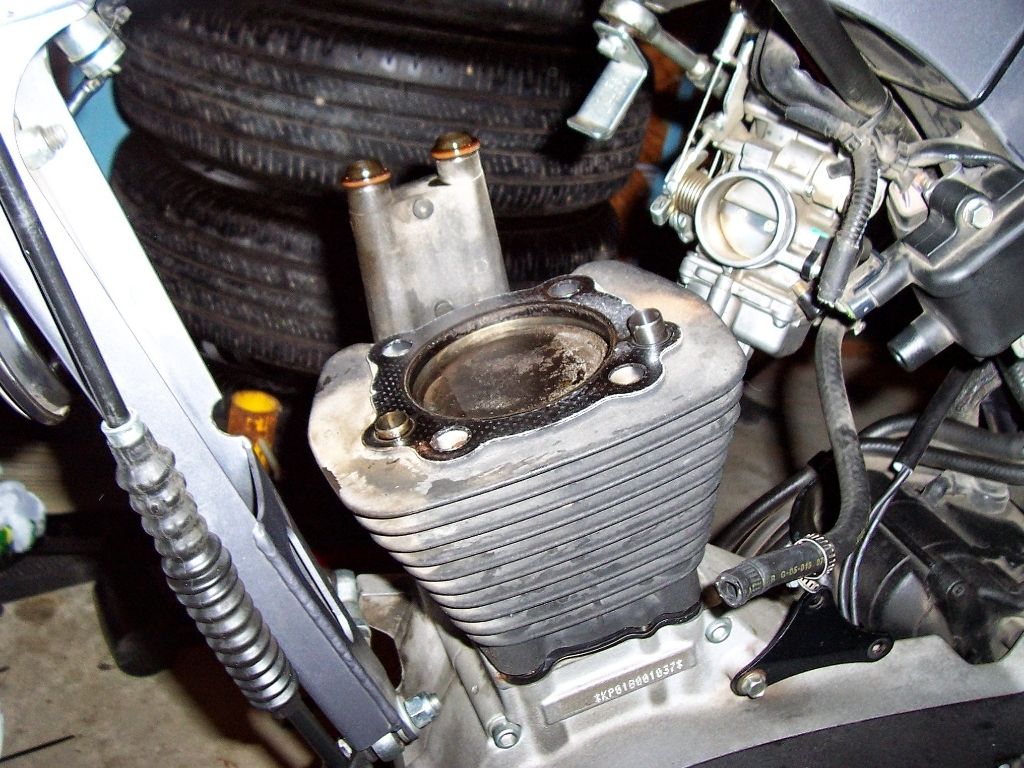 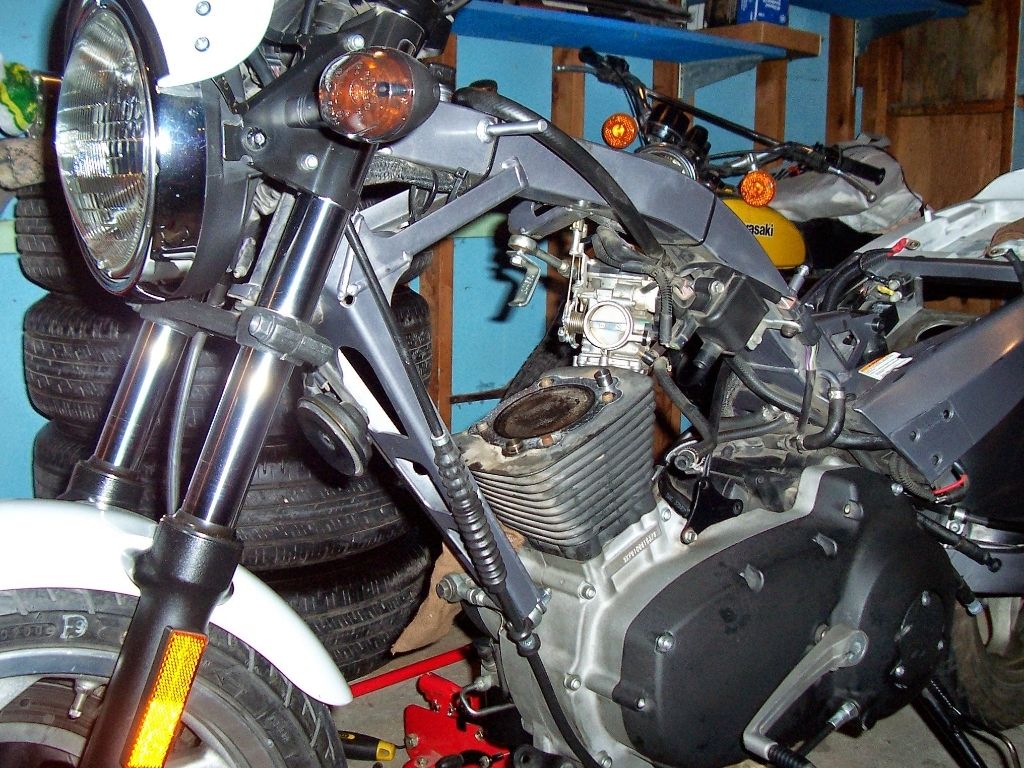 i'm going to remove the cylinder with the piston still inside, and just remove the wrist pin. i got the circlip out, but was having a tough time trying to get the pin to slide out, it gets caught on the slight edge of the hole. i didn't want to tap it too hard, so i'll left it as is and will make a puller tonight with some threaded rod, some nuts, and a couple of sockets i brought the head inside and was going to stop there, but i later removed the intake valve and removed the seal. the factory seals are sh*t, i can see why the Blast uses oil. the new james viton stem seals are 1000x better and softer. i'll work on cleaning the head and valves tonight, as well as the cylinder once i get that off. hope to start re assembling tomorrow. 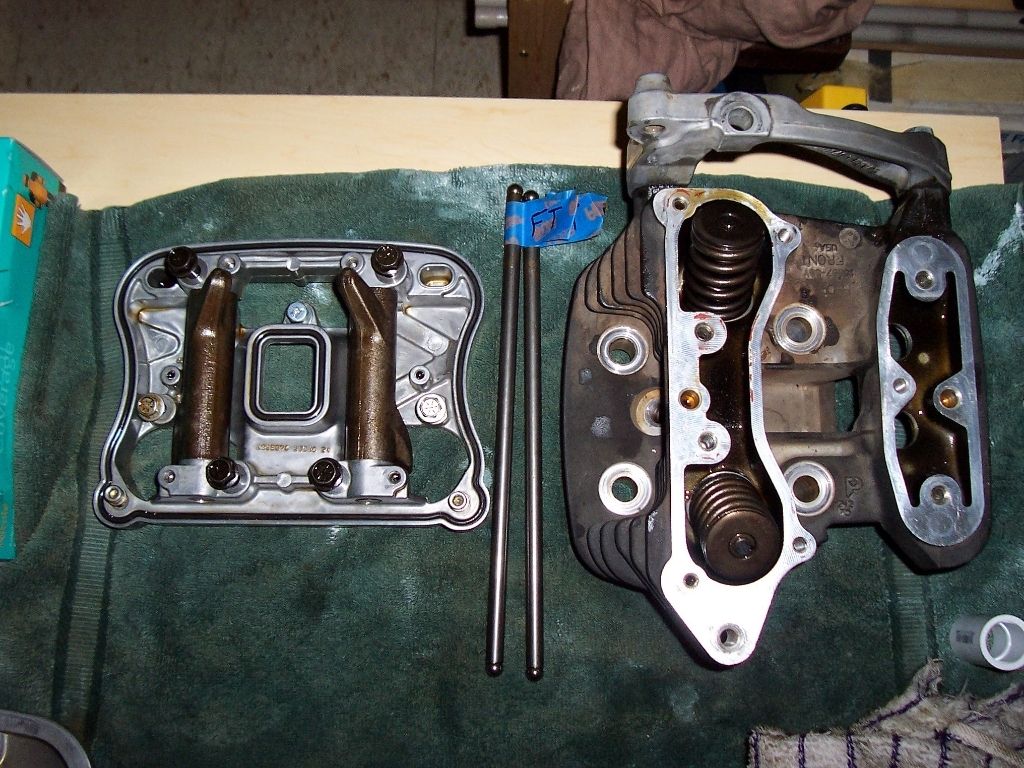 | ||
Chief_ten_bears |
last night i used my home made wrist pin puller to remove the pin and was able to lift the cylinder from the crankcase, leaving the piston still inside. cleaning the base gasket surface was fairly easy, just a wipe with some carb cleaner 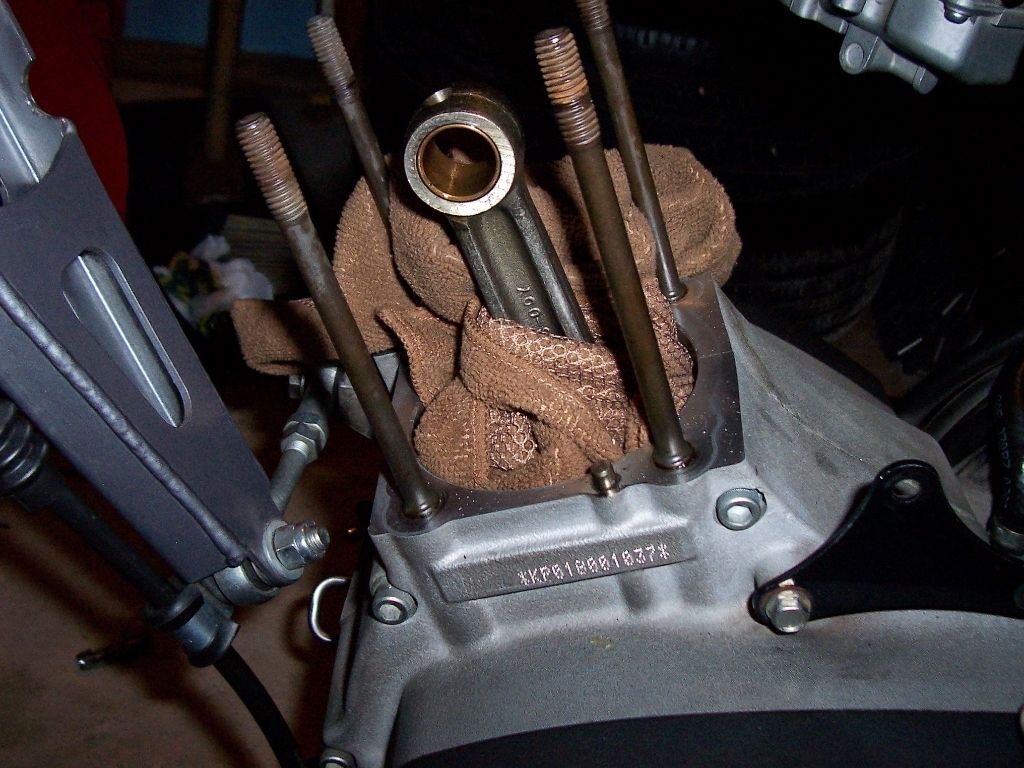 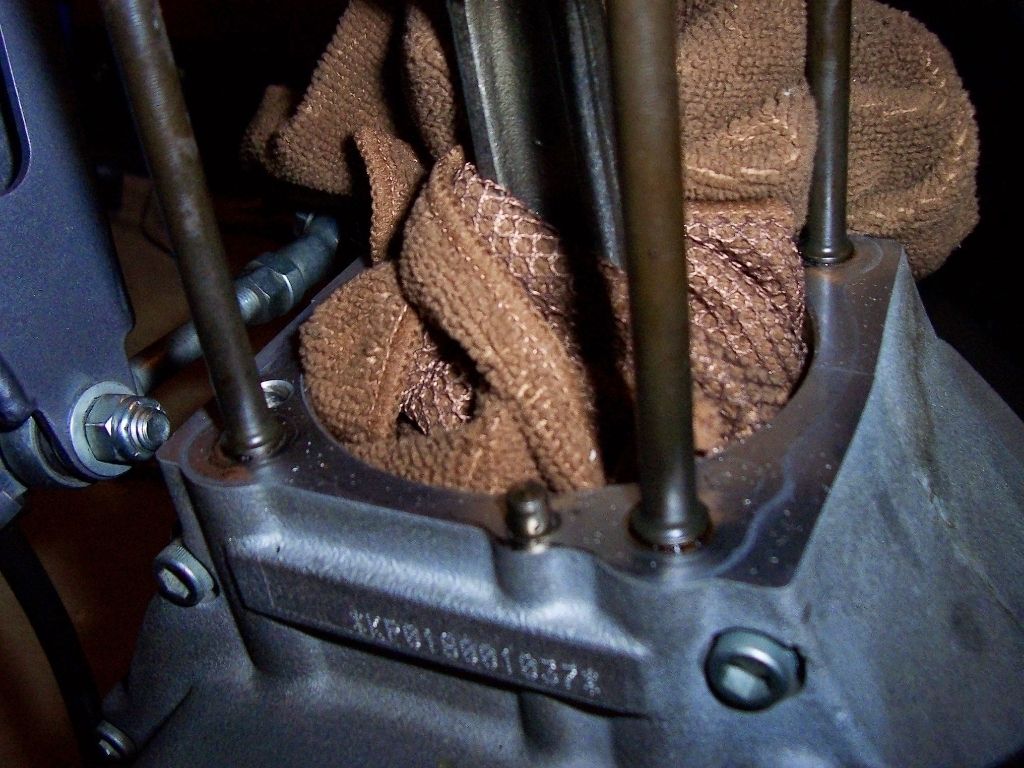 here's a picture of the puller. basically its a threaded rod, a couple of deep sockets that fit against the wrist pin to push it through, and a larger socket at the other end that the pin slide out into. turn the nut, and it works 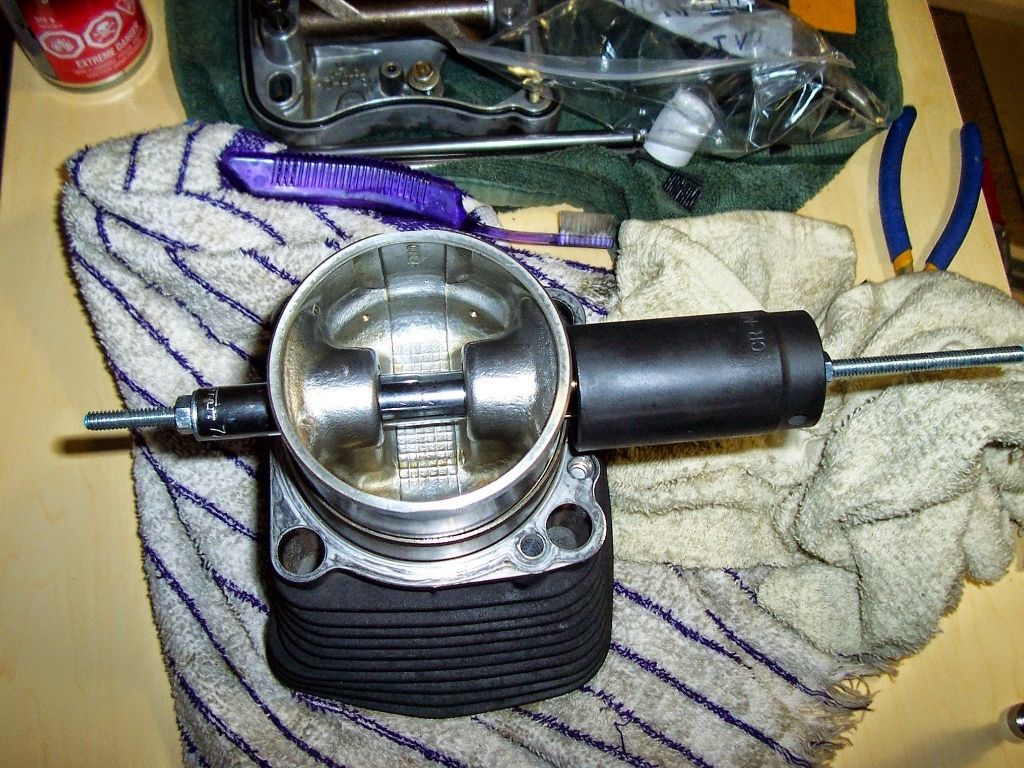 started cleaning the valves with a small brass wire brush, cleaning the combustion chamber, intake and exhaust ports etc. i left the head upside down a left the combustion chamber and ports full of kerosene overnight. today, it should all scrub off pretty clean 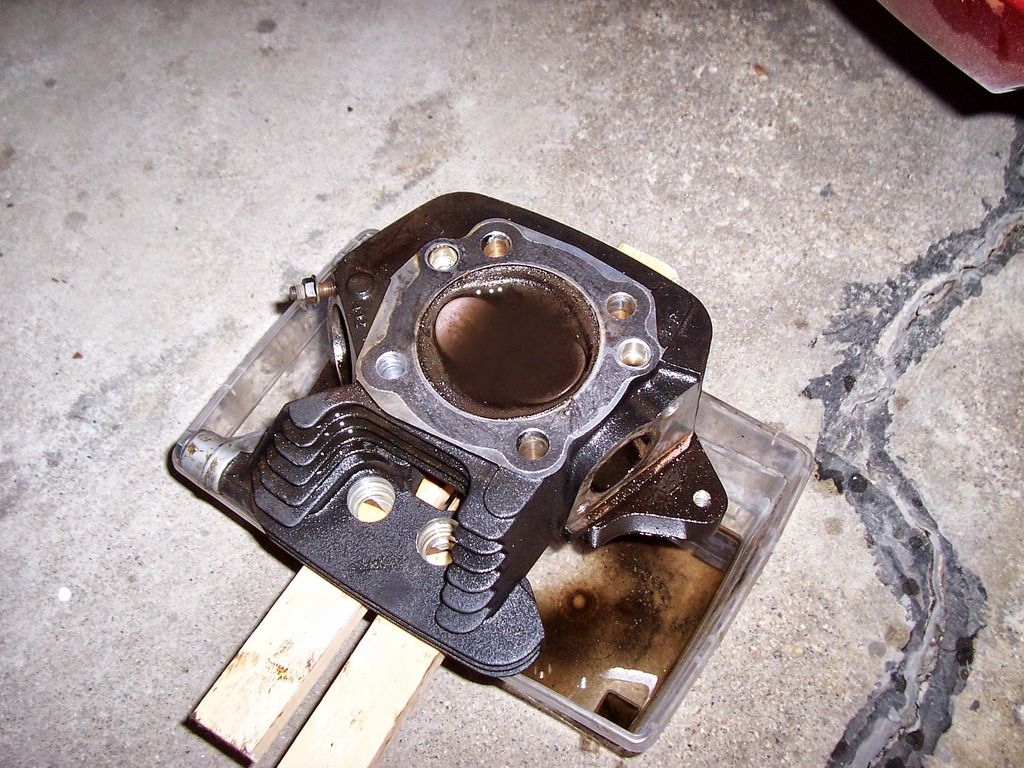 | ||
Ezblast |
Did you put in new detent plate and two detent clips? EZ | ||
Ezblast |
Watch the Daytona 200! May Vs Slick! http://www.fanschoice.tv/watch-live/ama/flat-track EZ | ||
Ezblast |
Slick won but May pulled third - as a privateer that is an awesome finish - he was fastest but traffic slowed him. Danny was an animal taking the lead back every chance he could - nothing could hold him back - the second place guy got hip and followed him through traffic then would try and pass. Jeff came back so many times that he earned fastest lap - he'd struggle through traffic, be 22 bike lengths behind and then by the next lap catch up and pass both of them - that was awesome racing - his mistake was pitting after slick instead of before, too much lost, though he did go from 5th back to a fairly close third in two laps, but Slic cut through traffic while Jeff fought it - so he never got close enough to challenge for the win. Before that though people where betting on him to win, because he kept taking the lead from Slic - making it look easy! Great race! EZ | ||
Adhochero |
i plan on getting a new exhaust and maybe one of dans air filter mods. my question is: if i just get the Jardine exhaust what do i need to rejet it to. and would i need to rejet again if i later decide to get the air filter or would i just keep it the same? i have read a bit on this but its a little unclear. | ||
Ezblast |
46/175 alone with 2 #4 washers for needle shims and with non stock intake - 46/180 with 2 #4 washers for needle shim. EZ | ||
Ezblast |
Nick's inexpensive, simple method for creating a manual choke for your Blast - bravo Nick!!!! http://buellridersonline.com/forum/showthread.php? t=10824&p=76794#post76794 EZ | ||
Ezblast |
Clubmans that work! - http://www.ebay.com/itm/221086368524?ru=http%3A%2F %2Fwww.ebay.com%2Fsch%2Fi.html%3F_from%3DR40%26_sa cat%3D0%26_nkw%3D221086368524%26_rdc%3D1 EZ | ||
Patches |
Chief_ten_bears, Any progress on the engine rebuild? Pictures? Not to be nosy just wondering. | ||
Ezblast |
http://motorcycle.michelinman.com/tires/michelin-c ity-grip New tire in for our favorite oversize fitment - who will be the first to own them? EZ | ||
Gearheaderiko |
Nice! And a good range of sizes. Any idea who has pricing on these? I do need a new rear tire..... | ||
Ezblast |
They all do - motorcycle superstore, etc http://www.motorcycle-superstore.com/28198/i/miche lin-city-grip-rear-tire&colorid=9&sizeid=3472?site ID=CSE_GBase_483451&WT.mc_ID=80003&P_ID=483451&P_I D=1330994705&adpos=1o2&creative=53697087533&device =c&matchtype=&network=g&SITEID=Google+SEARCH+NON-B RAND+Product+Level+Ads+-+Google+Shopping+Campaign+ Brands&gclid=Cj0KEQjw6OOoBRDP9uG4oqzUv7kBEiQA0sRYB Bqe3HX4qHu9gBj9RFf6JCXCL8MGWm6q99_PpFYFbm8aAvoo8P8 HAQ I'll probably try them oversized on my Starkiller rebuild - the difference between the old style and new style City Grips is the are rain sips and different rubber compound. EZ | ||
Chief_ten_bears |
Yes patches, i'm done the project now, but here is my progress as it went: finished cleaning all the gasket surfaces on the cylinder, head, cleaned the valves etc. used carb cleaner mostly along with scotchbrite pads for the gasket surfaces and wire brushes for the carbon in the head, valves, ports. once i was satisfied with that, i rinsed the head and valves in mineral spirits (paint thinner) then rinsed again in just hot soapy water, then blew the head out with the compressor. the cylinder and piston, i just gave the bore a wipe down and did a little scraping on the piston top with a plastic knife. i gave the cylinder and piston a thorough blowing with the air compressor as well  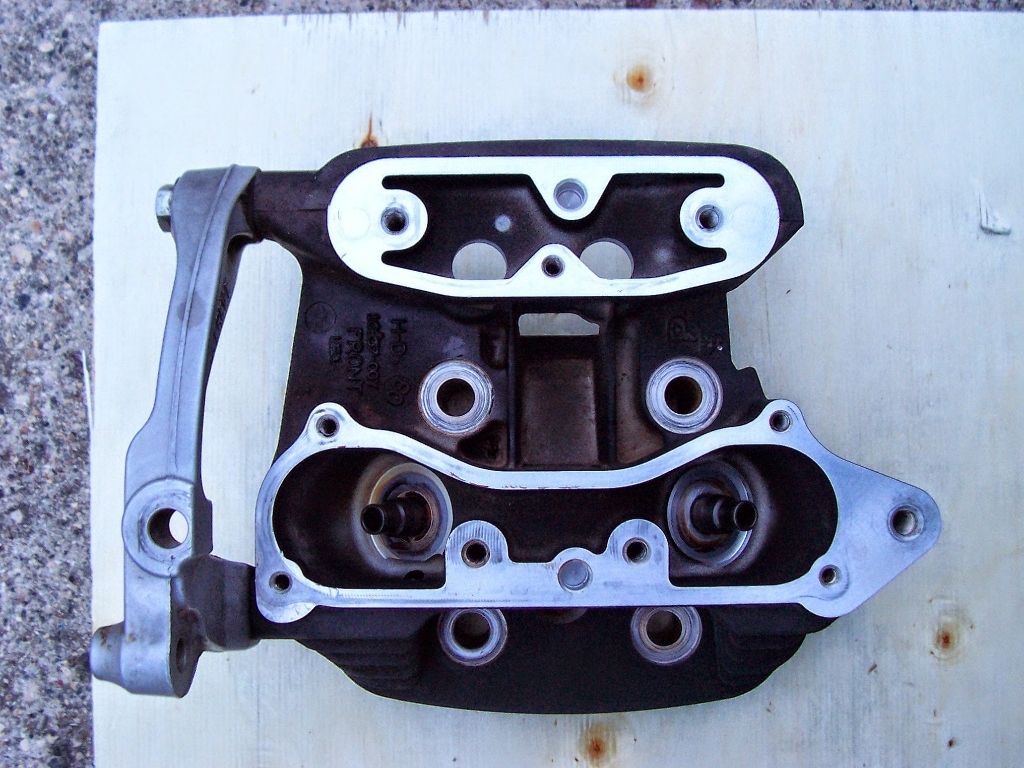   new base gasket 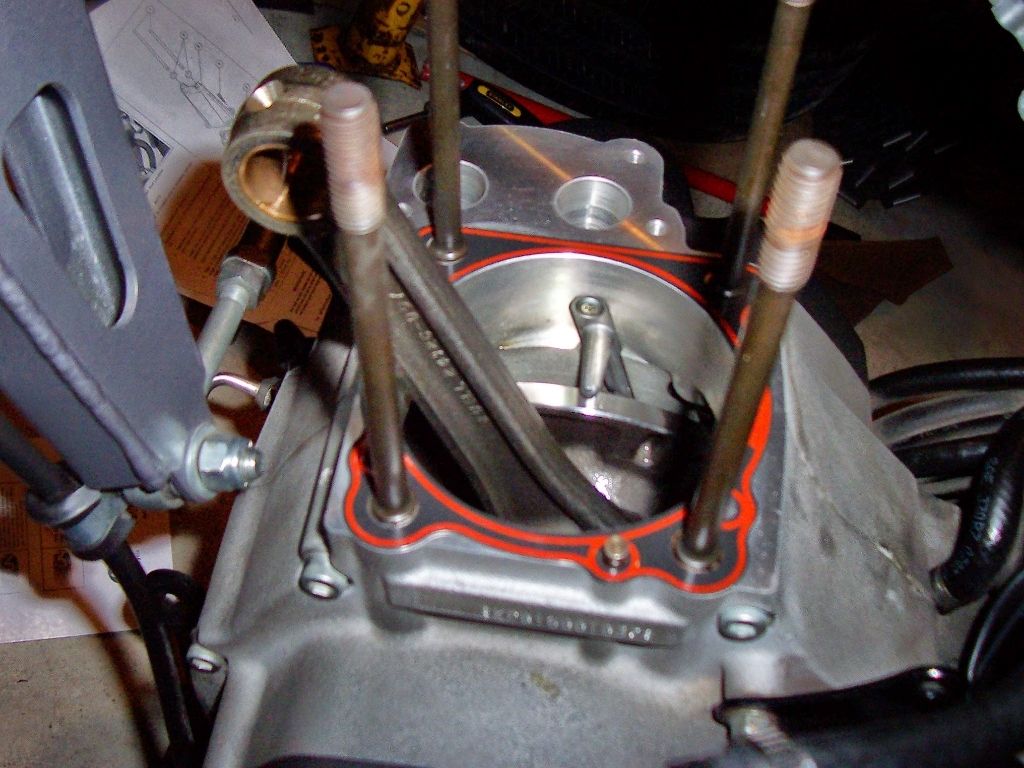 the wrist pin wouldn't slide in on its own, so i heated the piston up for a bit with a hair dryer. a little 20w50 on the pin, in the guides and the rod bearing, and the pin slide right in  new circlip as well. just clip in it, then used needle nose pliers to twist the rest into the groove. i also read that it's best to align the gap vertically rather than horizontally, probably something to do with the up and down motion of the piston 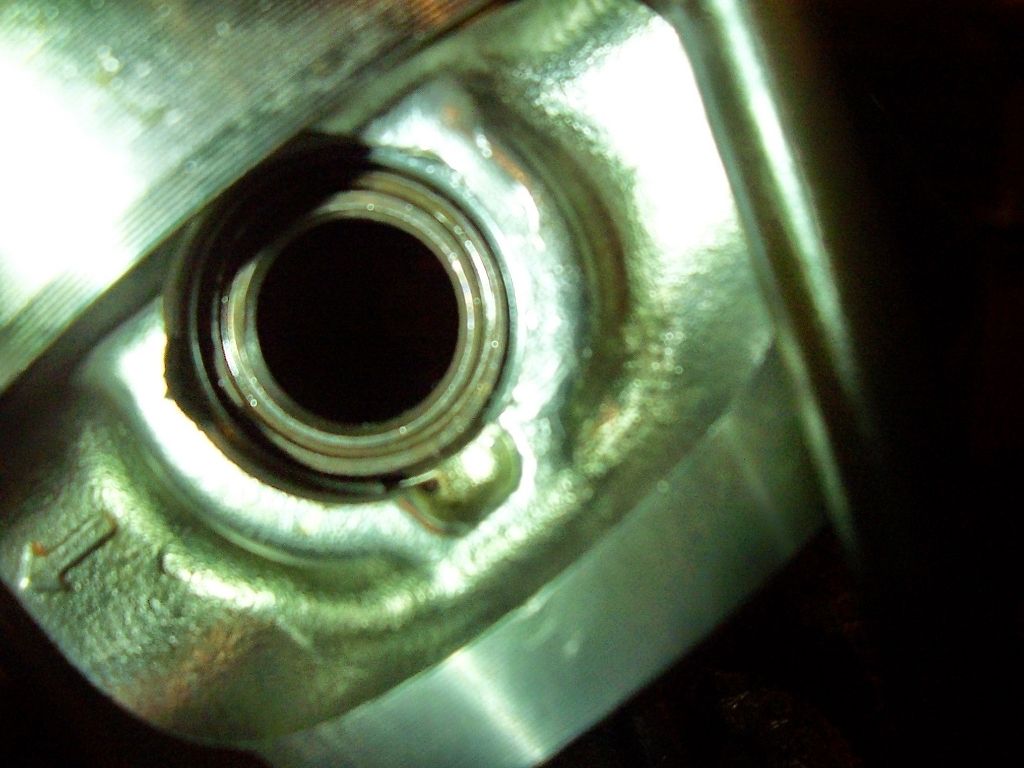 slid jug back on, then installed the pushrod cover. i reused the base gasket of the pushrod cover, it's a thick rubber piece, wiped it down some, it looks and feels fine 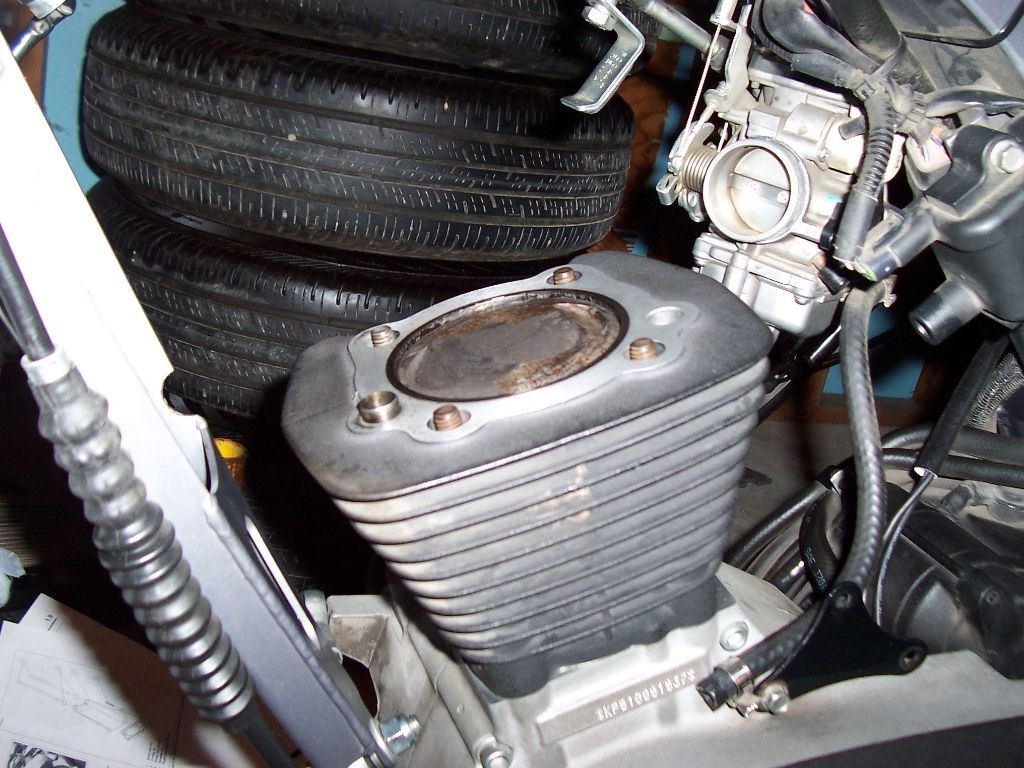  i'm going to lapp the valves later today, then re assemble the head and install that back on the bike. with any luck, i'll be starting the bike later tonight or tomorrow morning 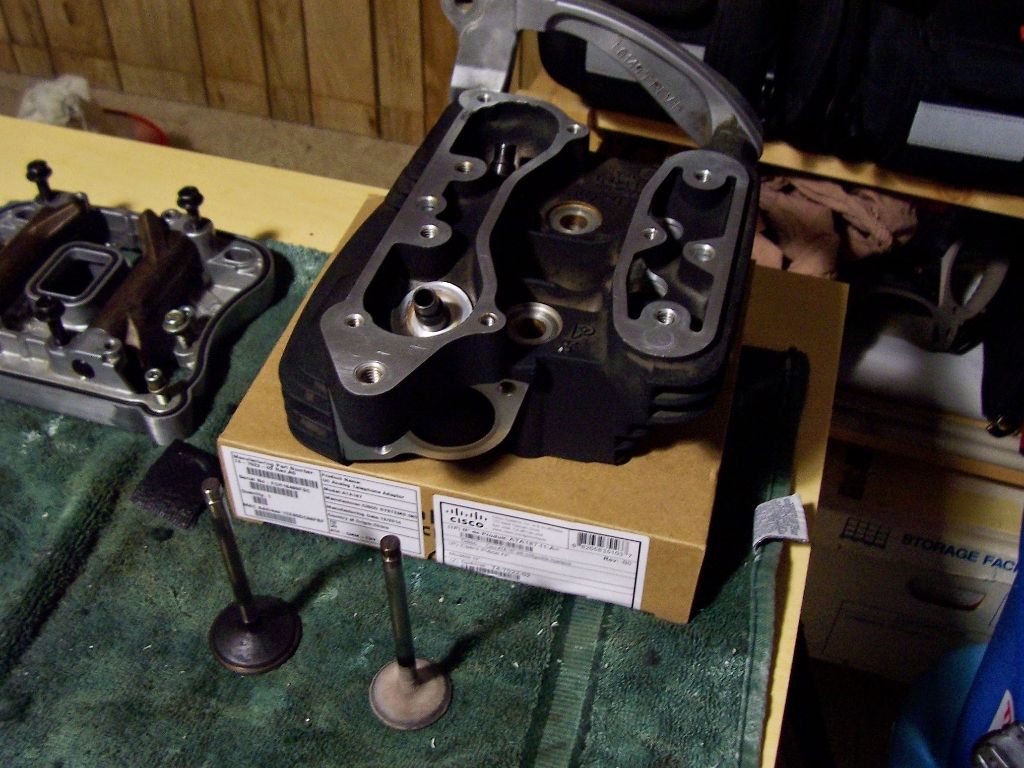 | ||
Chief_ten_bears |
so yesterday i had a full half day to work on the bike. i started by doing a valve job. some lapping paste, a lapping tool, and off i went 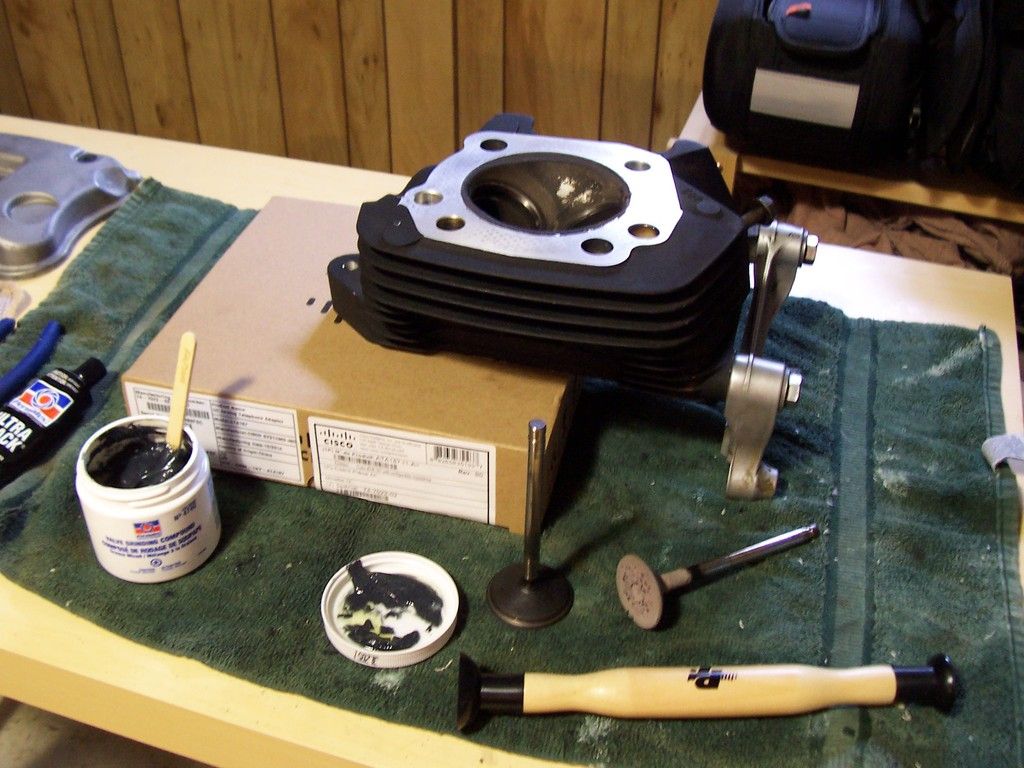 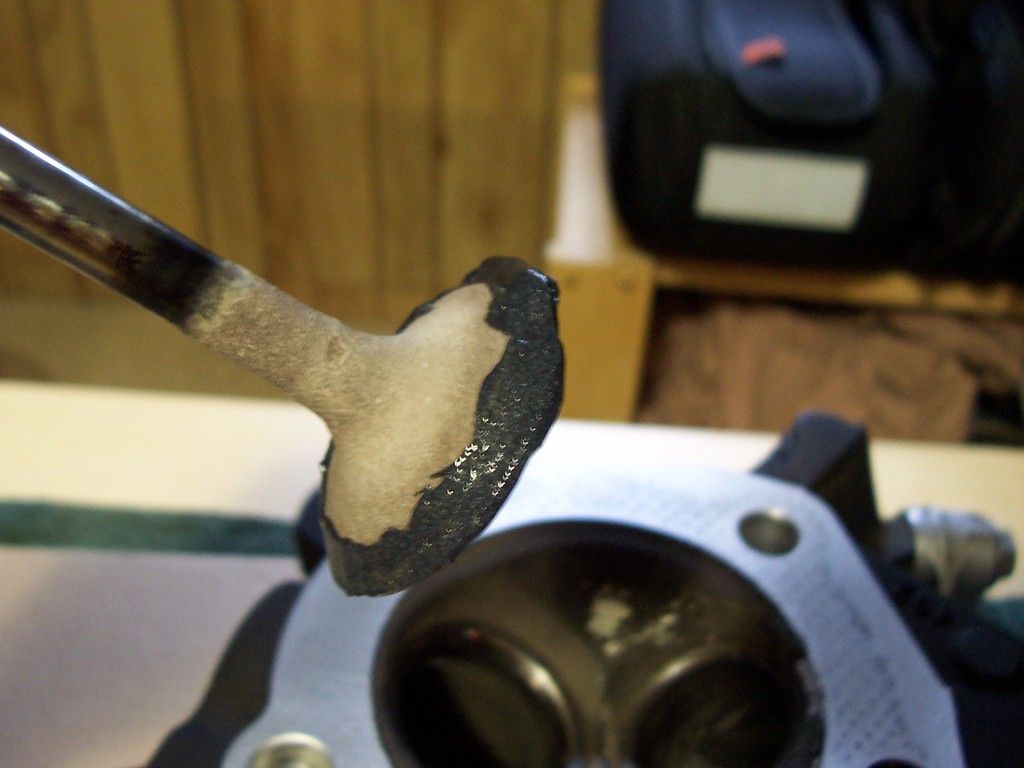  results. i've seen some where guys will grind until the whole seating surface is bare, but i've always known and done it where you have a nice even couple mm silver band, that seats and seals properly. i thoroughly rinsed the head again in mineral spirits, then soapy water, and blew out with compressor to make sure head, ports and valve guides were 100% clean after the grinding 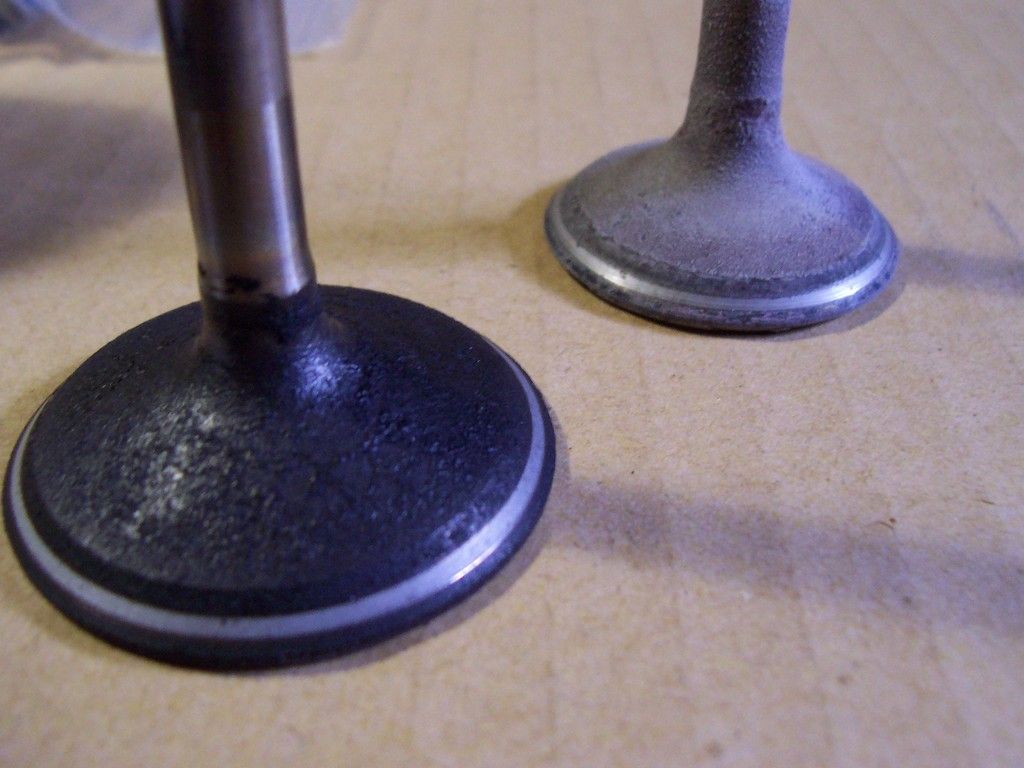 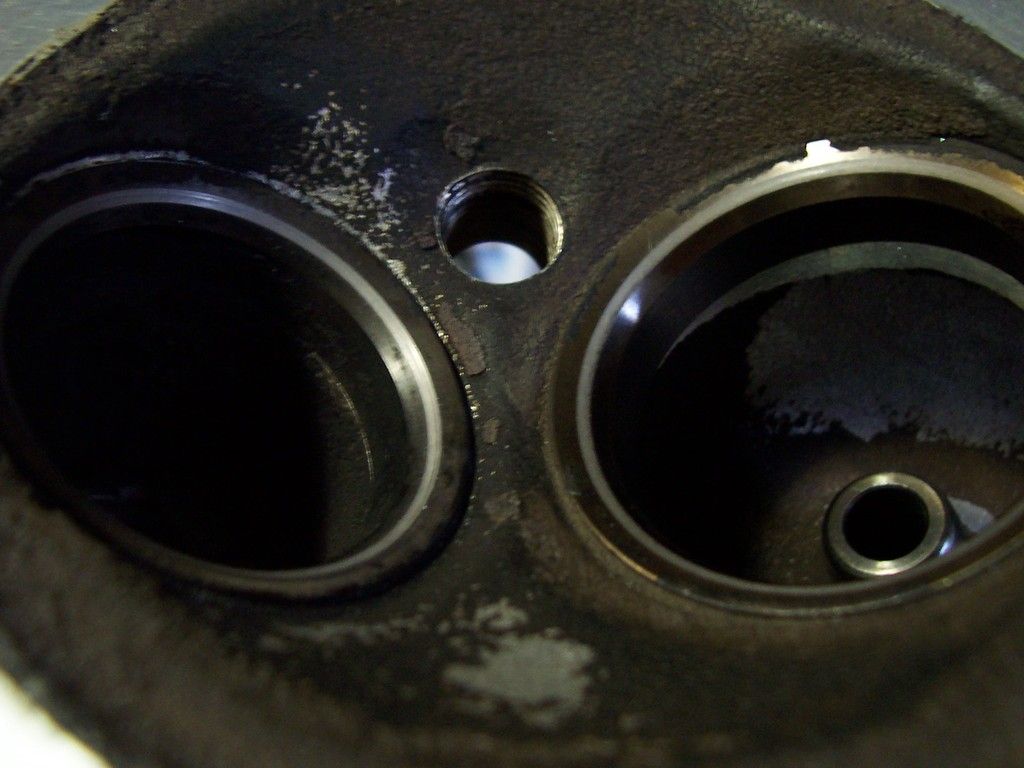 next was head reassembly 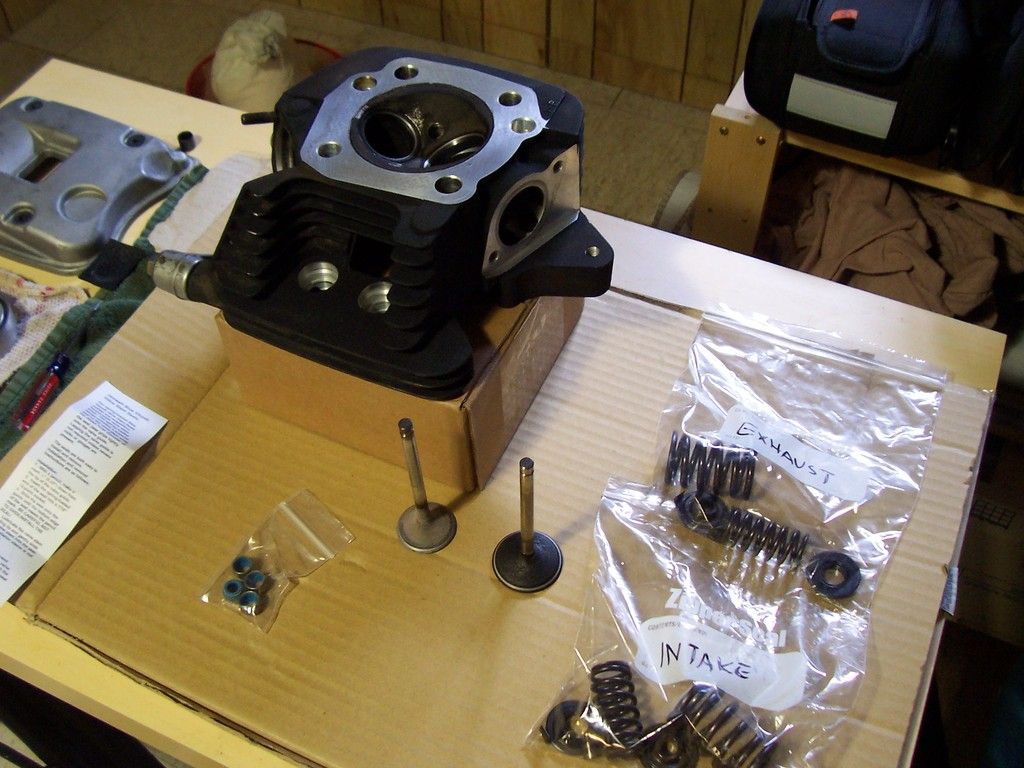 new, better softer and 1000x better sealing viton valve seals 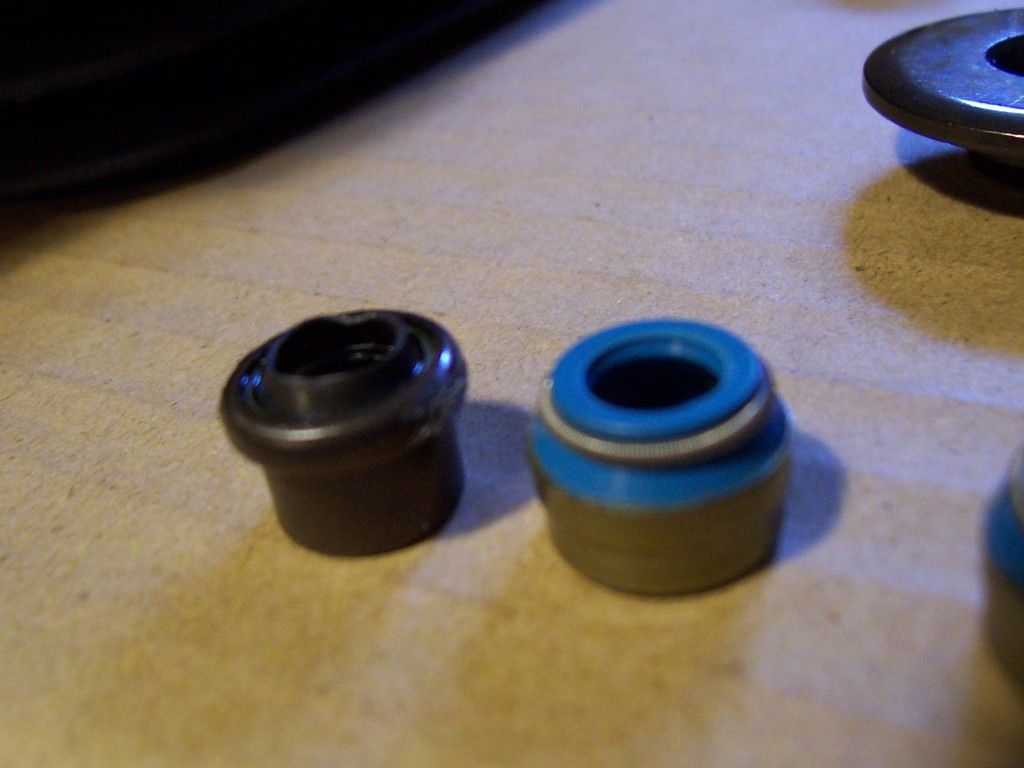 valves, seals, springs, seats and keepers all installed. measure and make a mark .25" from the top of the valve guide. you use a 7/16 socket to lightly push down the new seals to install, stopping at the mark you made once the bottom of the new seal meets it. a little oil in the valve guides and the stems, as well as the valve seal top before sliding the valves in 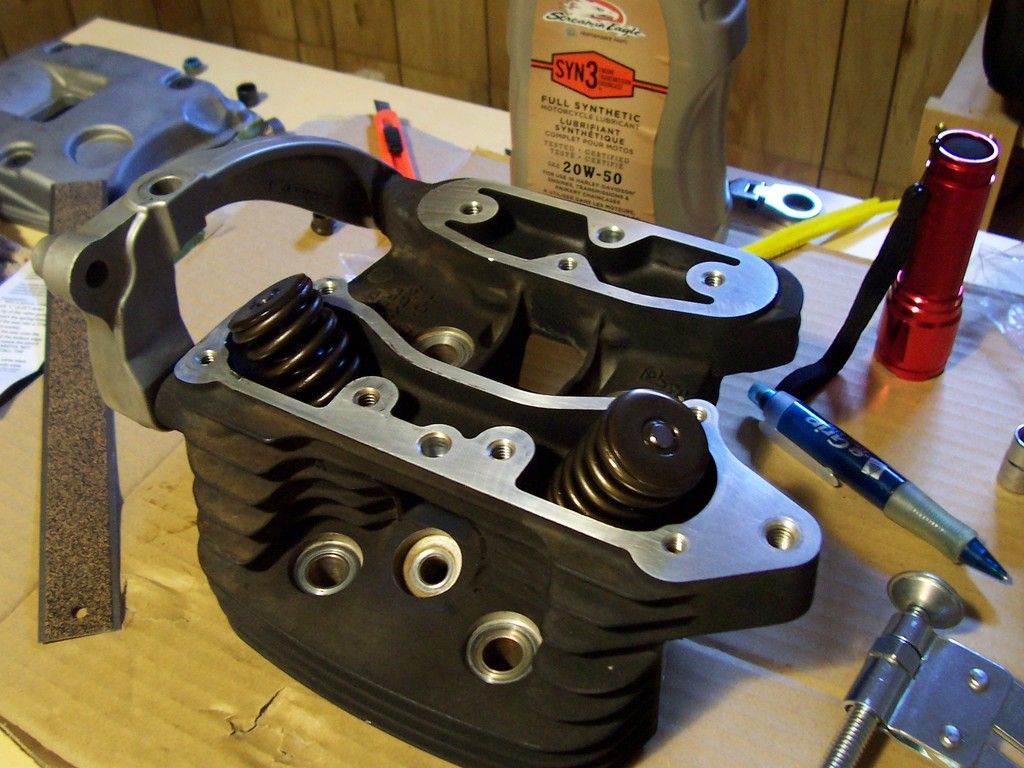  gave the head another wipe down and blow it out with compressed air, time to put back on the bike. new james mls head gasket. note, no dowel o rings required 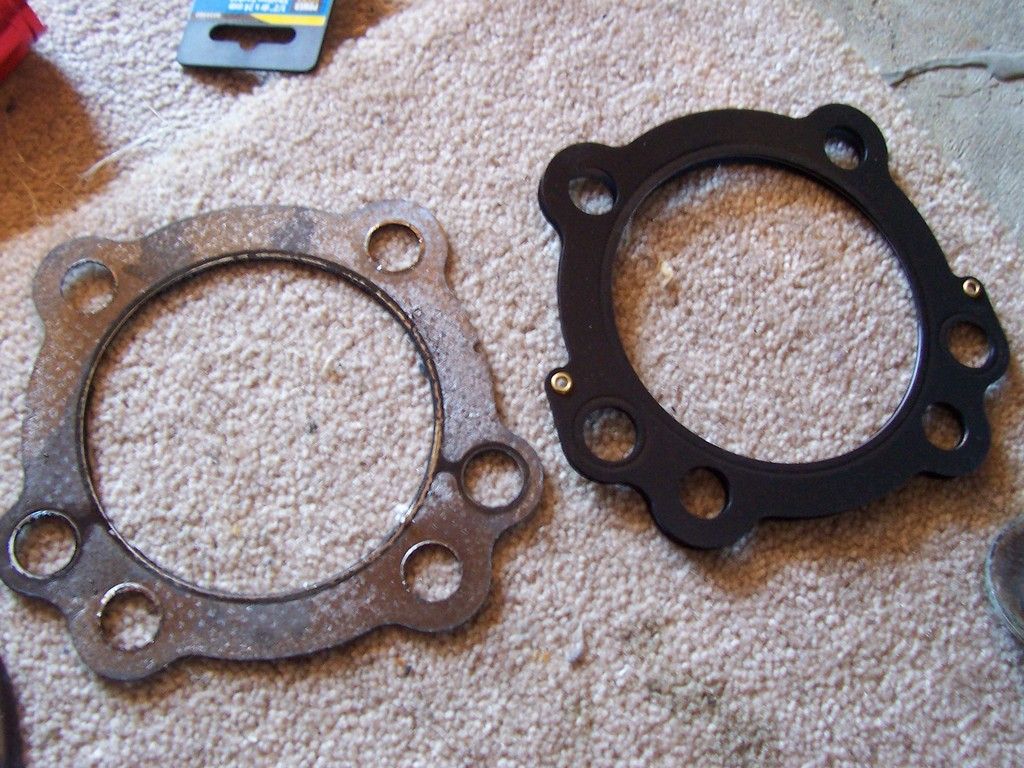 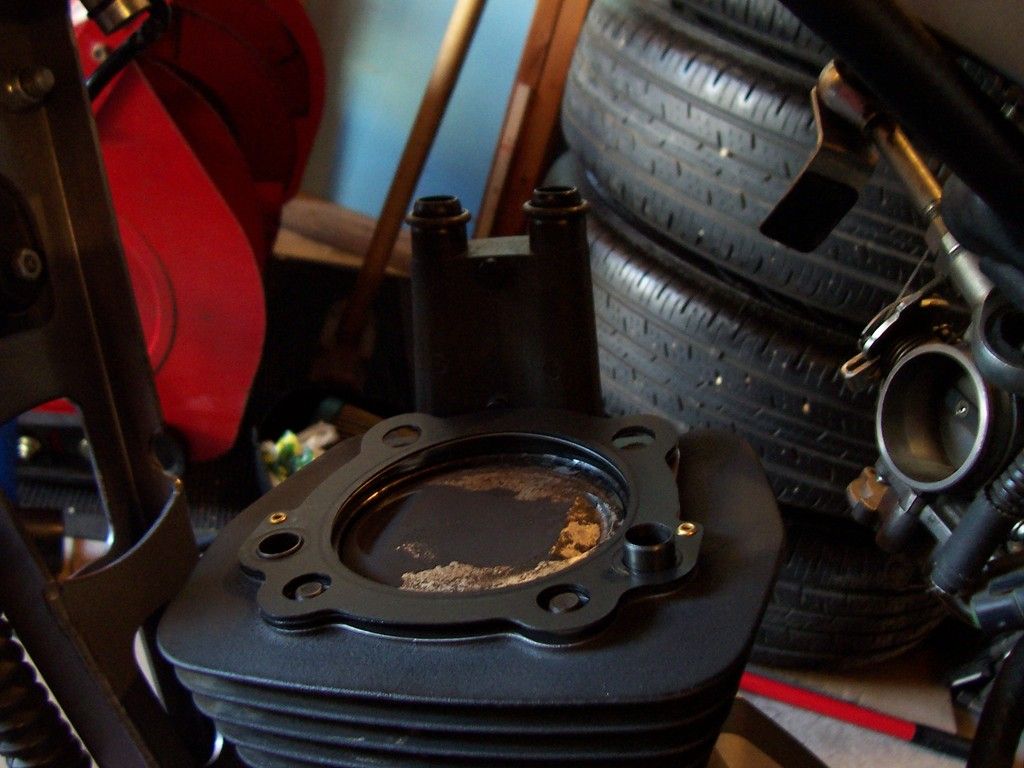 mls head gaskets require a different torque procedure than the oem composite head gasket from Harley. the james kit has those instructions in it, you still put some light oil on the threads, and on the bottom face of the bolt, and torque in the same order/sequence, but the values and steps are a little different. you torque all 4 bolts to 1 spec, then again to another, and another, then finally your last value which was about 42 ft lbs if i recall ( i don't' have the sheet in front of me...). also, note the rivets keeping the 4 layers together on the gasket, make sure these clear the mating surfaces otherwise you can trim them off. they were fine on the blast 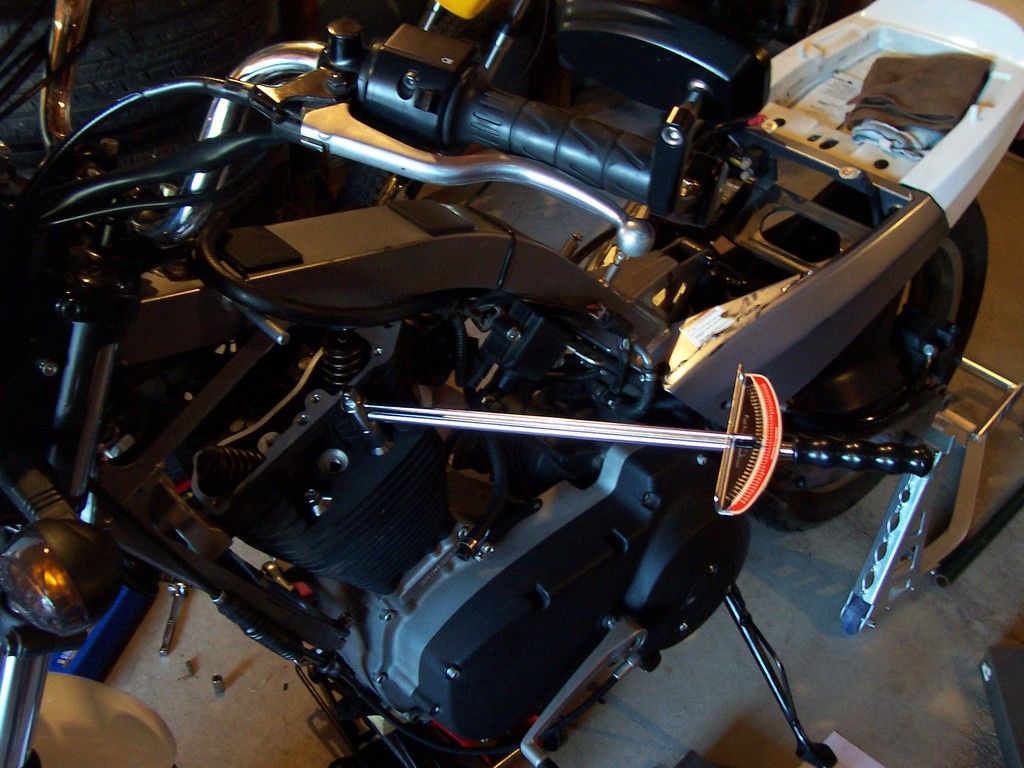 front isolator re installed, tie rods re installed on the head and re tightened on the front frame joint  new james rocker box gasket  i cleaned up and again blew out the rocker box with compressed air, making sure the oil galleys from the pushrod cups to the middle of the rocker arm holes were clean and clear. rocker box re installed and torqued to spec to bleed down the lifters. also make sure the pushrods are seated correctly. i also like to make sure i can spin the rods with my fingers after i've torqued down the rocker box 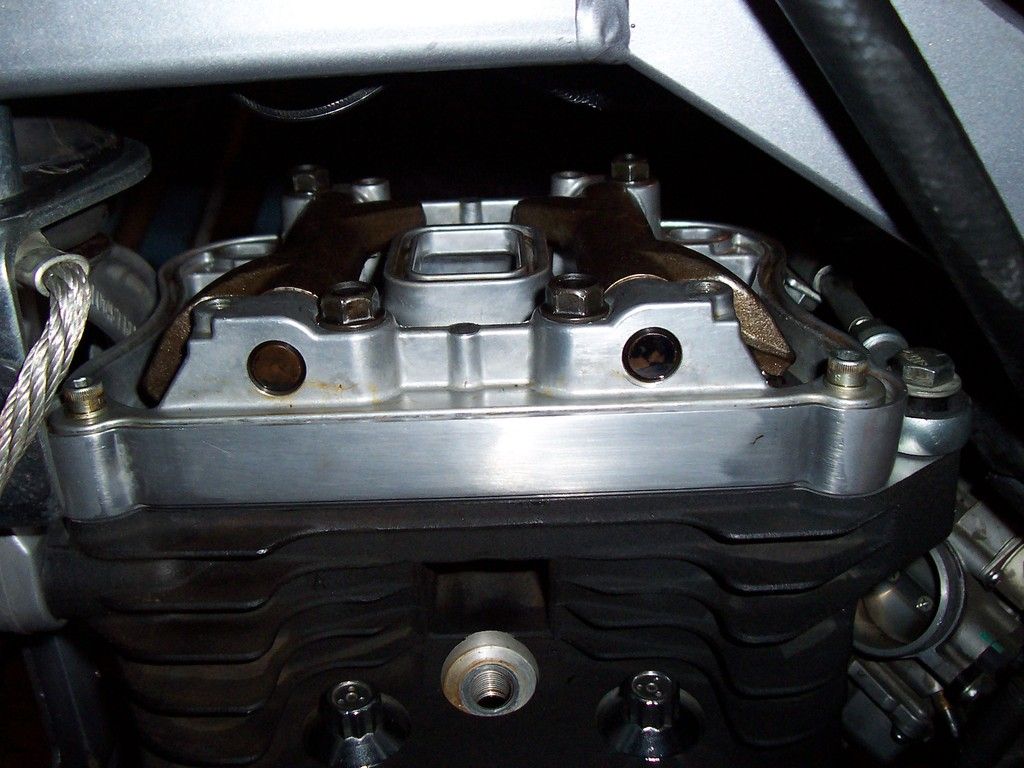 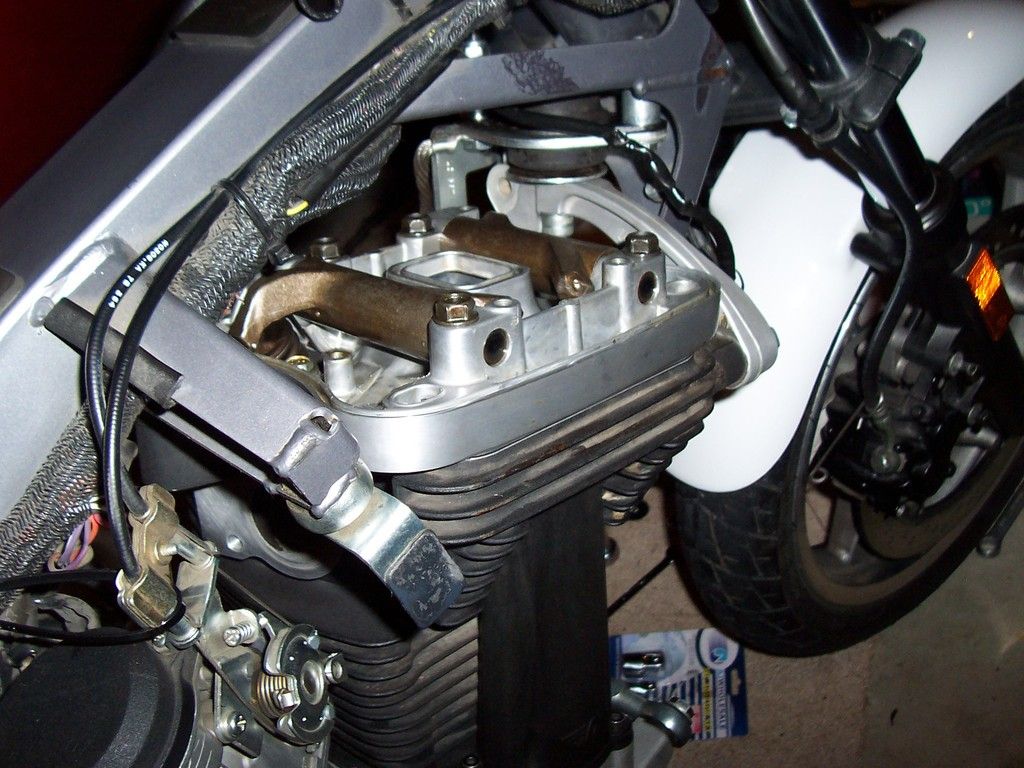 last but certainly not least, the rocker cover with new fibre and copper seals under the bolts 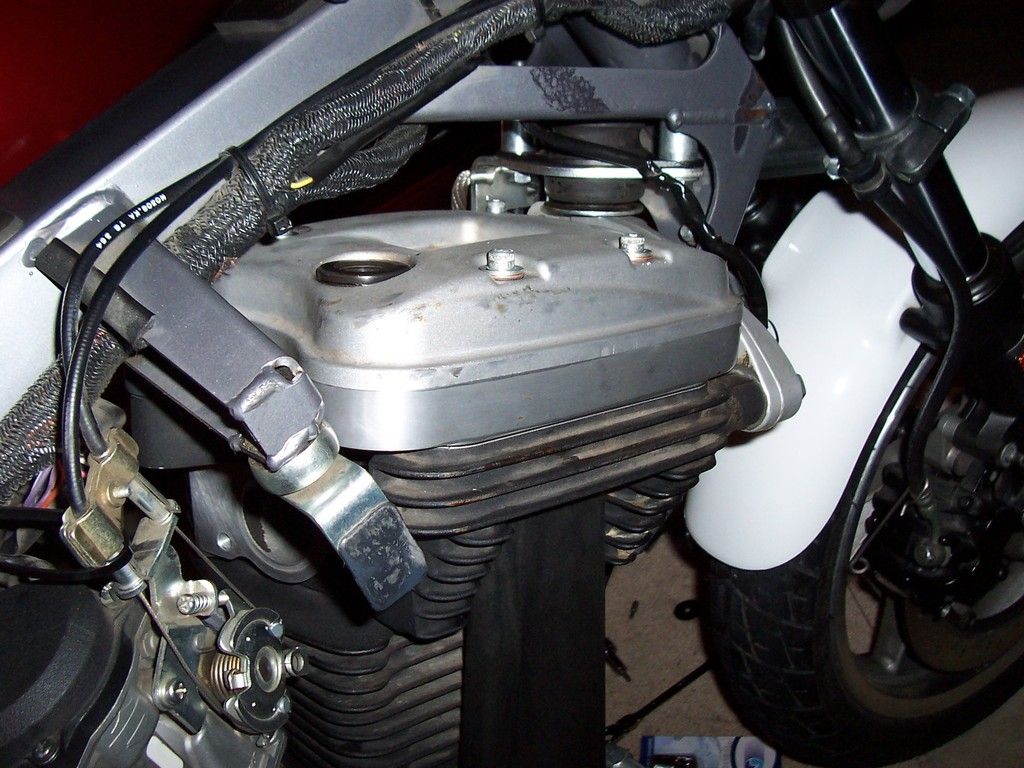 job done. today, i'll be removing the wheels to install new tires, then replace the front brakes as well as bleed the brake fluid 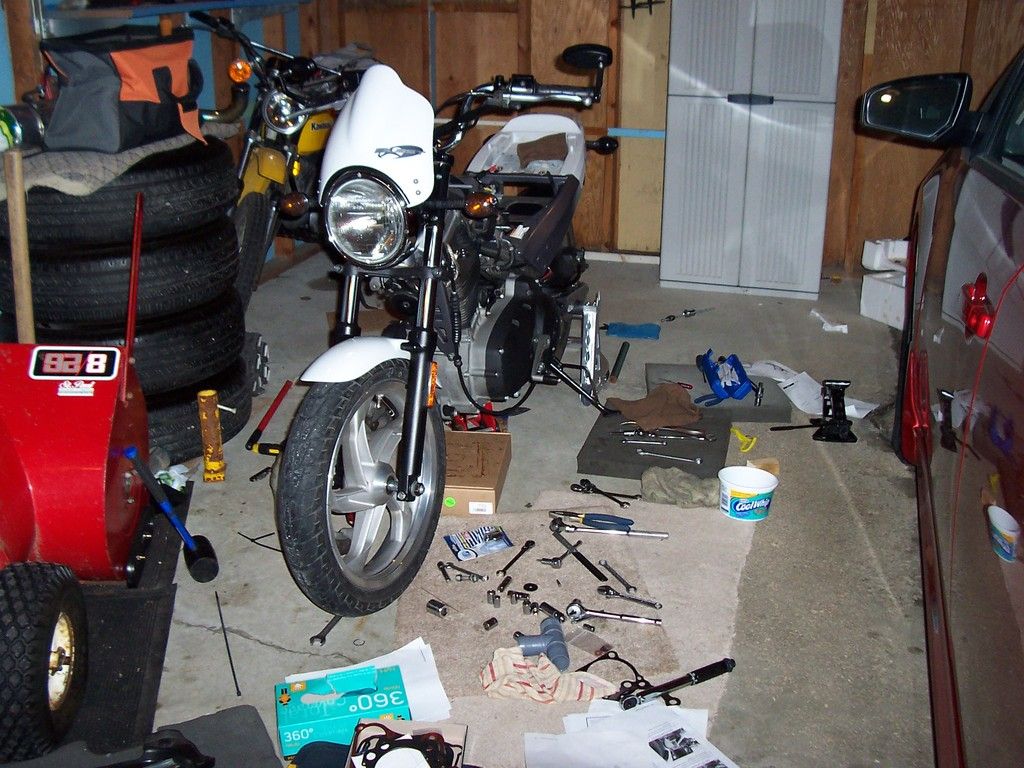 |