| Author | Message | ||
Ezblast |
My question is how does your Isolator look? EZ | ||
Robi |
I didn't know enough last night to tell you, that's when I looked at it. I will look tonight after having read the thread. I will probably take a picture, because I have a feeling I still might not know what I'm looking at. | ||
Reuel |
What I found is that with a new isolator, the vibration is more constant. Instead of the engine flopping around, it stays put, which does put more of its energy into the bike. It also puts more of its energy to the rear tire. It's good vibrations! My isolator was just bottomed out. When I took it off, I thought the new one was up-side-down, until I looked more closely and realized the old one was just toast. If I can't get to something with a torque wrench, I guess at how tight it should be, then check frequently. If it starts to come loose, tighten it a little more. (Message edited by reuel on October 16, 2008) | ||
Robi |
Yeah, that's what I sort of did. The left side was more accessible, so I did it with by hand, tested with torque, then did the right side. In both cases though, both were still tough to get at. I will say, the bike does feel "tighter" if that makes any sense. It's just more vibration at take of and slow down. Going is fine. I just might be over thinking it. But so far no one has expressed any sense of emergency or caution. | ||
Robi |
trying to upload photos. I have shrunk my picture to 1076 x 605, but am still getting the following error Your uploaded image exceeded the maximum dimensions of 800 x 1600 pixels. Please shrink your image to be smaller than these dimensions. Is this strictly L by W, or vis-a-versa? | ||
Sycho |
[I'll have the bbq hot and steaks and seasoned corn on the grill - the coffee will be ready as well - lol EZ] Dang I wish I lived closer to Ed's house to hang out at.  | ||
Robi |
sorry, these picks are coming one at a time. I got rid of the really bad ones, and left the rest. I figured maybe you guys might spot something else that needs attention.  | ||
Robi |
 | ||
Robi |
 | ||
Robi |
OK, figured this out I think. I included a picture of my bike. EZ I don't know if these pictures are worth anything.  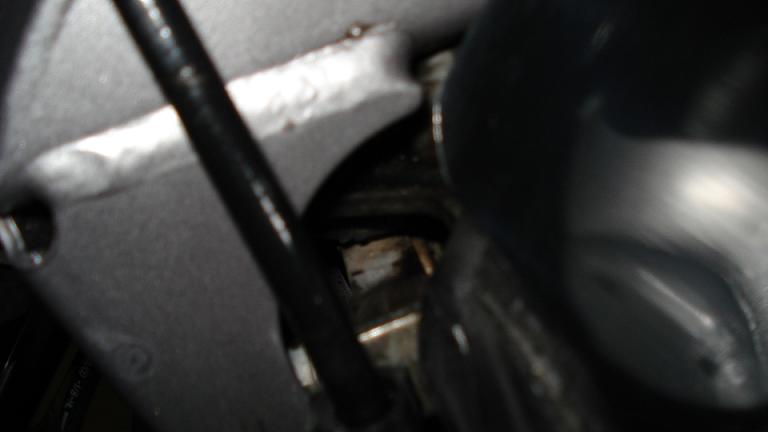  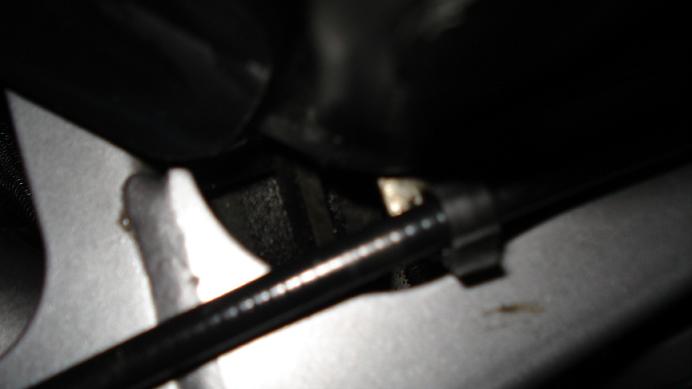  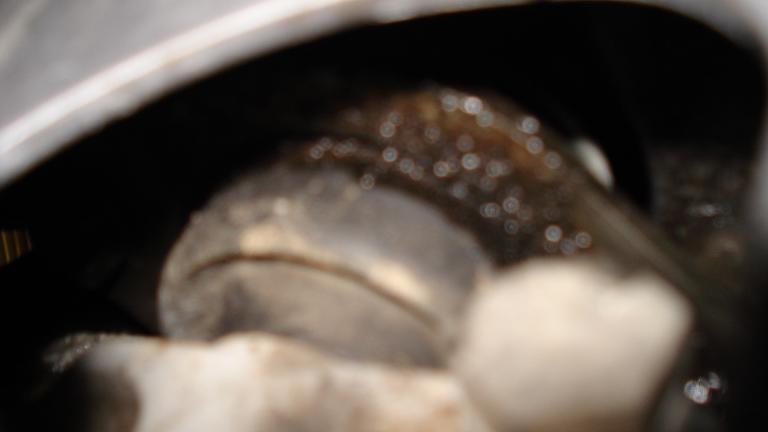 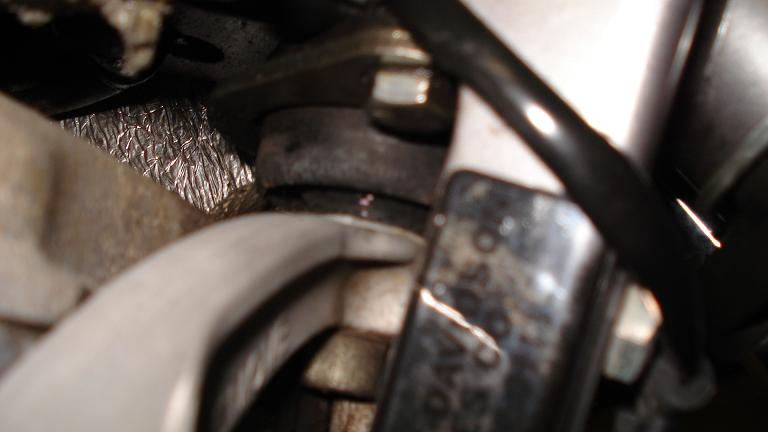 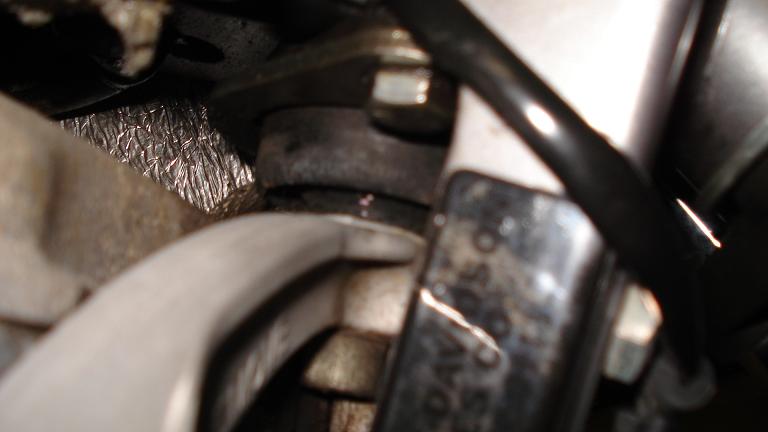  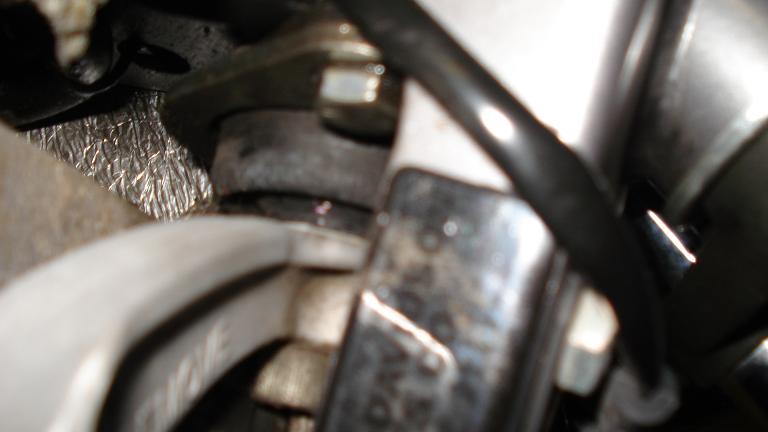  | ||
Ezblast |
Pictures 5 & 6 - it definitely looks ripped - replace! EZ | ||
Robi |
Say it ain't so EZ. Does that mean no riding until replaced? I'm guessing so. D_mn it all. Which pictures 5 & 6? Counting from the very first? or 5 & 6 w/in the one posting? Just to verify from above, the newer $48 isolator is recommended for everyone? Or just if you want the better one for performance/racing? Can I get the part #'s for the: bolts, nuts, and snubber (I know they're in here some where, but if they are handy, that'd be awesome). Are these the bolts I might need to use Helicoil on? Are these the bolts I'm using the high temp Loctite? Is this operation the one I can use Swampy's method of just removing part of the front fork? Does anyone have a picture so I can see how the motor will be supported by a jack stand? Any special tools? | ||
Robi |
also, anything else needs tended to while in there? I'm guessing inspect torque of any bolts I see? | ||
Ezblast |
From the first picture you posted - you could go with the regular part - sent you a note for info on the rest. Make sure you clean the front ground when you re install it, if bike doesn't start - its probably your front ground needing redoing. EZ | ||
Ezblast |
Whats really so eery is the fact that one side looks good and the other is trashed. EZ | ||
Robi |
Man, I can't even make sense of my own pictures. Do I need to know what you are talking about as being eery? Just to confirm? I'm not supposed to ride this until this is done? | ||
Evilbetty |
Mine was torn... Probably put 120 miles on it while it was torn. No permanent damage was done, but it sure did shudder. The more miles you put on it torn, the more fatigue you subject all the other mountings and body parts to. FYI... the repair will cost you between $100 and $160 at the dealer. | ||
Swampy |
Robi, I can't say for sure that the isolator is torn in the above pictures, If that large washer in the very top picture is laying down ontop of the outside of the isolator housing it is bad, the bottom will show tearing around the metal bushing that goes through the center of the isolator. | ||
Robi |
Yeah, not going back to the deal for service ever again. I'm going to park it when I get home from work tonight. | ||
Swampy |
Also I was reading in the above posts about you guys tightening things to check for looseness, well....its a good thing to do, but.... I wouldn't put any wrenches on the "DO NOT REMOVE" bracket bolts that go into the head, if they are broken you will see it plainly, the washer will be loose or the bolt will be gone or backed out. The bolts are locktited into the aluminum head and it messes the bond of the locktite up if you try turning them. | ||
Ezblast |
Swampy count down to the 5th and 6th picture from his first picture post - still Swampy's right - that could just be a really bad pic - I need a good pic of the right side to tell for sure - Bet - I have a quarter tear on the side of mine - going from the left side mounting bolt to the front horizontally in the middle lower half of the isolator - I can't figure at all how that happened, but its there - the 2000 is fine and they where installed at the same time and its been wheelied more - lol - so far no change in ride-ability, but its being changed out to the latest Tuber style this weekend - a couple hours later and I'll have the latest heavy duty isolator mount mounted and be ready to rock and roll. EZ | ||
Robi |
Not sure if it's laying flat, but there are obvious cracks. Cracking = tearing? | ||
Robi |
OK, reading through svc manual. EZ. The top of thread says "use new bolts, nuts" Am I replacing the outboard isolator bolts and nuts too? I'm planning on re-using the washers, offsets, and reinforcing plates if they are in good shape, unless you suggest replacing these too. Washers I'll get from the local hardware store if necessary, again unless directed otherwise. Page 54 of the parts manual is hard for me to follow. Called dealer (will go there for parts only from now on) to get some help deciphering which bolts were which on the diagram, let me know if this sounds right (because he used the phrase, "I would guess so"). Front Isolator bolt (#8 of diagram) - Part# AA0726.CZ Right outboard isolator bolt (#5 of diagram) - Part# AA0616.1CZ Left outboard isolator bolt (#6 of the digram) - Part# AA0618.1CZ I guess I'll figure this out when I take it apart, but I want to make sure I order the right parts. If I have enough cash at the time, I will over order parts and return what I don't need. Is it good practice to replace some gaskets while I'm under there? | ||
Ezblast |
Yes and the snubber (giant washer). I would replace the outboard - others haven't - Don't bother with gaskets - just make sure the front ground when re-assembled looks like new - lol EZ | ||
Reuel |
I have no idea how long I rode on mine after it was no good. It was bottomed out completely and didn't move past being bottomed out even after I took it out and tried to push it up. I didn't replace anything besides the isolator itself. But, that's just me. I am in the habit of checking all bolts, nuts, etc., that I have turned on a regular basis. The left bolt's threads seem to be sticking through the nut further than the right bolt's threads. It was like that before I started unscrewing things, so I'm assuming it's normal. | ||
Ezblast |
Yeah - the quarter split in mine could stay the same for thousands of miles or go tomorrow - I'll play it safe and replace it with the heavy duty one - it only takes a few hours - but it can be a real time burner of time I don't want to repeat often - lol EZ | ||
Swampy |
I posted some pictures a long time ago showing bad and good isolators as mounted on the Blast | ||
Ezblast |
http://www.badweatherbikers.com/cgibin/discus/show .cgi?tpc=20164&post=454601#POST454601 Still doesn't show splits or tears which are also bad -lol EZ | ||
Robi |
EZ - heavy duty is the $48 one? I already ordered the parts, $39.?? total. I got an $18 isolator. I wouldn't mind holding on to some of my money, but if you think I'm going to be replacing the cheaper one in the near future anyhow, then I'll call and order the $48 instead. | ||
Ezblast |
Actually it is 43 now, and with the Chi discount it was 32, plus the bolts, nuts, snubber and shipping - came to 42 - lol - got it in 12 days - changed it out and gave her a thrashing test ride over some rough stuff - so far so good - definitely beefy - that split ticked me off - no more stock Isolators for me! EZ |