| Author | Message | ||
Andywestbrook |
thanks | ||
Andywestbrook |
Does anyone know how this guy constructed his tail? It is so sick I want it... or to know how to do it. 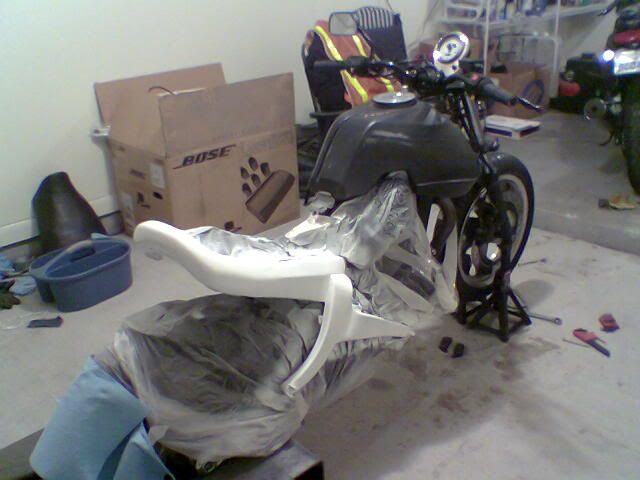 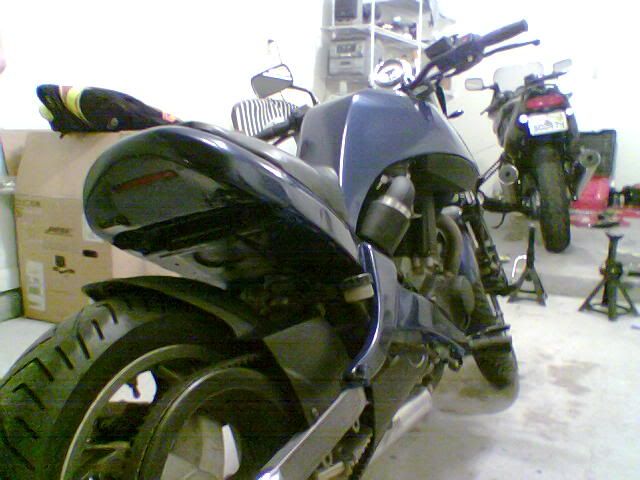 | ||
Ezblast |
Thats Gren - he just cut and formed with glass - did a nice job though - 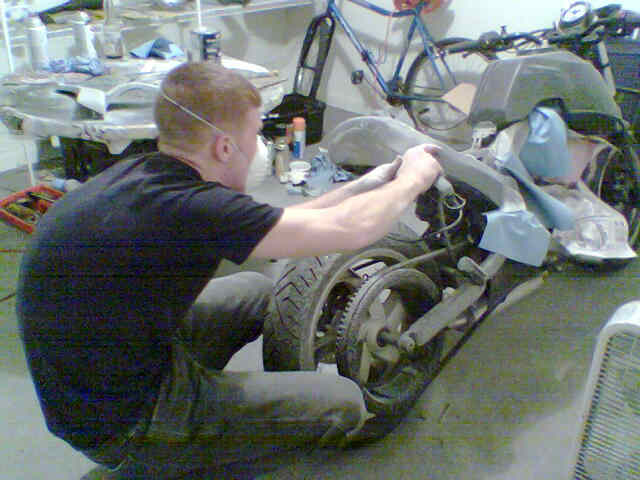 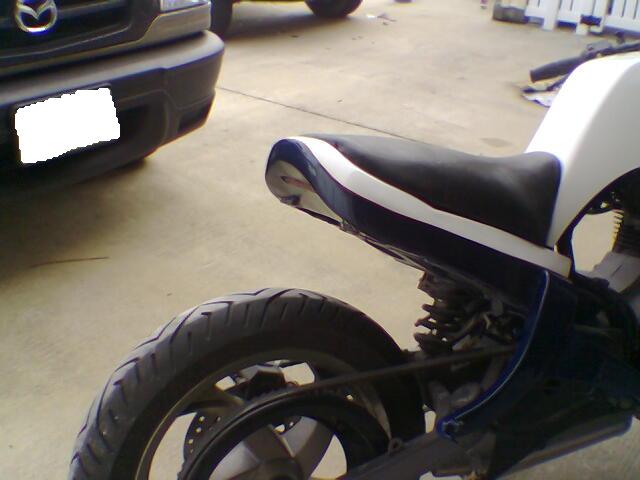 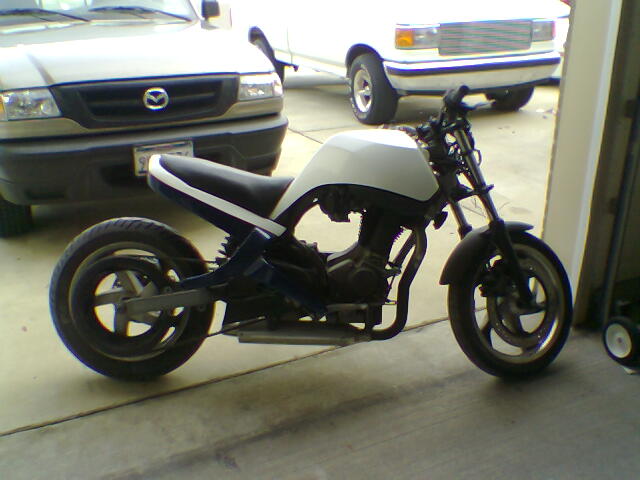 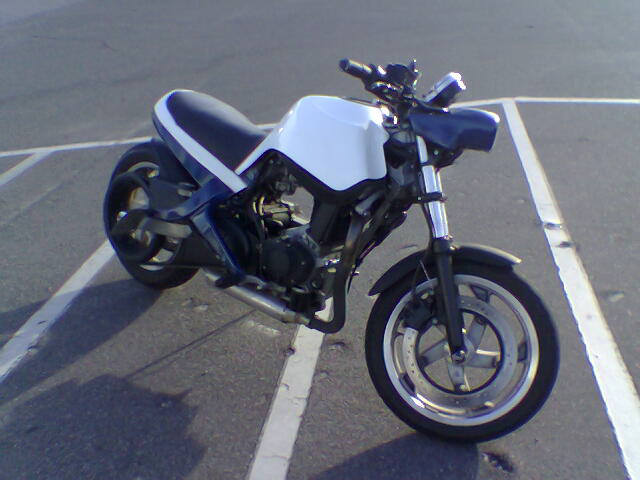 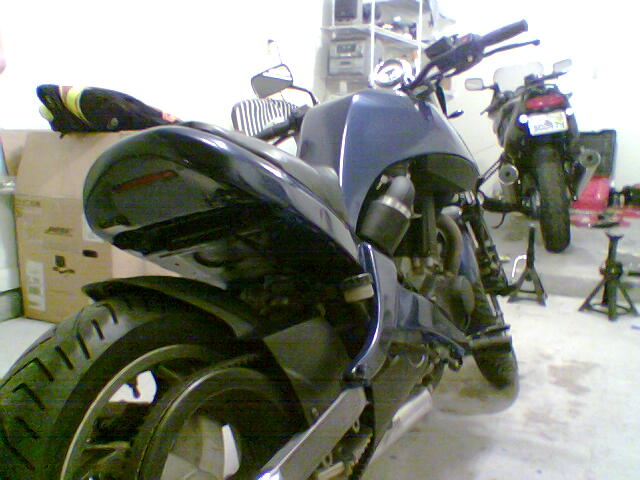 With patience you could shape it to any shape you want - gren did a Profesional job showing just that. Got Thump?! Just Blasting on the Dark side! EZ  
| ||
Naustin |
Gear - Yeah, I sanded it the second time I repainted it... the Krylon fusion paint still didn't stick... | ||
Gearheaderiko |
Naustin: thats too bad, but good to know. AndyWB: I'm guessing that your steering wont lock with those drag bars?! 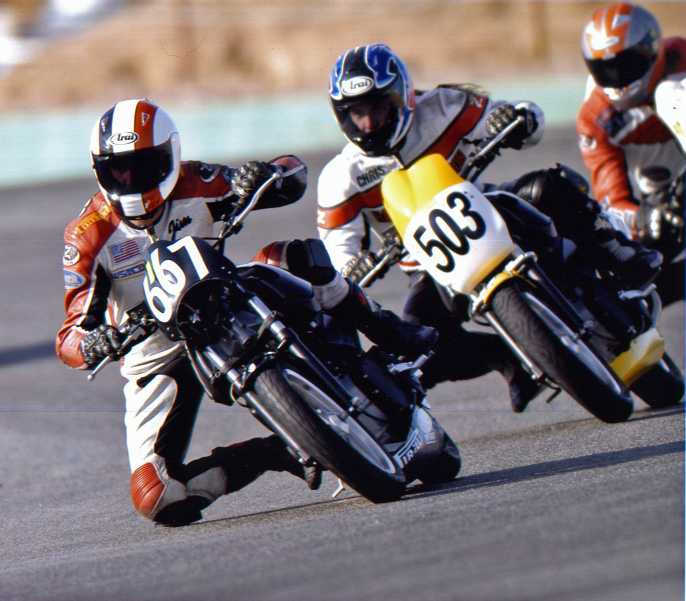 | ||
Andywestbrook |
you know it, but ill sacrafice that for the look. hahaha | ||
Flrider7 |
Okay here is my girl Mary that I complained about the first couple months I had her. Now I've changed my tune since I've gotten rid of all the cheesy cost cutting plastic engine parts,and have everything screwed in with lock tite! Did 5 & 1/2 hours in 95 degree heat last Saturday riding along side a friend's sv650 and didn't use a drop of oil!! 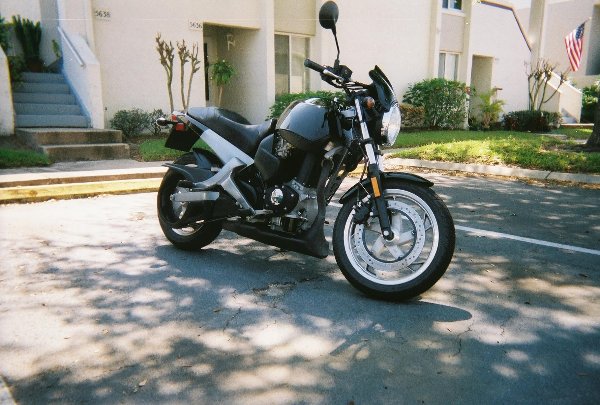 | ||
Buellistic |
Jonathan(AKA Flrider): Check out www.BuellClub.com ... In Blasting LaFayette,Director: Lakeland Florida Club(BRAG) By the way "i" have a 2000 BLAST(half a XB9) | ||
Flrider7 |
Thank you.  Love to you and yours. | ||
Vortec57 |
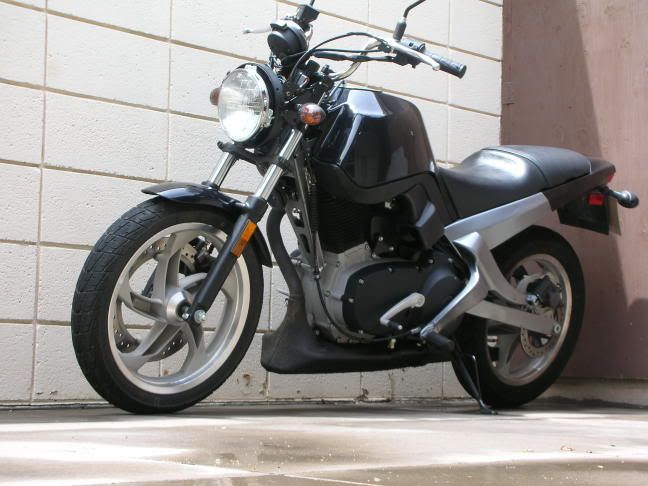 c'mon guys more pics! I need more ideas to steal! | ||
Naustin |
Browse back through the archives and don't forget that most people have a picture in their profile...  PS) Looks like you're just getting started on your project. Did you remove the chrome bezel on the headlight? I've never seen that done before... The next thing I would do is swap the bars. Its inexpensive and easy to do yourself, and it makes a huge difference in the bike both ergonomically and aesthetically, and it will ride different too... (Message edited by naustin on June 16, 2006) | ||
Light_keeper |
The mirrors got to go. Get something else. Bar end or something less micky mouse ear looking. What sort of look are you going for? Change the exaust etc there are many many ways to go. as has been mentioned check out the past picts. 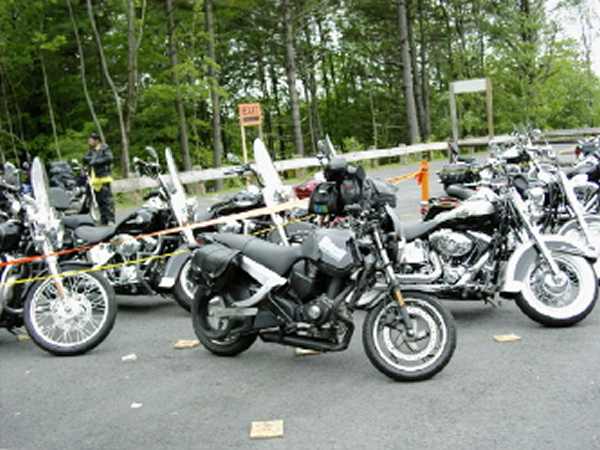 Obligatory picture  | ||
Light_keeper |
 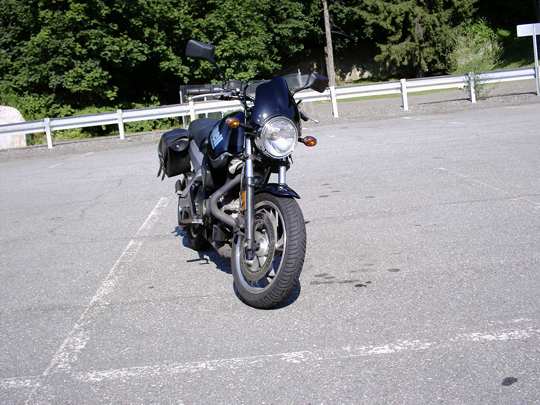 Something alittle clearer and more up to date.  | ||
Vortec57 |
Nasustin, my headlight only has a low beam so its all torn apart to replace it, the chrome will go back on. bars are on order, mirrors are gonna go, so will the airbox, pipe and some custom filter setup on the way, rearsets i hope and bob off the rear, kinda wanna go to a cafe style look. | ||
Gearheaderiko |
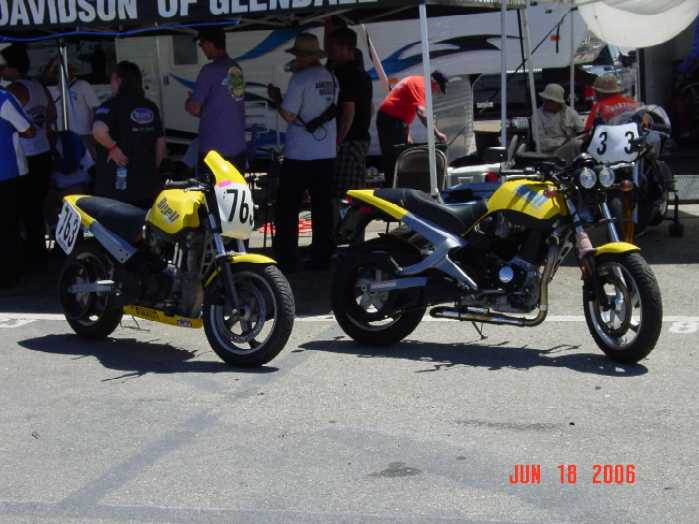 The RaceBlast now has a twin! Now I have one for the track and for everyday! | ||
Marijane0569 |
SWEET!!! "MJ" | ||
Superthrob |
Last month 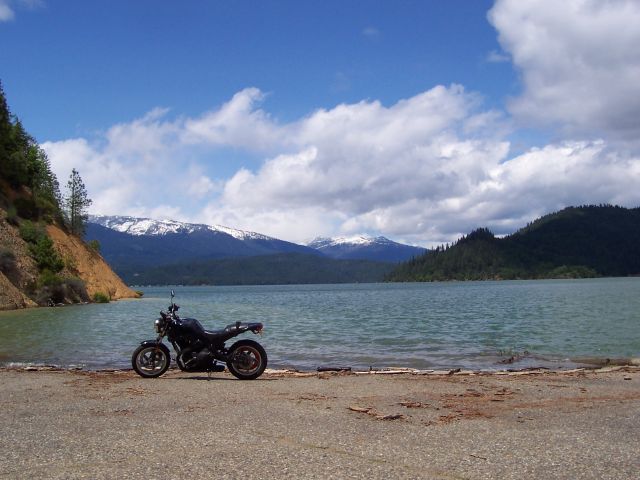 | ||
Superthrob |
Small size, light weight - blast makes a good runabout for travelers. Spend a lot of time answering, "What the hell is it???" 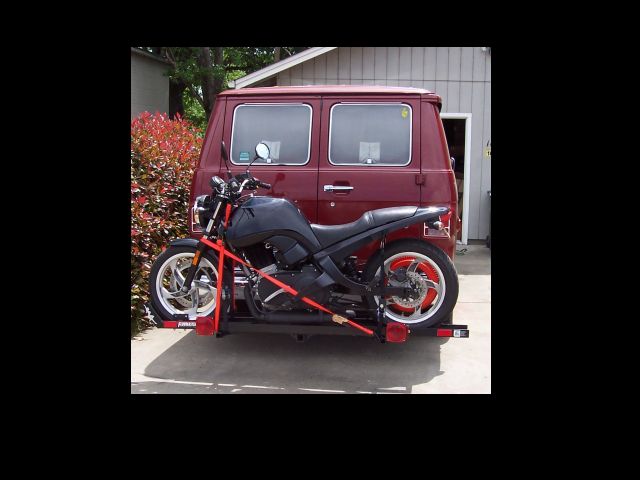 | ||
Ezblast |
Black on Black is tasty!  GT - JBOTDS! EZ  | ||
Naustin |
Root River along Minnesota Senic Highway 16 in southeastern MN. The Root river is a tributary of the Mighty Mississippi. This picture was taken about 60 miles from Le Cresant where the Root enters the Mississippi. 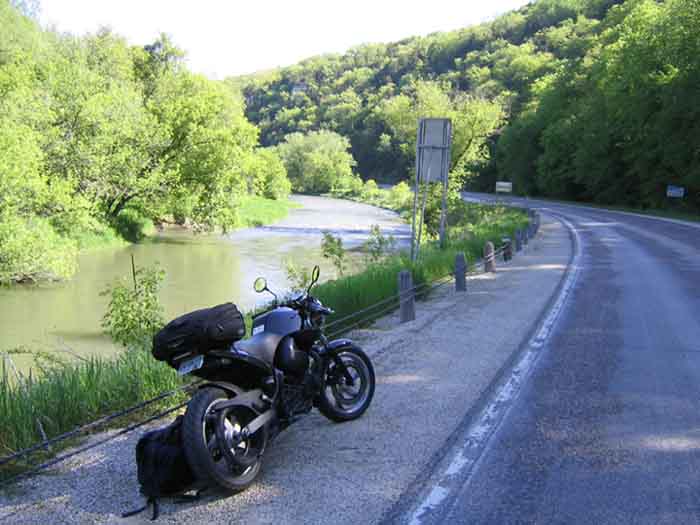 | ||
Superthrob |
Blasting on the famed Rubicon Trail. Low slung exhaust and 16" wheels doesn't get you too far. 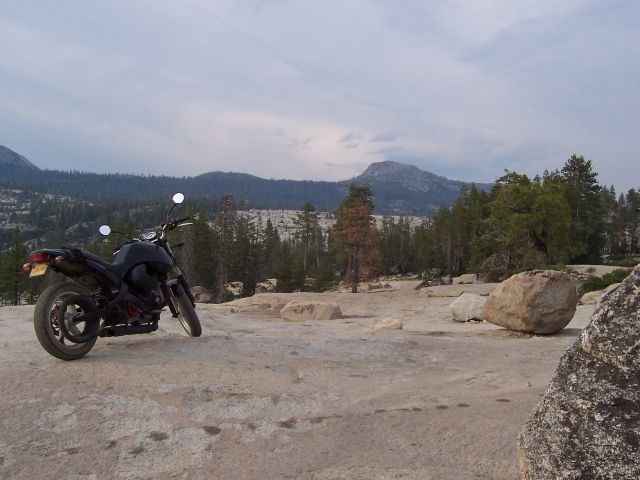 | ||
Ezblast |
No but it looks like your having fun trying! Obligatory pic! 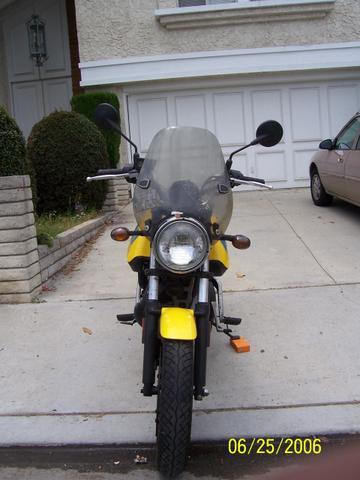 GT - JBOTDS! EZ  | ||
Berkshire |
New tire & tach, plus some painting and minor mods. Still need to paint the front wheel. 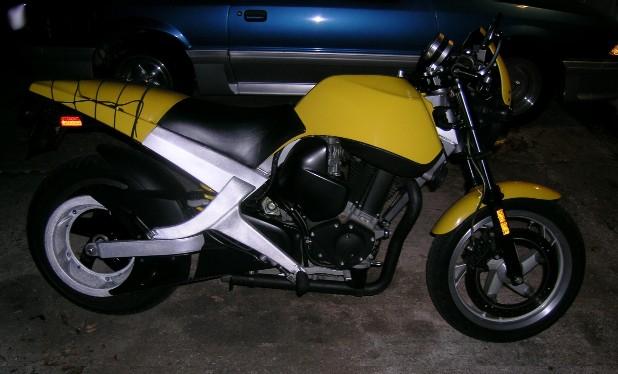 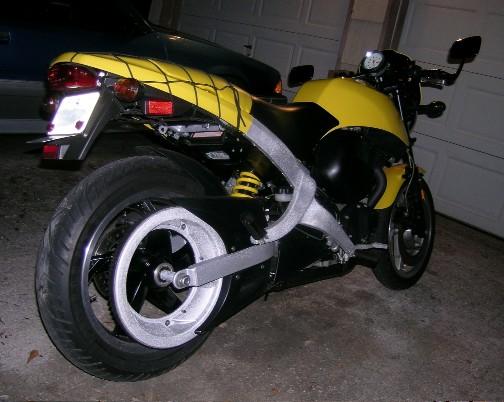 Guard is mounted to pulley, independent of pulley-to-wheel mounting. I should have just painted over that bearing - DOH!!!  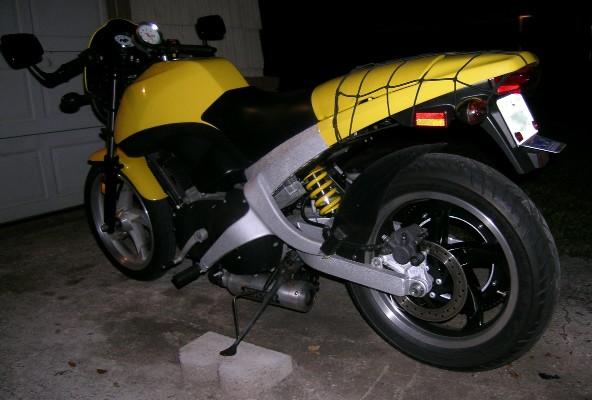 flipped voltage regulator 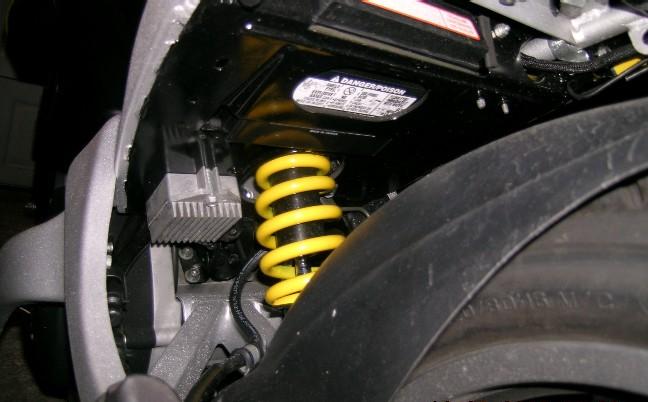 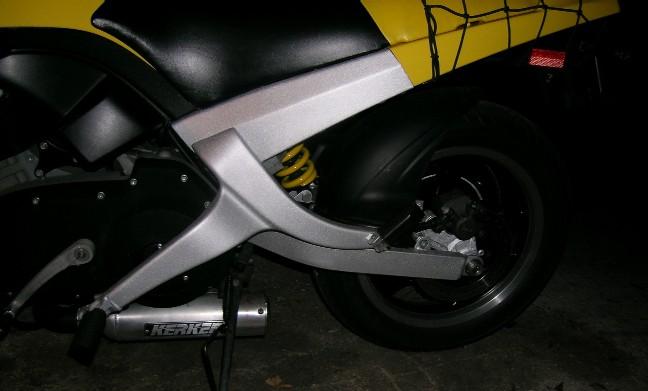 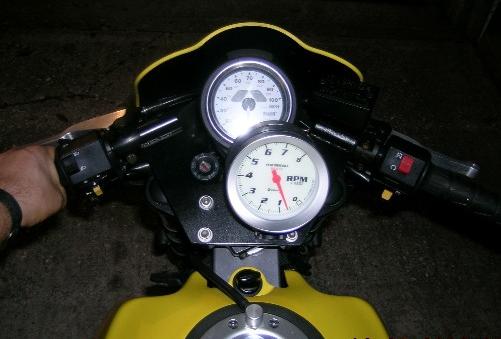 temporary setup - works ok though 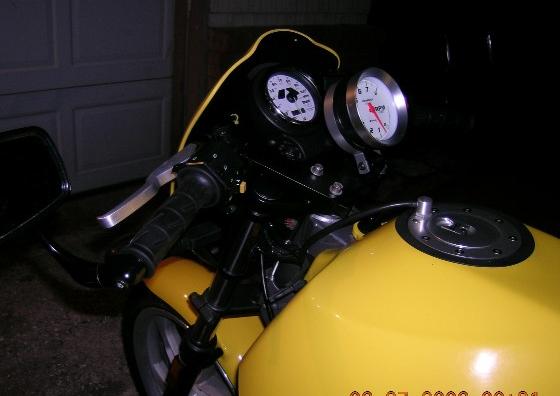 Machine gun exhaust mod was a little louder than I'd hoped, but copper brillo toned it down. 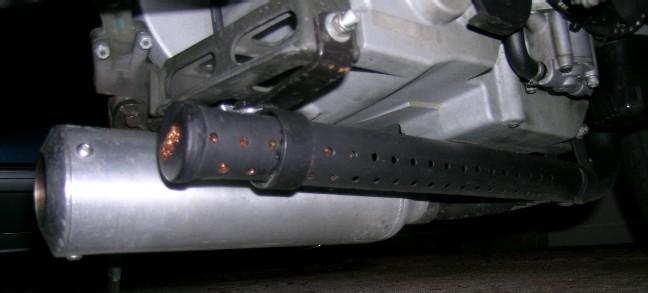 Sounds wicked nasty when coming off the throttle!  | ||
Naustin |
Wow - Looks good. You might as well ditch the whole kerker can with the resonance tube drilled out and stuffed like that... nick | ||
Ezblast |
Nice - what did you use to paint the rear wheel? GT - JBOTDS! EZ  | ||
Jmynes |
And what did you use to paint the seat? | ||
Berkshire |
I think I'm going to do something perverted to the Kerker... the quickening shall be mine! I used gray primer and then gloss black enamel on the wheel. I imagine that's a pretty rough environment for paint, and it'll probably look like crap and need to be stripped and repainted by the time the new tire needs to be replaced - hopefully not before! The back half of the stock seat has been re-covered with yellow vinyl. The 1st owner had it done - probably by a place that specializes in upholstery for boats. | ||
Gearheaderiko |
You've done some nice things to that bike. The spring looks really good! Did you take it off the shock for that? Also, Why is the pulley cover mounted separate? Did you drill and tap holes in the pulley? | ||
Sking1973 |
This is my Blast at the Big Muskie in Morgan Co. Ohio. Pretty stock right now. Recently added superbike bars, bar-end mirrors, and a K&N air filter. I like the look that the new bars and mirrors give. Kind of a Euro-hooligan look. I'll post pics as they are available. Eventually, I would like to add a Pro-Series exhaust (if I could ever find one).  | ||
Berkshire |
Ski, That's one BIIIIIG shovel! Erik, I just did some careful work with masking tape around the spring seats, and fed strips of paper in thru the coils and worked them around to to shield the inner part. The reason for the revised pulley guard mounting? I was looking at how the pulley, guard, bolts, and washers all fit together while I had the wheel stripped down, and I started thinking about how I wanted to reduce the gap between the ends of the pulley teeth and the guard: 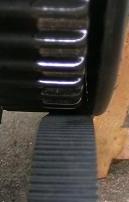 The mounting holes in the guard have a raised lip around them on the side that goes against the pulley - this spaces the guard out from the pulley a little, which means it increases that gap that I don't like. I sliced off the raised rings with a razor blade, leaving the surface flush on the side that goes against the pulley, so the guard can fit right up against it. I was planning to use the little cut-off rings as spacers, installed between the torx heads and the guard. They would have been needed to hold the guard down tight, and as a side benefit, they would've also kept the bolt heads from scuffing up the guard... But then I changed the plan. I had to wait forever and a day for the new pulley bolts to come in. While I was waiting, I thought maybe the yellow guard wasn't such a good look, and how it would REALLY be nice if I could mount/dismount the guard whenever I wanted, without touching the never-in-stock pulley bolts. So... You guessed it - I D&T'd the pulley 1/4"-20 UNC, and then screwed the guard onto it with stainless countersunk allen head screws (1" long; done after installing pulley on wheel). The little sliced-off rings from the back of the guard made good washers for filling the gap where the CS heads stick up above the face of the guard around the holes (really just cosmetic). 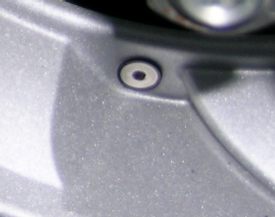 The 1" screw length allows room for locknuts to be tightened up against the back side of the pulley, and I used nylocks for extra safety. 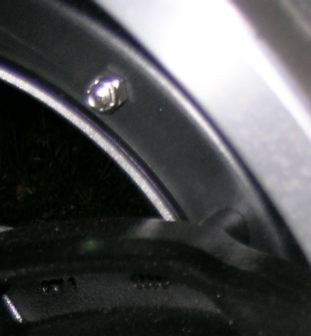 With the guard mounting holes rotated away from the pulley mounting bolts, there is interference between the bolt heads and the back of the guard. Instead of measuring carefully and marking where material needed to be removed, I just eyeballed it and started whittling away like Jed Clampett - that's why the holes are the size of pinto beans instead of little black-eyed-pea slots. 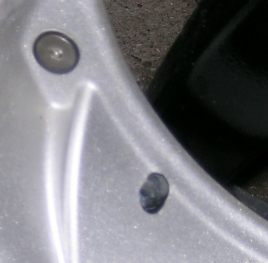 measure once, cut twice!  The end result is that the gap between pulley and guard is about 1/16" narrower than before. Since the belt normally rides right against the guard, I'm hoping that means a little more of my belt is riding on the pulley instead of on empty space! |