| Author | Message | ||
Puzzled |
The heads are done and were shipped today. I will O-Ring them when they get here and than I should be ready for motor assembly. Heads, 42mm TI Intake valves 35.4MM TI Exhaust valves Beryllium Copper Seats Del West bronze guides "Stage 3" port work .010" milled surface With a .032 head gasket I'm looking at 15.4 to 1 compression. With a .043 head gasket I'm looking at 14.75 to 1 compression. My valve to pistopn clearance will determine which head gasket I go with (silly puddy time). Looks like I'm down to the pipe as far as parts go that I'm aware of. I'm sure there will be something I forgot along the way. I still have body work to sort out also. | ||
Ohsoslow |
15.4:1  going to need a new starter.....lol going to need a new starter.....lol | ||
Puzzled |
15.4:1 doesn't leave a lot of room for error! The heads and associated parts showed up today so I'll get them in the machine to o-ring as soon as I can. | ||
Ohsoslow |
youve got that right! get her tuned good and safe, i cant wait to see what this thing is going to do. | ||
Easyrider |
how's the progress puzzled... | ||
Puzzled |
I was finally able to get a few moments to work on the heads this morning. The objective was to add a receiver groove for an "O-ring" seal. The "O-ring" is simple MIG wire. Since the cylinder wall thickness is thin to start with the receiver groove will be cut in the head as opposed to the cylinder. By adding the "O-ring" this will help with sealing the cylinder to the head. Here are a few shots of the heads after they came back from Revolution. 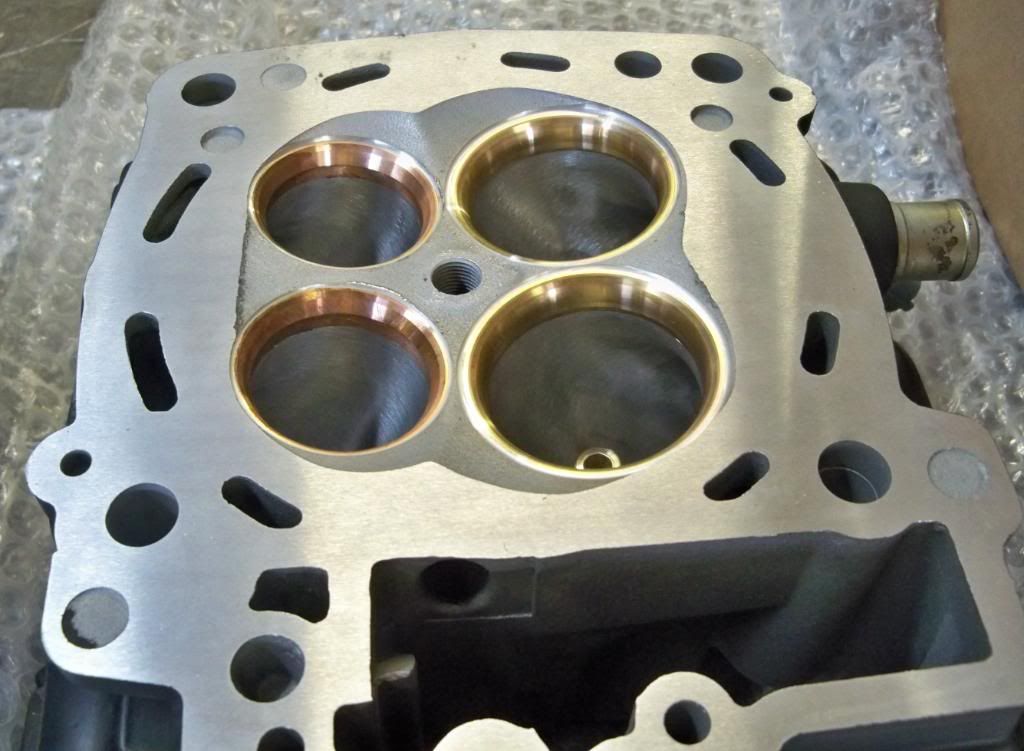 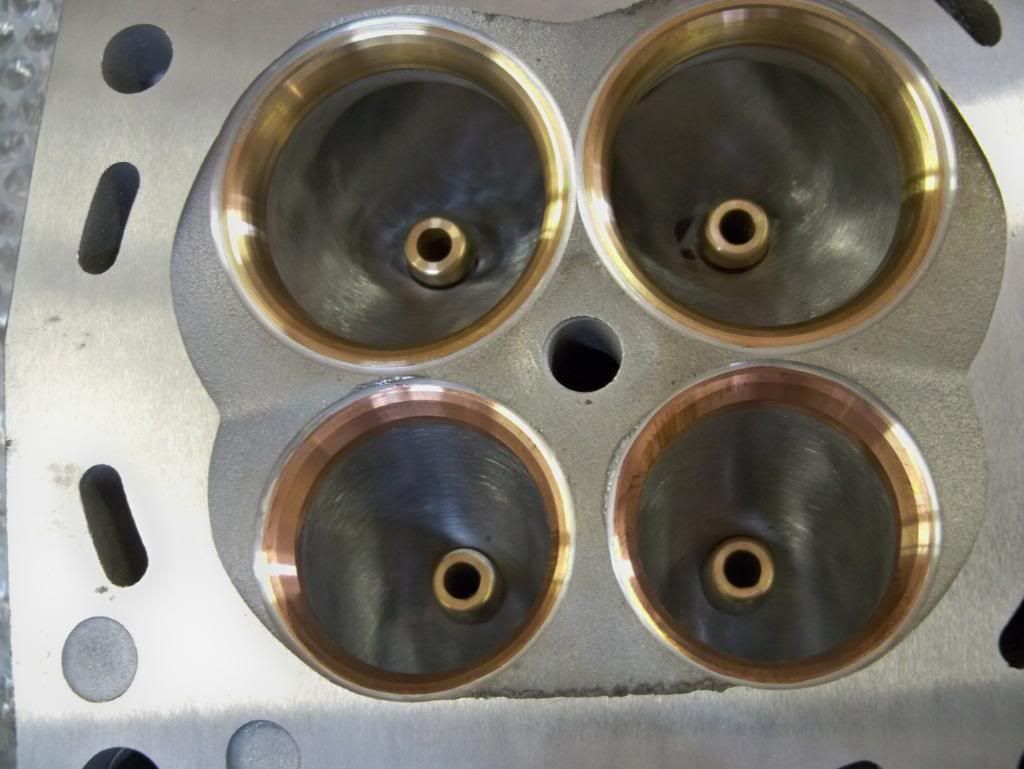 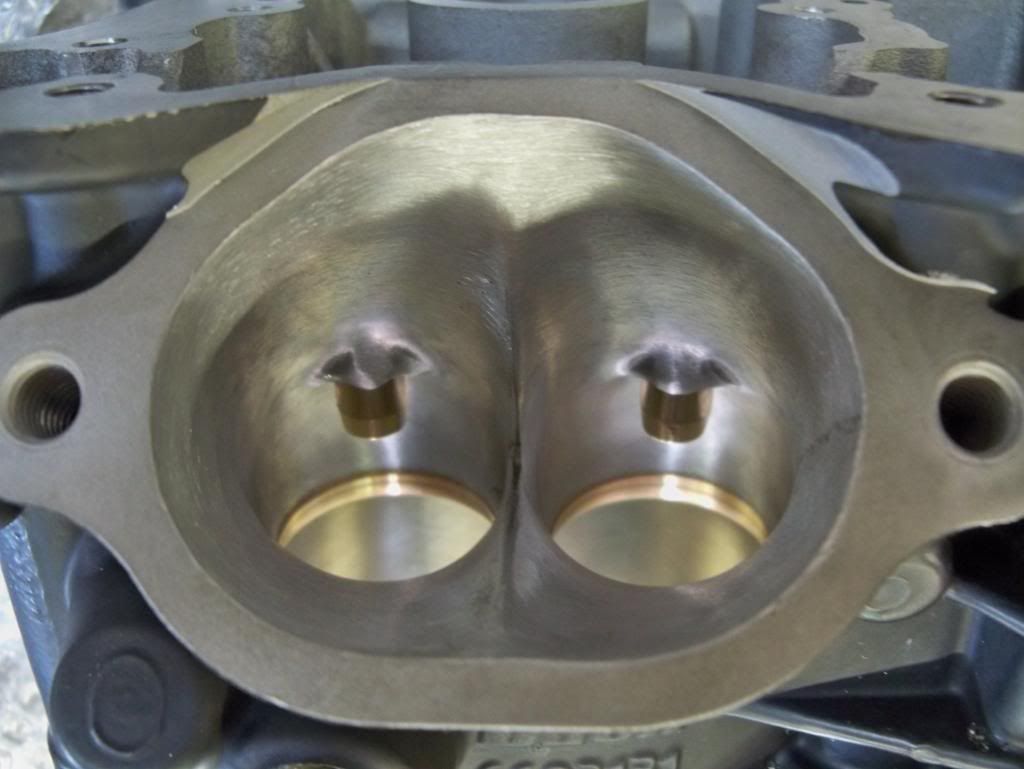 | ||
Puzzled |
Mating the cylinders to the heads to scribe the lines on the heads to mark where the cylinders sit.  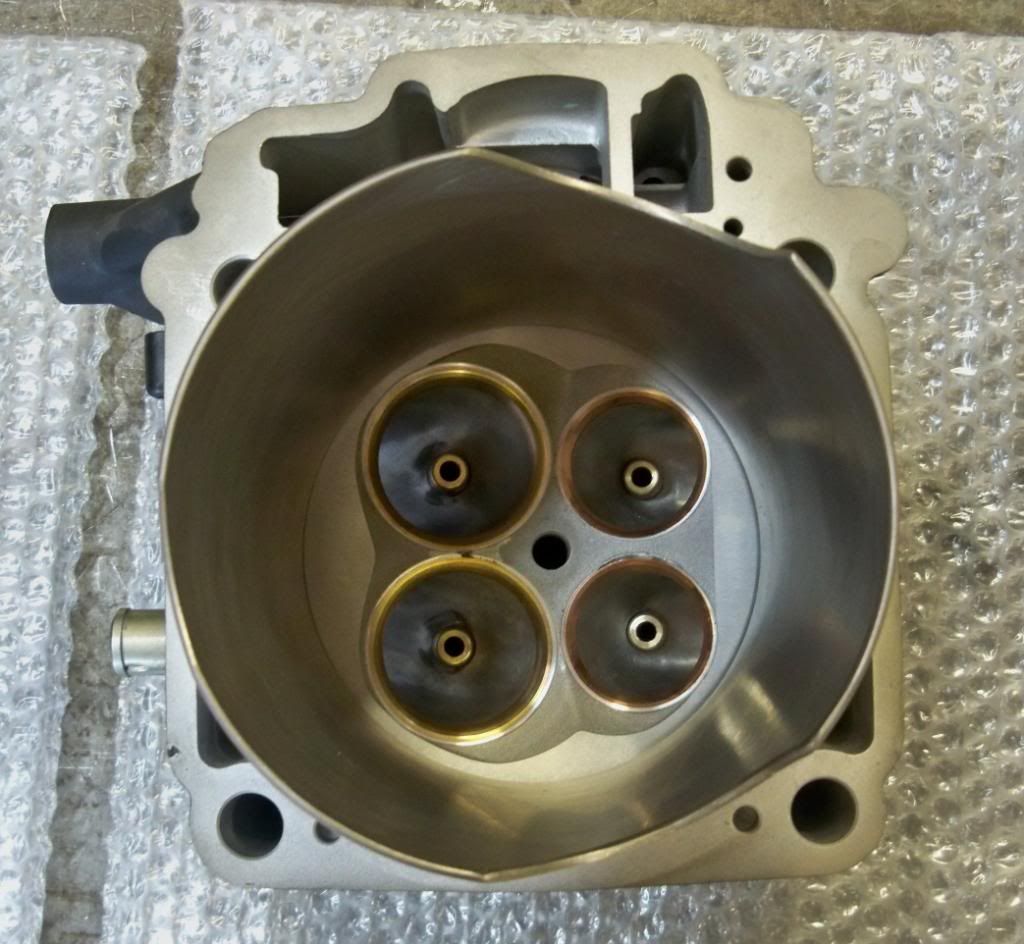 | ||
Puzzled |
The lines on the heads to indicate where the cylinders sit. 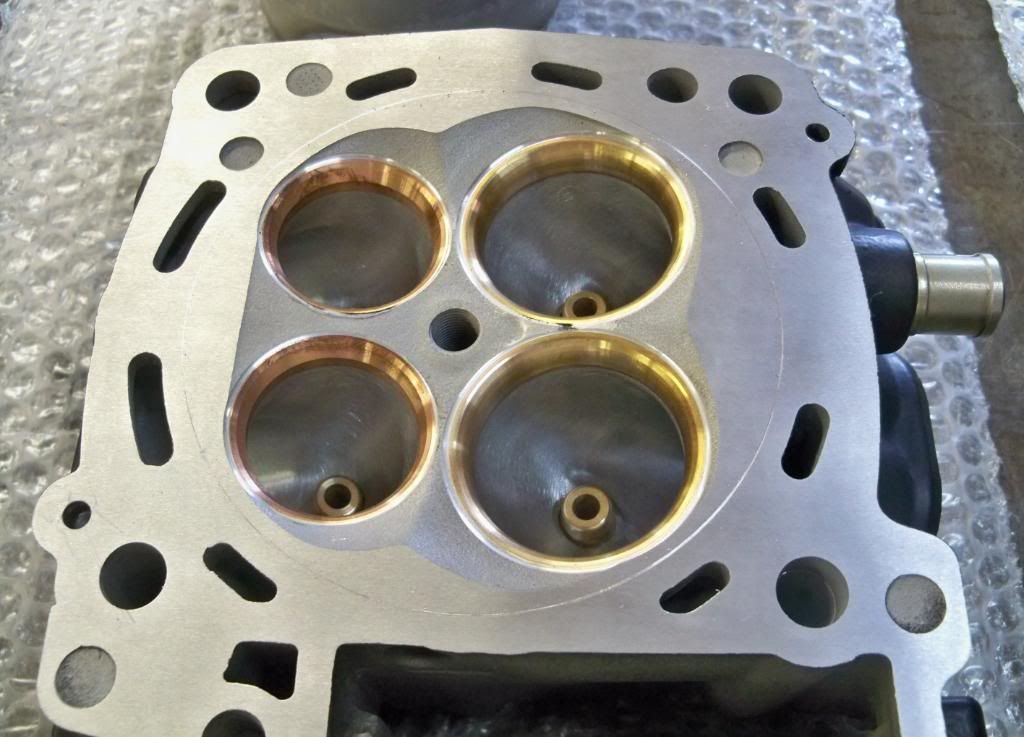  | ||
Puzzled |
Making the cutting tool..... 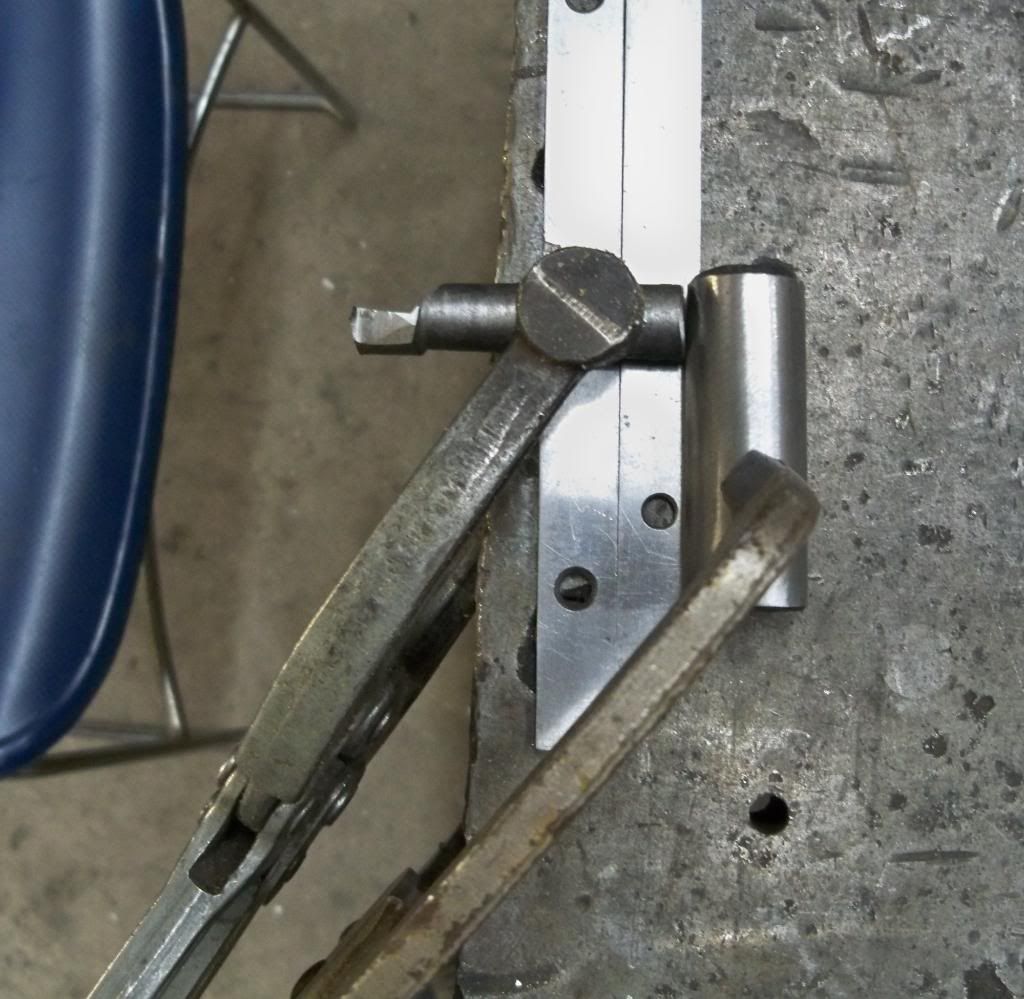 | ||
Puzzled |
Setting the head and cutting tool up to find center.  | ||
Puzzled |
Once the head and cutting tool were set up next up was to locate where the "O-ring" groove was going to be cut. The gasket bore diameter, cylinder wall thickness, wire thickness and head gasket thickness all determined where and how deep the groove gets cut.  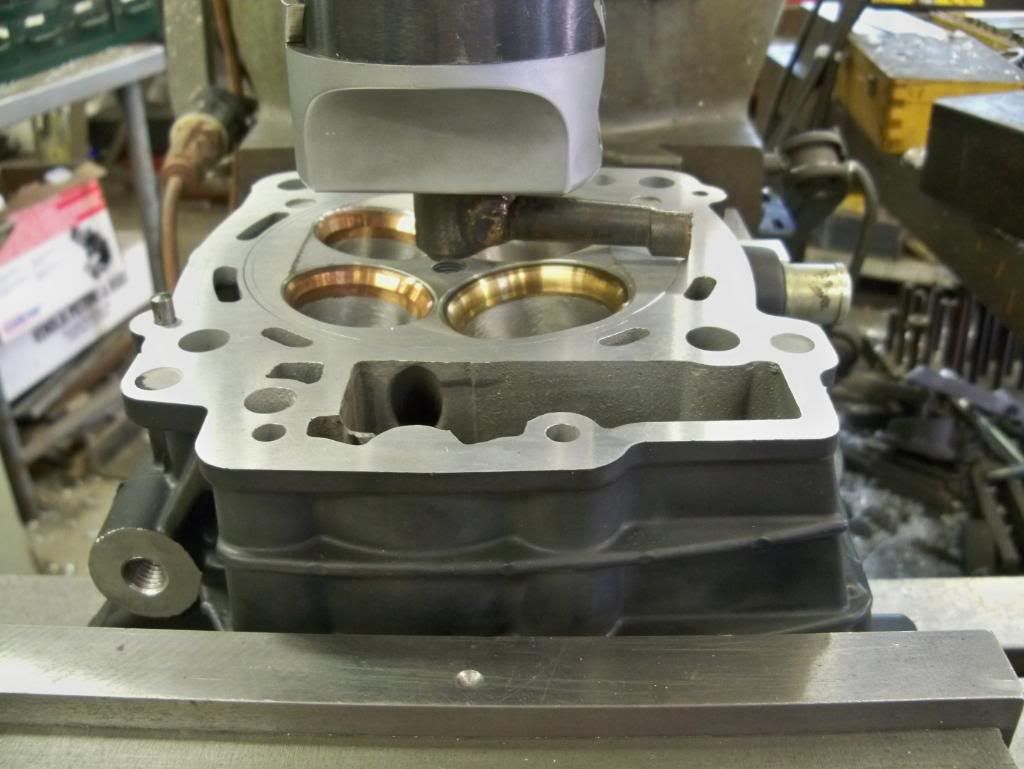 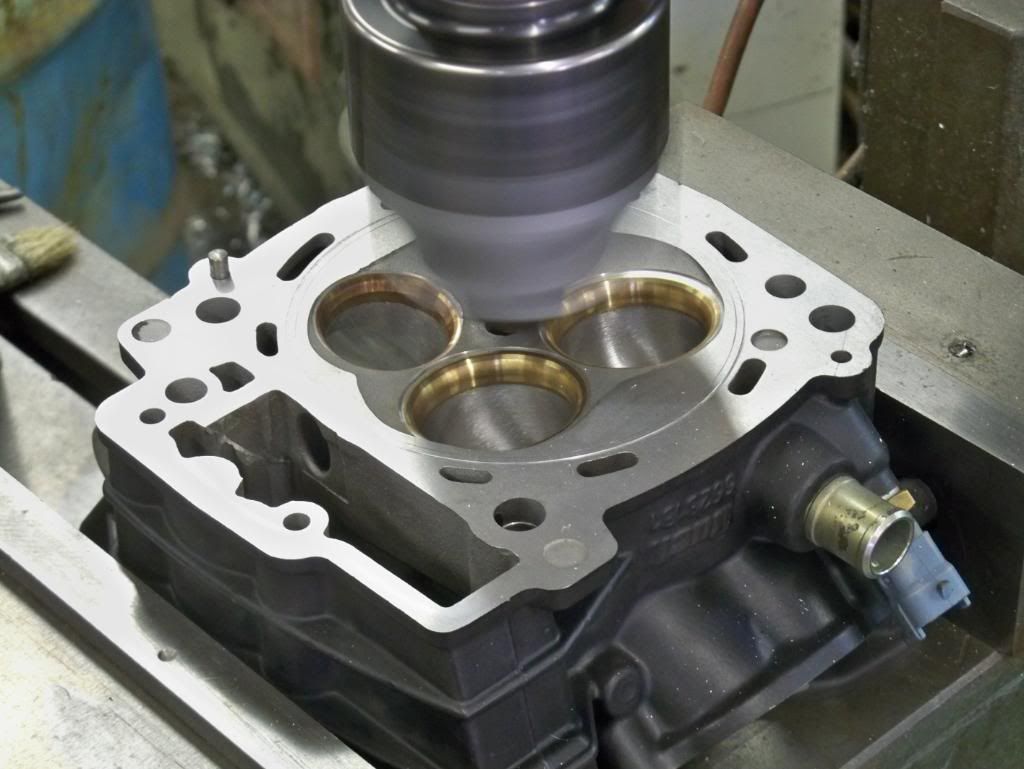 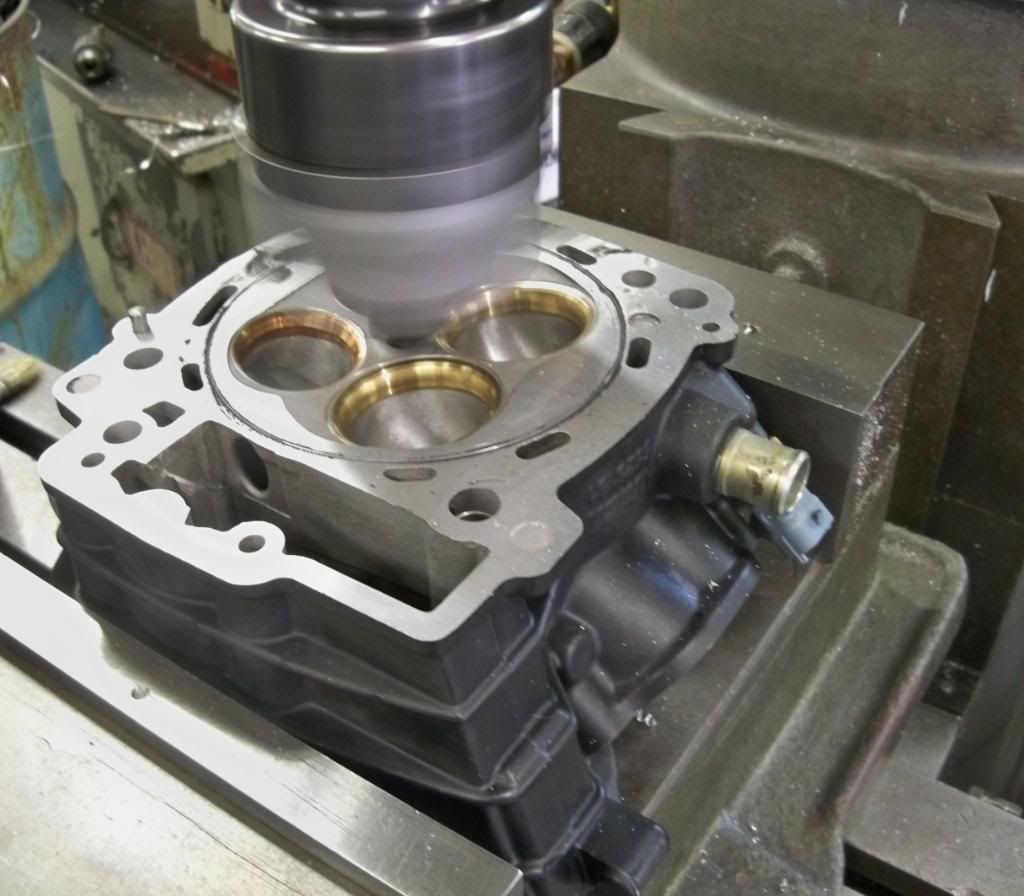 | ||
Puzzled |
All cut. 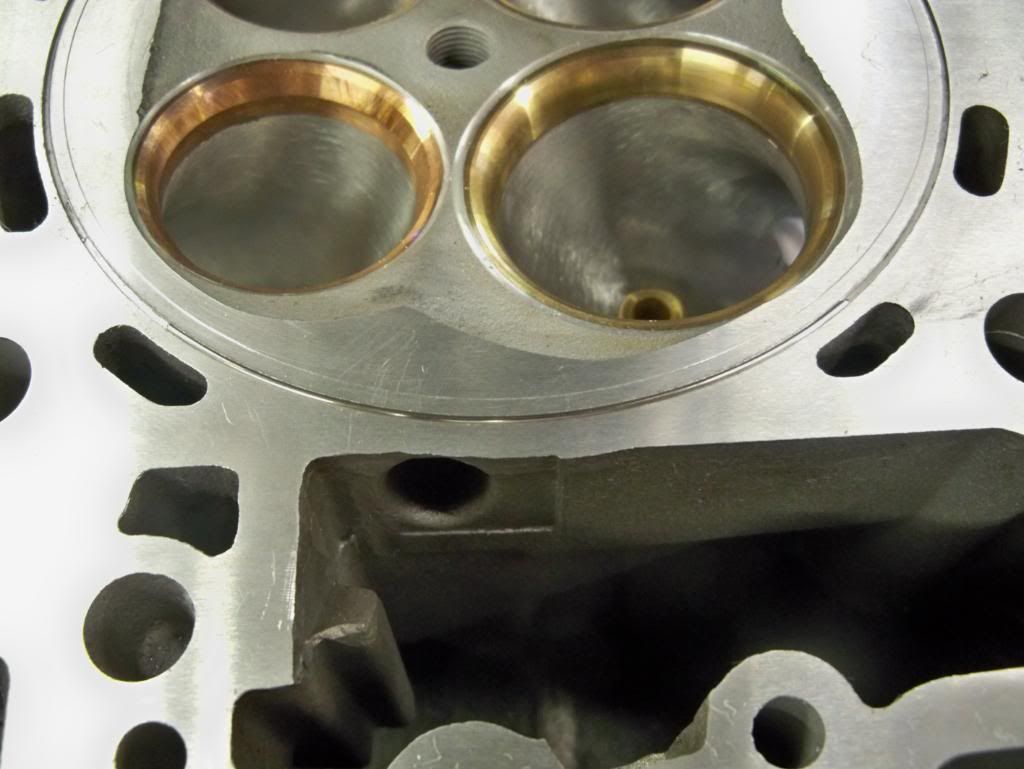 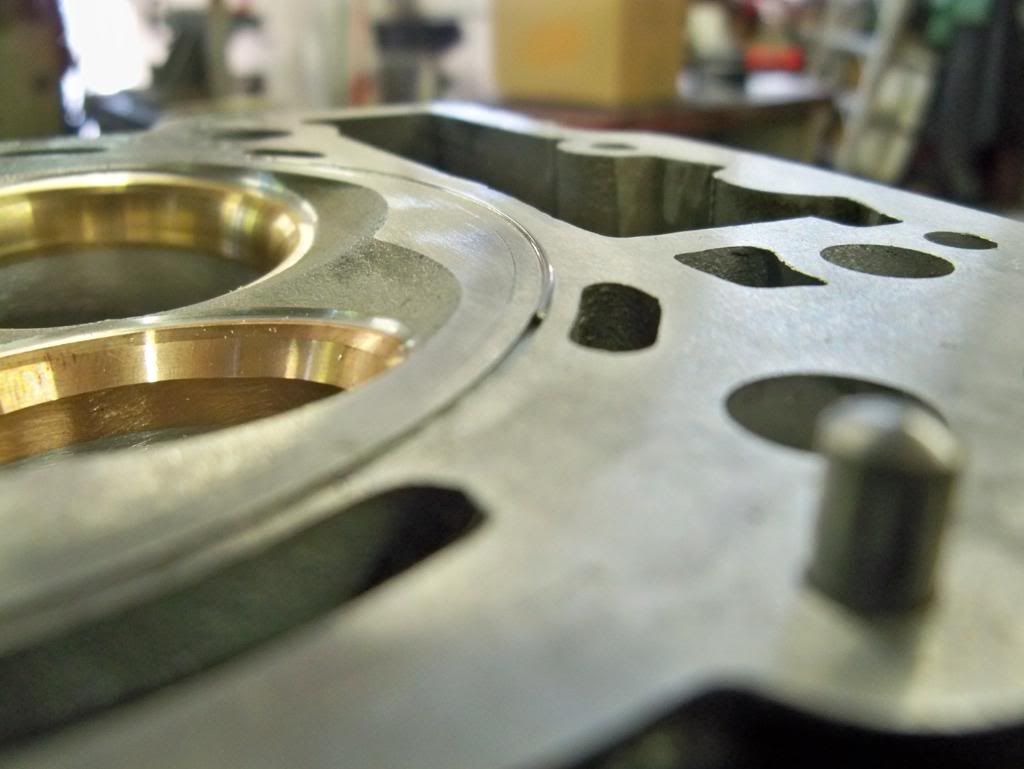 | ||
Budgolf |
I wish I could do stuff like that. Thats awesome. NOW GET THAT THING TOGETHER AND ON THE STRIP!!! | ||
99buellx1 |
Any updates? I enjoy following the progress. | ||
Puzzled |
Life has been busy so I haven't touched the motor recently. I will get back to it soon as I need to finish it. | ||
Georgehitch17 |
This is awesome the wait is killing me! | ||
Americanmadexb |
I'm with George. Been following the progress and ready to see this thing run!! | ||
Ridenusa4l |
......i NEED TO KNOW MORE!! Jake | ||
Fast1075 |
1247cc of Buell Badness....light the fuse!!! | ||
Dannybuell |
puzzled are you keeping track of machine, parts, and time invested? | ||
Puzzled |
Yes I am. I don't have the total in front of me right now however it is less so far than what I have seen some other 1125 based motors going for. | ||
Dannybuell |
What does the O ring do act as a back up to the head gasket? | ||
Puzzled |
Yes. This is common in race cars and diesel trucks. It allows for more compresion and higher cylinder pressure with less chance of spitting out the head gasket. | ||
Puzzled |
The weather has turned to snow here in N.E. PA. so now I'll get my butt back in the garage and finish up the project drag bike. I have come across two affordable rebuilt/salvage bikes that I'm attempting to pick at least one of them up. I'd like to have a street-drag bike to goof around with along with my street and drag bikes. This would allow me to make a few changes to the current project bike and build a little more serious drag oriented bike while not goofing with my street bike. I missed a few rides with my street bike as I didn't feel like converting it back to street use. I'm looking to avoid that. | ||
Puzzled |
I started working on the fairing today in an attempt to get the XBRR style cold air intake to work. I have several hours into what seems like very little work. I have to make a piece to adapt the carbon fiber to the fairing. Since I have zero expierence with fiberglass I'll make it out of tin. Metal work I can do... This is the area I have to fill in. 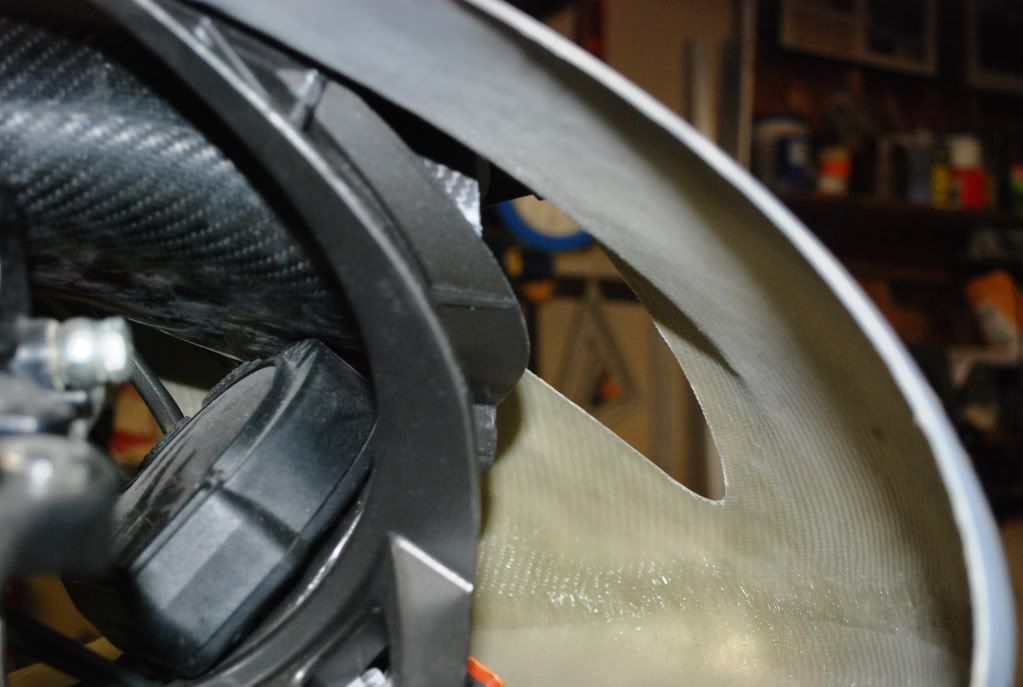  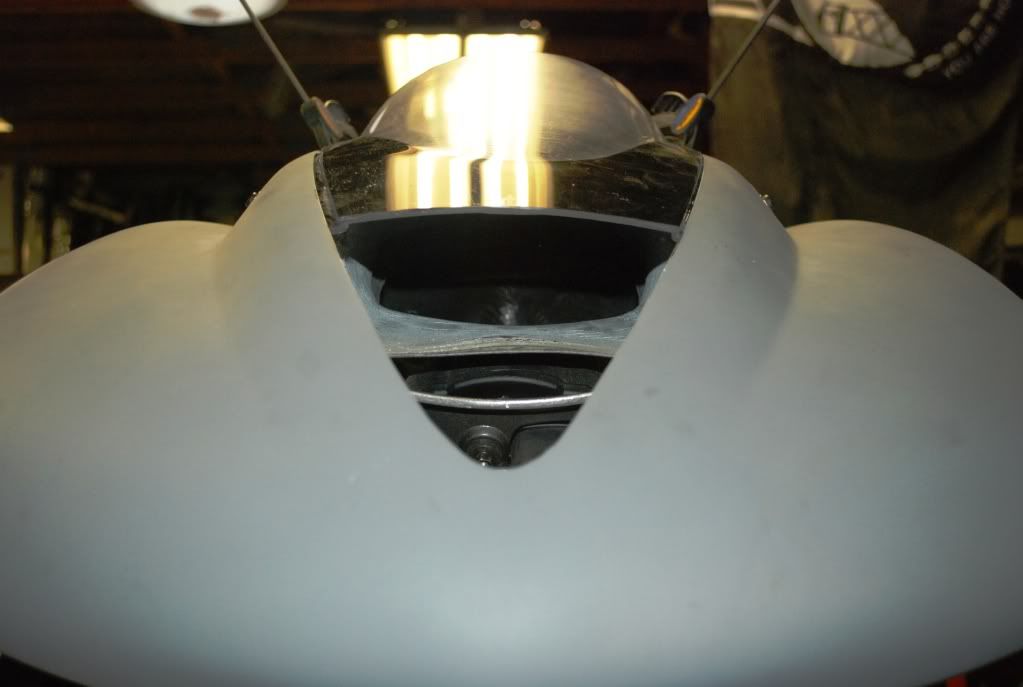   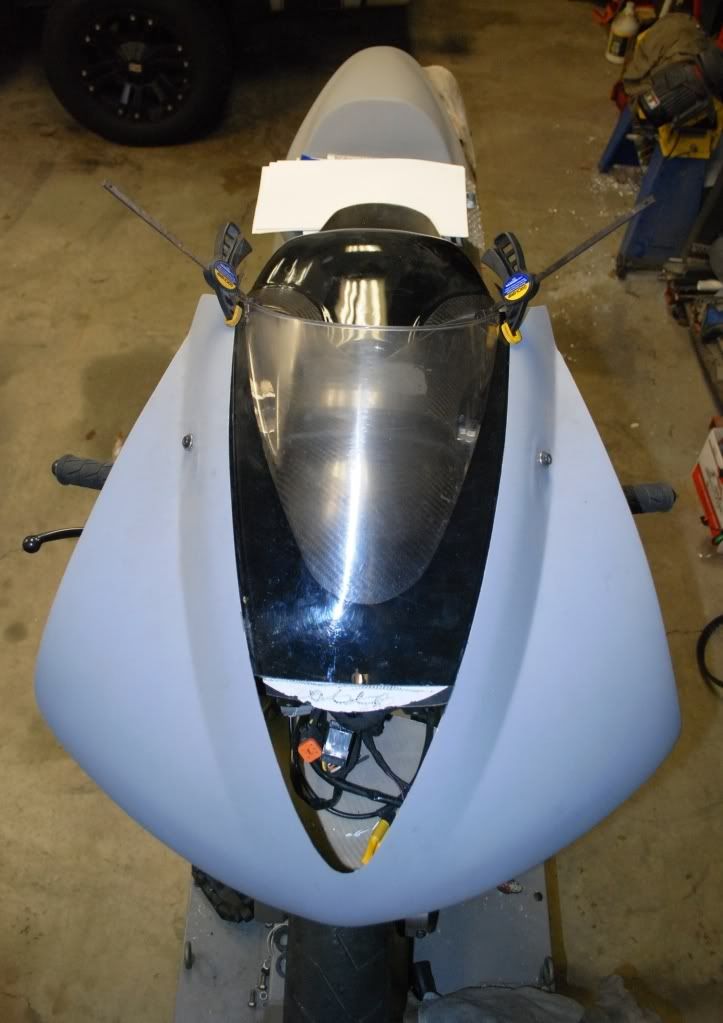 | ||
Puzzled |
Third version of my paper template.  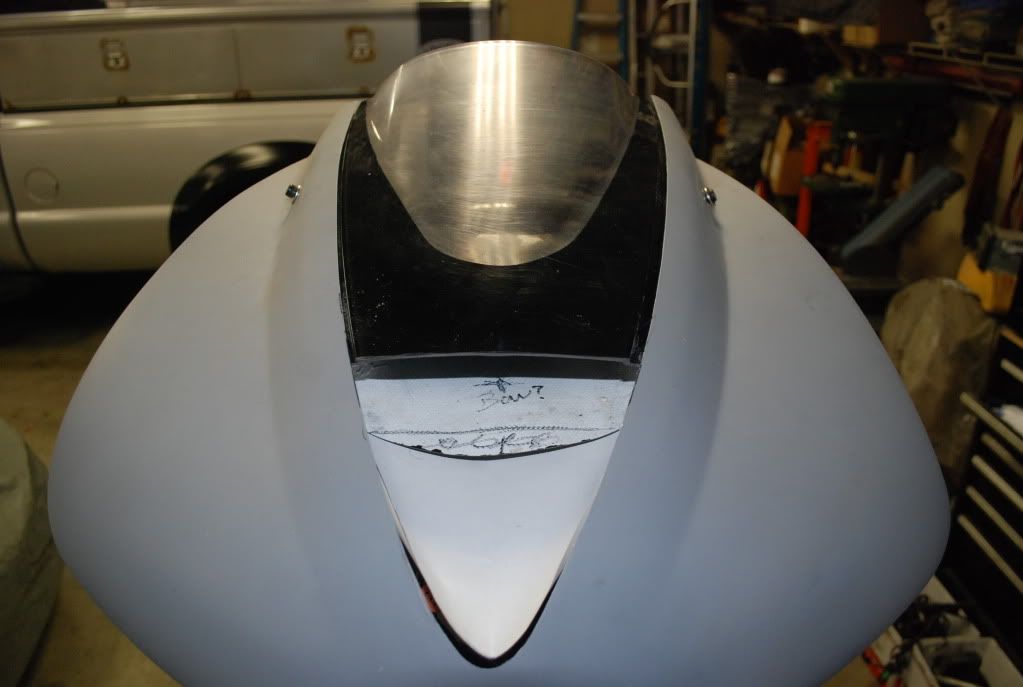 Now to transfer it to metal.... It is hard to see in the pictures the size of the scoop. I have close to 18 square inches of opening. | ||
Puzzled |
I worked on the bike a little this morning. After cleaning the lift off which obviously had become a storage bench I was good to go. I started out with just setting the parts up and re-familiarizing myself with them. Next up was file fitting the rings. CP has me running the rings a little looser than the stock rings. I have a ring set which I have no idea where they go. I called Terry from CP and he stated they are a filler ring of sorts to go under the oil pack. The measurements didn't seem right however I'll go back out and double check. From there I'll call CP Tech tomorrow. I forgot that I have to assemble the heads also. So if I can't figure out the rings I'll start on the heads. 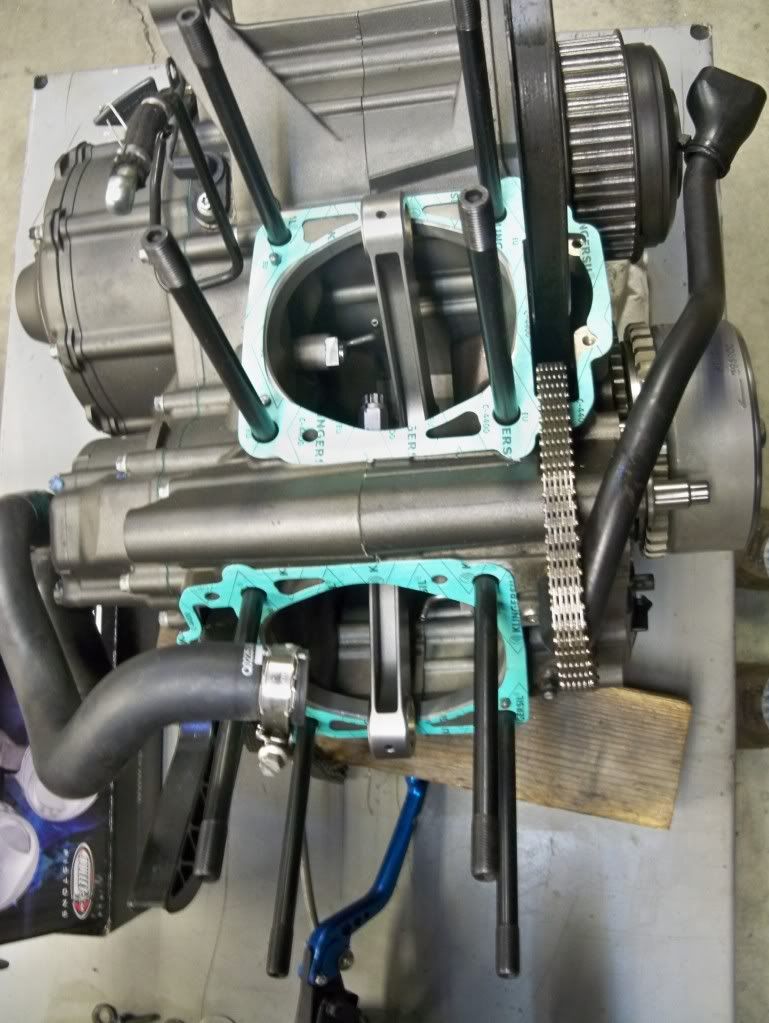 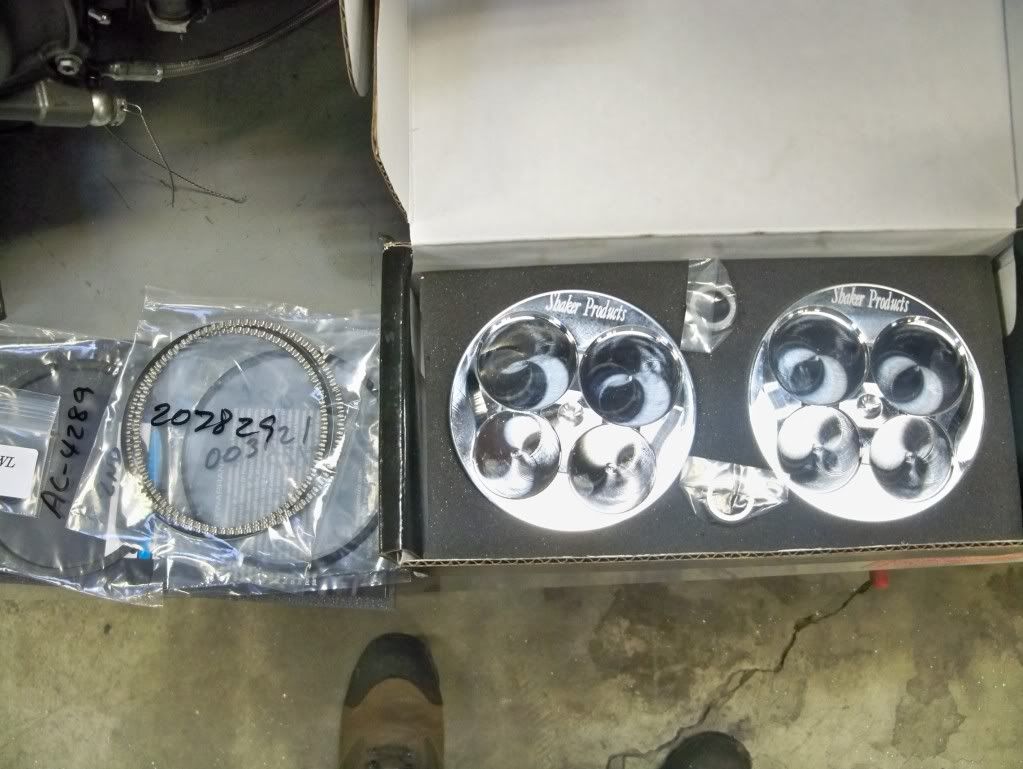  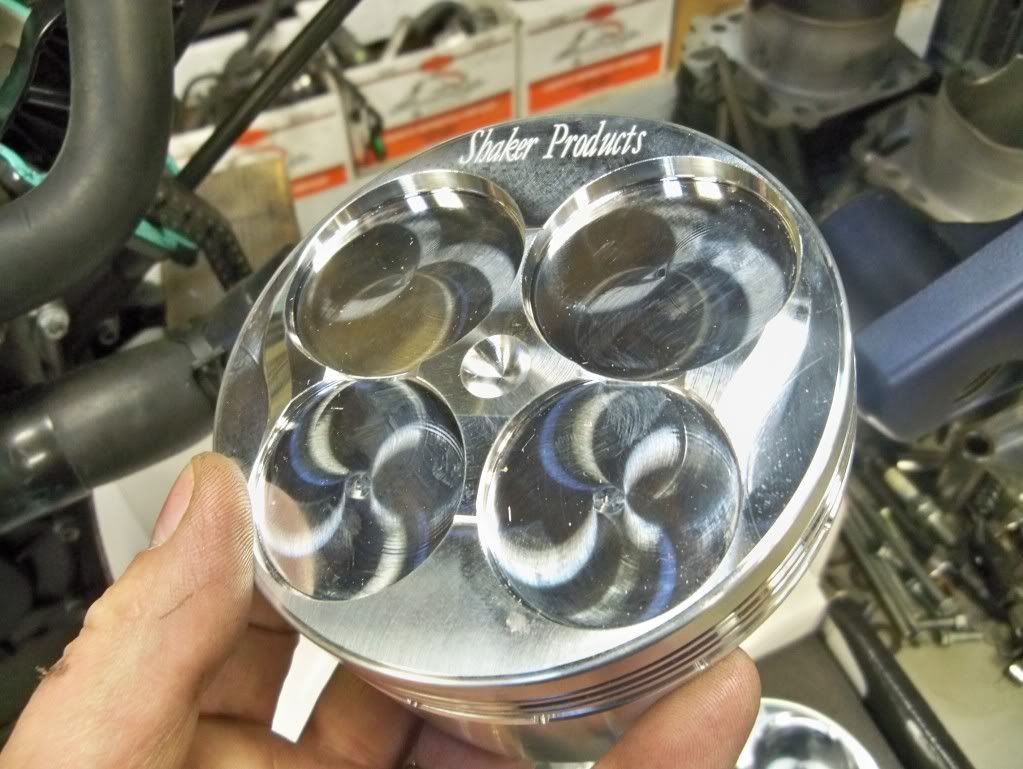 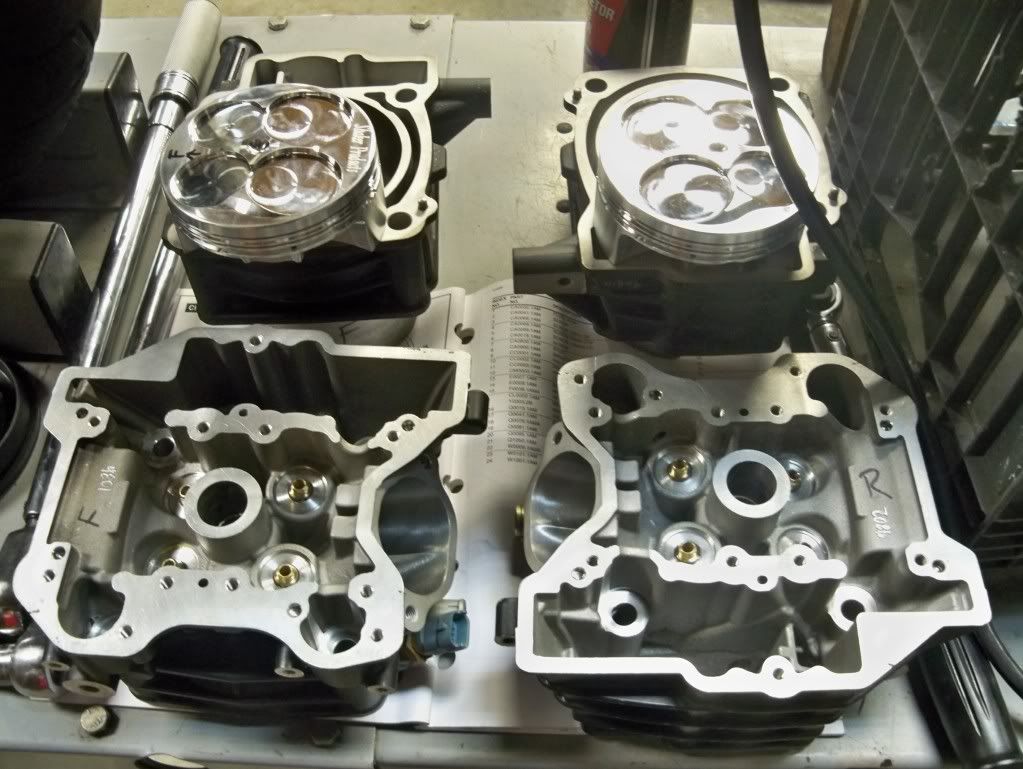  | ||
Fast1075 |
Those are rail type oil rings, Put the expander in the groove first. ( the funny wiggly looking part) The rail rings roll in on top and bottom. Make sure the ends of the expander DO NOT overlap. You end up with ring, expander, ring. Put the gaps on the two rings 180 degrees apart. The thin rings scrape the oil from the bore and are very thin to prevent flutter at very high rpm. The expander hold the rings in position and provides the pressure to get a good seal. Don't forget to deburr the rings after filing, otherwise you can damage the ring lands and have a problem. A little larger on the gap than stock in pretty much normal..and it sucks if you butt the ends and seize the piston...especially important if you feed it some smurf juice. And use some scotchbrite to remove any trace of a sharp edge anywhere on the piston crown. A sharp edge will give the gremlins a place to start chewing on the pistons,,,add nitrous to the mix and it is even more critical. I deburr everything in the combustion chamber, including the spark plugs. That motor should be an absolute gorilla under boost...just remember if you play with nitrous, the whole setup is different. The motor will not only want, but, need load...so however you gear it for gasoline, add a tooth on front or take a few off the back. You have it right if it is terrifying in the traps. A really good pass should make your legs shake for a couple of minutes.  | ||
Puzzled |
That sounds like your explaining the standard oil ring pack, correct? Overall there is generally 5 pieces that go on the piston (top, second and 3 piece oil). I have an extra 4 really thin rings (9 pieces total). ?????????? | ||
Puzzled |
Ok I got it figured out now. The mystery rings are for if the pin height protruded into the ring land, mine doesn't so I don't use them. I'm back on track now. I'm sitting here file fitting the second ring set and will call it a night once it is finished. I'd like to get back out this week and get the pistons attached to the rods and the cylinders down over the bolts. |