| Author | Message | ||
Ratbuell |
Well, here's the documentation from my install today. 30k miles, one-owner, I replaced the 77 plug years ago and the bike still has the factory battery from 2006 under the seat. Backstory is, riding home the other night I noticed my Kuryakyn voltmeter go from 2 greens...to one...to 2 ambers...to 2 greens...to one amber...ack! Got home, stator tested OK for VAC on all 3 legs, passed all the ground tests. VR was putting out .39V. Ordered a Shindengan, figuring a) I trust MOSFET technology, and b) OEM regulators will be more and more scarce, so I'll go aftermarket and make my changes now, so if I ever need another replacement...I plug and play a new duplicate aftermarket piece. Ordered the "super mosfet kit" with circuit breaker from Jack at roadstercycle. Nice guy, great response time, excellent customer service. I got the standard 3' wire length.  (photo courtesy of roadstercycle website) I broke out my favorite home-made soldering tool - a piece of coathangar bent to hold two alligator clips, lets me hold 2 wires end to end so I can solder in-line and heat shrink the connection. 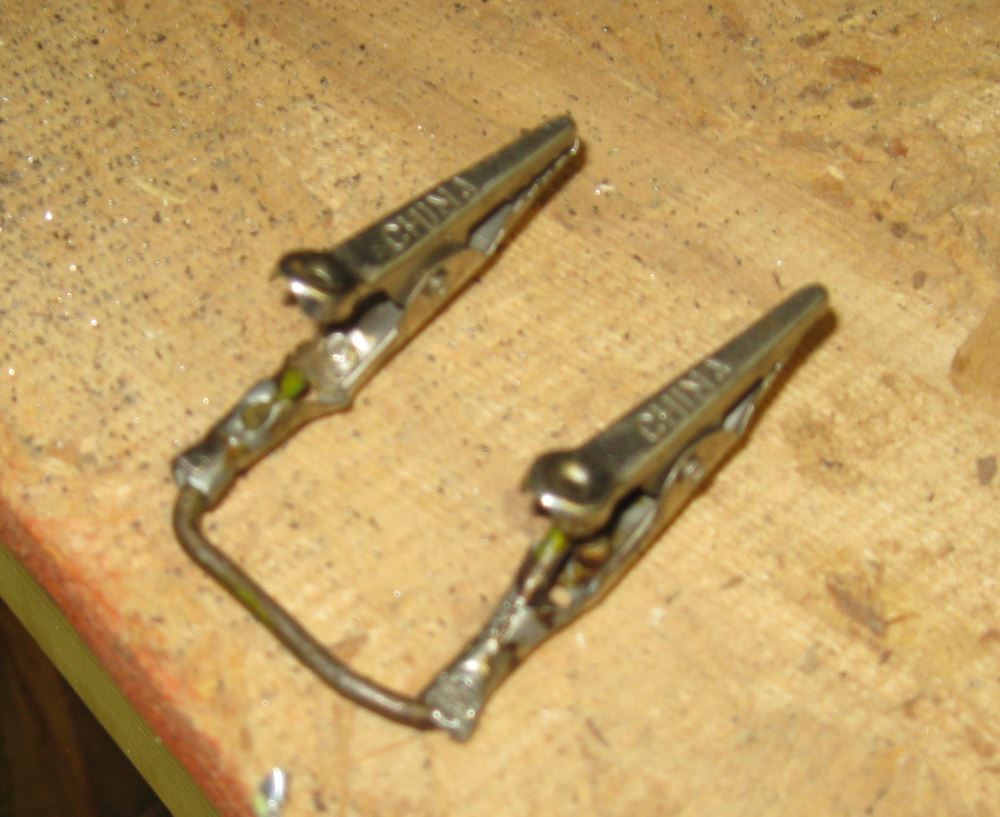 I made the connections using the parts in the kit: 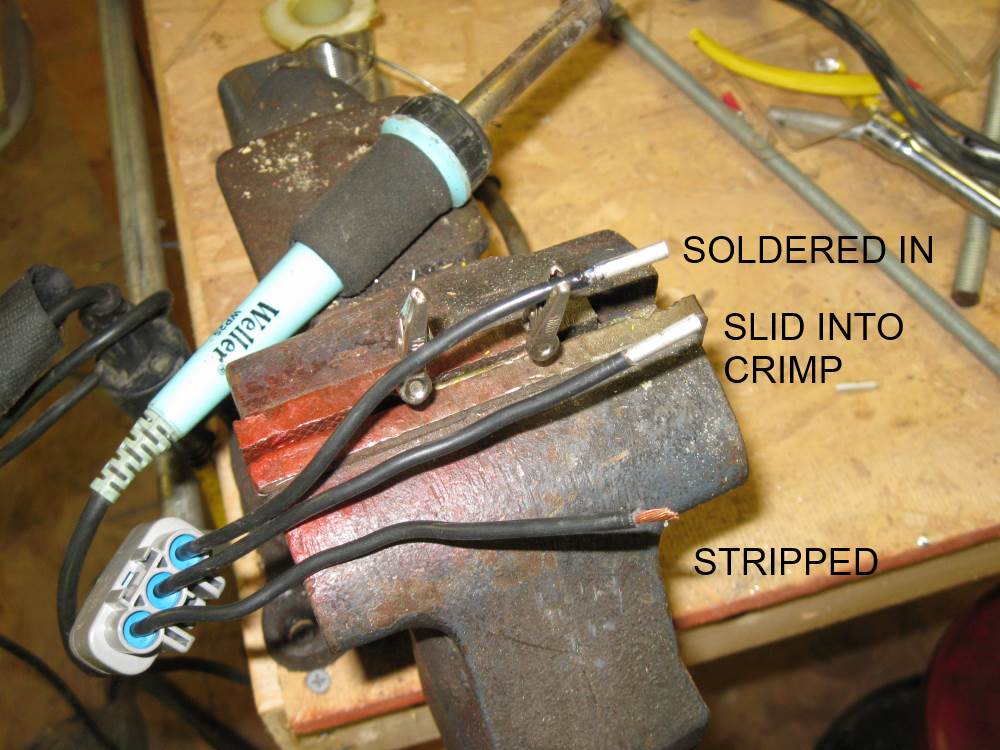 my favorite tool in action: 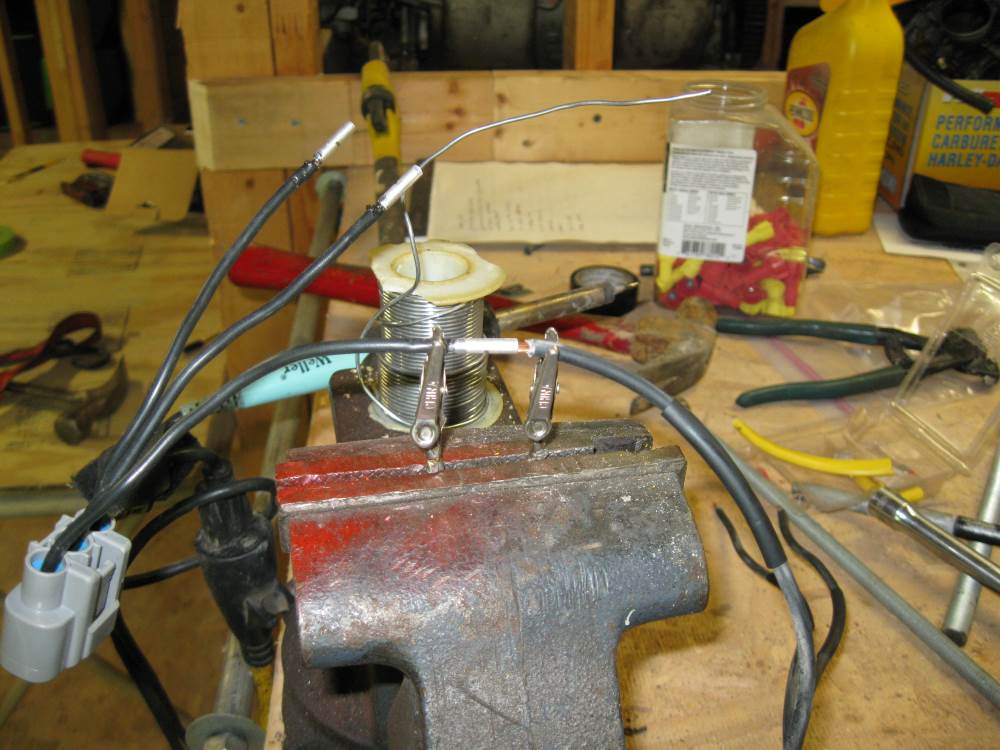 Result: 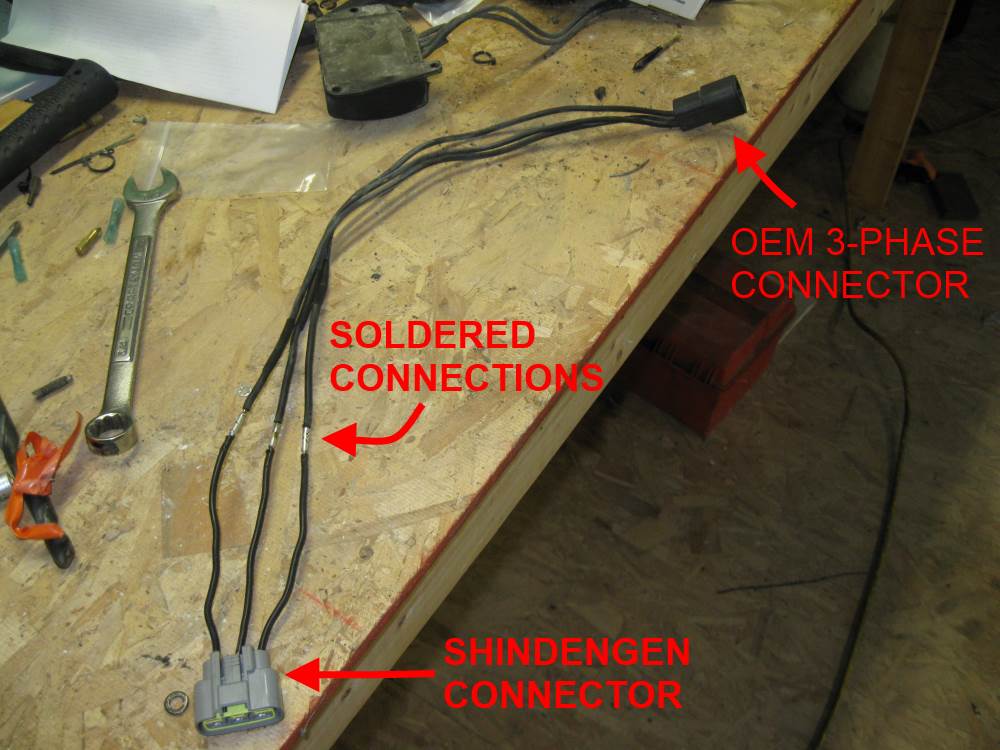 Then I used heat shrink on each connection (I had it slid over the wires before soldering), wrapped electrical tape around one, then added a second and wrapped them together, and added the third, all wrapped with a single piece of tape. The single zip tie holds the tail of the tape, so it doesn't unravel: 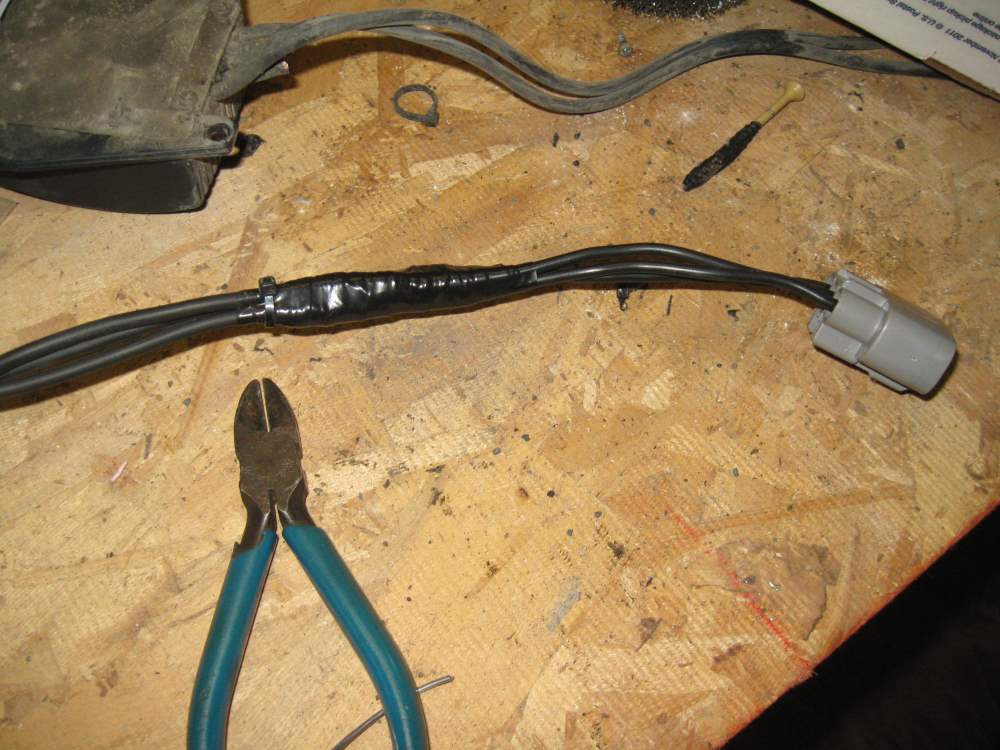 As you can see...the 3' wire in the kit was too short to make it to the battery: 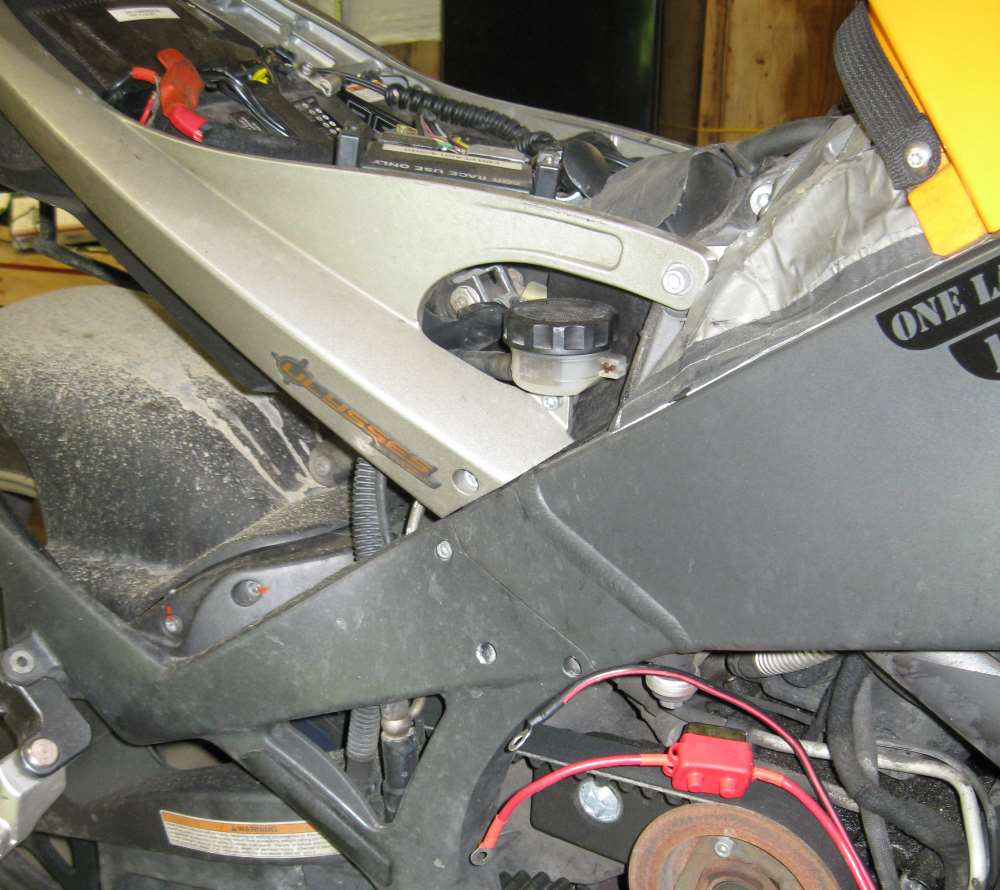 So I decided to not invade the chassis wiring at all, and cut the new harness to length to fit it to my old "77" connector update (two screw terminals from Home Depot, used for submersible well pump wiring). Here is all the wiring in place, before I added heat shrink and final dressing:  And here it is in final dress:  Closeup, showing the zip tie holding the two halves of my 77 replacement to each other. When I pulled the bike apart to troubleshoot this problem, I found that since I hadn't zipped them together the first time, they were rubbing against each other and there were bare spots in the heat shrink (could that have caused my VR failure? Maybe...). My thought by zipping them together is, keeping them from rubbing against each other again and causing a possible short. I also zip-tied the cover onto the circuit breaker to keep it from 'opening'. You can see I re-used the factory cable wrap as well, with new zip ties: 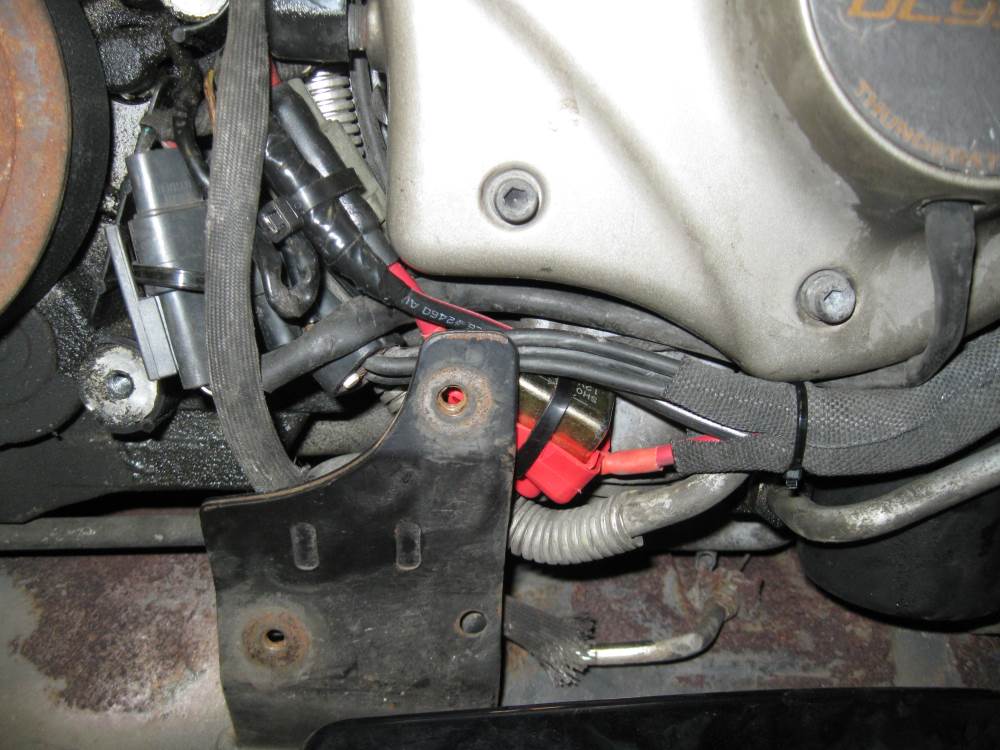 So...we're wired. Now to mount the regulator itself. I rubik's cubed the damned thing around and around and fiddled and cursed and pondered and fiddled some more...and finally came up with this solution. I popped the factory threaded inserts out of the top primary-side mounting hole, and out of the cam-side mounting hole, on the OEM VR bracket. I then took a measurement or two and made this bracket out of flat aluminum stock, the holes are 2-1/4" apart on-center: 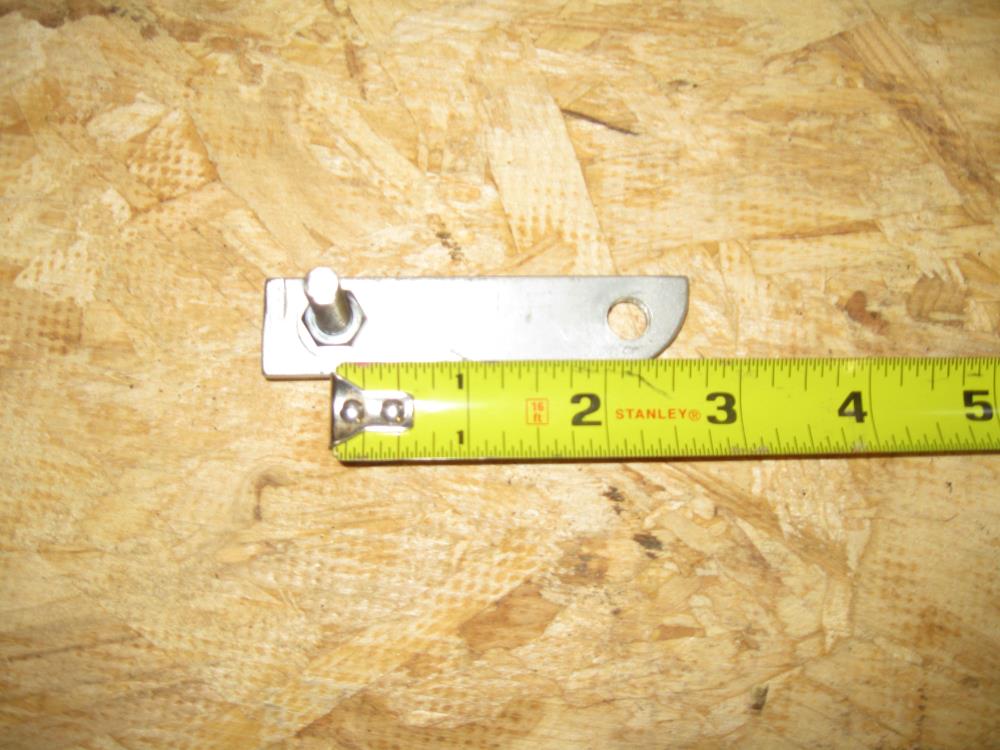 I then mounted it to the OEM bracket:  The piece of flat stock on the primary side is simply a spacer, to keep both sides of the new VR at the same installed height from the bracket. Here's another angle: 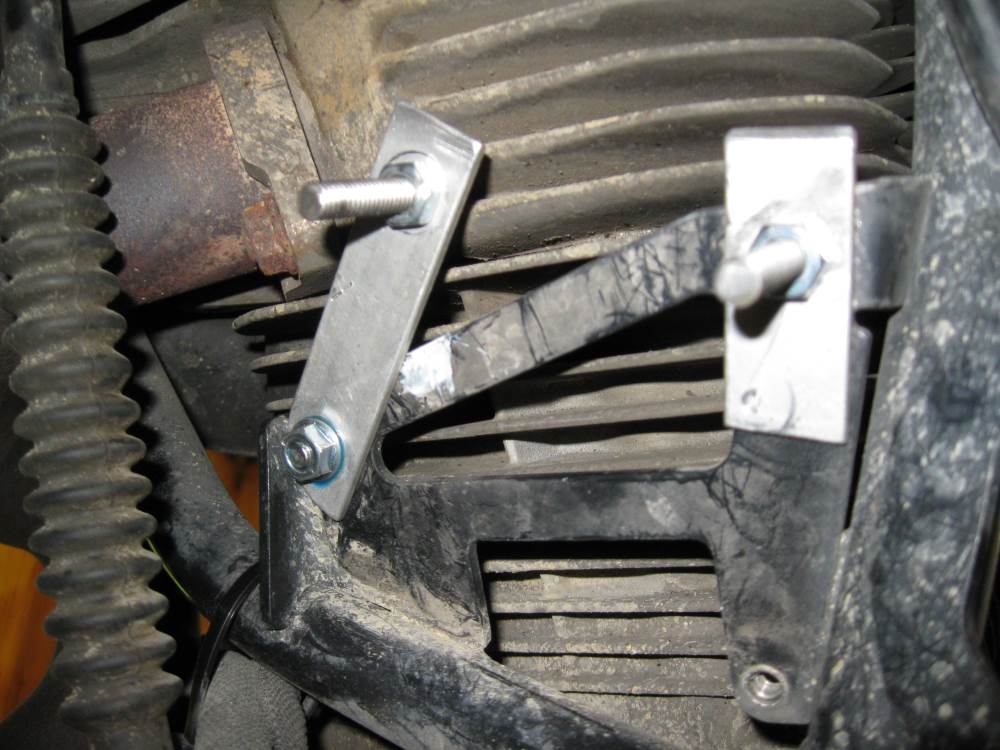 And finally, the new VR installed (with plenty of blue loctite on those mounting nuts!): 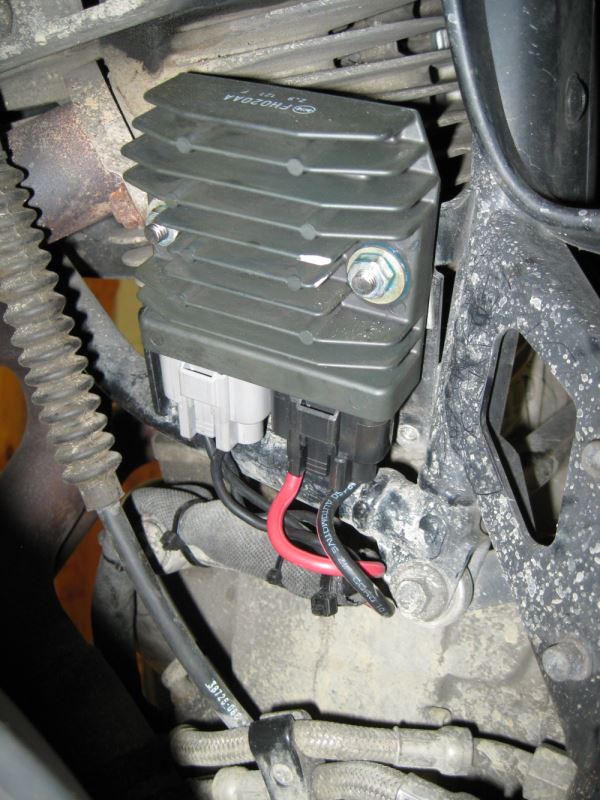 And a shot from above, showing clearances to the jug and OEM bracket:  Jump-started it, and presto! 14.6v at idle, sitting on the lift. WOO-HOO!!! I let it run for a few minutes while I straightened up my bench and I could feel the VR warming up - the main reason I wanted to keep it in the OEM location, with plenty of airflow. I have yet to ride it...but I'm betting everything is gonna be just fine now  I'm also most likely going to get a couple wraps of tape around the wires in the second to last photo, just as a layer of "armor" so to speak...but I think it'll be OK for the time being. I'm also most likely going to get a couple wraps of tape around the wires in the second to last photo, just as a layer of "armor" so to speak...but I think it'll be OK for the time being. | ||
Uly_man |
Wow thats a real Pro job Ratbuell and the BEST write up I have ever seen. Thank you I shall keep it in mind for "later"? One good tip, if you have never tried it, is to paint contact glue on the wire before shrinking the tube. It makes the joint air/water proof and stronger. Not needed on most things but a bike needs all the help it can get from the weather. | ||
Etennuly |
I can't see the work for all of the crud on that farm implement! You callin' that thing a MessyFergison?  You a lucky man still running the original battery. Nice work Joe.  | ||
Ratbuell |
Yeah...its weird having a clean piece on the bike...  | ||
Ourdee |
Oh no, I mounted mine upside down. | ||
Natexlh1000 |
Hurry up and flip it back upright before all the electrons fall out! | ||
Sparky |
Nice writeup, Rat. My only comment (if I were doing this job myself) would be to stagger the splices so that they don't line up side by side after wrapping with electrical tape. | ||
Ratbuell |
That was why I zip-tied them together this time, so they don't rub against each other. Fundamentally, they're "a plug" now instead of "two splices". Not a whole lot of real-estate down there for placing big honkin' brass barrels  | ||
Arcticktm |
Beautiful write up. This belongs in the KV for sure. |