| Author | Message | ||
Xbimmer |
Inspired by this thread http://www.badweatherbikers.com/buell/messages/142838/657433.html?1322494281 I decided to try one of these. Don't know how far I'll get this weekend but at least I have the mount adapter figured out. Picked up a couple pieces of 6061 aluminum and after measuring, cutting and filing ended up with these: 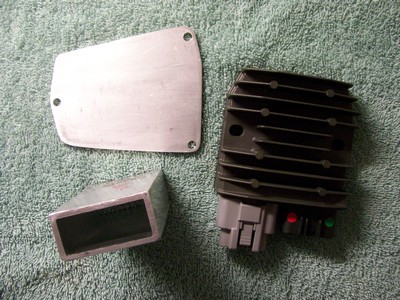 Still very much a work in progress but you get the idea: 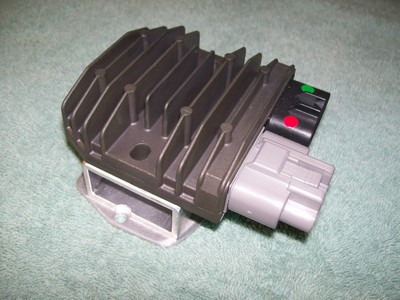 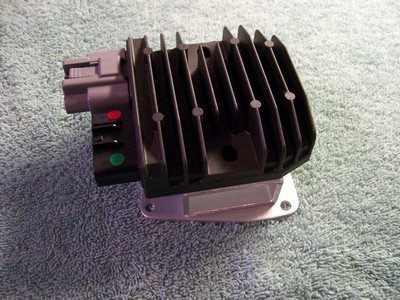 The sheet is 1/8" and the tubing is 2"x1"x1/8". I considered 1.5"x3/4" tube but I wanted to make sure the VR had as much support as possible within the confines of the plate, and also to ensure that the VR projected far enough out that the Shindengen plugs would clear the bottom tube of the Y-bracket. Once I get the stock VR off I may reconsider (I've been eyeballing the dimensions so far...) but maybe not. I'm figuring at this point to run the leads from the stator from the original direction, but running the leads to the battery along the left side since I won't be using the stock wiring. More to follow as it happens. | ||
Merc16 |
Wow, this will be a great thread. Looking forward to following along. | ||
Xbimmer |
Thanks, hope it's helpful. Didn't get it wrapped up today, but the hard part's done, getting the bracket lined up and put together. Some pics: The backing plate fit just fine: 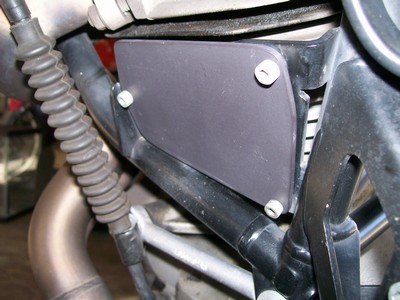 Oops, one too many holes. Two 1/4-20x3/4" bolts secure the rectangular spacer well: 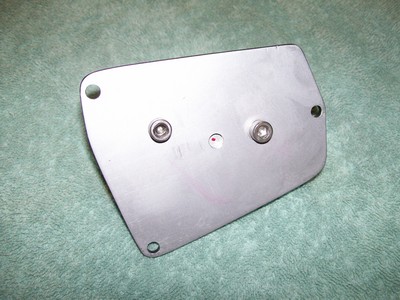 Preliminary fit looks good, plenty of clearance for the connectors and I'll run the wiring in front of the tie bar: 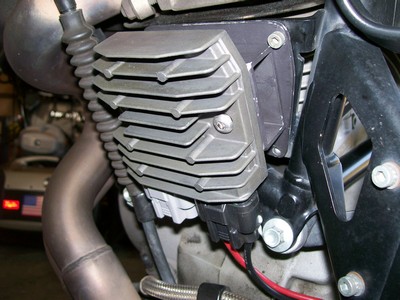 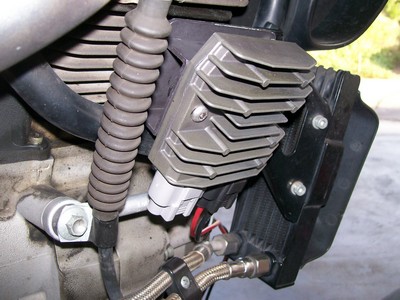 Fresh coat of paint... 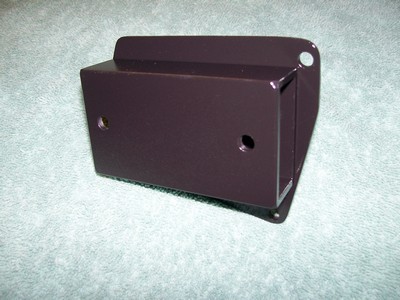 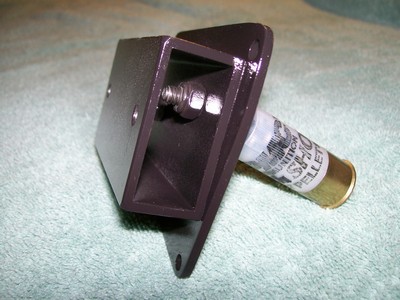 ...and it'll sit until next week while I build the harness. The supplied 3' of wire to the battery will just be enough if I route it along the left as planned. Best part is that the stator connector and wires I cut off my first (of two) stock VR is plenty long enough to assemble to the Shindengen connector even with a slightly more forward location. That means no mid-length splices and possible trouble areas down the road. Pretty much downhill from here, I'll keep posting as I get 'er done. | ||
Merc16 |
The project looks really good so far. | ||
Xbimmer |
Thanks, if I had a real shop I'd be done now, hand tools take awhile!  | ||
Timbobuell |
Thatís an excellent expression of art and craft. Impressive. | ||
Natexlh1000 |
I can't help but see this when I look at the regulator: 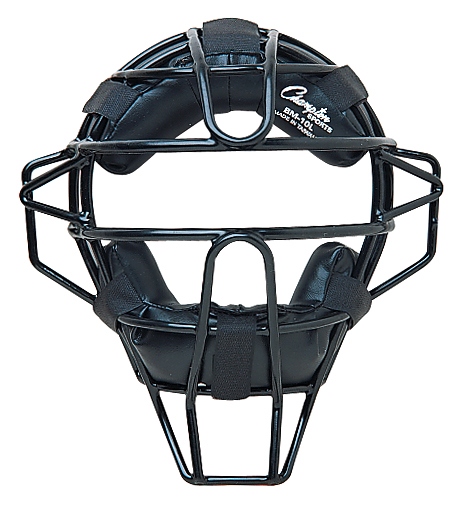 | ||
Electraglider_1997 |
X, I'm pretty sure that Mosfet uses the head of this 2 stroke model aircraft engine to make their VR. 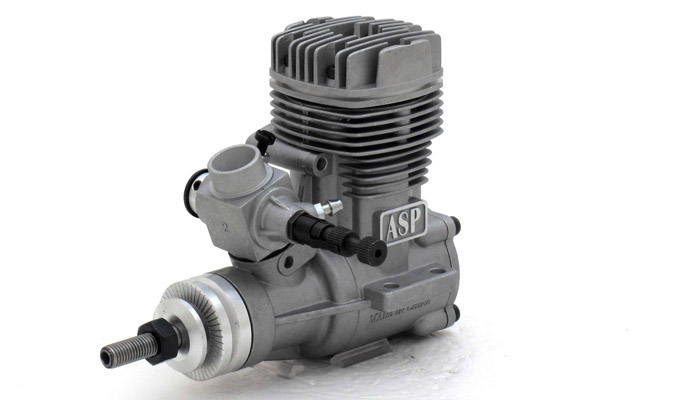 | ||
Xbimmer |
 | ||
Natexlh1000 |
Natexlh1000  Electraglider_1997 Electraglider_1997 LOL | ||
Djohnk |
Looks great. Are you going to remove any of the old wiring? That 77 connector takes up too much space. (Message edited by djohnk on December 05, 2011) | ||
Merc16 |
Bump, for above question.  | ||
Xbimmer |
Actually a few months ago I replaced the 77-connector when the VR first started acting up. When I got in there I could see the 77 was starting to deform, a little hard to see in this pic but the positive terminal has quite a gap compared with the negative: 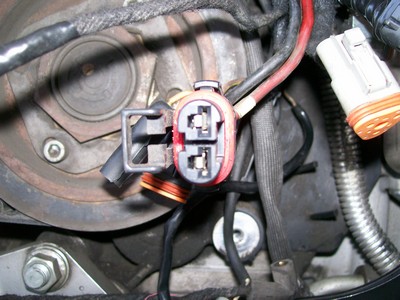 I used an SAE connector with 10 AWG leads to replace it: 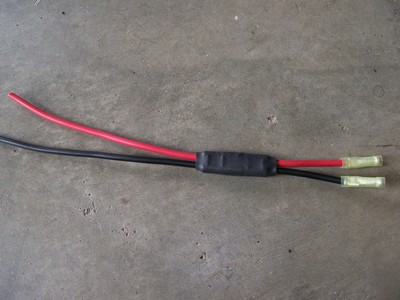 The splices to the battery leads were then in the spot where the 77 had been, more breathing room in there. The SAE connector was now up in the harness just behind the oil filter where I could access it if need be. 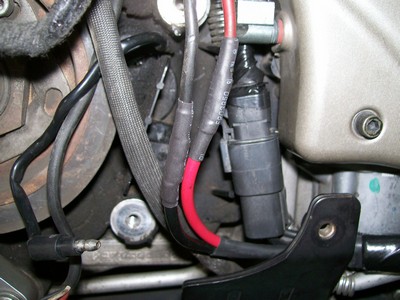 All this would have been great had I done it before the VR started dying. It didn't change anything, usually after a couple miles or minutes of riding the battery meter will sail into the red until I let the RPM's drop for a few seconds, it'll go yellow for a bit then go back to green and everything's OK after that. When I pulled the SAE apart last w/e it was snug and burn free after about 7k so I know it was working fine. So to answer the question I'll be keeping the SAE connection to the battery in place, I could always pack the rogue VR as an emergency spare on a trip since it works fine after its initial shenanigans. The Shindengen is going to be wired straight to the battery. | ||
Xbimmer |
Well I got it installed Sunday, bad news is my camera wouldn't work in the cold garage so no current pics yet, good news is the Shindengen VR works great! I have a Kuryakyn battery meter and before at a low and cold idle one green light is all I would get and that would be after a minute or two of running. Now it goes to two greens almost immediately with the second one flickering and once warmed up and idling at 1k stays at two solid. With the stocker, when warmed and rolling down the road, two greens would drop to one when I turned on the 55w Hellas. Now at any rpm's above 2k (at least in the garage) the two greens remain with the Hellas lit or not. Putting a DVM to the battery shows the volts running 13.7-14.2 at idle, going straight to 14.5 before 2k. So far much happier with the results. Wasn't so happy with how I had to route the battery leads but I'm getting back into there soon to fix up the under seat clutter and I'll address that then. All in all VERY satisfied with the swap. Pics to come.  | ||
Merc16 |
Can't wait ! | ||
Xbimmer |
New batteries in the camera so here are some (sorta) finished pics. At idle and it was 45 degrees out, two greens within seconds after startup  : : 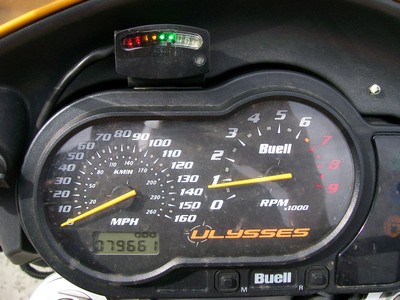 Probably wouldn't even notice the mod unless looking for it: 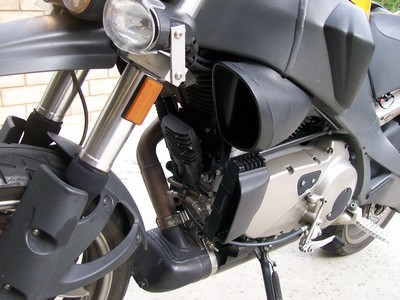 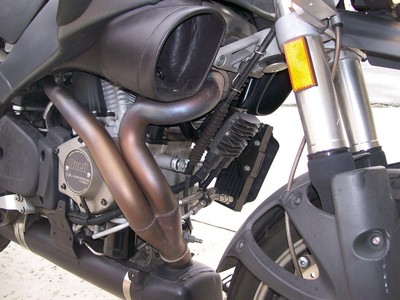 Stock wiring from the stator worked well: 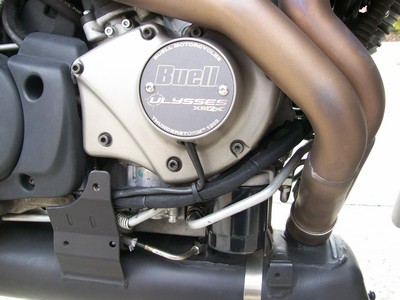 Leads back to the battery not as planned, virtually no room at the left rear corner of the head to squeeze more wiring loom in there. Instead I routed the wiring up the front of the Y-bracket and along the left side of the frame leaving enough slack to keep easy access to the spark plugs: 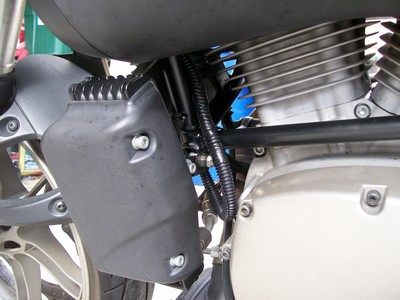 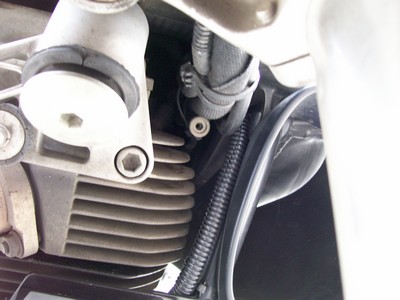 Drilled a 1/2" hole for the loom exit, this was a little hackish but I didn't have time to pull the fan and relieve it for room, that could wait for a couple of weeks when I get back in there to fix the clutter: 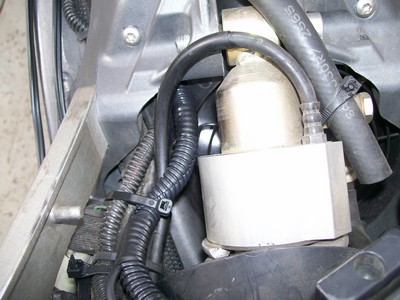 That Maxifuse holder is huge... 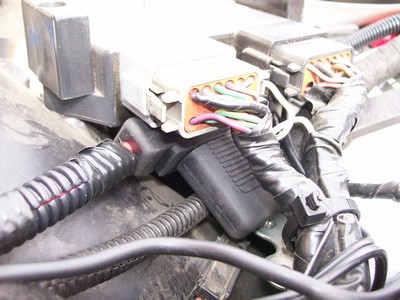 ... and like I said, clutter. 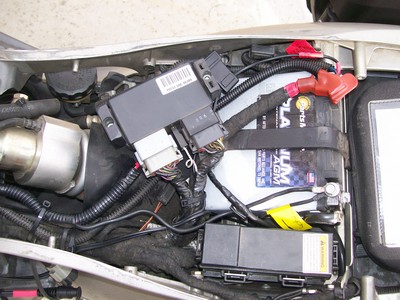 Will clean this stuff up eventually but at least now I have a V/R that lets me run at night with three 55w lights and an electric vest and still stays at two greens!  Just a couple of things I would do differently. I should have worked backwards from the battery for the wiring, as it turned out there are splices in there just before they head up the Y-bracket since the provided wiring was too short. Oh well, the provided butt splices are excellent quality so I don't expect any issues. Second, when I pulled the connector from the V/R to make those splices I apparently didn't push the release down far enough and with a mighty yank broke off the locking tab  . Not a big issue apparently, the connectors fit super-tight and I'll make myself feel better when I rebuild that side with wrap like the factory stuff and I'll silicone seal the connector back on. . Not a big issue apparently, the connectors fit super-tight and I'll make myself feel better when I rebuild that side with wrap like the factory stuff and I'll silicone seal the connector back on. This has been one of the most satisfying mods I've done with this bike. | ||
Djohnk |
Cool, that was great work on that hand-made bracket. That's my next project on my Uly. I think I will go with that same VR also. Thanks for the excellent write-up Xbimmer! | ||
Natexlh1000 |
OK so in conclusion: It DOES work. It allows more power output from the same stator. Are there any theoretical reasons why the factory wouldn't go with this method? | ||
Towpro |
Natexlh1000, it all comes down to $ (Message edited by towpro on December 19, 2011) | ||
Froggy |
+1. | ||
Natexlh1000 |
So mosfets are more expensive than SCRs? I'm not buying that explanation. There HAS to be more to it. There must be an actual reason for using a shunting clamp instead of a series circuit. The Japanese do it the same way. It's not like H-D is the only bunch that makes their bikes charge like that. That having been said, I'm glad it's working and will probably follow suit if my stocker ever craps out. | ||
Reepicheep |
Probably tradition as much as anything. Can you imagine Buell, going to Harley, and saying "we want to switch to a series regulator from a Chinese company"? It would have been a pretty short conversation... starting with "that shunt regulator has worked perfectly well on 1.2 million Sportsters for 30 years now..." And it's not just Harley... every UJM I have owned has had a shunt regulator as well. | ||
Xbimmer |
The Japanese already use these, Yamaha for one http://www.bing.com/images/search?q=1D7-81960-00-0 0+&FORM=BIFD#x0y0 . Do a search for Yamaha part# 1D7-81960-00-00. I'm also not so sure the Shindengen is not a shunt type, or Chinese for that matter since the company is Tokyo based. Being electronically ignorant my understanding is that the efficiency comes from the MOSFET switching. Don't care anyway, for about the same $$$ it works so much better than stock it's silly. As far as the HD/Chinese company thing, HD has no aversion to using Chicom parts on their machines already... | ||
Reepicheep |
If it uses the factory hookups, I think it has to be shunt. Series regulators would have to hook up differently. | ||
Bike_pilot |
Xbimmer has it right, the Japanese have moved on. A decade ago they used the old style regs, many if not most have moved to the mosefet type over the past 8 years or so  | ||
Portero72 |
More power allowed from the same stator? I am sold. Anyone see a reason this would not work on an 09? Great writeup, Xbimmer. | ||
Rwven |
For '08+ you would need a VR with single phase rather than 3 phase input. | ||
Portero72 |
Thx, Rwven. My electrical knowledge is limited. | ||
Djohnk |
Thanks for the excellent write-up Xbimmer, I have been considering that mosfet VR for a while, but wasn't sure if it would work. Ever since I put a Voltage monitor on my bike I noticed my voltage is all over the place (when it goes above 15.9 volts I get worried it might take out my ECM or something). Anyways, I have the Shindegen VR on order already ... hopefully it gets here before this weekend so I can install it Saturday. | ||
Djohnk |
I installed the Shindengen VR and it solved my the problem with my voltages being all over the place! I'm a happy camper now. I soldered all the wires where they were crimped to the connectors and put a $4 30 amp auto reset circuit breaker inline on the positive side. I guess ignorance is bliss, because I wouldn't have done it if I hadn't first installed the voltage monitor to find out there were problems. |