| Author | Message | ||
Cpeg |
}One observation from my personal experience I noticed on your flyscreen wiring. I'd recommend re-orienting that relay that's hanging "upside down" to right side up. I had a relay like this on my wife's Jeep & after if came back from service one time, they had unscrewed it from where I had it mounted and it was hanging upside down from the wires like yours is in the picture above. I didn't notice until some time had passed & her off-road lights didn't work anymore. The relay had filled up with water & corroded. that is the flasher and it is potted, that is the way it is mounted by the elves. | ||
Hughlysses |
Wow- thanks for all the compliments guys; I really appreciate it. I got a lot done yesterday afternoon, but I'm still not quite there. I went to the trouble to print out a list of the remaining steps which turned out to be very helpful. Especially when you get down to all this little stuff, it's easy to get distracted. It's like "oh, I need to find the kickstand and bolts to install". I go to my tool room and rummage around for that, but I remember "oh, I need the small torque wrench to torque those bolts", while looking for the small torque wrench, I notice the bolts I couldn't find for the inner air box and get those, etc. 15 minutes later, I walk back outside without the kickstand I originally headed in to find. Having the remaining steps printed out more or less in order helped keep me on track. I figured I had about 25 things left to do and that it would take me about 3 hours to do them. Well, in 3 hours last night, I got 15 things done, but I remembered more things to do so my list grew to 32 items. Predictably, the HARDEST task yesterday was getting that #$%^&*#@ spring clamp on the velocity stack on the throttle body! That took at least 15 minutes of attempts before it magically snapped into position. The biggest remaining task is installing the muffler brackets and muffler, and I've also got to drain the primary and replace the XB12R clutch cable with the longer XB12X clutch cable. Other than that, it's pretty much install scoops, covers, battery and seat and fire this mother up. Oh yea, I DO need to add oil lest I start this whole cycle over again!  | ||
Portero72 |
Does anyone else hear 'Wind beneath my wings' playing softly in the background? | ||
Etennuly |
So my wife may be wrong about me being the only one on the edge of distraction!? She thinks it is olds-himers setting in when I cannot remember what I walked over to my tool box for. Thanks for sharing that Hugh!  | ||
Cpeg |
Just as long as you don't forget the paperwork before pulling up your pants, you're normal. Hope you have that beast moving under it's own power by the time I get back from todays ride. | ||
Hughlysses |
Here's a short picture update from yesterday's efforts: While it was obviously much easier to install the wiring harness with the engine out, that does present some problems, like "what the heck is this connector for?" 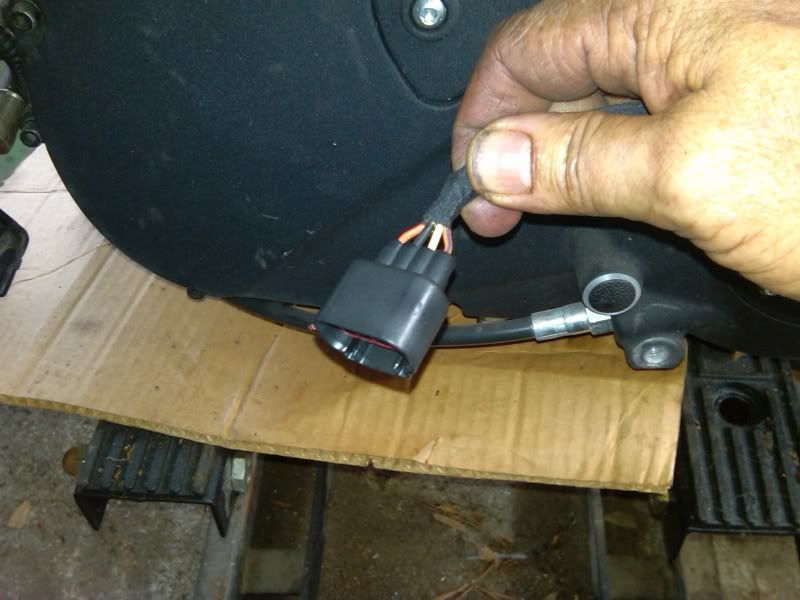 After the engine was back in and practically everything else was hooked up, I figured out this was for the exhaust valve motor. Of course, I had it hanging out of the bottom of the frame, so this necessitated squeezing a hand between the rear of the engine and the frame to undo the little clasp there (that holds the engine wiring and tranny vent hose to one side), snaking the wire up through the frame and out the top, and reinstalling the clasp. It went better than I expected. Next up, the front "Y" bracket that holds the oil cooler, voltage regulator, and front tie bar was reinstalled, along with a new oil cooler scoop from American Sport Bike. I had to rob the oil cooler scoop bolts off my 07 unit, plus one of the oil cooler mounting bolts (which were all missing from the 09 unit): 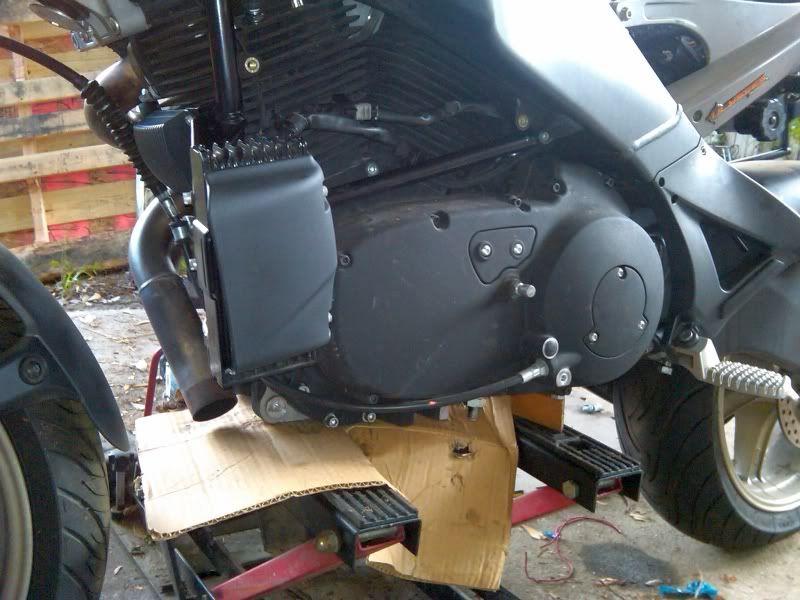 Next up, was sidestand installation. The machined surface on the bottom of the engine threw me at first; looks like there's a third bolt hold there for the stand to mount to. Is this an 09 update? Fortunately, the 07 kickstand bolts right up: 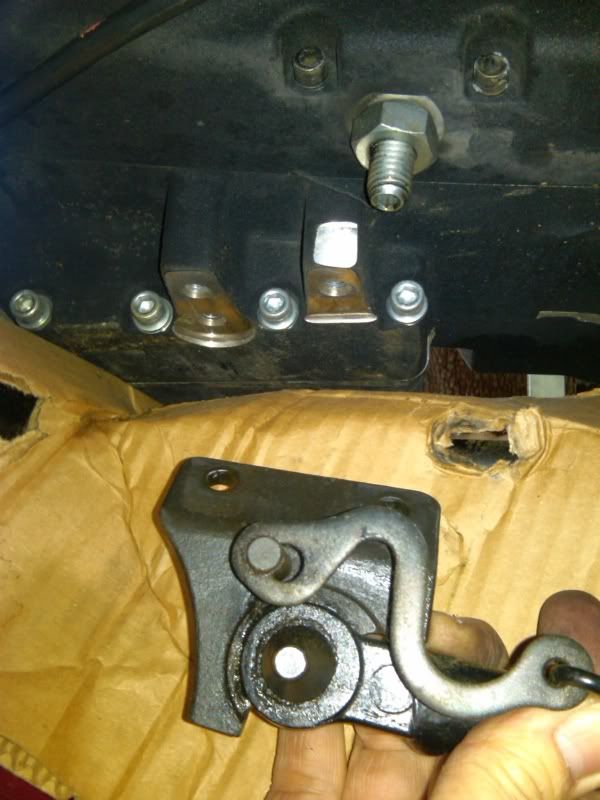 Rear axle torqued, hugger installed, caliper installed, right side foot peg bracket installed, idler pulley installed, luggage rack installed, etc.: 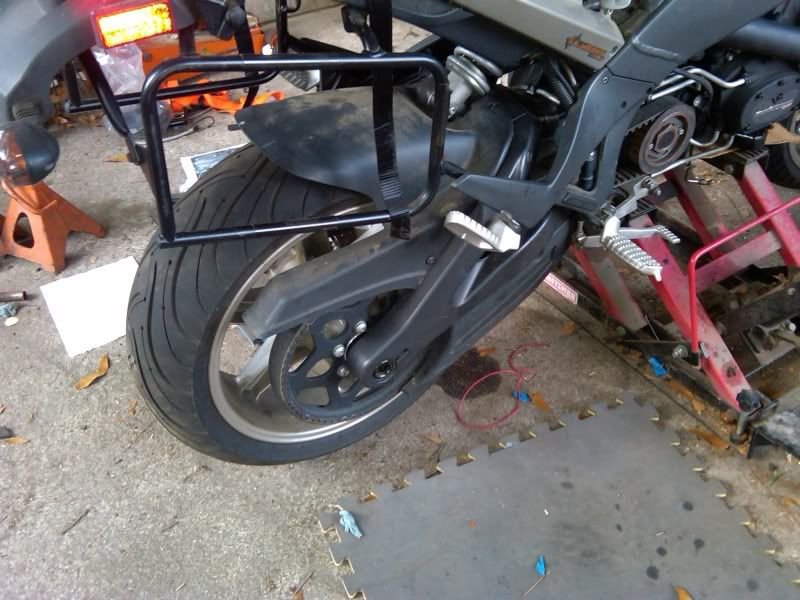 For the first time in over 2 months, the Uly is back on its own two wheels! 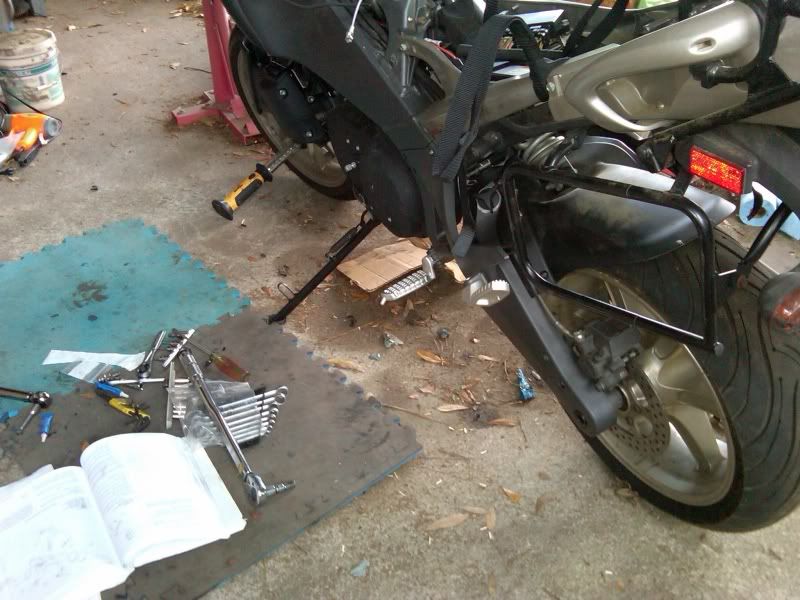 Velocity stack, airbox base plate, air filter, and airbox cover installed: 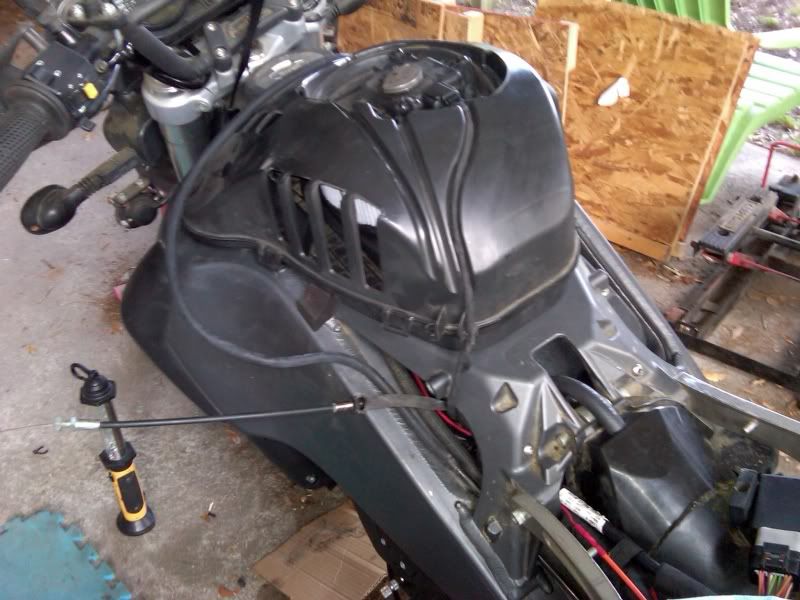 At this point I noticed my muffler valve actuator cable is looking rough; the muffler end is frayed. I lubed the heck out of it while I could; keeping fingers crossed it'll last a while longer. Looks practically ready to roll, right? Remaining steps: -install rear muffler support -install front muffler support -connect cable to muffler -install muffler -drain primary -replace clutch cable -fill primary -install air box outer cover -install right scoop -install left scoop -install shifter -install transmission sprocket cover -replace oil filter -add oil -install muffler fairing -install front cowl -install battery -install seat -fire up! Can it be done in 3 hours tonight? Stay tuned...  | ||
Reepicheep |
Very cool! | ||
Crackhead |
What are your plans for the old motor parts? I would be interested in the front head. For a lovely Blast motor build up. If i could convince the wife the EFI system would make for a neat conversion to the Blast. | ||
Hughlysses |
James- I'm planning on selling any left-overs that I don't need for spares, so all the usable major engine components are for sale. A fellow Badwebber that lives near me has expressed interest in the heads, so he has first dibs on those. I'll post a link here when I get around to posting the parts I'm selling in the classifieds. | ||
Trevd |
I think your old engine should be turned into a coffee table: http://www.youtube.com/watch?v=TsrPdHreSRI With a separate, well-documented thread of the construction of course! | ||
Hughlysses |
OK- still not finished. Muffler cable broke just prior to installation. That wasn't gonna stop me at this point, so I wired valve open and proceeded with assembly. Dropped one of the airbox cover screws somewhere behind the rear cylinder head; I suspect it fell in the fan opening. I could get my finger on the fan and turn it, so at least it's not wedged in there. Couldn't see it from any angle; guess I'll have to try to fish a magnet in there and see if I can catch it. Kept working, I got as far as having the clutch cable installed and filling the primary in my list above. I was just beat tonight after 4 days of this straight, but I had to hear the bastard run. Ate supper, changed the filter, dumped in oil, and put in the battery. Turned key, squinting eyes, bracing for massive arcing, flames, etc. Dash lights come on properly, fuel pump runs. Hit starter; turns over but doesn't fire in the first ~10 seconds. Release and wait a sec, hit it again and it fires right off. SUCCESS!!! Engine settles down to nice idle, no oil spewing from anywhere or leaking from underneath. All lights work properly, horn works, kill switch works. Fire it up again- MAN is this engine quiet. Either my old engine had been self-destructing for a long time, conventional oil really DOES make them run quieter, or this engine is just way tighter than the old 07 engine. It really sounds like a sewing machine compared to the old engine. Exhaust sounds odd at idle with the valve wired open; I'll be interested to hear what it sounds like at speed. Inspired by that, I went ahead and installed the shifter (guess how many wrong ways you can assemble that before you go get the damn book and look?). Too tired to ride tonight, guess I'll come home tomorrow, finish my list, and take it out for a test ride. I may get pics up tonight but it'll probably be tomorrow. The worst is over! Remaining to be done: -install right scoop -install left scoop -install transmission sprocket cover -install muffler fairing -install front cowl -install seat (Message edited by Hughlysses on May 10, 2011) | ||
Swampy |
Congratulations! | ||
Trevd |
Woooo Hoooo!!!   Great news!!! You're gonna have to get some video of that sumabitch running! | ||
Eryngium |
You - da - man! | ||
Eryngium |
Or should I have said "Hugh - da - man!"? | ||
Nipsey |
Amazing. Stunning effort! | ||
Cpeg |
Congratulations, always a great feeling when a long hard project fires up and makes music. | ||
Gunut75 |
Totally awesome! Congrats on being in sight of the end of a long road. | ||
Blasterd |
Today's the day Hugh, make us proud! | ||
Reepicheep |
 | ||
Etennuly |
 Job well.....nearly..... done! Job well.....nearly..... done! I have been telling people that the dino oil makes them run quieter than synthetic, but ya have to try it to hear the difference.  | ||
Leoallafila |
Awesome | ||
Portero72 |
You're gonna love your 09. I do mine. Congratulations! | ||
Hughlysses |
Pics from yesterday PM: Things like this inevitably crop up now. Oil line has to go through the rear muffler support  . Remove support clamp, disconnect line, slide muffler support over it, reconnect oil line, reinstall support clamp. . Remove support clamp, disconnect line, slide muffler support over it, reconnect oil line, reinstall support clamp. 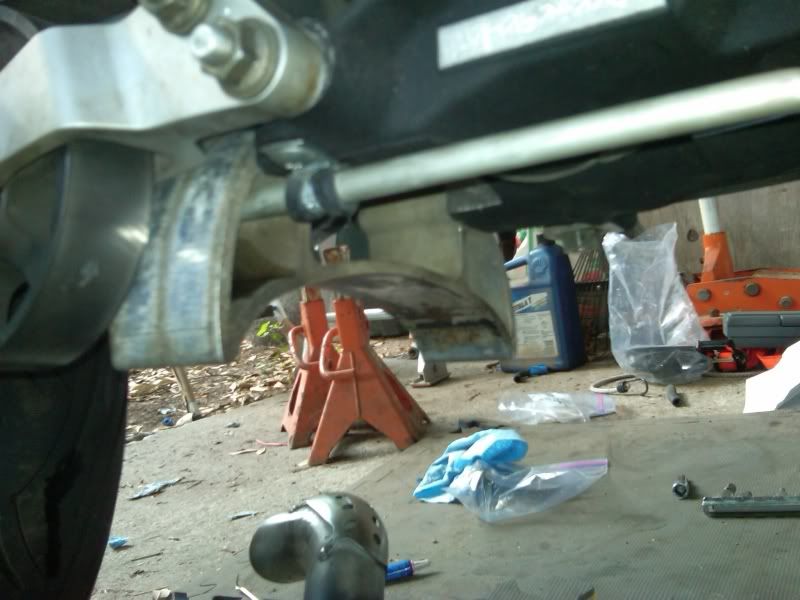 I think I already mentioned how many fewer wires are behind the sprocket cover; you can see it here. I'm a little unsure of the routing of some things in this photo (tranny vent hose for instance). I may wind up re-doing some of this eventually. 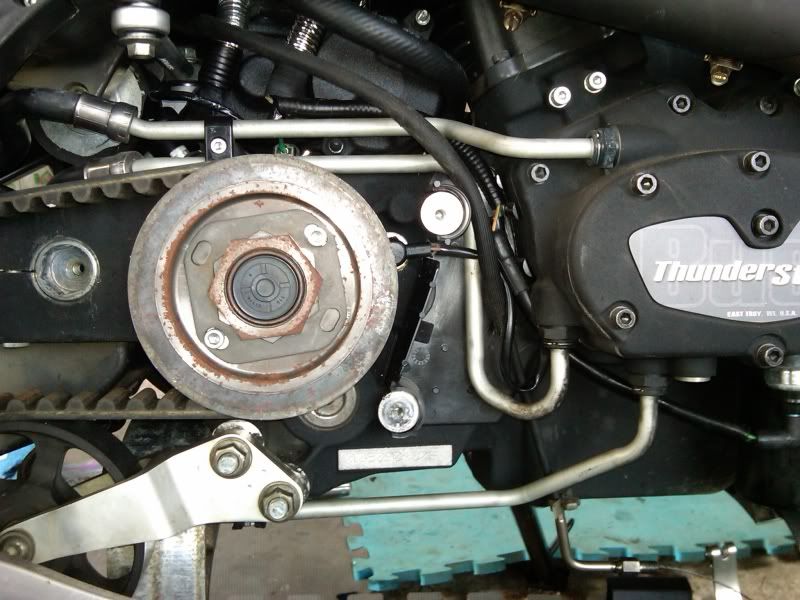 I thought my muffler valve cable was going to be OK; it was slightly frayed at the muffler end. When I gave it a couple of test tugs, I could barely get it to budge and I noticed more strands had broken. Since it was down to ~2 strands holding, I cut it apart and pulled it out of the sheath: 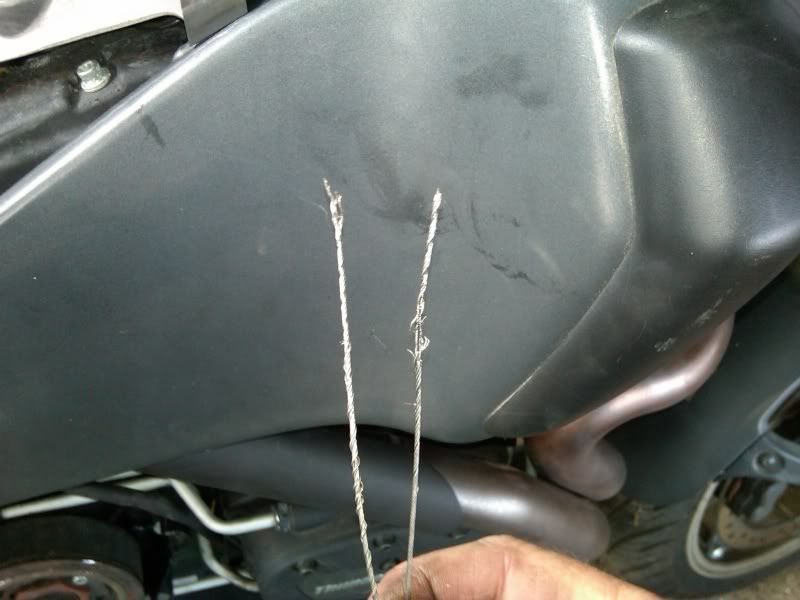 Here's the problem- the cable had unraveled all the way up and was hanging up in the sheath: 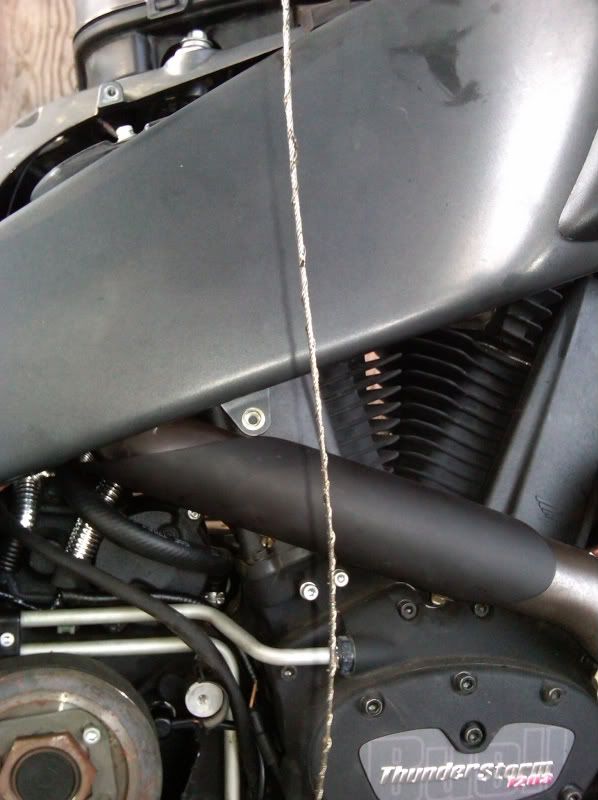 Amsoil in the tranny: 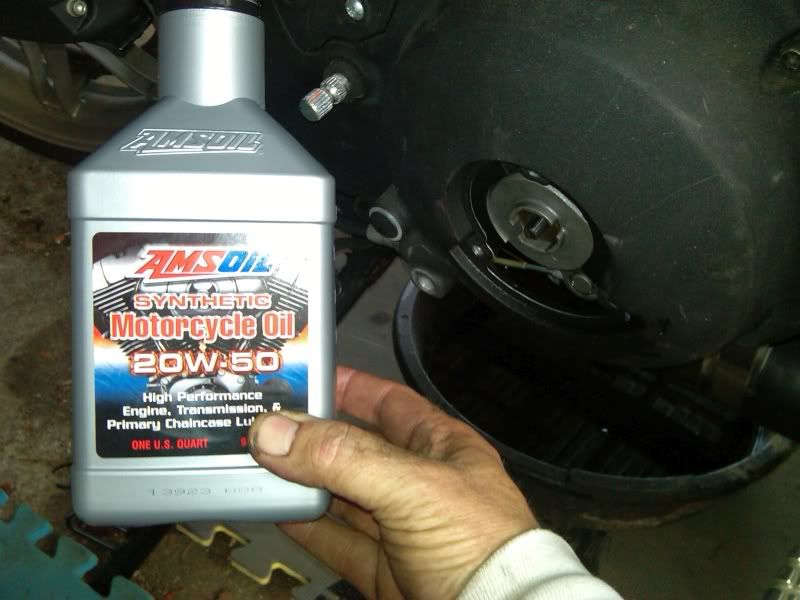 Havoline 20W-50 in the engine (I've seen some very good reports on this stuff for HD V-twins at "Bobistheoilguy.com"): 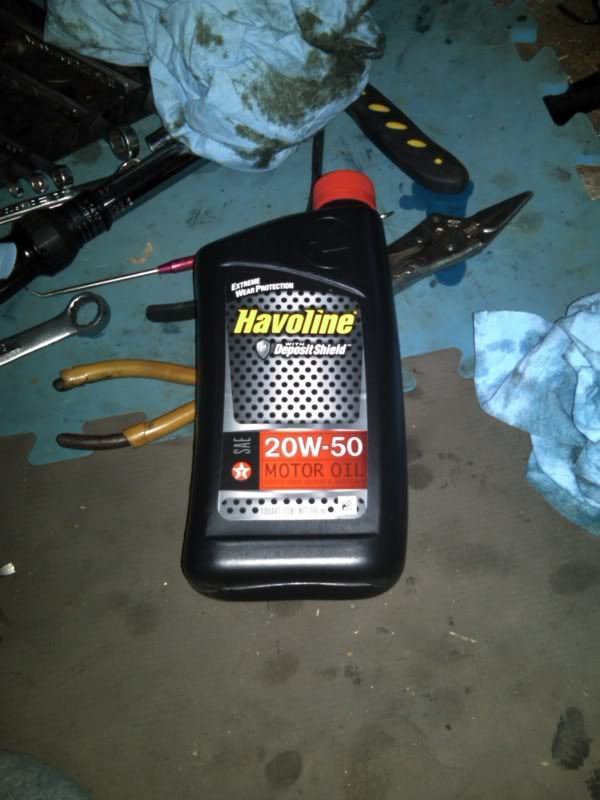 I took a short video; I'll see if I can get that posted shortly. | ||
Whisperstealth |
Hugh, This has been a incredible journey for you, and for us! It's really great to see what you have a accomplished. Thanks so much for share with us. - When Court and David come out with a new book, I sure hope your story of determination gets mentioned! | ||
Debueller |
Well done, sir. | ||
Kenm123t |
Great Job Hugh! | ||
Cpeg |
inside my 08 cover  | ||
Hughlysses |
Running & ready to go! 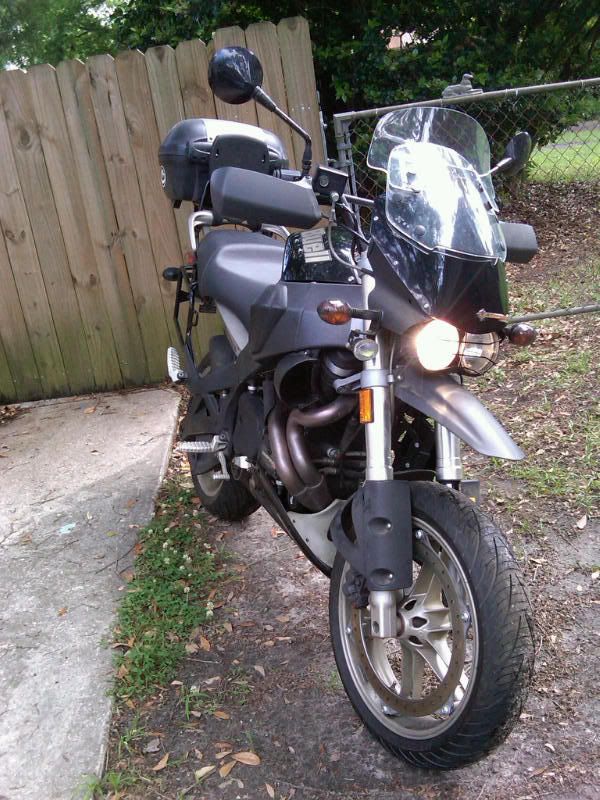 At local ADVrider dinner now- running well with no issues so far. | ||
Mnviking |
What kind of tire is on that front wheel? Love the look of the tread pattern. |