| Author | Message | ||
Bluzm2 |
Nate, did you see that sludge that Hugh pulled out of there? When it gets that bad all the sloshing you want won't remove all the sludge. You need something in solvent to help knock the sludge off the aluminum. Have you ever pulled a primary and seen that stuff? That's just clutch and gear particles. You have to physically wipe it out. Keep in mind this is engine oil, lots of other junk in there (plus the metal particles..). Flush all you want and there will still be residue. If there's concern about leaving one in there, count them. Actually a bit larger ball would be probably better... | ||
Hughlysses |
That's the concern about BB's- one BB could wreck the oil pump. It's conceivable a BB could get lodged in some crevice and work itself loose at the worst possible time later. That's not a bad idea about using a larger ball, like something out of a ball bearing. This whole dilemma illustrates the value in something I saw a few years back. IIRC, it was on Buellistic's tuber (an older S3); it had a filter on the scavenging pump return line to the oil tank. He said this was standard practice on XR750's- I can now see why. A return line filter wouldn't do anything to save an engine from grenading, but it would make returning a grenaded engine to service a whole lot easier because it keeps the oil tank and lines free of shrapnel. | ||
Etennuly |
I agree with the solvent cleaning. Lighter fluid and kerosene would just flow over stuck on particles where a pressurized can of brake cleaner sprayed through the holes with the little straw will actually clean things out. Do not let this stuff get on the powder coat, it tends to melt into the surface. I haven't tried it, but I would presume it would eventually wash the powder coating loose or make it soften or wrinkle. This brake cleaner has to be your best route for cleaning the tubing also, followed by pressurized air, then repeat. | ||
Hughlysses |
Fortunately, all I have to clean out is the swingarm. The engine came with all the oil lines and oil cooler. | ||
Hughlysses |
Alright- I haven't been able to make much progress lately. I was on the road last weekend and 3 days this week, so I said "WTF" and took the day off to get rolling on this thing. After several attempts, I'd pretty well established that the only hope I had of getting the swingarm oil tank clean was to remove it so I could slosh whatever I dumped in it around to dislodge the particles. First step in removing the swingarm- suspend the bike from the rafters: 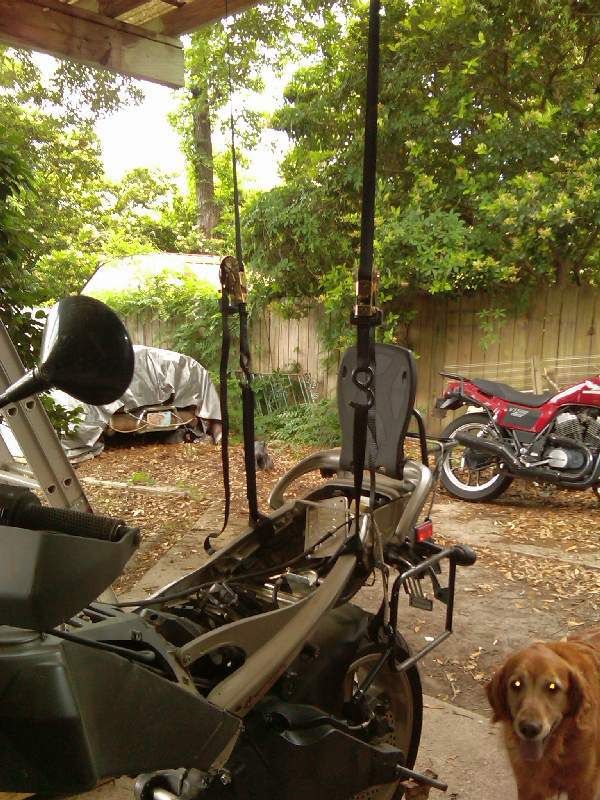 Hunley and Matti are providing assistance today: 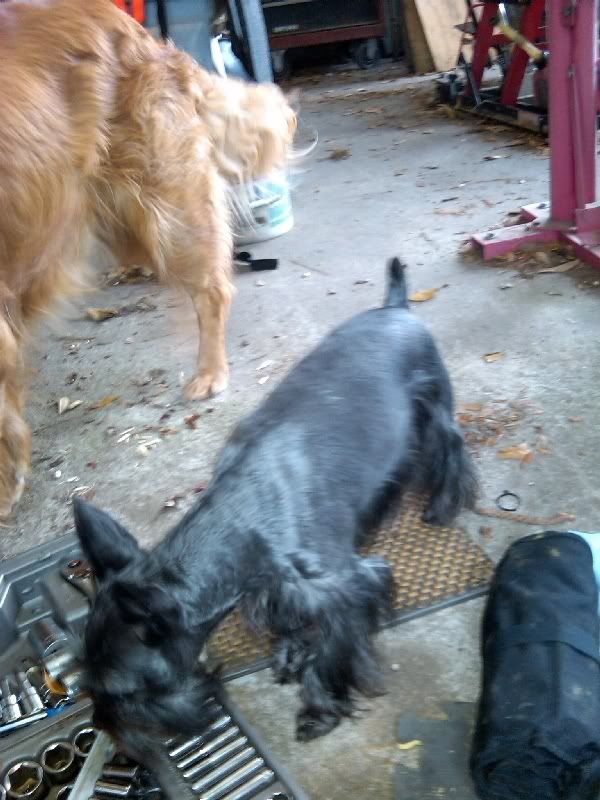 After further thought, I realize this thing's not gonna be stable unless I suspend it at the front too: 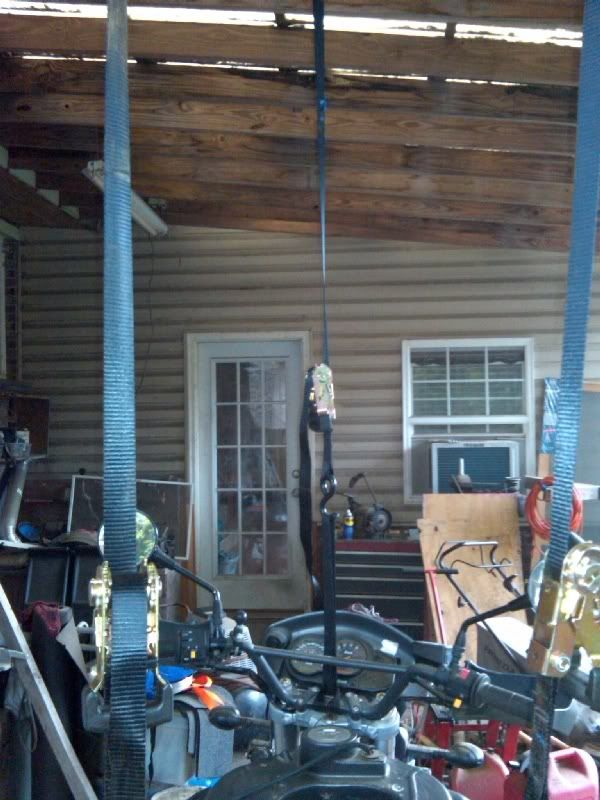 Swingarm removed: 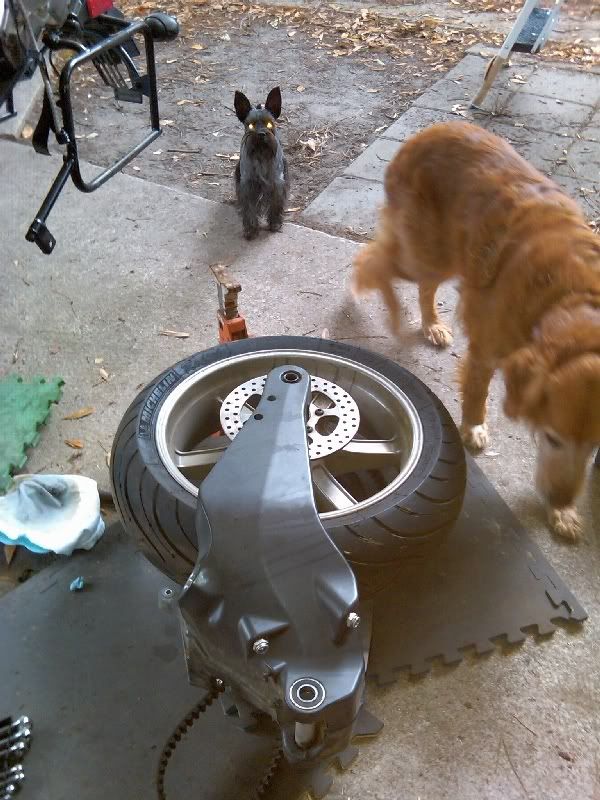 With the swingarm removed, I plugged the hose connections, shot about 1/2 can of brake cleaner inside, reinserted the dipstick, and sloshed it around vigorously for a couple of minutes. I turned it upside down, removed the drain plug, and found this: 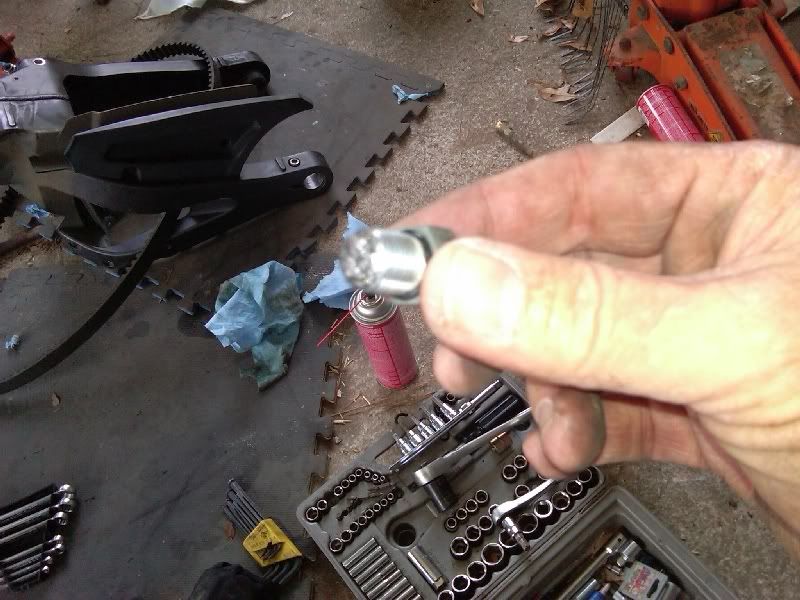 I wiped that off on a piece of blue shop towel: 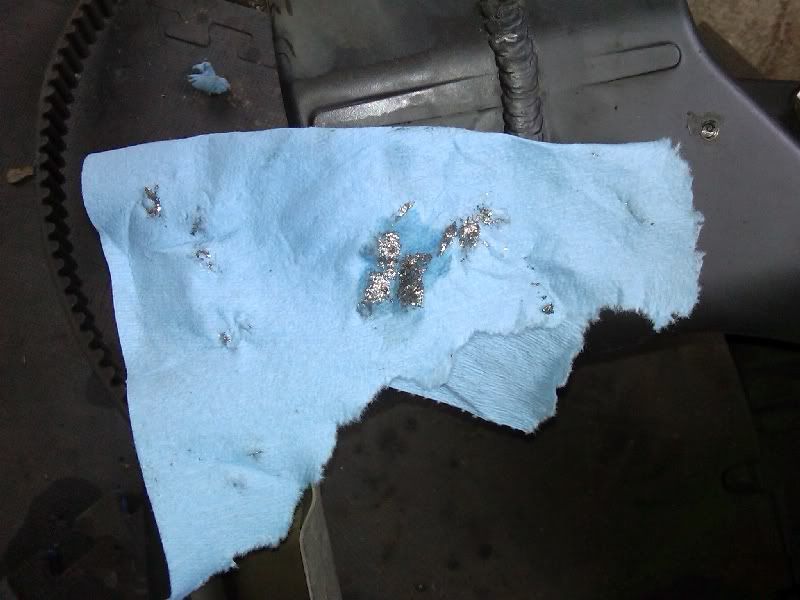 Wow- that's a lot of metal. I realized I didn't have to dump the fluid at this point, I could reinstall the plug, slosh it around some more, and clean the plug off again. 2nd try: 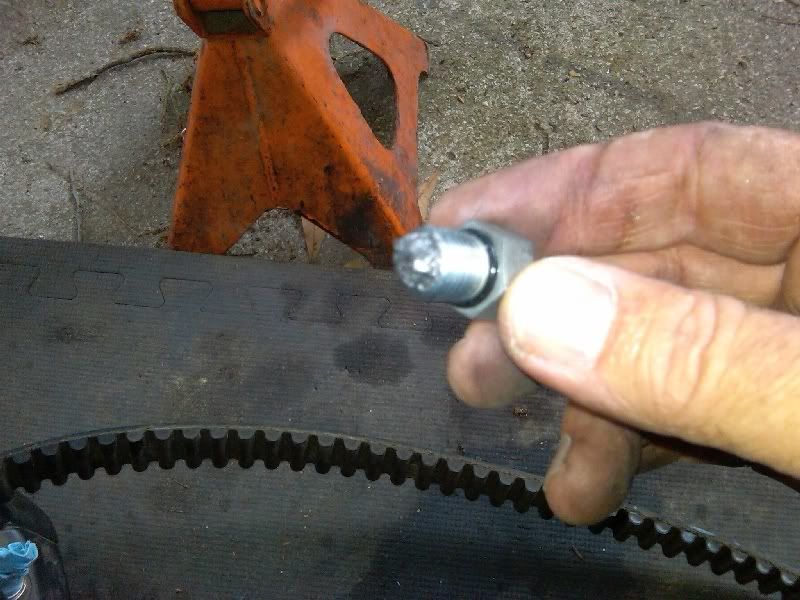 After some more sloshing, I dumped the fluid through a piece of white T-shirt: 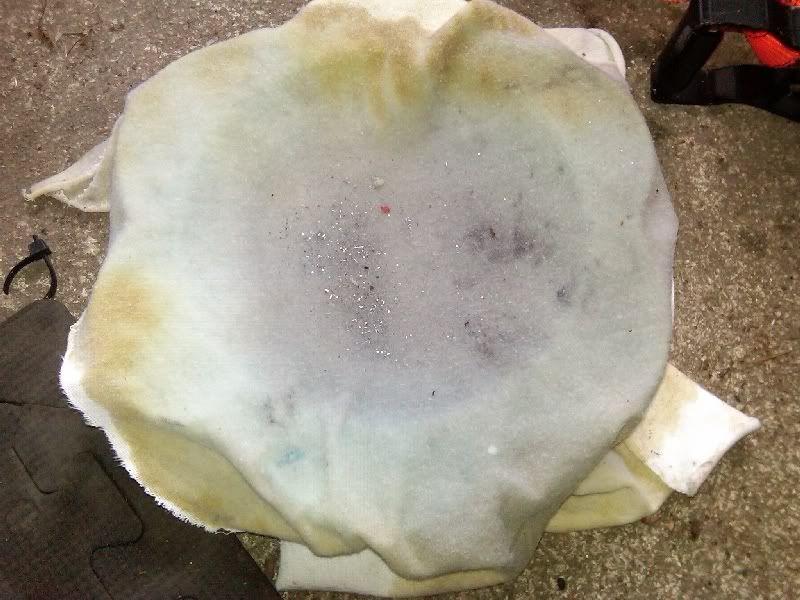 At this point I had to leave to get some more brake cleaner. Hunley's on guard: 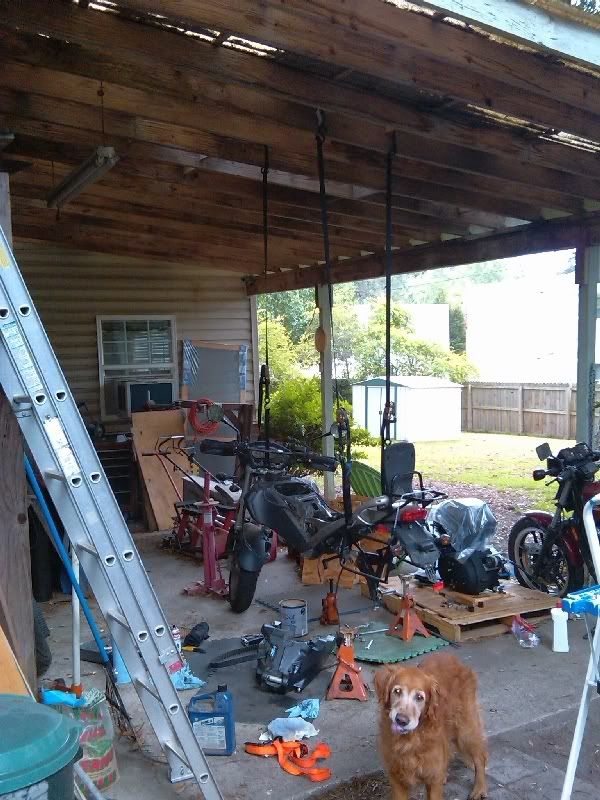 OK, after ~2 more cans of brake cleaner, here's what the flush cloth looked like: 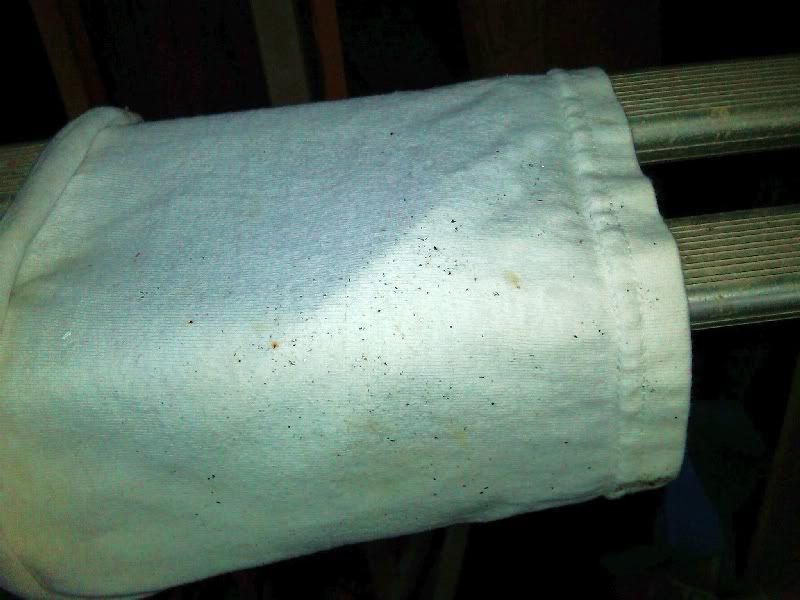 Not clean yet, but much better. I ran another entire can of brake cleaner through the arm, then switched back to lighter fluid, and finally dumped about a quart of oil in it and dumped that out. The plug was almost metal-free by the last dump. Oh, BTW- brake cleaner WILL take the paint off. One of my "plugs" leaked a little soaking the corner of the swingarm by the drain plug. It removed the paint down to the metal. The paint's kind of rough on my swingarm anyway (some of it due to whatever the dealer cleaned it with after my rocker cover gasket incident many miles ago). Guess I'll order a can of spray touchup for that when I get a chance. OK, the swingarm is about as clean as I'm gonna get it. I had a good bit of Thermotec insulation left over from a previous installation, so I decided to re-do it as well as I could: 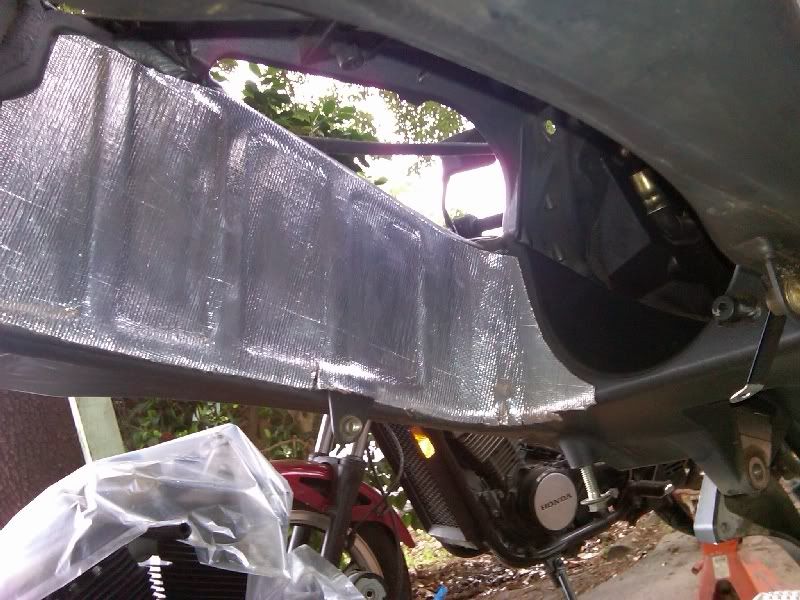 I would have put some more here, but the adhesive backing peeled off the insulation instead of the paper: 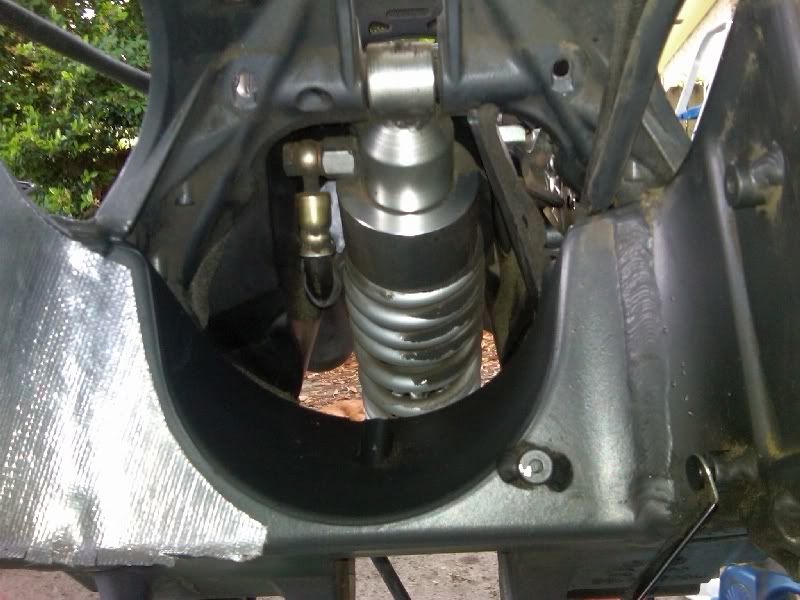 I also moved the new engine from the pallet to my motorcycle jack and got it positioned for installation. NOW all I need is a wiring harness... Amazingly, the Fedex dude shows up at 4:45!  Woohoo! Gentlemen, the end is in sight. I'm hoping this thing will be back on the road before the weekend is over. I'm in for a LONG day tomorrow! | ||
Leoallafila |
Nice work! YOu'll be back on the road soon  | ||
Etennuly |
  You can do it! You can do it! | ||
Blasterd |
Go for it Hugh! | ||
Mnrider |
It's a good thing you took the extra time to clean out the swing arm. You may want to change the oil and filter on the new motor after a ride or two. | ||
Mnviking |
Wow, that was a ton of metal inside your swing arm. I amazed at how much continued to come out after the initial rinse. +1 on a relatively soon filter and oil change. Couldn't hurt anything. | ||
Hughlysses |
Taking a break from wiring harness install. The harness is in, working on attaching it and getting the wires routed to the right places. I had to go to the dealer to buy special wire ties with a "push mount" built on one end (I think they're all used inside the front cowl), and it took the parts guy ~15 minutes to find the right ones. They did NOT have any of the plastic "pine tree" push pins (used to attach the wiring harness "sheath" to the inside of the frame) in stock and their records showed they'd never had any (?). I dropped by the local Autozone and found some "Help!" plastic fasteners that looked identical, so I should be good to go. On the metal filings in the swingarm, yea, it's a pretty amazing amount. Besides the shavings, I got some little black flecks like carbon or maybe rubber? Hopefully it's pretty damn clean now. I bought 3 quarts of conventional 20W-50 and I have a spare filter so I'll run that for the first ~100 miles or so before I change to the Amsoil. Come to think of it, given all those shavings it's amazing that engine developed ~150 PSI compression on both cylinders before I tore it down. Both cylinders were badly scored. | ||
Teeps |
Hughlysses Posted on Saturday, May 07, 2011 - Come to think of it, given all those shavings it's amazing that engine developed ~150 PSI compression on both cylinders before I tore it down. Both cylinders were badly scored. Actually not so amazing that a compression test was so good with scored cylinders. In a tune up class, I witnessed a small block Ford pass a compression test with a 1/8" hole drilled through the top of the piston. However, the same cylinder failed a leak down test. | ||
Motorbike |
Hughlysses, you probably got that swingarm cleaner now than it was the day it left the factory! At least now you will not have to wonder if any particles are in there to destroy your new engine. Good job! | ||
Sirvait |
 Hell yeah, what a fine example of not being beat. Hell yeah, what a fine example of not being beat. Good luck man hope your weekend is productive. | ||
Electraglider_1997 |
Hugh, Once you get that bike up and running like a scalded pooch you need to ask Erik for a job since you'll know his bike probably better than he ever did. Certainly your ULY should be better than the one sold to you. Timesert that oil plug hole. | ||
Electraglider_1997 |
Maybe you should take that swingarm to a carwash stall and powerblast hot soapy water through all available holes. Then dump in alcohol to absorb up the water and lastly gas or diesel as the piece de resistance. | ||
Tootal |
Well done Hugh! Once you do a restoration on a bike it really becomes part of you. Especially if you did it right! Something tells me you won't be parting with it anytime soon! Don't rush it though, you haven't so far so keep up the good work! | ||
Hughlysses |
The concept that the first 90% of the job takes 90% of the time and the last 10% of the job takes 90% of the time was again proven this weekend... Wiring harness ready to install: 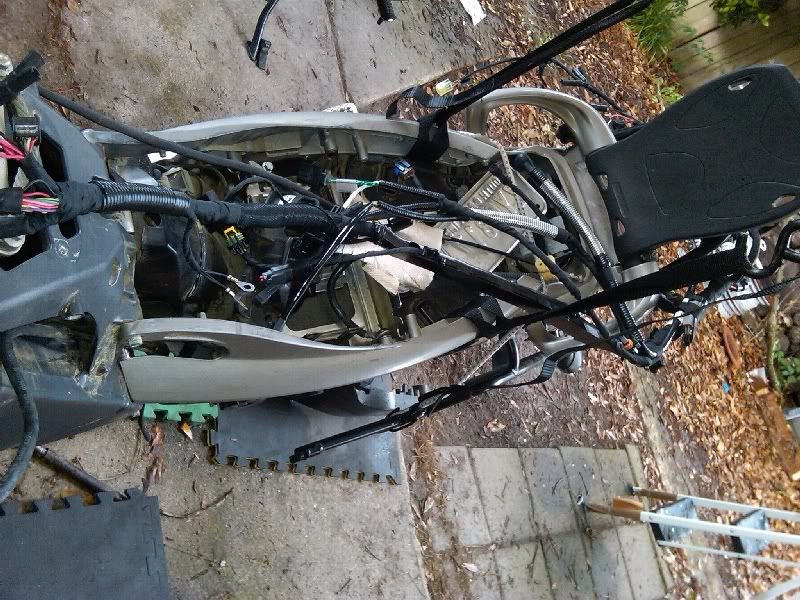 Harness partially installed: 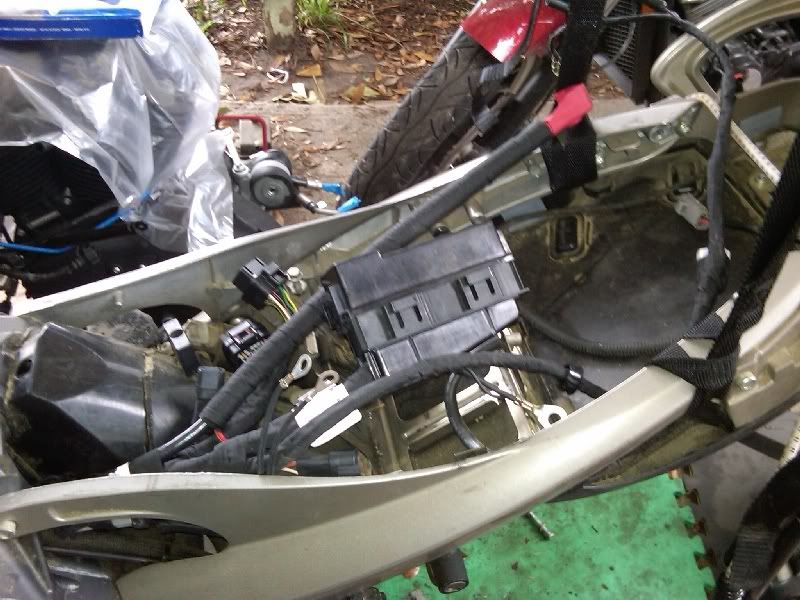 I had to take about an hour at this point to change the fuel pump connector from the 07 harness to the 09 harness. The 09 has a heftier connector, but I haven't had any problems with the 07 connector so hopefully it'll be OK. Leads to the engine: 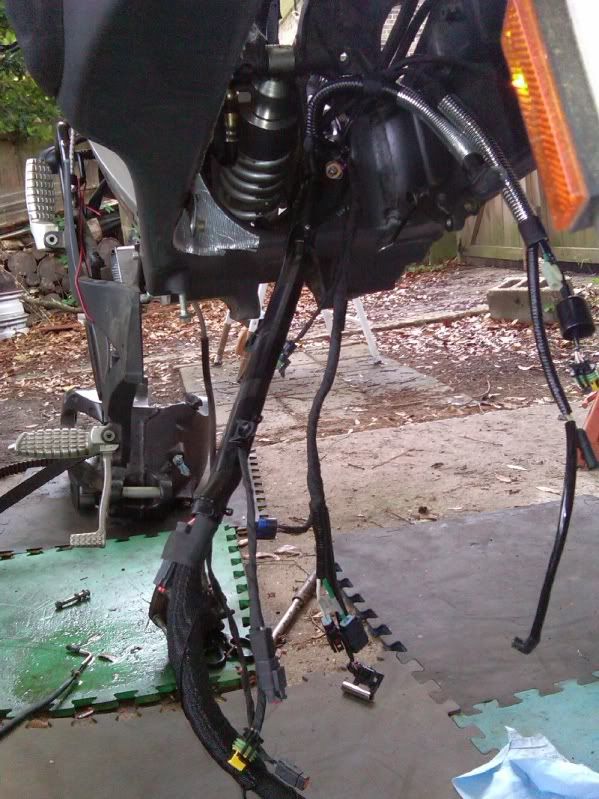 Got my spare (new) fan out to install. Note the new one (on the left) says "Rev D" after the Buell P/N, so apparently the fans were updated over the last few years: 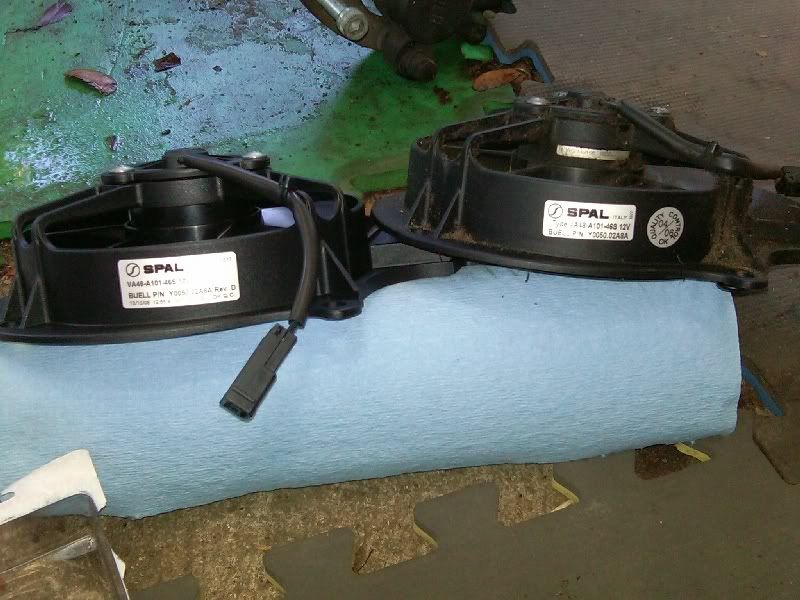 Installed some new 09 throttle cables too; note the 90 degree bends on the engine end not present on the 06/07 throttle cables: 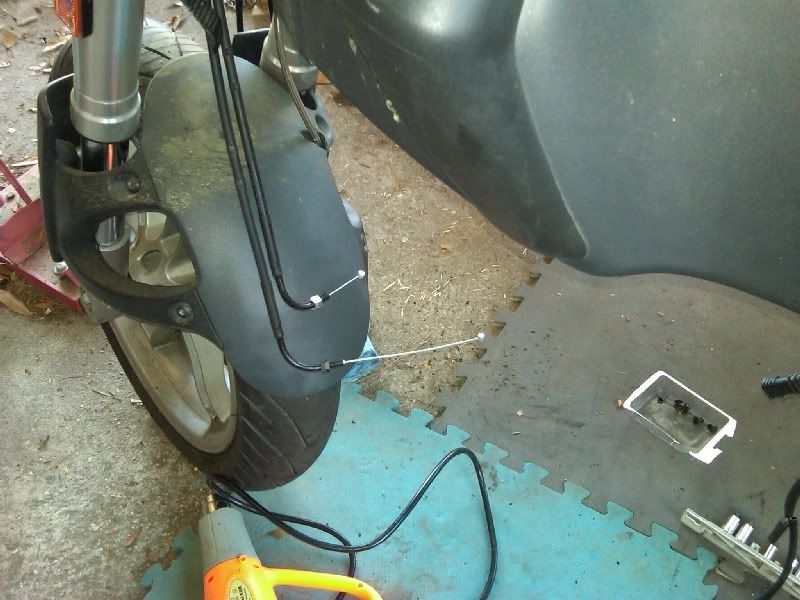 Installed the ECM, latched down the fuse box, rear install complete: 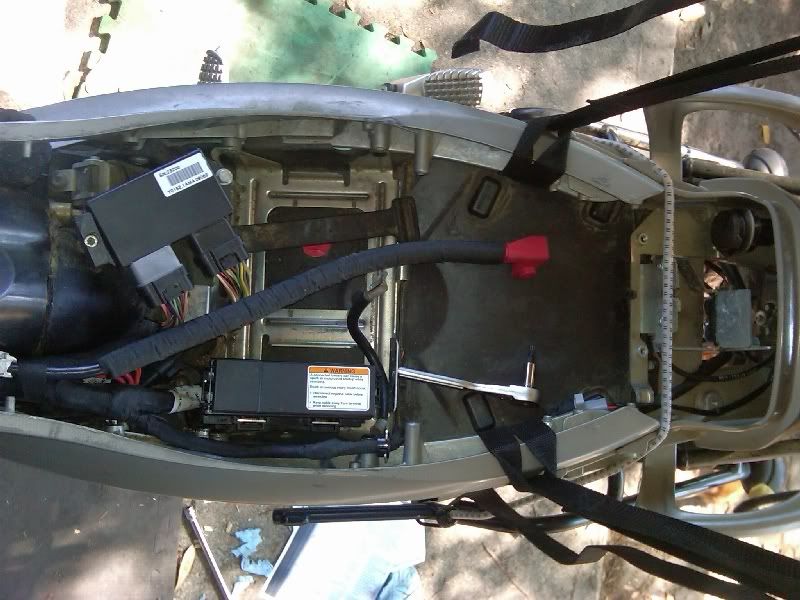 Under tail connections made: 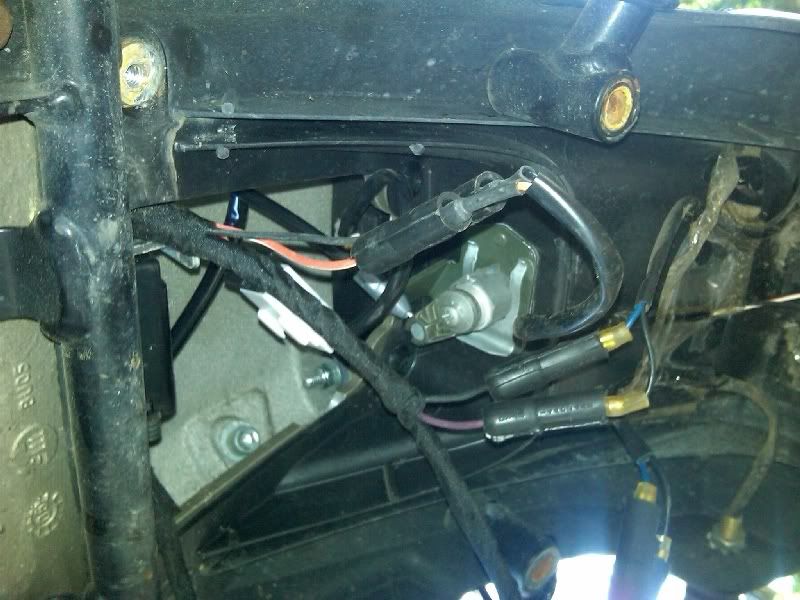 Front of harness ready to connect: 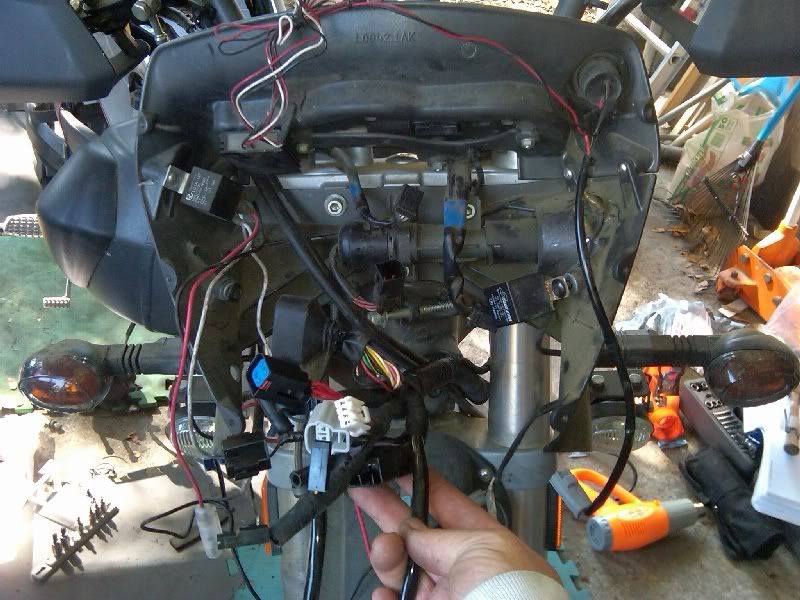 Added a switch for my auxiliary lights (I had them switched with the high beams previously): 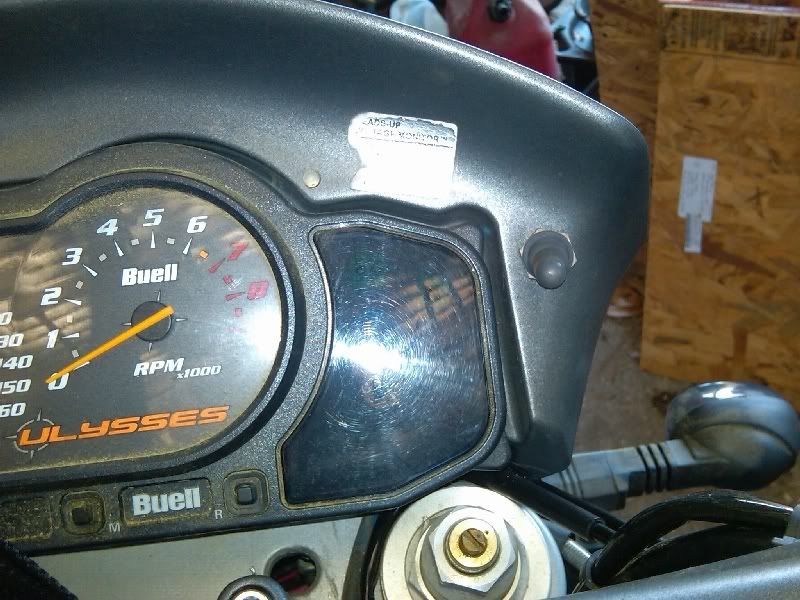 Front install finished (and a lot of previous sloppy wiring cleaned up). This is where a lot of my time went today. Lots of time required to trial-fit things: 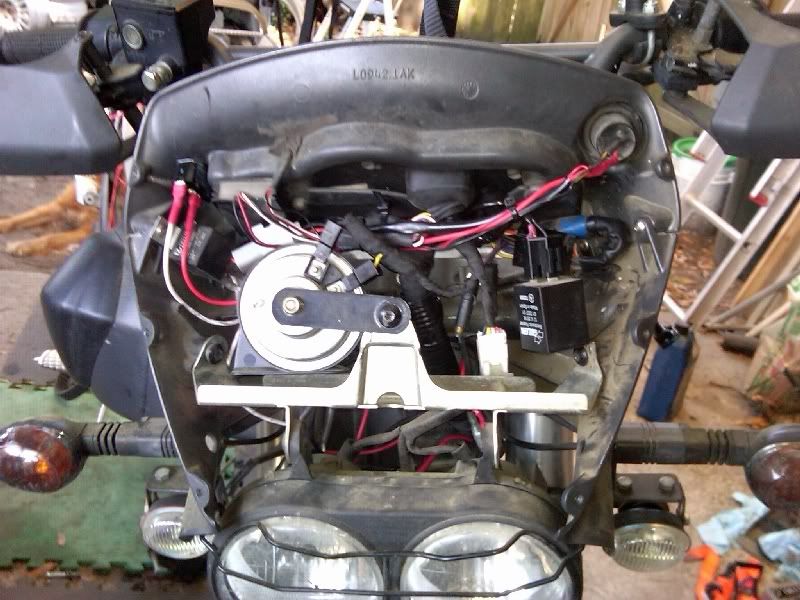 Installed the headers with new gaskets and stainless nuts from American Sport Bike: 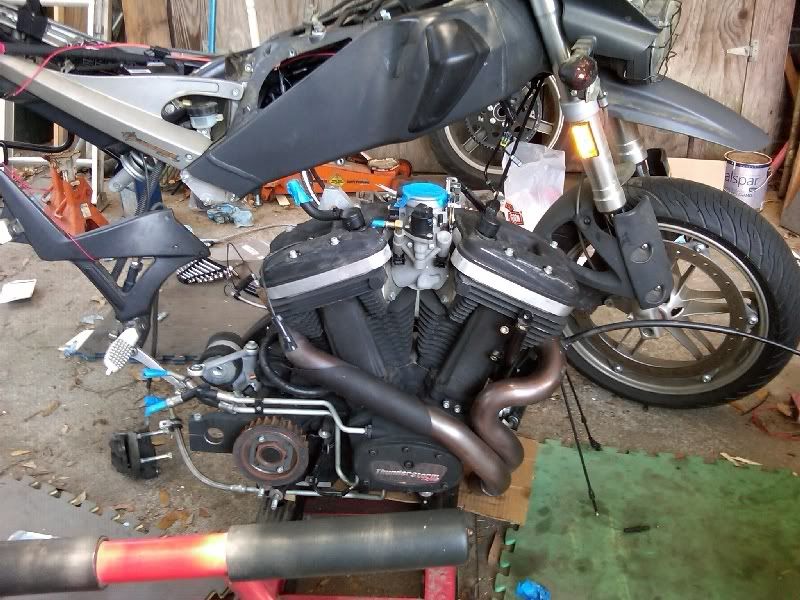 Engine ready to go in: 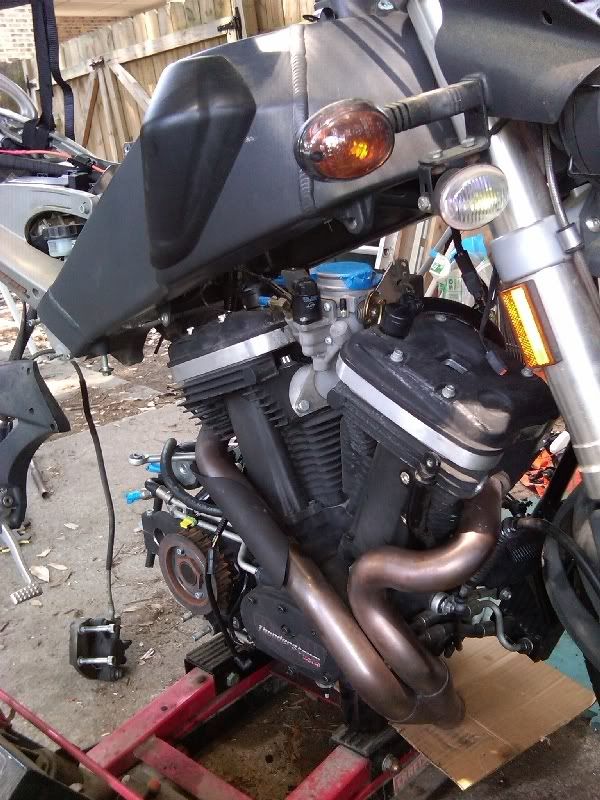 Engine in! 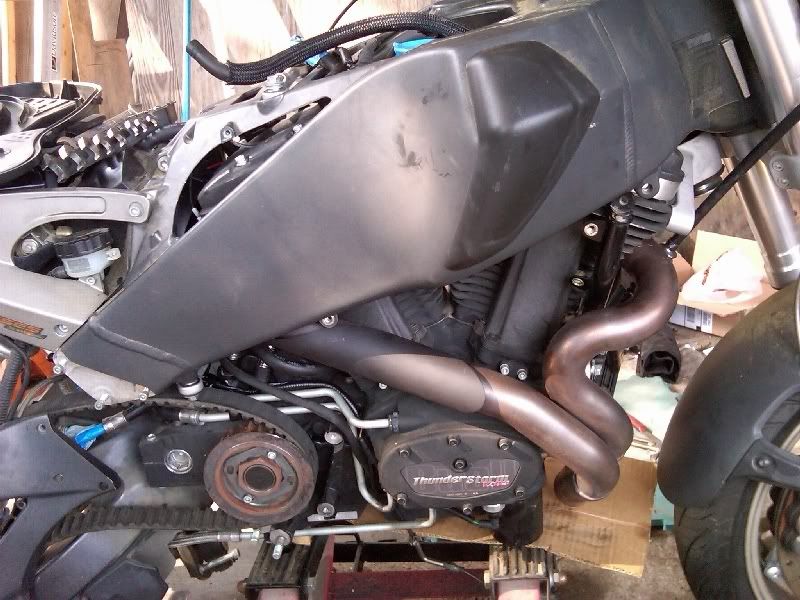 Other side: 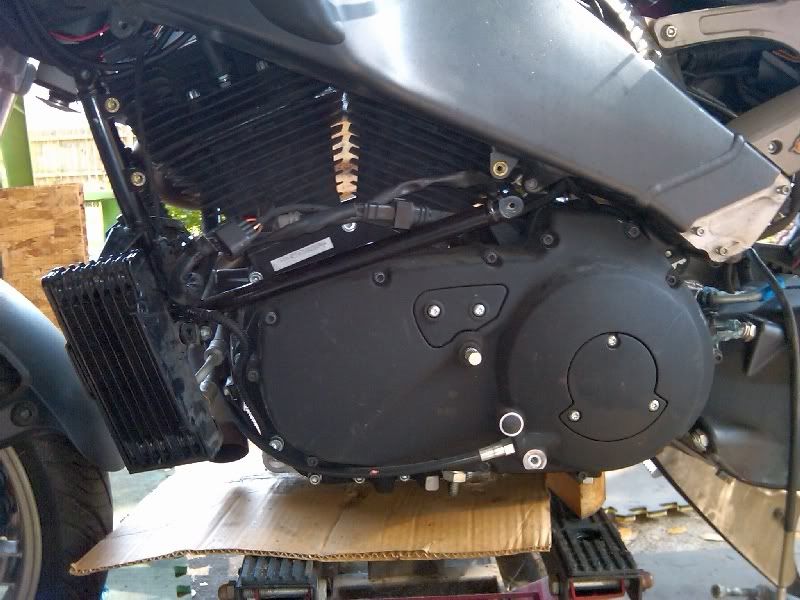 Everything connected topside, except for the air temp sensor, exhaust valve, and the PCV hoses. It took a LOT of time to trial route things (and sometimes re-route things) and then get the connectors in place. I need to transfer my re-route hoses from the old engine: 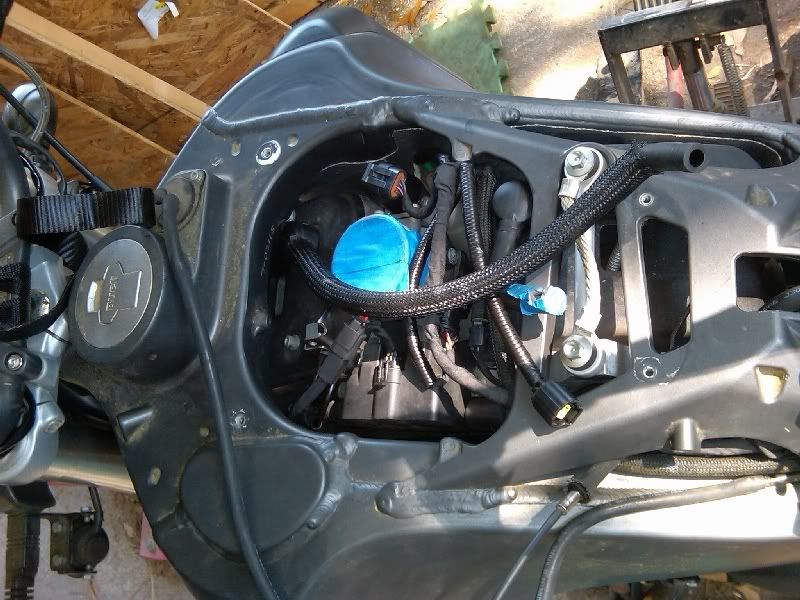 Swingarm and rear wheel reinstalled; oil lines connected: 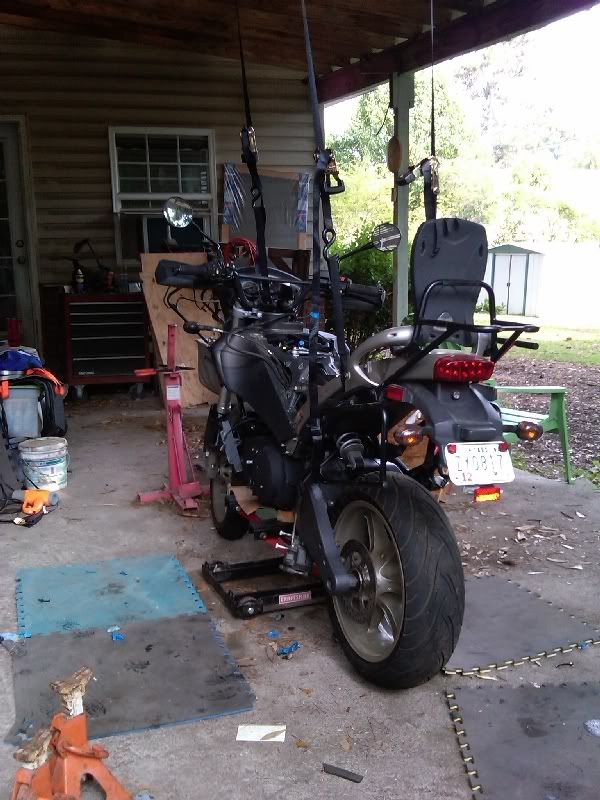 Well that's it for today. Progress was slower-than-expected due to a lot of trial-and-error with the wiring, and a ~2 hour diversion to re-do some wiring in the front cowl. I still have to torque the rear axle, reinstall the rear hugger, rear caliper, idler pulley, kickstand, sprocket cover, venturi stack, air box, Y-frame and front tie bar, front cowl, muffler, battery and the seat. Oh yea, I've got to drain the primary so I can swap to the Uly clutch cable, then refill that and the swingarm and HOPEFULLY I'll be good to go. I'd guess that'll take a couple of hours, but judging from my recent accuracy in estimating the time required, it'll probably be more like 6 hours. Almost there... (Message edited by Hughlysses on May 08, 2011) | ||
Trevd |
Have I told you how awesome I think you are??  | ||
H2opatrol |
What an excellently documented piece of work this has become. I have been on the edge of my seat reading this like a boyscout hearing his first campfire ghost story. You Sir, are a gentleman and a scholar. It's great to see someone with so much motivation. Best of luck coming down the home stretch! | ||
Electraglider_1997 |
Getting close! | ||
Blasterd |
Happy for you Hugh, you'll be on it in no time! | ||
Kenm123t |
Hugh now runs the Badweb Uly hospital! | ||
Buelet |
Been silently following the story thus far. Looking good so far! One observation from my personal experience I noticed on your flyscreen wiring. I'd recommend re-orienting that relay that's hanging "upside down" to right side up. I had a relay like this on my wife's Jeep & after if came back from service one time, they had unscrewed it from where I had it mounted and it was hanging upside down from the wires like yours is in the picture above. I didn't notice until some time had passed & her off-road lights didn't work anymore. The relay had filled up with water & corroded. Fingers crossed for the pending moment of truth!! Best wishes! | ||
Motorbike |
Also, I would recommend putting a little dielectric grease on all electrical connectors before plugging them together. It will definitely help prevent corrosion. I have done this on every electrical connector I have had apart on any vehicle and never have connection problems. | ||
Blake |
Hugh needs to sell some shirts to all his fans here. I approve. This thread is golden. | ||
7873jake |
I'd buy one of those t-shirts! | ||
Itileman |
Impressive, to say the least. | ||
Motorfish |
This thread is one for the Bad Web Hall of Fame, if there was one. | ||
Kenm123t |
Hugh had help from the pups. He was supervised Dogs need to be on the shirts |