| Author | Message | ||
Mikef5000 |
I didn't love my foglights, they were a $30 experiment, that failed. Mostly because of my mounting method. The EG mod made them a bit to bulky to be held at a goofy angle. No more Optilux by EG: 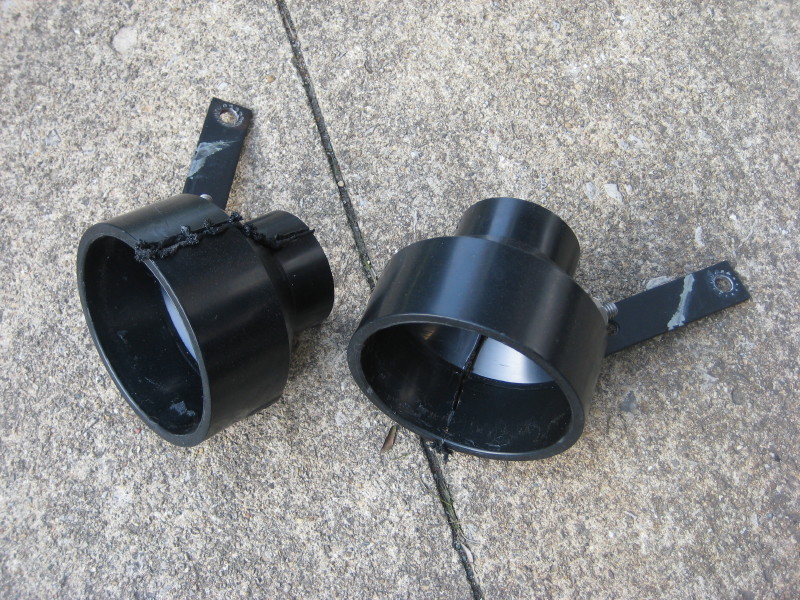 I found the same lights with a clear reflector and flat black casing (rather than blue and gloss black like the old ones) so I picked them up for $20. Found a piece of slat angle in the garage: 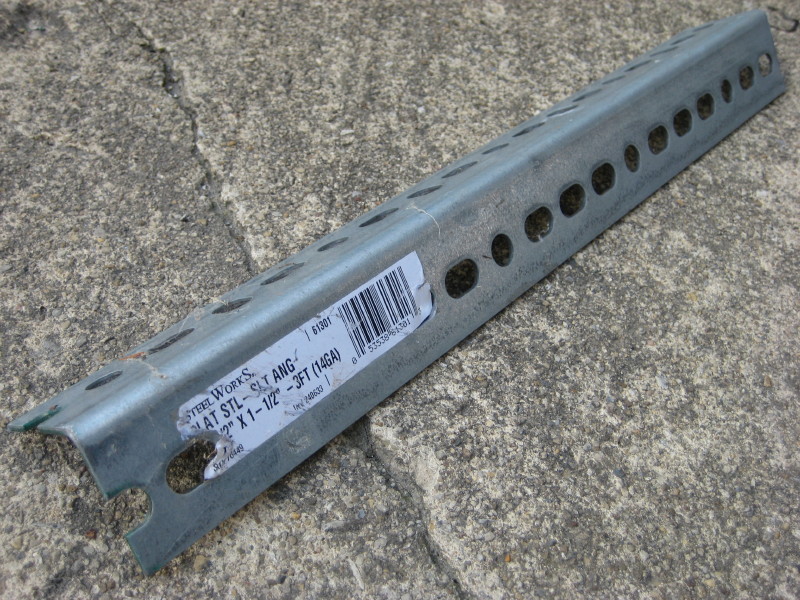 And wouldn't you know it, ALL bolt holes lined up. 2 on the bike, and 3 on each light. Hit it with some POR15 rust preventer followed by an ultra-flat black top coat, and BAM: 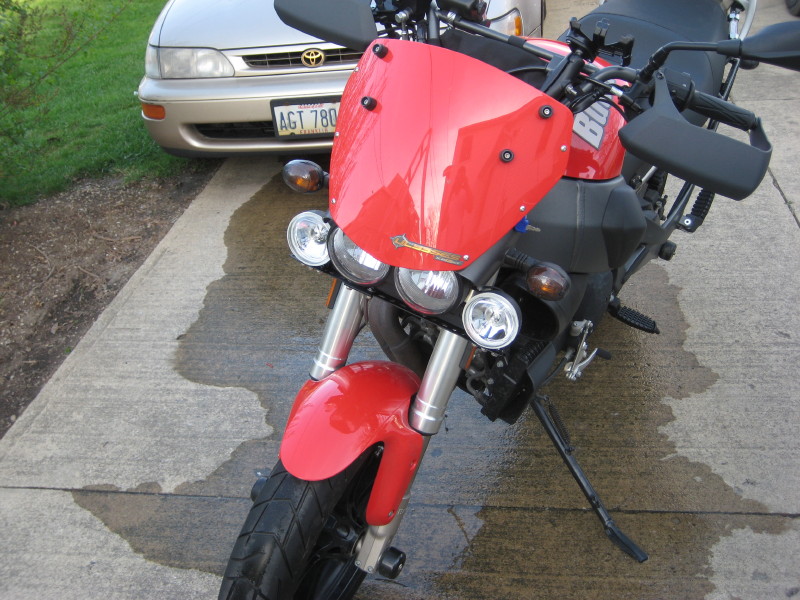 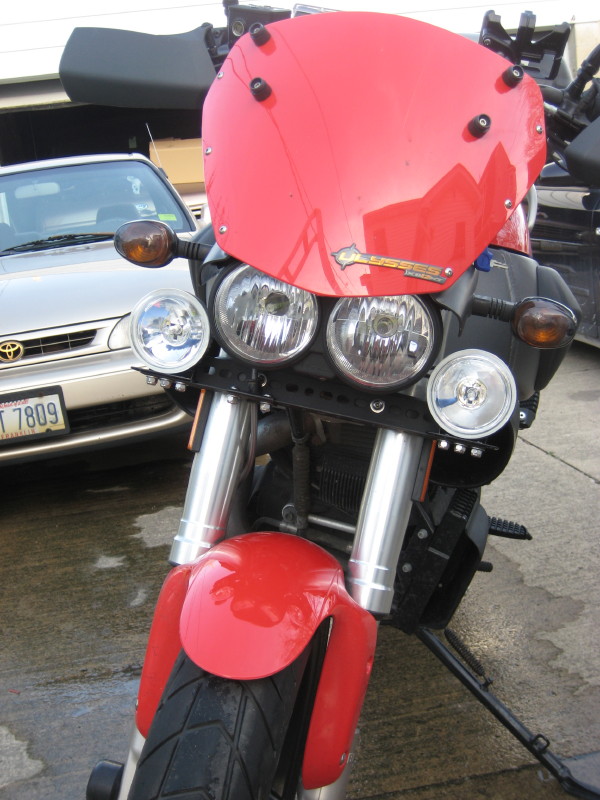 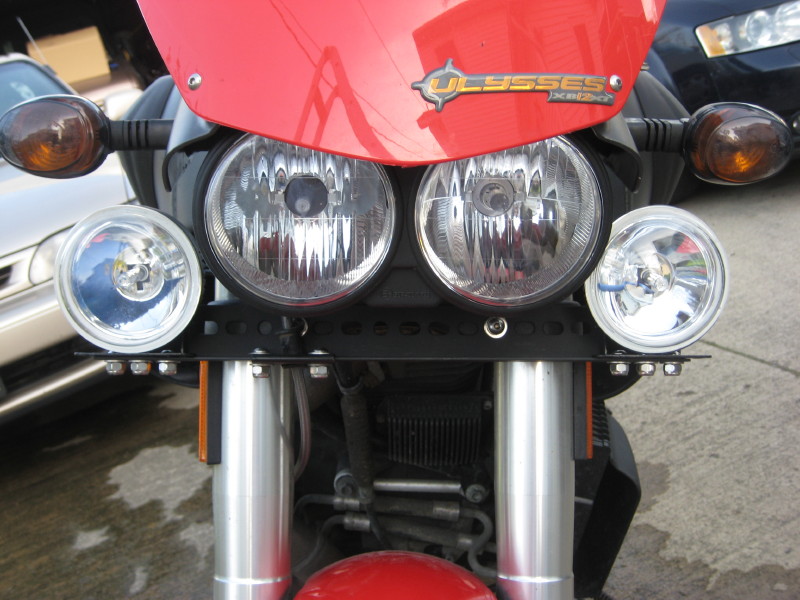 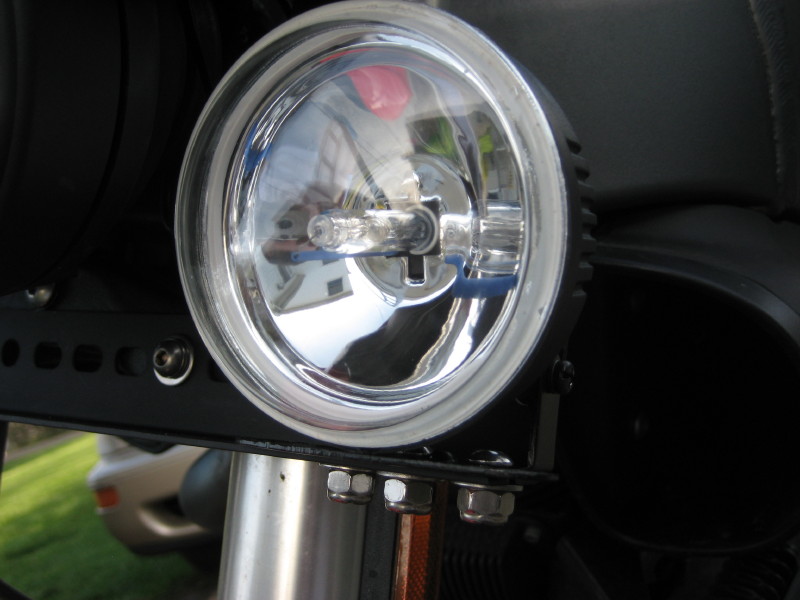 I cut out a slot for the brake line, and bent and painted another piece of angle to cap in front of it. 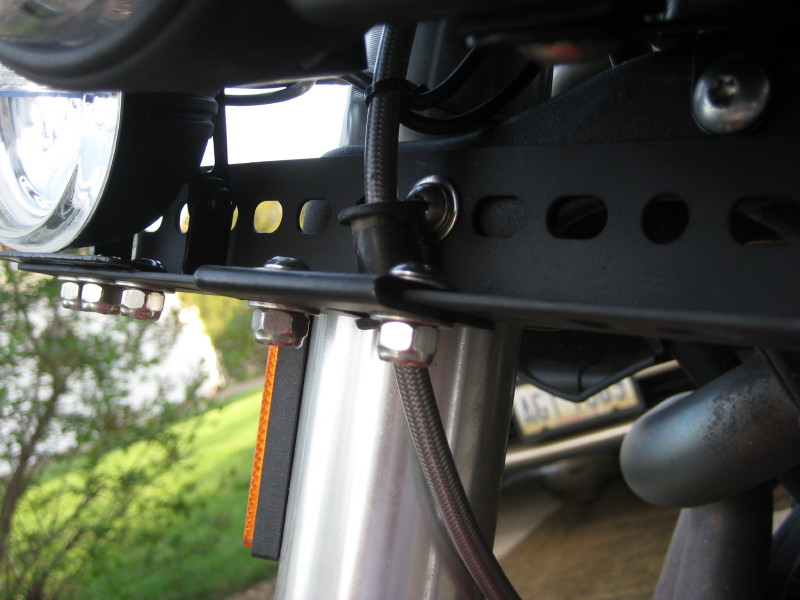  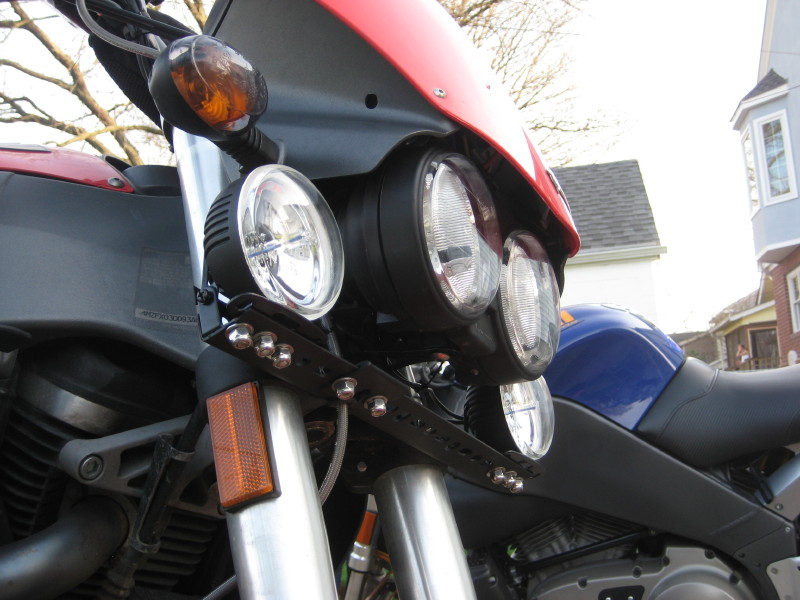 It is home made, and looks it. But for anyone looking for a way to mount fogs, this is absolutely super simple, and works. The setup is solid as a freakin rock. I did some measuring, There is 5" of possible travel in the front forks (although mine haven't been closer that an inch and half from the bottom) and the light bar is 6" above the fender, so there shouldn't be any clearance issues. I also fixed my wiring issue, so the fog lights actually work now. In my first daylight test, the pattern looks terrible. I'm crossing my fingers they will look better at night. The blue colored lights: 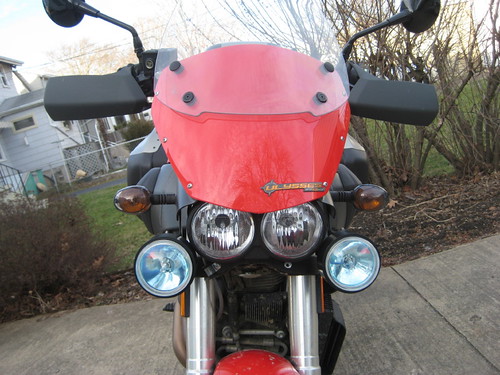 had a great beam. Worst comes to worst, I'll put the blue housings back in. The actual bolted on casing is the same between the two lights, so they are easily swappable. I just much prefer the clear to the blue. Also painted the Muffler. 2 coats of POR15 rust killer, and two coats of black BBQ paint. It's far from perfect, but I was definitely not striving for perfection. It's done, and done thick. If it rusts now there is simply no hope for it. 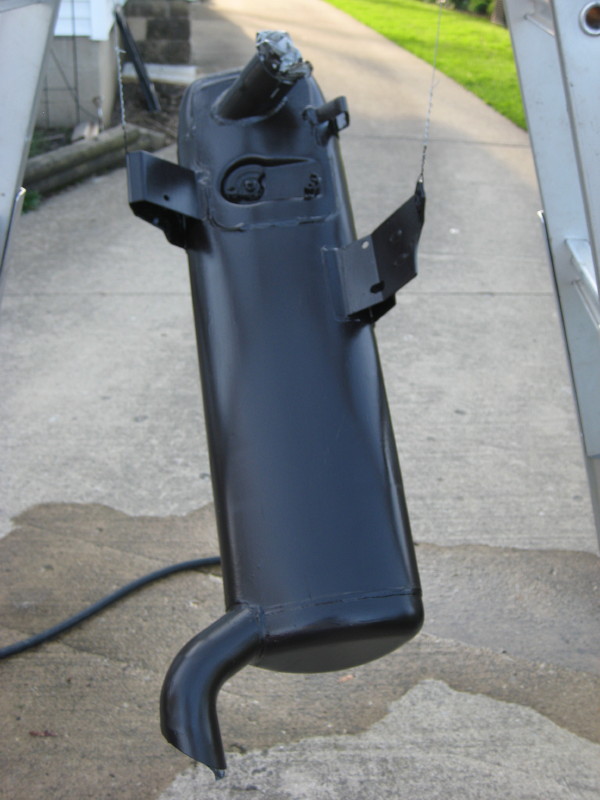 Also did the center part of the chin piece: 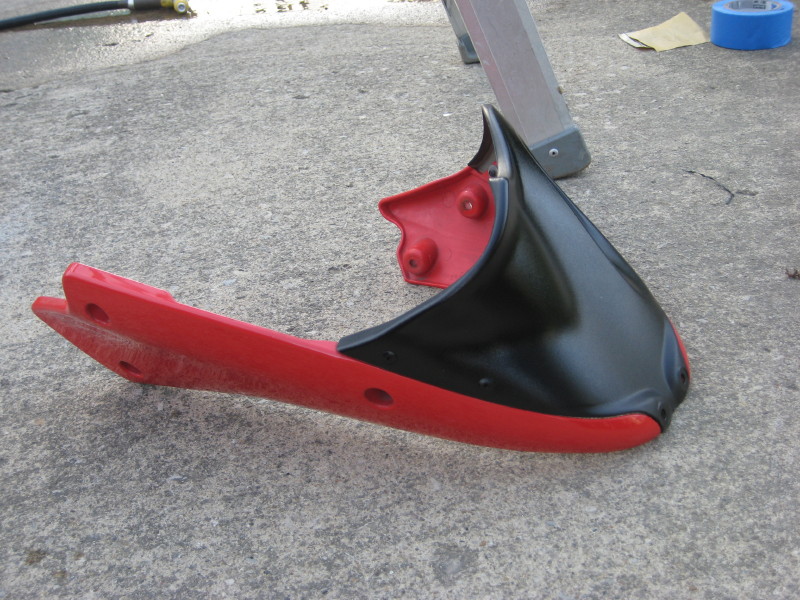 Krylon fusion flat black (which isn't very flat) makes this job hard to screw up. This stuff is great! Spray it down with the hose, wipe with a rag, spray down again, dry, and hit it with three thin coats of the fusion. The stuff dries in minutes, and looks perfect. I painted the Lightnings chin a couple weeks ago: 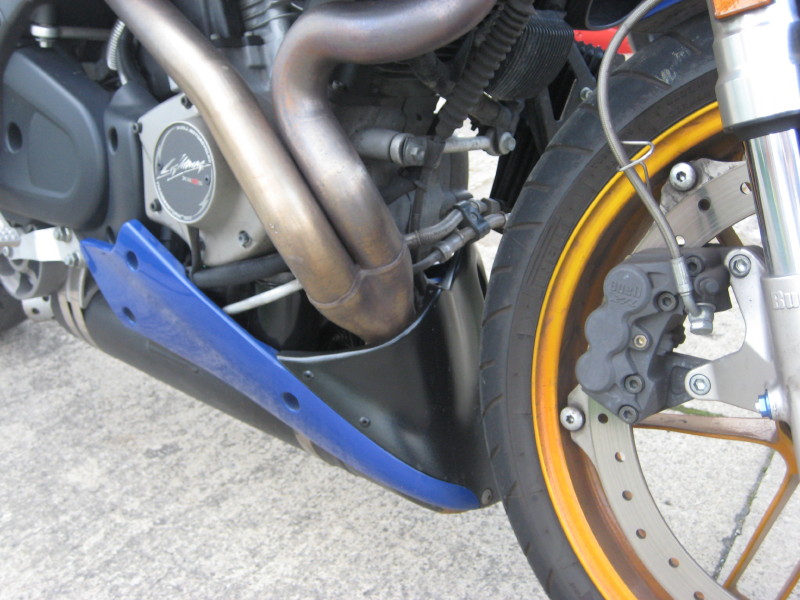 And finally.... Finished plumming up the Aux. tank. It Screws into the tank when mounted, runs through a clear filter, a shutoff, then into the drain plug: 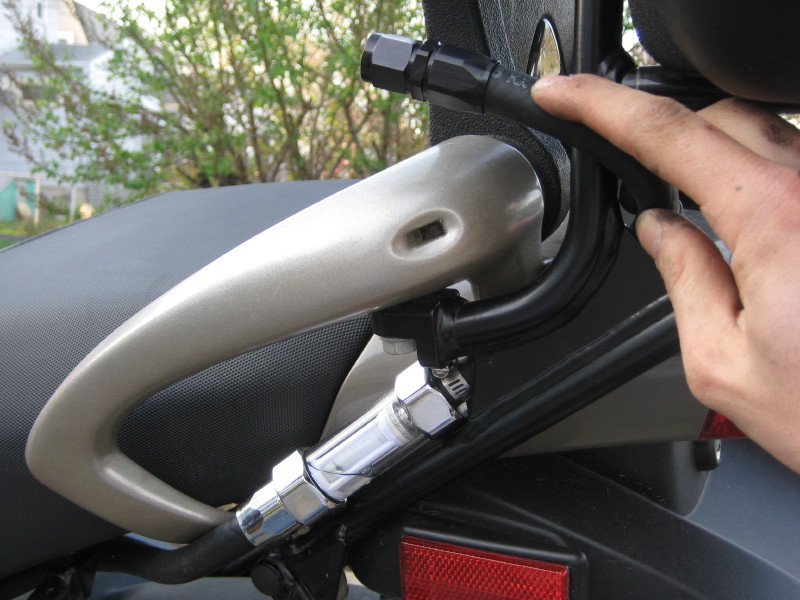 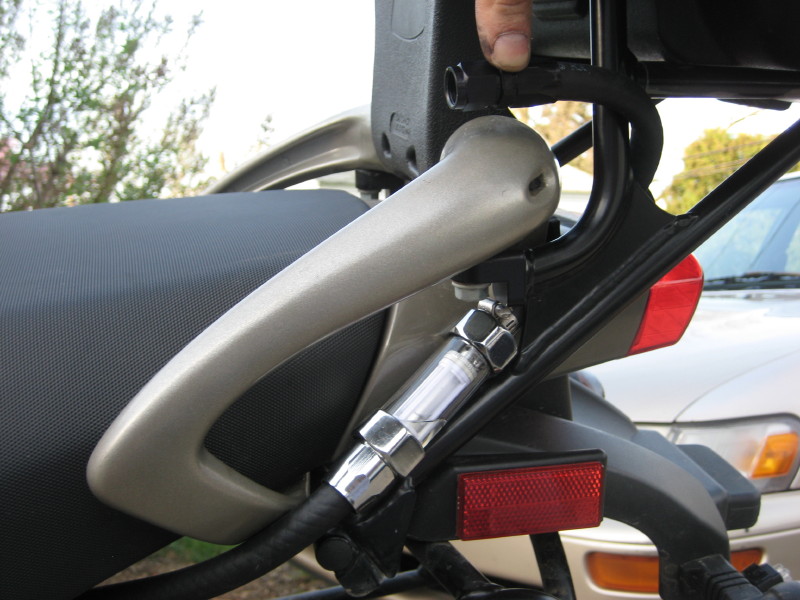 Whoever it was that suggested conduit hangers... THANKS! Works perfect to mount the shutoff valve! It's for interior and exterior use, so I hope it holds up to the elements. 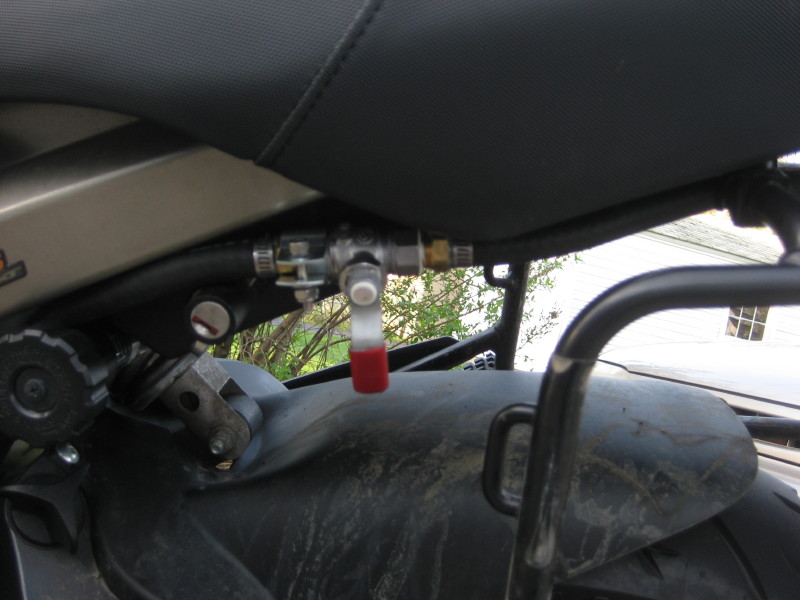 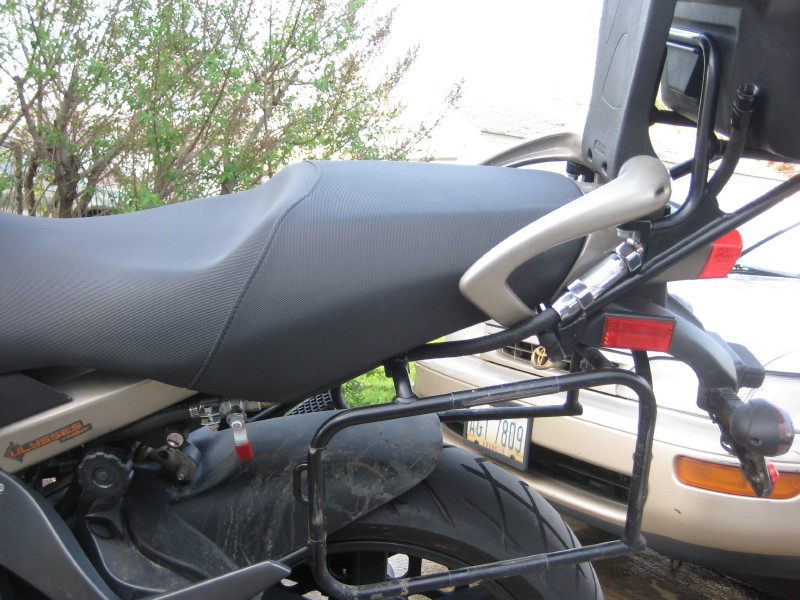 I've got paint all over my hands, and arms up to my elbows, as well as a nice spot on the tip of my nose. Work's probably not going to be too happy about that tomorrow. And then there's school. I have Tuesday's off work so I can work on my online classes. I would do MUCH better in school if it would just pour down rain every time I have a day off. | ||
Ulynut |
Nice job. Just a thought, if you paint the nuts and bolts on the light bar, they will just about disappear. | ||
Etennuly |
Yes Mike, you need to paint your nuts! What the heck you got your hands, arms, and nose, what's another appendage in krylon black!!  | ||
Wolfridgerider |
Looking good! | ||
Wolfridgerider |
Did you take the drain plug out yet? | ||
Mikef5000 |
Yup, drain plug is swapped out. Tested the whole system today and didn't see any drips. All of the threaded connectors have fuel rated thread sealant, and all of the straight hose barbs have fuel rated RTV and hose clamps. | ||
Hooper |
"It is home made, and looks it." Nah man...THIS is home made and looks it: 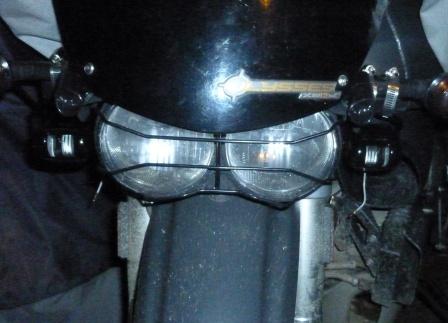 (I was in a hurry to get some additional lighting - some interesting fog lights screwed to a block, hose clamped to the turn signals - yee haw!) Really sharp installation! Thanks for the great photos. |