| Author | Message | ||
Electraglider_1997 |
This is going to be kind of lengthy but pretty thorough so bear with me. Lots of photos. To start with you will need to purchase a thermometer and here's what I used and they don't charge for the shipping. It is a nice unit and only $9.95 to your door. It has a 7" stainless steel stem which will provide very accurate reading of the oil from zero to 220 F and beyond if you interpolate the readings. My Uly's oil in the swing arm rarely exceeds 200 F and only if it is 100 F outside or higher. Don't purchase a 5" stem model because the oil has to be at least 2" up on the stem for the most accurate temp readings. http://www.kitchenkaboodle.com/product_detail2.php ?sku=IRTL220!316&multi=0 The model is IRTL220 and it is a beverage and frothing thermometer. That link doesn't seem to bring up the photo but if you enter IRTL220 in the search field on their website and click GO and then click on the green bar that appears then you'll see the thermometer. Just call those folks and they will have it delivered to your door in a few days. Good people. After you get it you'll want to calibrate it. Bring 3" of water to a hard boil. Insert stem so that dimple is under water. Calibrate to exactly 212 F per the directions that come with it. There is a 1/2" nut under the dial that's turned for calibrating it. Very easy and calibration holds real well. (Message edited by electraglider_1997 on May 20, 2009) | ||
Electraglider_1997 |
More is coming, wait... | ||
Electraglider_1997 |
First you either go to the dealer and buy an extra ULY dipstick for about 5 bucks or use the one you have. Use a razor blade to cut of the stick. Be careful because that plastic is hard. Cut flush with the plug. 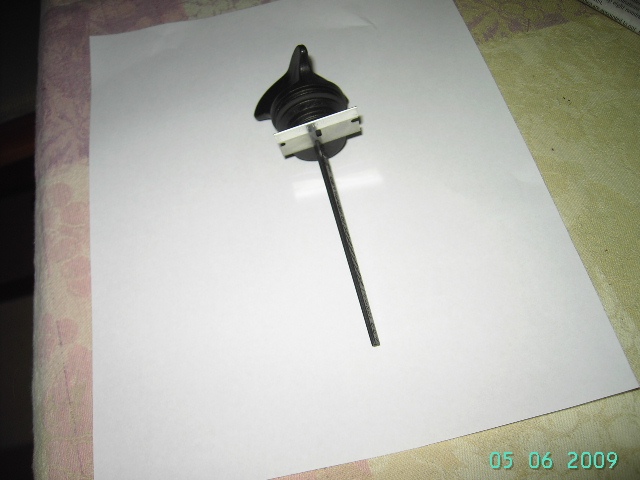 Should look like this. Save the stick for later when we mark the thermometer stem for the ADD and Full area on the stem. 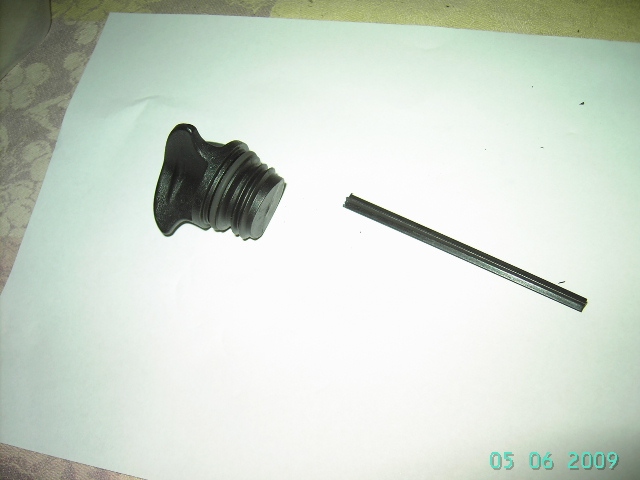 | ||
Electraglider_1997 |
Now mark the center of both the top and bottom of the plug with a nail or center punch so that you can drill a hole down the middle of the plug. Drill about half way starting from the top and then drill the rest of the way through by starting from the bottom. That way the hole will be straighter. Use a bit large enough so that the thermometer stem slides easily through. Any slop will be taken up with the black silicone sealant later. By the way, the thermometer shown is not the 7" stem model which should be the one you use. I'm showing a 5" stem model just because that is what I had available for these photos. Stem diameter is the same though. 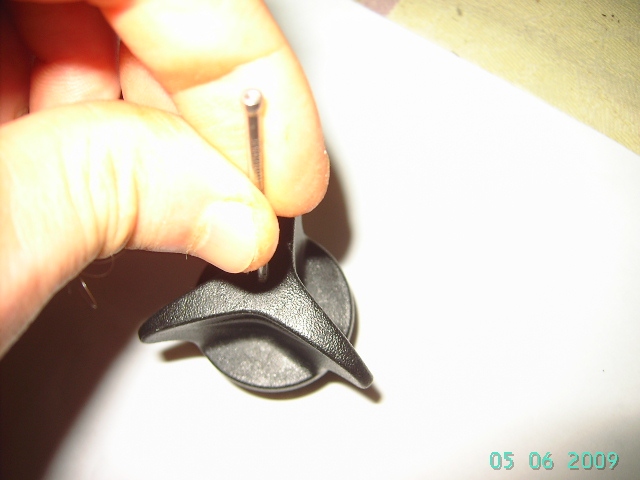 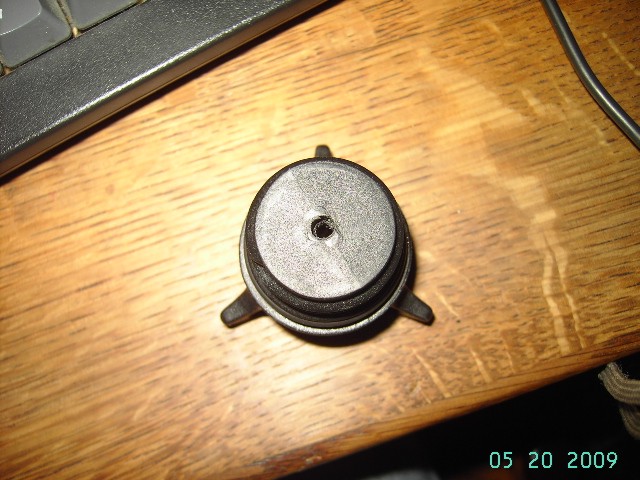 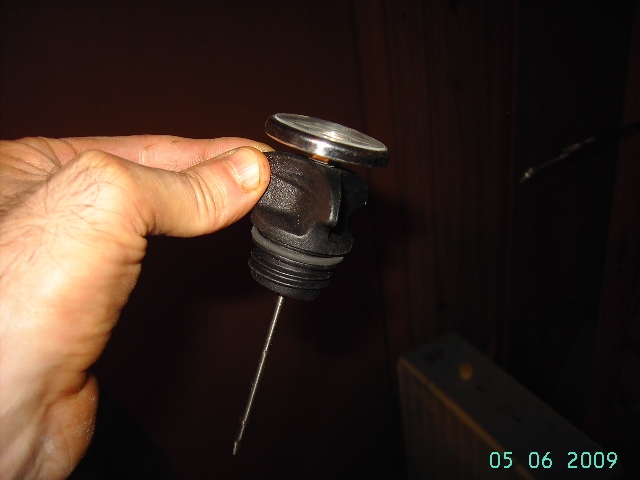 | ||
Electraglider_1997 |
Not to complicate matters but I made a fixture for holding the plug for drilling with the spade bits. You can make something similar with a piece of wood or maybe just wrap the plug threads with many layers of masking tape and then clamp in the vice. You don't want to muck up the plastic threads on the plug you are modifying. Put on your thinking cap and figure that out for yourself. 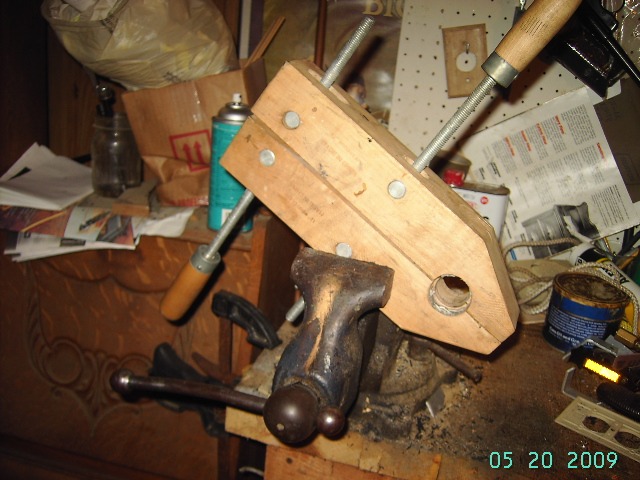 | ||
Svh |
That looks like my messy work bench too! I need to do some spring cleaning. | ||
Electraglider_1997 |
Here's the fun part. You'll need a 1' spade bit and a 1 3/4" spade bit. Also a hand drill. This is very important: Drill first with the larger bit and then with the smaller bit, because it won't work the other way around. The plastic is hard so you will have to press pretty hard for the spade bits to do their work. 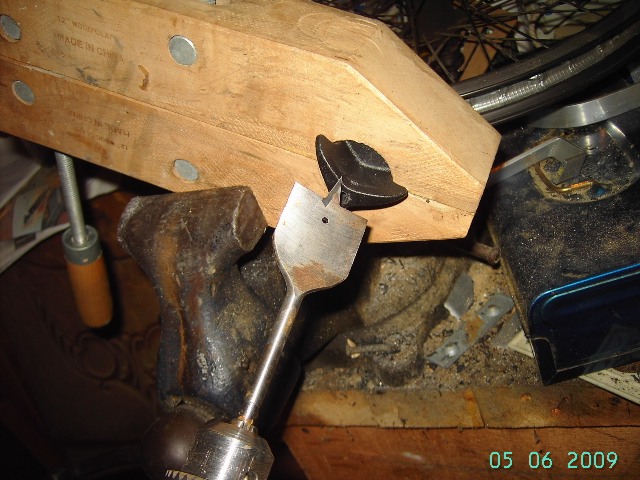 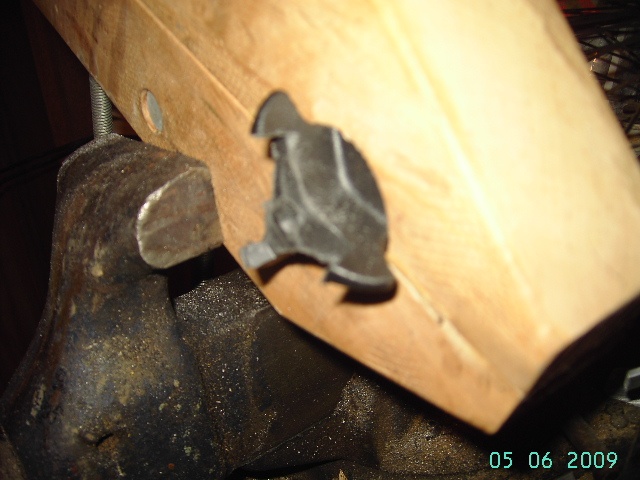 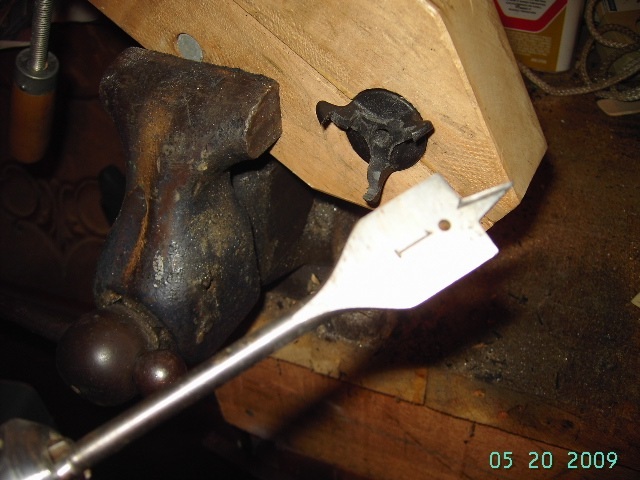 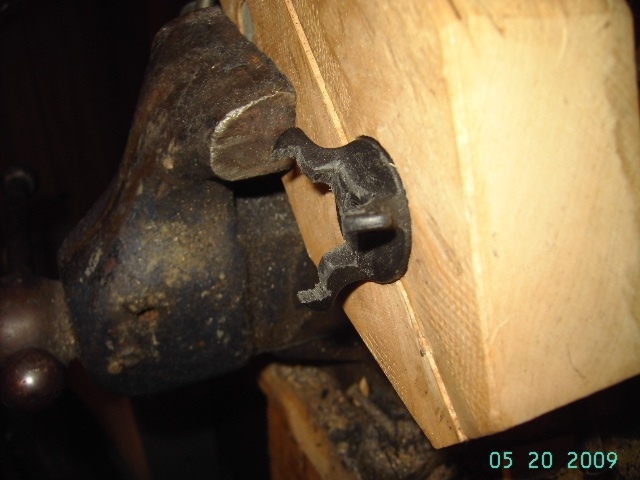 | ||
Electraglider_1997 |
Clean it up with hand files until the thermometer fits nice and square. Do your lungs a favor and where a mask. 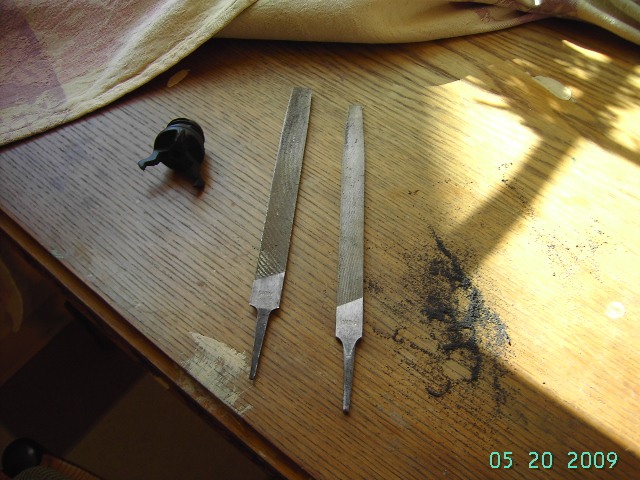 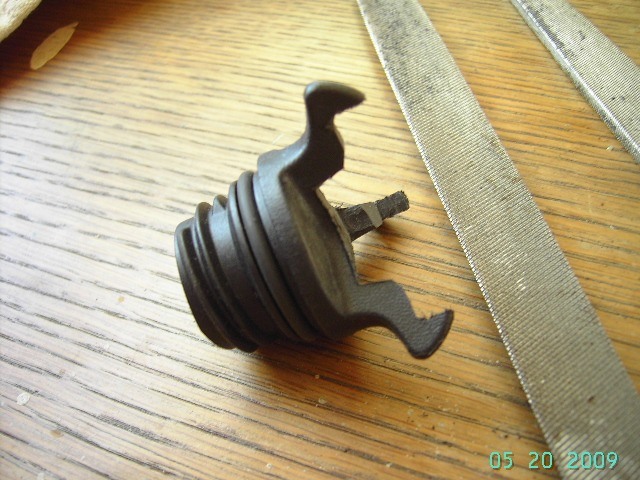 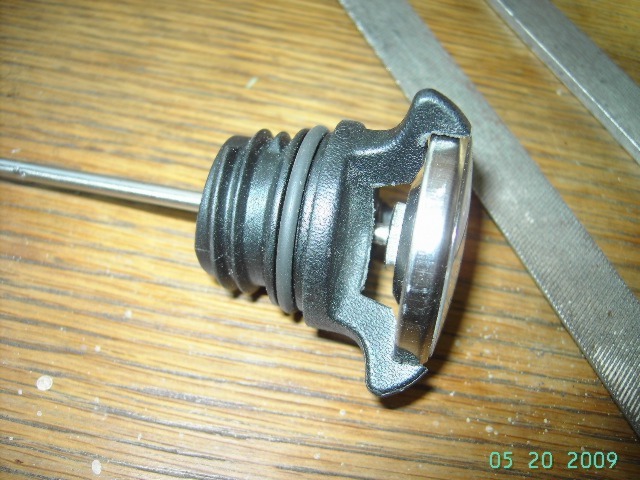 | ||
Sleez |
Electraglider_1997; quick question, what lead you to the conclusion that the 5" wouldn't work as good as the 7"? did you do any testing? i bought a 5" awhile ago with the intent of doing this exact thing, but i will be taking the plug to the machinist to have it milled to fit the thermometer housing perfectly. thanks good work by the way! (Message edited by sleez on May 20, 2009) | ||
Electraglider_1997 |
Almost done. Take it to your ULY and screw the plug into the swingarm until snug. 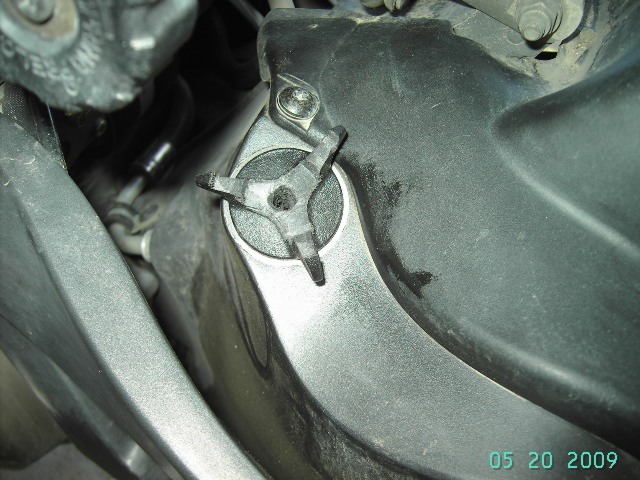 Push the thermometer down until seated and then turn the thermometer (not the plug) so it will be oriented correctly for viewing. Mark with tape. 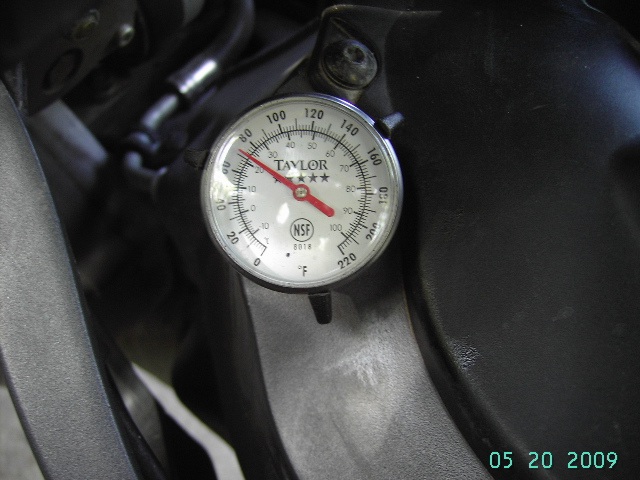 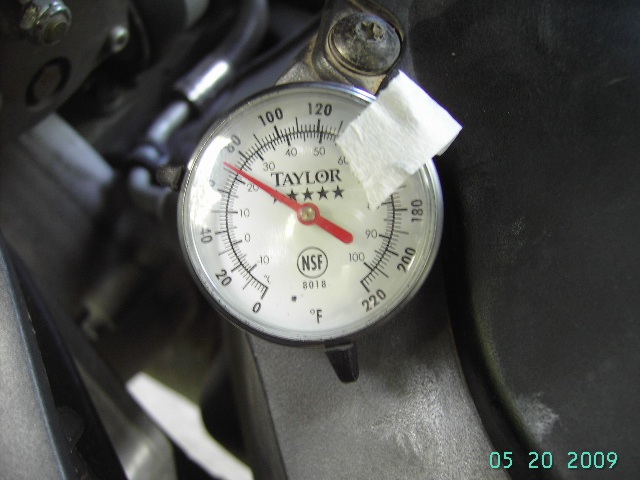 Remove without messing up the orientation. 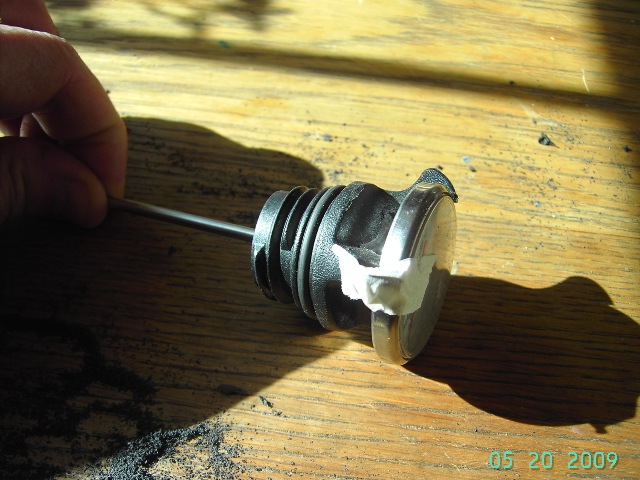 | ||
Wolfridgerider |
Pretty cool.... I may have a new project coming up... | ||
Electraglider_1997 |
Time to seal the thermometer to the plug with black 100% silicone. You can go to Home Depot or your local hardware store and buy a caulking type tube of it for 5 bucks. Remove the thermometer from the plug but make sure you leave tape or markings so the orientation can be remembered. Push some silicone down the middle hole where the stem goes and then put the thermometer stem back down the plug hole making sure your orientation is correct. Wipe excess off stem with a napkin. Now silicone it all together similar to what the photo shows the final product to look like. Set the Temp Dipstick on it's face with stem in the air and let the silicone set up over night. The photo shows the finished Temp Dip Stick with the 7" stem and you can see the area on the stick that corresponds to ADD and Full mark area. 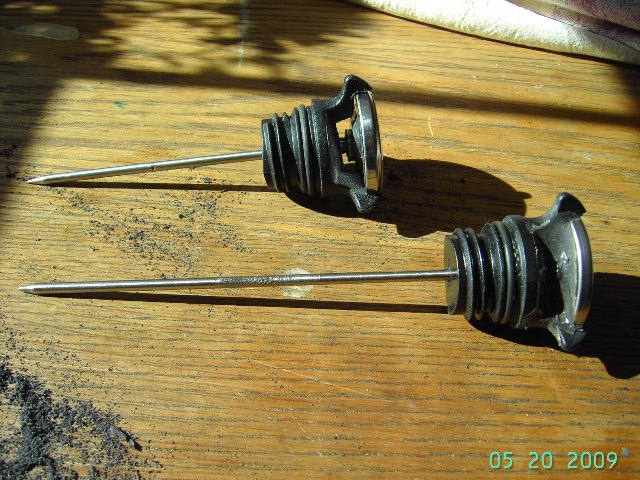 | ||
Electraglider_1997 |
Marking the ADD and Full mark area on the stem. Use the stick to mark you ADD to Full area. 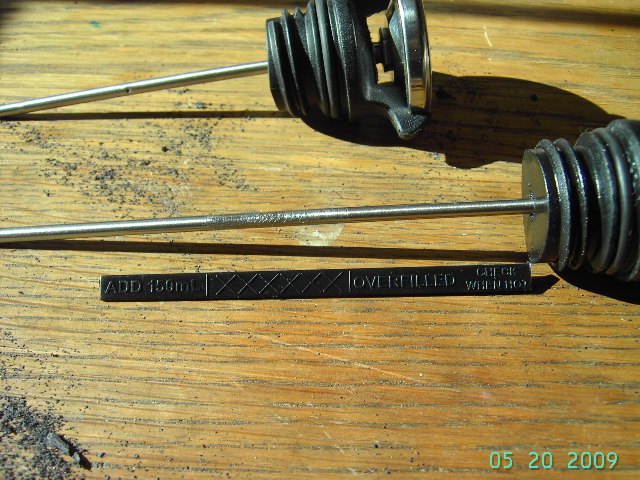 Mask off with tape. 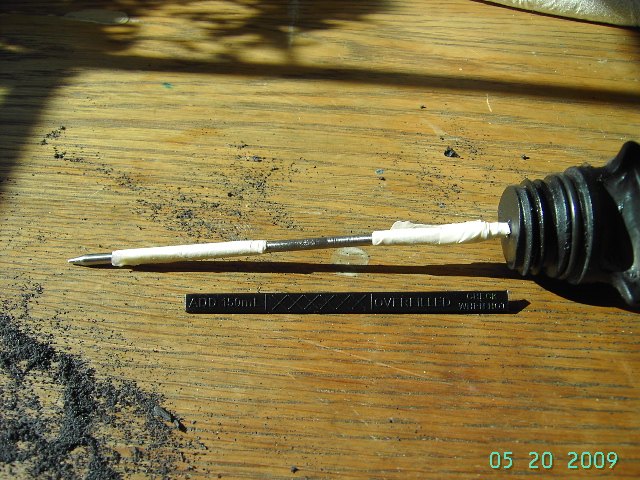 Use emery cloth or sand paper to rough up the stainless steel stem. Then remove the tape. Don't try to crimp lines on the stem because inside the stem is a wound up bi-metal spring that expands and contracts depending on temp. 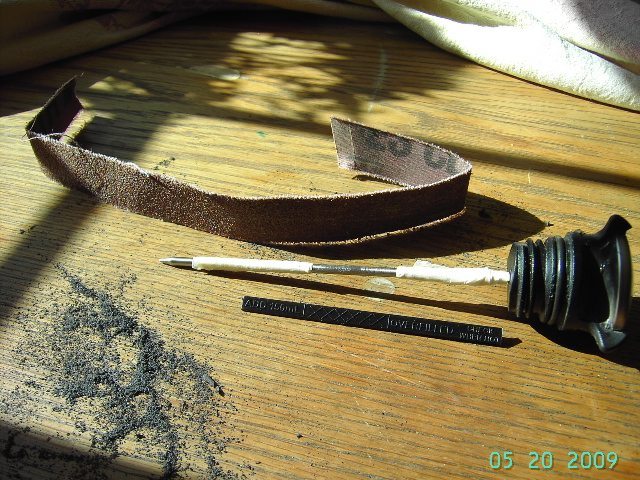 You might want to try and use shrink tube to identify the ADD/Full area but be sure that it holds up in hot oil. I don't know but others say it holds up in the fuel pump submerged in gas. Anyways, that is how I made Temp Dipsticks. For those interested have at it. | ||
Electraglider_1997 |
Sleeze, It's much better to go with the 7" stem because there is a dimple on the stem, both 5" and 7" stems that needs to be submerged for most accurate readings. The 5" stem will not submerge the dimple. Read about this here:http://www.cdn-timeandtemp.com/articles-and-info/a rticles/thermometer-technology.asp | ||
Electraglider_1997 |
Since I already have a Temp Dip Stick and modified that plug shown in the photos just for this how-to tutorial, that plug is for sale for 12 bucks to anyone interested. That price will get it to your door. First to PM me gets it. | ||
Sleez |
Electraglider_1997; good read, thanks. just checked mine, the dimple would barely be below the full mark, guess i need to exchange it for a longer one, thanks for the education!!! | ||
Debueller |
I've had one of EG's temperature dipstick in my Uly for over 15,000 miles and has worked great with out any leaks and good accuracy. I even tested it to 250 degrees plus (the needle rounded all the way past zero and was on it's second time around)) on a slow, steep gravel road and it suffered no ill effects, and still works/looks fine. | ||
Johnboy777 |
I'm waiting for the one where he builds his own riding leathers ... let's see, first you find the right cow, and then... . | ||
Joesbuell |
Very informative thread, I might do this myself  | ||
Glen |
that is awsome! PM sent | ||
Tginnh |
Nice job! I like that thermometer. When I did mine about a year ago, I picked up a meat thermometer from the supermarket. Also, I left the stick on mine and offset the hole I drilled. It's kinda funky looking, but you can't tell the difference when it's screwed into the swingarm. Thanks for the photos and posting. | ||
Andrejs2112 |
I have one of his and it works great. I use it all of the time. Now if only he will make one with a digital read out that's visible from the dash...  | ||
Electraglider_1997 |
Darthane PM'd me first so he gets the modified plug. Glen, you where 2.5 hrs later. | ||
Adamd |
Nice EG! | ||
Electraglider_1997 |
I made a digital one that I gave to Crusty last year at Homecoming in thanks for the t-shirt and bazootie. It could only be read from the dipstick though. Never really heard from Crusty one way or the other about it though. I checked the reading on it after Crusty road from the host hotel to the Buell factory and noticed that his oil was over 20 degrees hotter than mine. He was riding the 08' XT and they have the head sensor that kicks on the fan at a hotter temp than the 06' sensor. Hope Crusty got some use from it. This is what I built for Crusty: http://www.badweatherbikers.com/buell/messages/142 838/355797.html | ||
Yankee_dog |
Nifty device. Well thought out and executed. But it begs the question: what to do with the information thus gained??? Where is the danger zone? how hot is too hot? by the way, a search of the cooking website provided comes up with a load of different thermometers. Some with a wider temp range and a couple with remote readouts. So if you really want to see the temp reading on your dash the technology is available. yankee Dog Yankee Dog | ||
Electraglider_1997 |
I ride to Gold's Gym quite often and it is only about 2 miles away. Swing arm oil temp is lucky to rise to 100 F but I know that because of the gauge. I usually take the long way home which includes some interstate and by the time I get home and turn the ignition off the fan comes on and the swing arm oil temp is about 150 F. 1/2 hour on the interstate at 70 to 80 mph will get it up to the 180 to 190 range depending on the ambient temp. My oil seems to top out around 195 to 200 F if the temps at close to 100 F outside. I always run 15W50 Mobil 1. I'd be interested to know how hot the swing arm oil temps are on a bike with a Right side scoop. If the fan runs less and the oil temps are lower, I would say that is good. BUT if the oil is running hotter because of the RSS then not so good. | ||
Petereid |
Thanks for posting that Info! |